I am so excited to be here at UCreate today. My Name is Kalleen from At Second Street. I’m a mother of four who loves to create and design things for my home and family. At Second Street is where I share lots of fun tutorials and ideas that are not only easy but inexpensive.
I especially love making stuff with items I already have. I love finding new life in old things.
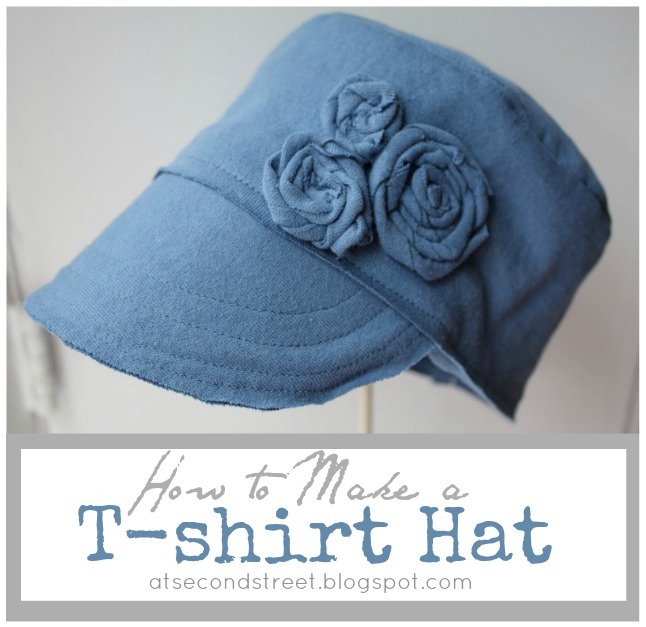
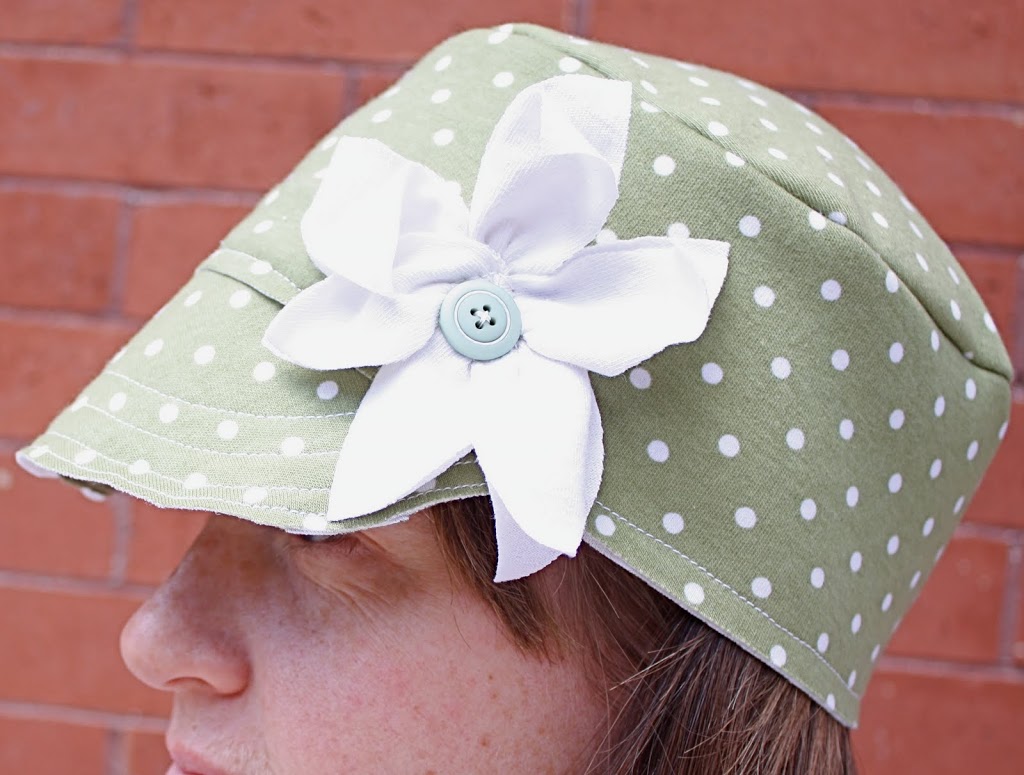
Today I wanted to share how to make a stylish hat out of an old t-shirt.
Since soccer started a few weeks ago, I’ve been wanting a new hat to hide my hair in the morning. I have a few hats already, but they are too dark and heavy for spring. I was thrilled when I came up with this solution and it actually worked.
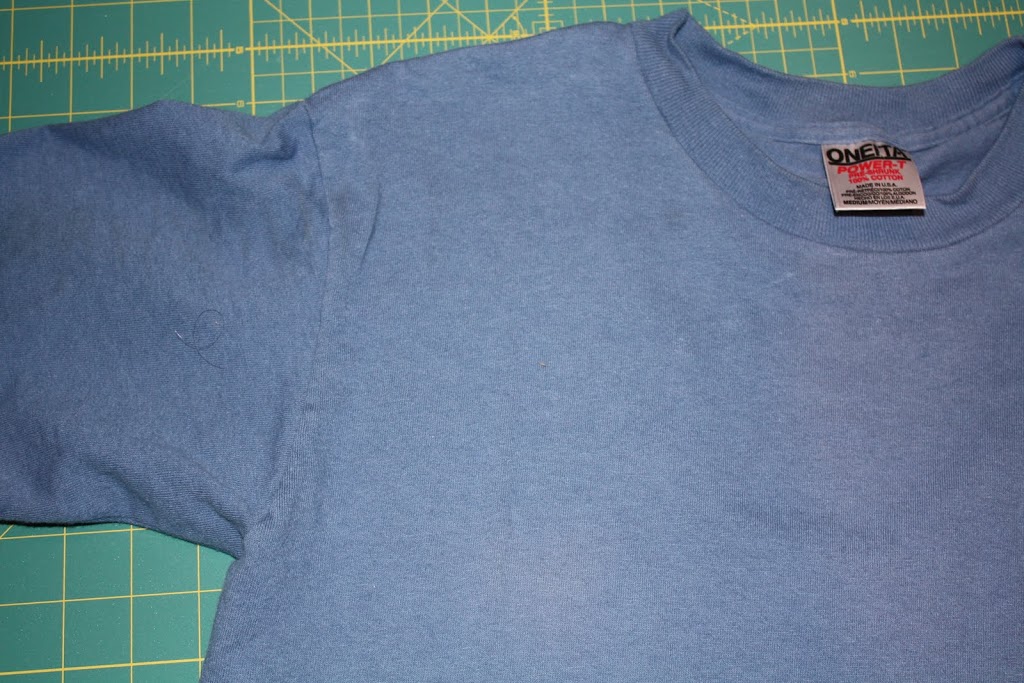
 All you need is an old t-shirt. I’ve cut several of my husbands ugly free t-shirts up this last week.
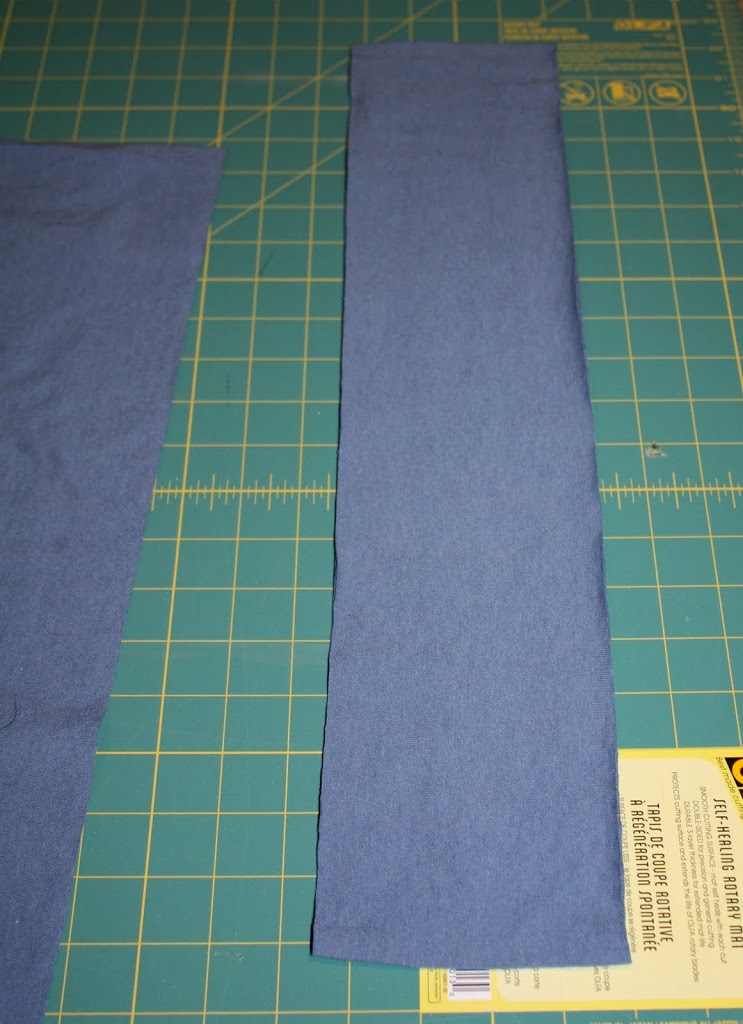
First thing you need to do is cut a long strip 4″ wide though both layer of the shirt. The length will depend on the circumference of your head + an inch for the seam. I cut mine to be 21-1/2″ long. *By cutting through both layers you should have two strips one on top of the other.
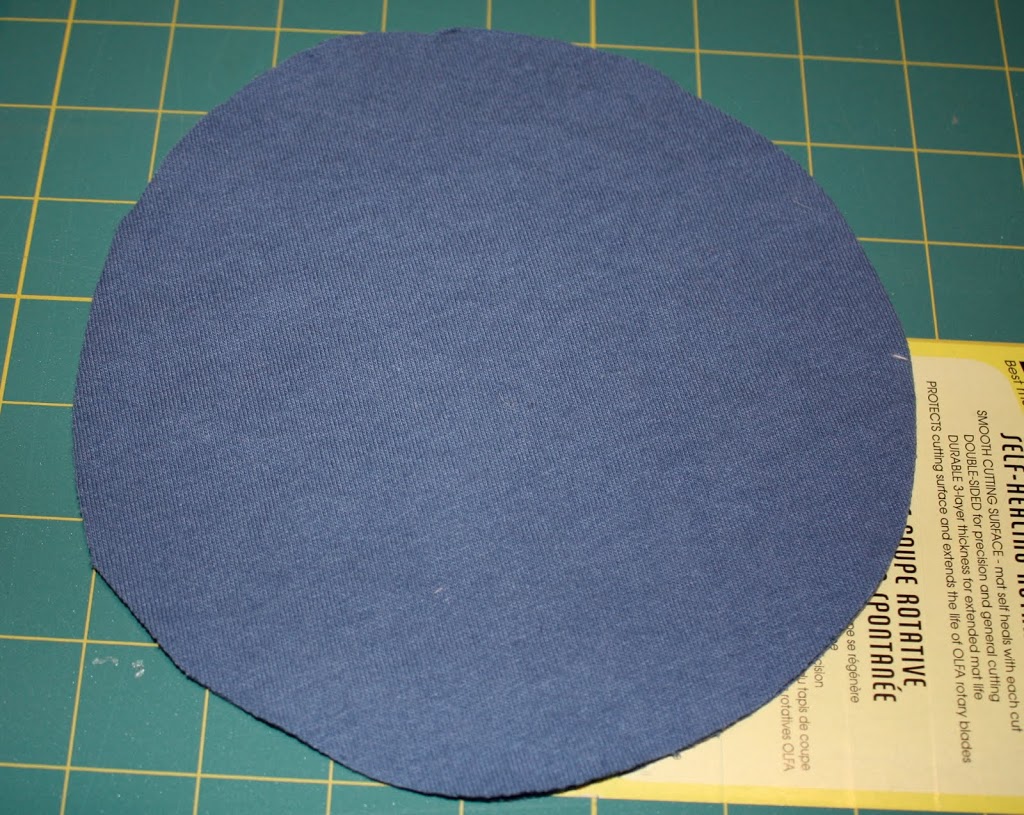
Now you have to cut a circle for the top. This involves a little math. Using your circumference you can find the diameter of the circle you’ll need to cut.
c=d x ∏ (3.14)
So for example my circumference was 20.5″ if I divide that by PIE the diameter is ∼6.5″(knit stretches a little so it doesn’t have to be perfect). I added an inch to that as well for my seams. I drew and cut my 7-1/2″ circle using a compass. You could also use a string tied to a pen or find a round object with the same diameter. Again I cut through both layers giving me two rounds, one on top of the other. Once they were cut, I sewed the two together with a 1/4″ seam around the edge.
Next I sewed the two ends of my long strip together with a 1/2″ seam, creating a very thin tube.
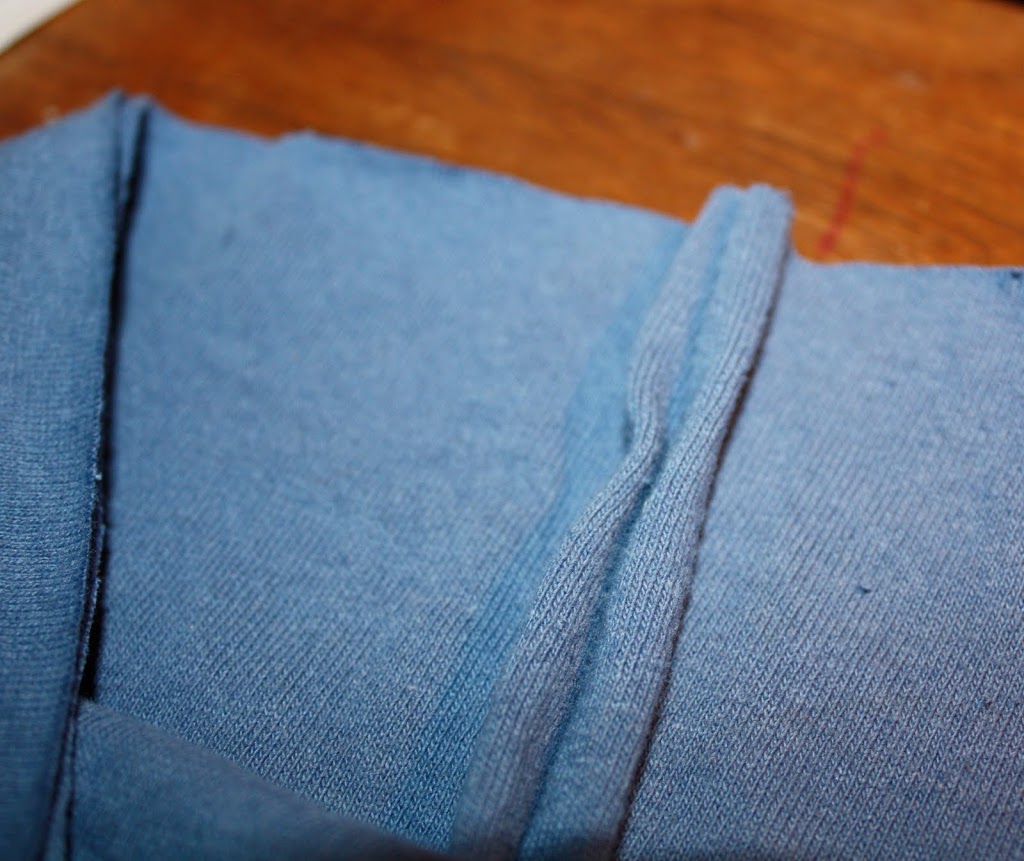
Then I pinned the circle to the top of my of my tube, with the seam on the outside.

I sewed around the top with a 1/2″ seam, then flipped it right side out.

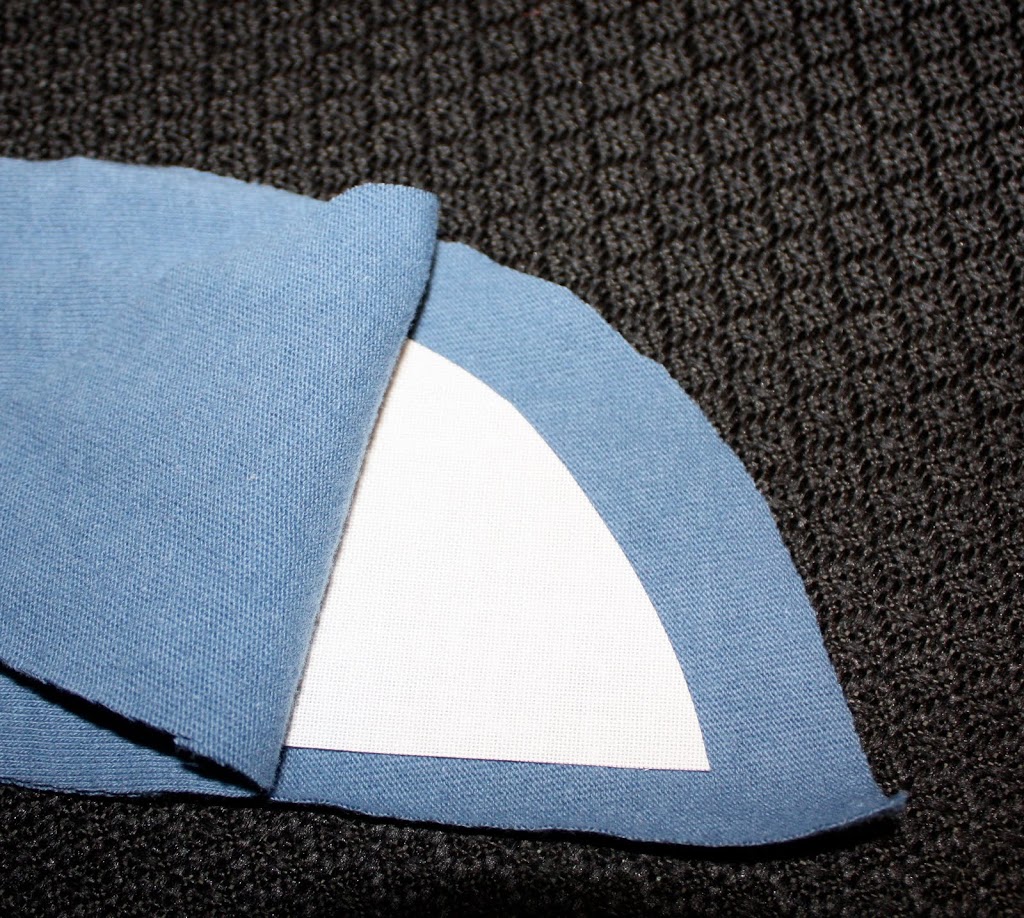
I made a pattern for the bill using a hat I already had. You can get the pattern HERE. I cut two layers of the bill and inserted a piece of heavy weight interfacing in between them. I made cut the interfacing to be a little smaller than the bill.
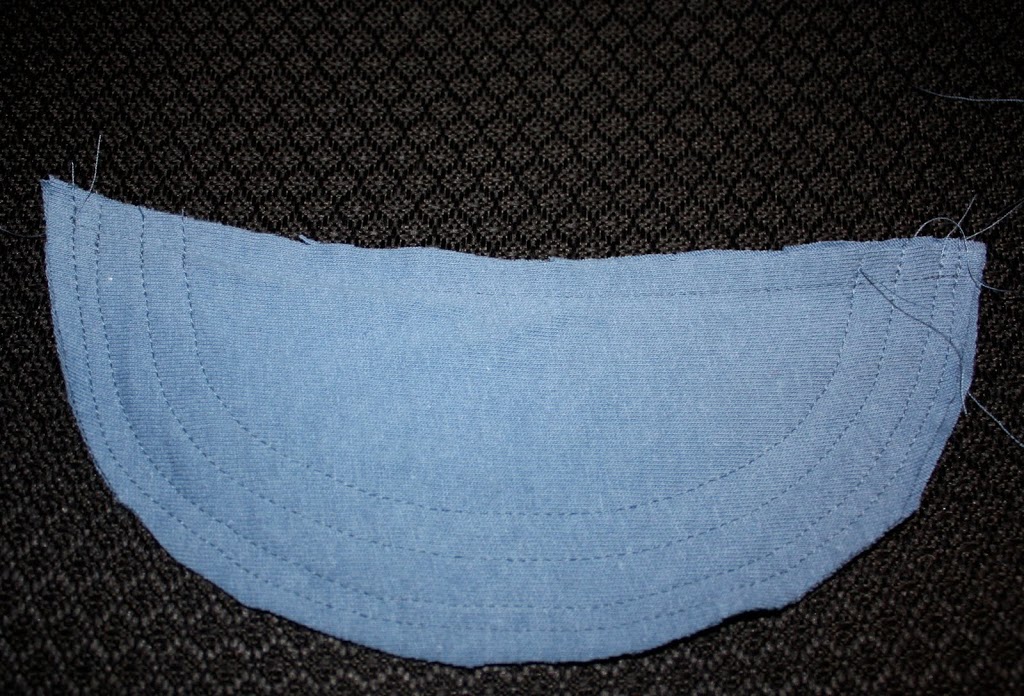
Then I sewed around the edges. I added a few more layers of stitching to make it stronger, and I liked the way it looked.
Next I inserted the bill in between the two layers of the cap. I lined up the middle of the bill with the middle of the font. The bill was about an inch and a half inside the bill when I pinned it in place. *Once it was pinned I looked in the mirror to make sure I liked the length of the bill. You can shorten it or pull it out more till you like it.
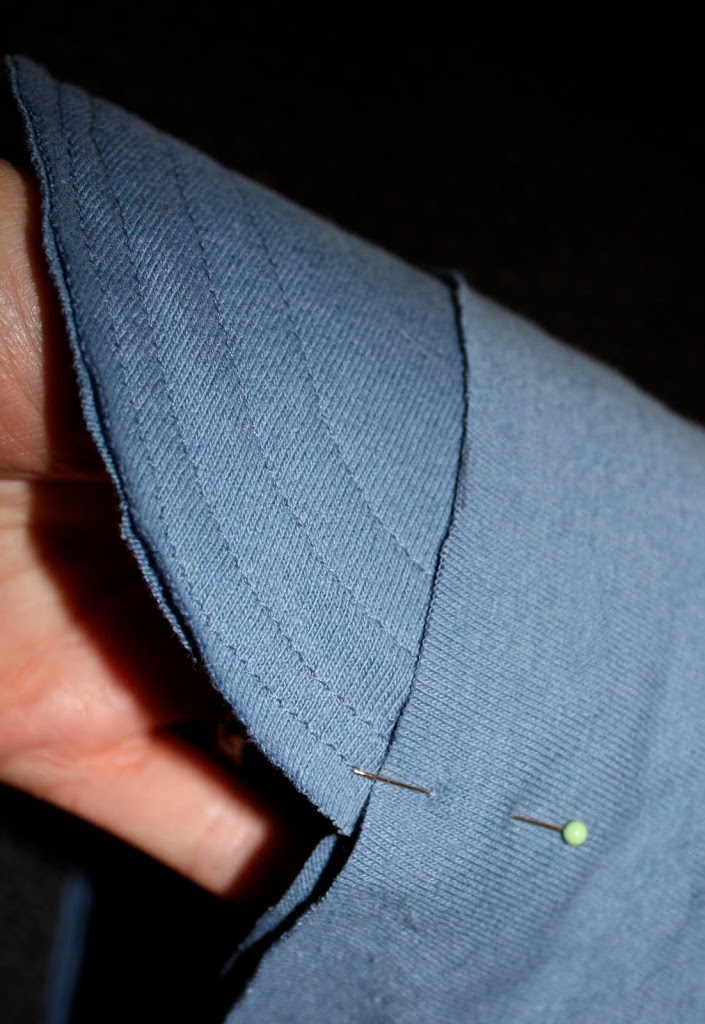
Now all that is left to do is sew around the base of the hat.
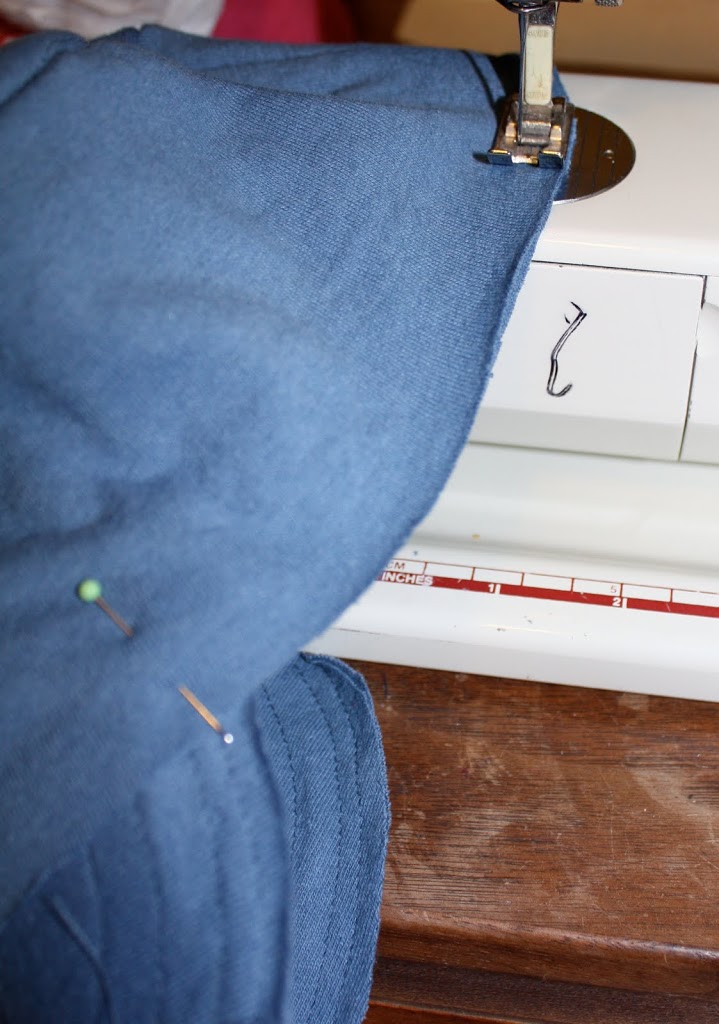
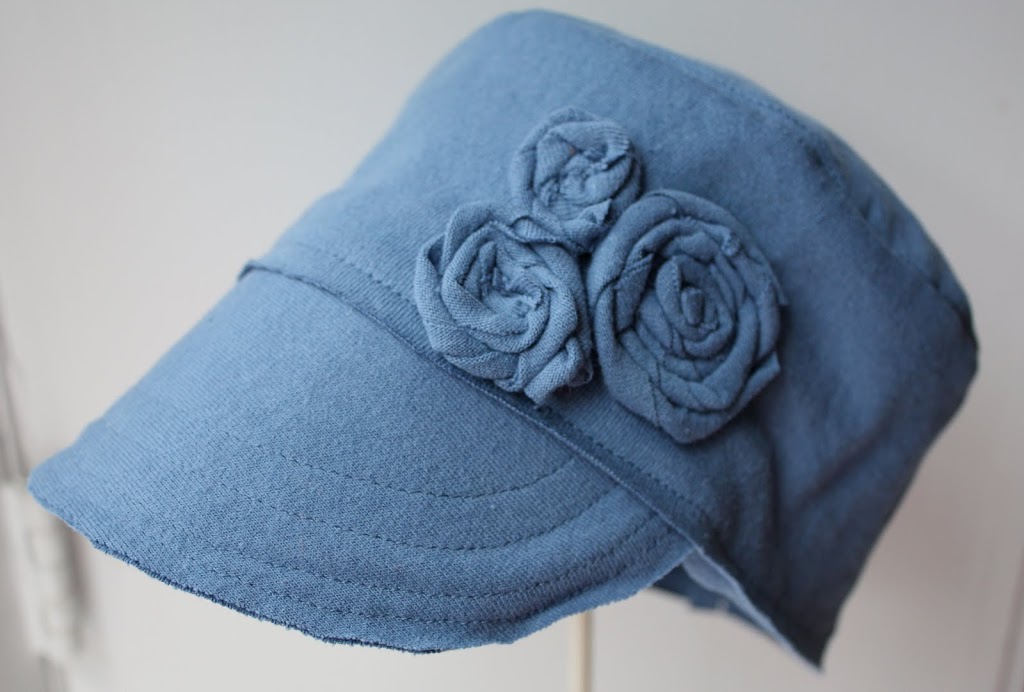
That’s it for the cap. It only took me 30 minutes to make my first one. I consider myself a basic sewer and I had no problems. I love the look of the raw edges and that I didn’t have to do any hemming.
For my embellishments I added flowers made with the extra pieces. I cut long strips of the knit about 1-1/2 inch thick. I twisted them and then rolled them like a lollipop.
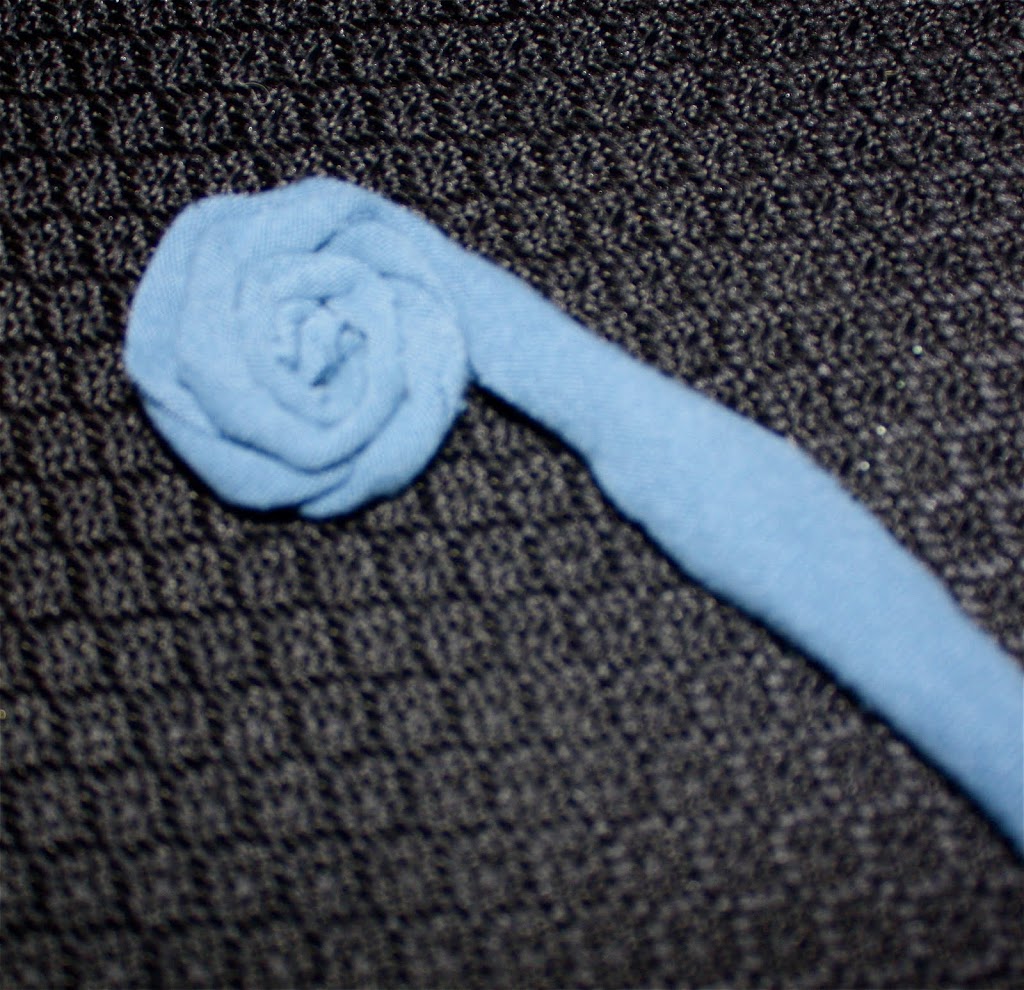
I sewed them together by hand.

And then onto the cap.

Sometimes I get head aches from wearing a hat to long. This one was so comfortable I was able to wear it all day.
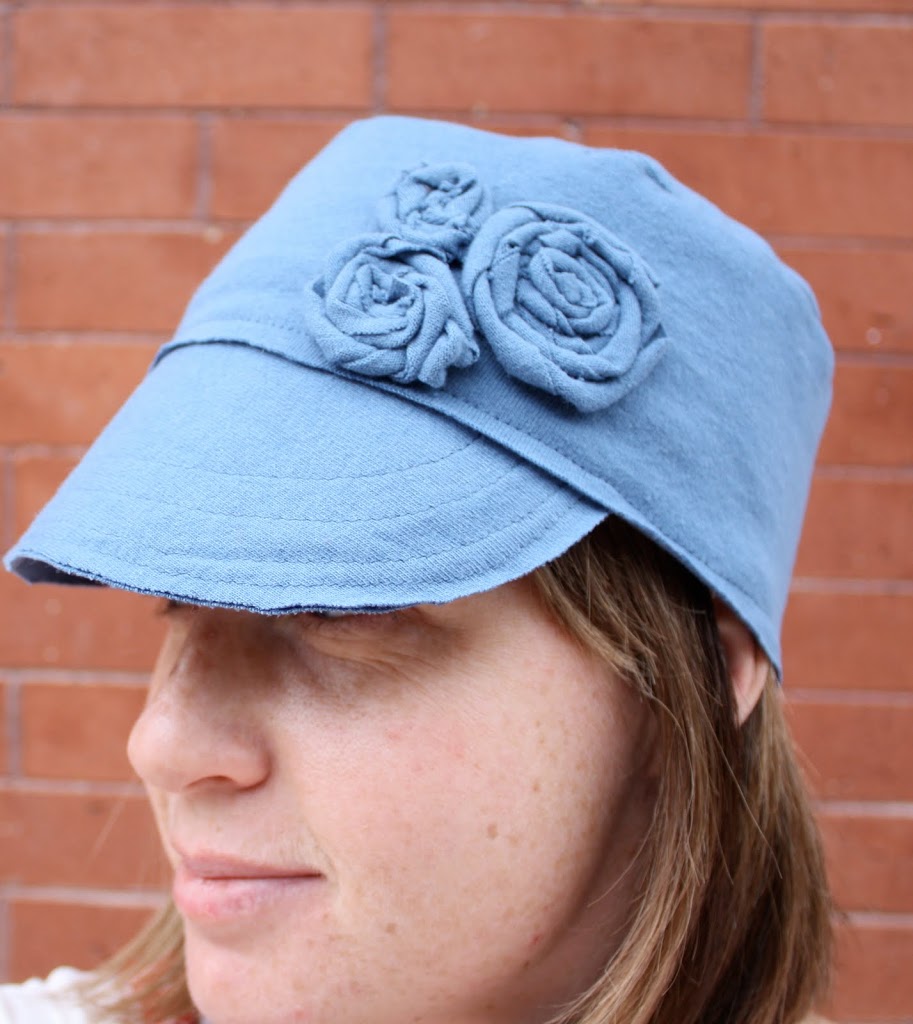
I’m kinda obsessed with making them.

I don’t think I can ever get rid of an old t-shirt now.
 The possibilities are endless.


Those are fantastic!
I’m pretty much in love with the polka dot hat with the big flower! You are so amazingly creative!!!
Love those hats!
Jeanine
This is brilliant. Fantastic post and instructions.
this is really lovely and the instructions are so clear. thank you!
AWESOME! I have been bookmarking hat tutorials and I think this is my favorite one – simple and adorable. THANKS!
so so cute!! so creative!!
Wow. Those are just gorgeous! Thanks so much for sharing!
adorable idea!
Wow! I have a big head and the cute hats never fit me, so I can’t wait to try these — thanks so much!
Okay I almost never comment but I love this hat so much I had to! This is such a cute idea! I am so making some of these for my kids!
I am going to make some soon. I have been holding onto a few t-shirts hoping to see something I want to use them for and this is it!
Can’t wait to try this! my daughter just had cranioplasty surgery and needs hats to cover the scar. so perfect!!! THanks
Brilliant.
This hat is adorable! The tutorial came at the perfect time! My daughter was invited to a “green” birthday party this weekend and this hat will make the perfect gift. Thanks again for such a great idea.
That is so cute! And it would be the PERFECT craft for YW to do before girls camp!!
A hat…from a t-shirt…!?!? I cannot believe this. What a creative idea. Thanks for sharing!
tomianne, I have the same problem!! I love this hat because it looks SO COMFORTABLE!
So pretty!! I linked to your tutorial on Craft Gossip Sewing:
http://sewing.craftgossip.com/tutorial-make-a-stylish-cap-from-a-t-shirt/2010/04/29/
–Anne
I kind of heart this and totally need to try and make one now.
http://www.zitzmanfam.blogspot.com
Brilliant!!! Gosh, you are soo talented!!
That i so creative, I never would have thought of this in a million yars. Thanks so much for sharing, I’ll be linking.
love this. i am so making one. thanks.
I very rarely take time to make something for myself instead of my daughter…but tonight I made one of these hats and it turned out adorable!!! I love it!
Thank you for the great idea and tutorial! 🙂
Thanks for this awesome tutorial!!
I´ve linked it on my blog. 🙂
Eleonora, an Italian gilr in Sweden
Excellent! Good job.
Thanks so much for this awesome hat! I have a big head and hats always are uncomfortable so I made one of these for myself and my daughter and they came out great! I was empowered by your comment that it only took like 30 minutes, so I said “I can do that!”
I linked it to my craft blog for my Sewing Thursday. Thanks again!
Here’s the hats I made with your wonderful tutorial, I had so much fun with my post on my Trashy Side blog with these hats!
http://trashyside.blogspot.com/2010/07/upcycled-t-shirt-great-caper.html
verry good 🙂
So this has been in my favorites list since you posted it. I’m just getting around to it. You know, life happens. I made my first one tonight and my two oldest daughters saw the finished product and promptly ordered on of their own. Super cute and easy. Thank you.
My Daughter and I found this over on Childmade and had to have one for a birthday gift – well 4 later I am looking for more shirts. I am a “no headdress wearer” too because of headaches but this doesn’t even feel like it is on my head – thanks for the great tutorial – now where else can I swipe a shirt!….. ohh – maybe change the bill and make a sun hat too… the ideas are spinning……
I had to laugh when I read your reason for making this. Early morning soccer/bus stop hair is my nemesis right now. I love to upcycle t shirts! Hope mine turns out half as cute as yours… 😉
Adorable!!! I’ve been making a lot of hats but none with a bill right now. This is so cute…
I love this! A friend of mine just showed me her own hat that was made from a shirt. We were inspecting it, trying to figure out how to make it. Now I can just follow this great tutorial!! Thanks!!
Beautiful! Unique and super awesome!
Awesome stuff, such kind of tutorial always helps when you want to make things like these but it sure requires some skills otherwise your experiment can cost you an old t-shirt.