
Hello everyone!!
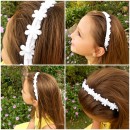
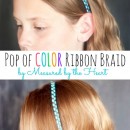
 1) Your first step is to snip your elastic band in half and measure it. (Mine were 6 inches)
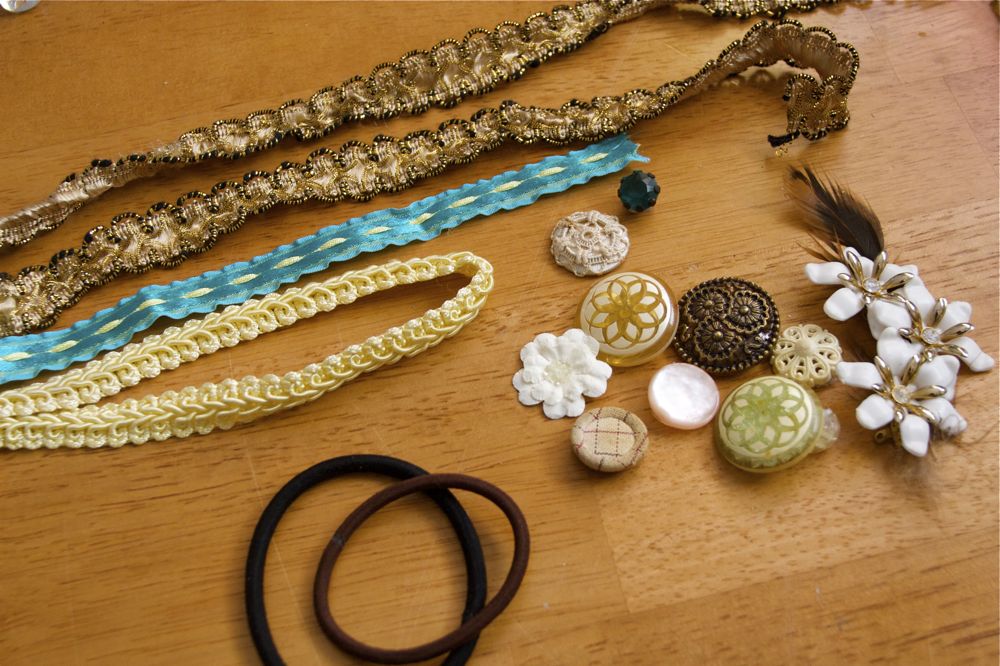
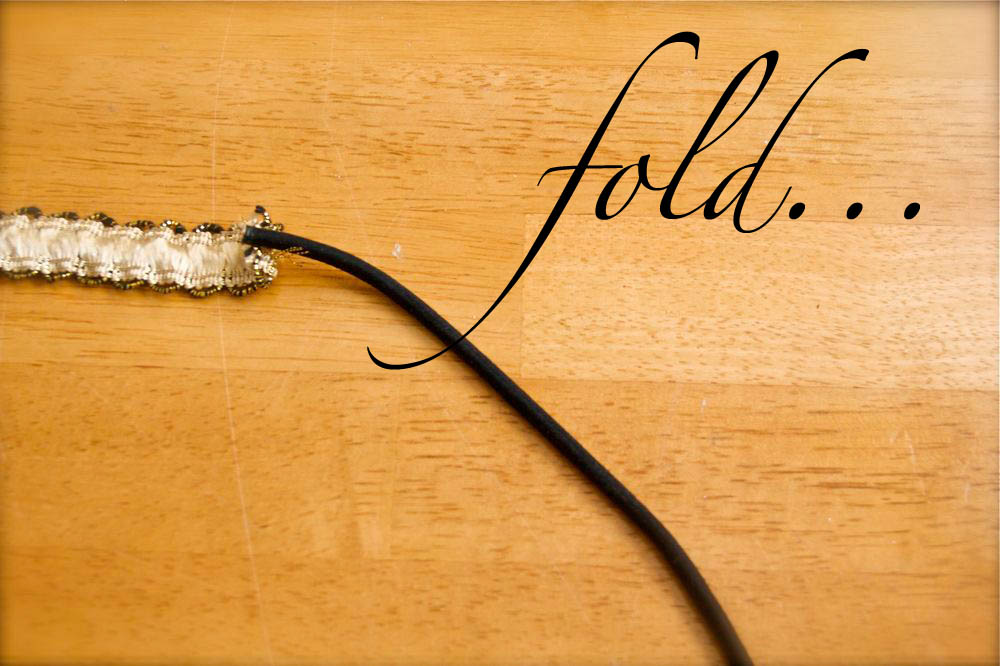
 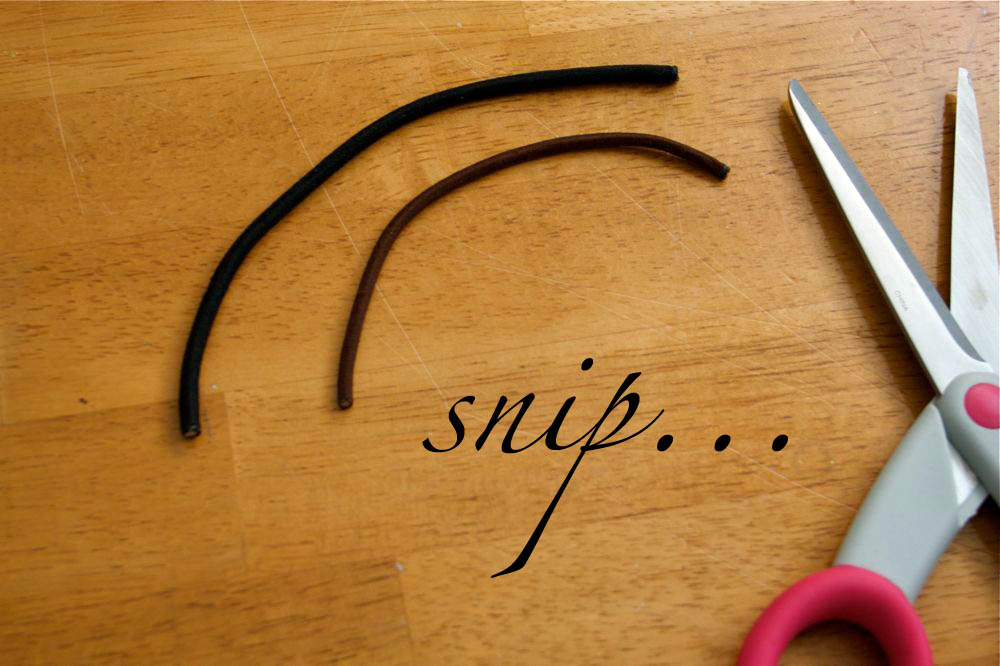 2) The average headband is about 19″, so add as much trim as it will take to equal 19″ when added to your elastic, plus 1″ extra for seams. (i.e. 6″ elastic +14″ ribbon = 20″) Fold the edges of your trim over about 1/2″.
3) Lay one end of your elastic on top of the folded edge, wrap trim around elastic end, and pin.
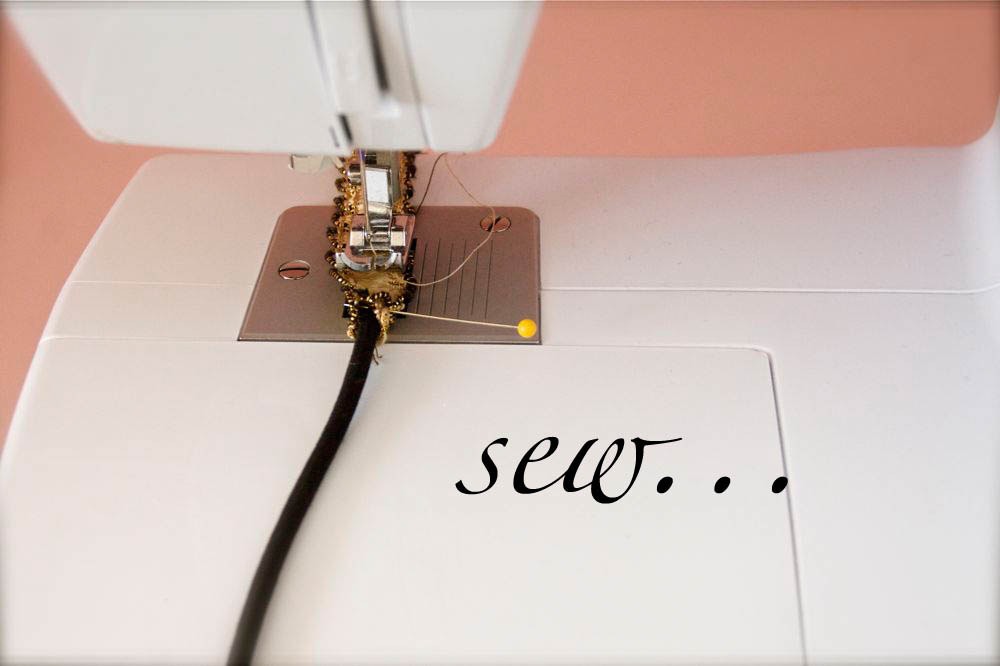
 4) Using a zig-zag stitch, sew your elastic to the trim very well, about 20 stitches. (you may also do this by hand, if you don’t have a machine)
5) Repeat steps 3&4 on the other end of your elastic.
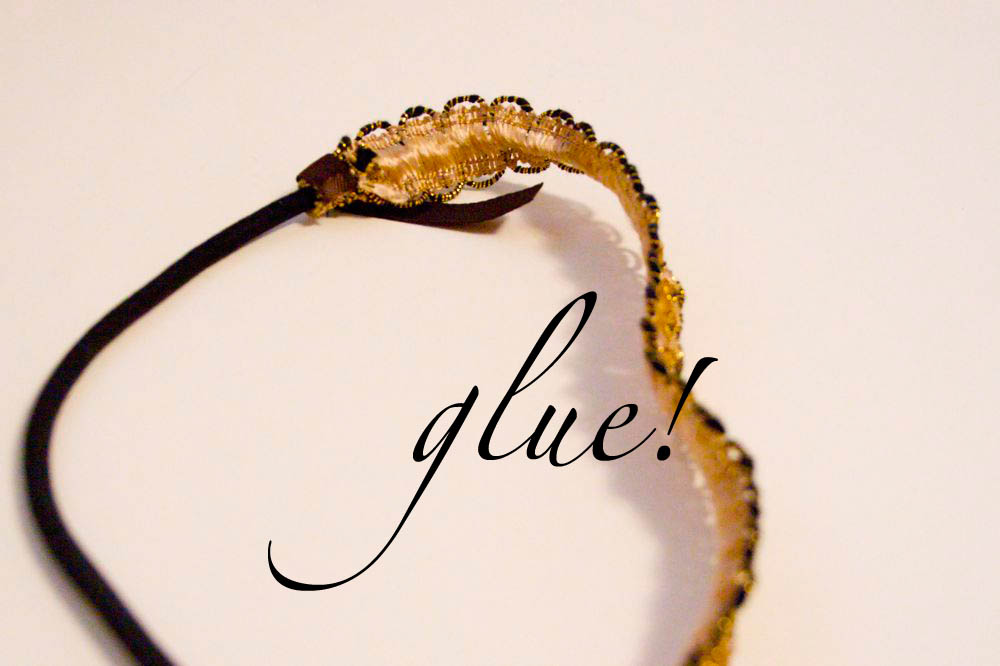
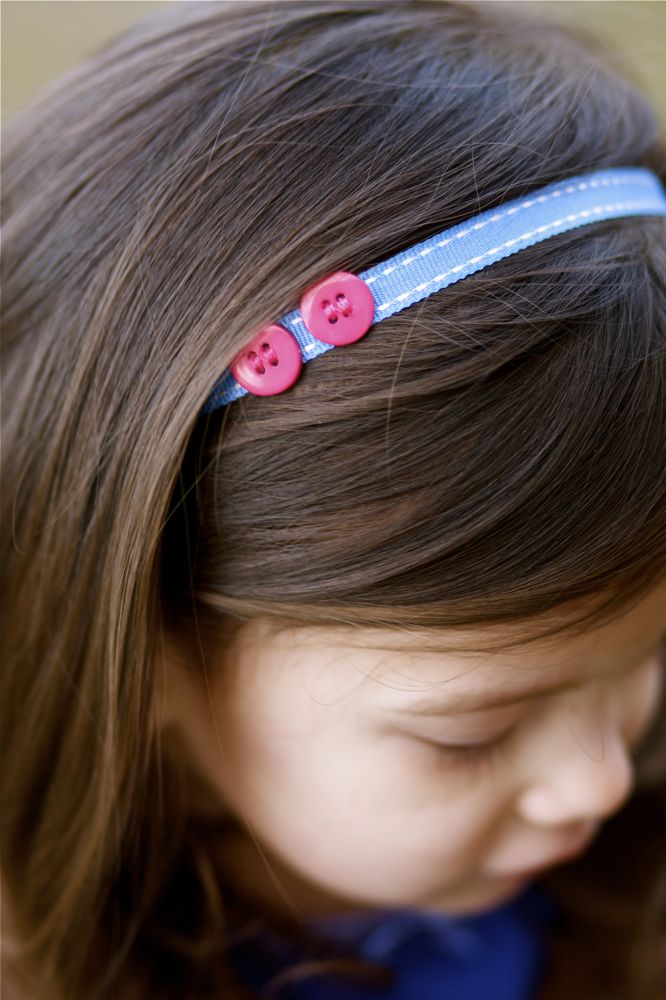
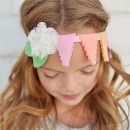
6) Cut two, 3″ lengths of ribbon in a color that blends well with your elastic, and wrap it around the edges of the trim, glueing as you go, and tucking under the end of the ribbon for a finished look.
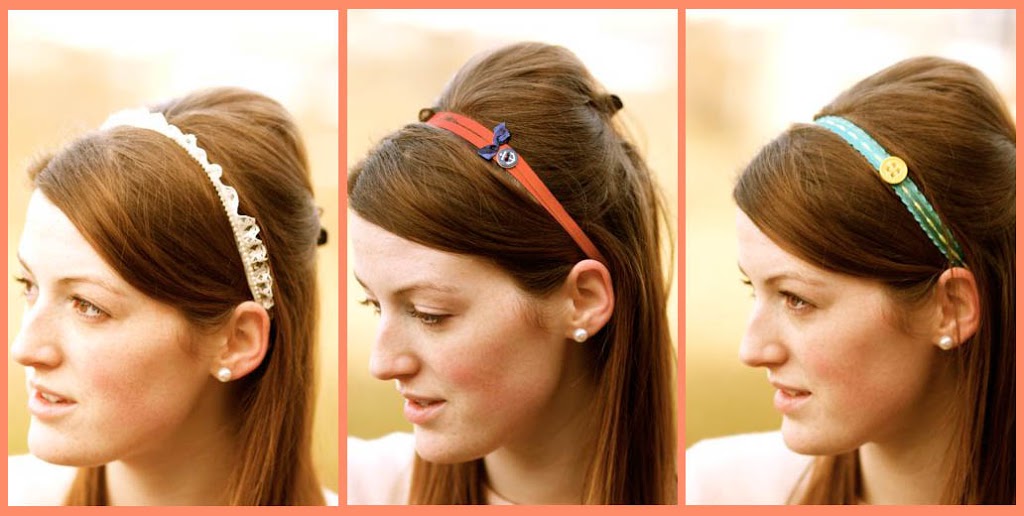
Isn’t that cute and so simple, thanks!
I love all the varieties! I’m going to have to try these…thanks Disney!
They look so beautiful and I know what I will use the ribbon I saved from a box of chocolates for. Thank you.
Thank you so much for this post!! I am a huge anthro fan but not so much for the prices. I saw the headbands about a month ago and pondered the idea of making my own as well. Thanks again!!!
Adorable!!! : )
really beautiful.
amy
http://techzed.net
Really cute and simple, Disney. You ARE the best!
So beautiful!
Great headbands. Thanks, Disney.
So cute… I’m making one of these today! Is your model wearing a bump-it? Haha, very adorable. Thanks for the tutorial 🙂
Love this! Thank you from Therese in Sweden 🙂
oh Disney, you’ve done it again! very cute, I love them!
This are so cute. I am going to be making some of these for sure…Love them. Thanks for sharing.
Super Cute! Thanks for sharing! I could totally make this
I love this tutorial! Thanks so much for sharing! Well, I guess I’ll be picking up some thick elastic bands at Target this morning after dropping the kids off at school! 😉 Thanks again!
So cute and so easy, I had no idea!
Another fantastic Disney project!
These headbands are so pretty!!
I blogged about your tutorial on Craft Gossip Sewing:
http://sewing.craftgossip.com/tutorial-anthropologie-inspired-ribbon-headband/2010/01/13/
–Anne
Disney you are amazing. I love love love everything you make!
Wow. Fabulous. What a brillent idea to use a hair tie elastic thing. These are just beautiful
How cute is that? Those are so fun!
Disney,
Thank you! Thank you!
I am always looking for fun accessories and these are just perfect!
So excited to have you on Ucreate today!
How adorable! I can’t wait to try it! Thanks!
These are gorgeous! I’ll be linking over the weekend! Thanks so much for sharing!
Darling & so clever! Can’t wait to try!!
So so fun! I need to make those asap!
XOOX
Jen
These are really pretty!
i got here via piece n quilt. i am a big fan after a look around and am so following your blog.
This is great! Thanks!
So cute and easy! I can’t wait to try this. Thanks for posting!
This is so simply gorgeous! What a great idea! I really love it. <3
love this – of course i hate it too because i had to go out yesterday and buy some trim to work on it last night! Disney – i love your stuff and have.to.stop.copying!! 🙂
Very nice!
Kissies
love this so much i posted it on my blog!! thanks!!! happy friday!
love this!! simple and fun!!
Very cute! Thanks for sharing! I’ll have to make a few of these.
THE HEAD BANDS ARE REALLY CUTE! AND I LOVE YOU’RE NAME!
So cute! What a great idea. I’m going to Hobby Lobby today to pick up supplies.
this was a great tutorial! thank you! i actually used it to help a friend with her daughers cleopatra costume. i linked to it here-
http://vievesscrapbooking.blogspot.com/2010/02/cleopatra.html
thanks again!! love the blog
I love these headbands! They are addictive. My daughter and I made some and posted them up on our blog! And put a link up to your site! Thanks Disney! 🙂
I just loved this tutorial so much, that I had to try it myself. =) Here is a link showing the headbands I’ve made. SUPER quick & easy!! Thanks Disney for the tutorial!
http://fallanstechnicolordreams.blogspot.com/2010/03/time-to-accessorize-your-hair.html
really cute and easy! Thank you very much!
Linked in my blog
http://chiarahandmade.blogspot.com/2010/05/tutorial-dal-web-fasce-per-capelli.html
These are really cute! I’ve made headbands out of braided t-shirt strips, and an easier way I’ve found to use the elastic hair band is to leave it intact. If you don’t cut the hair band, just make the ribbon longer. Instead of having to sew the ribbon to the tiny little end of the the hair band, fold it around the hair band and sew it on to itself. Its way less likely to snap if its being stretched out. 🙂