I’m Jen from tatertots & jello. Wow!! I am so excited to be guest posting at U Create today!! I love coming over to Kari’s blog to see such fun projects spotlighted! Thank you so much Kari for having me!
I love to create, meet new people and have fun. And I also love burlap. So when Kari asked me to guest post, I really wanted to come up with an idea that combined burlap AND Valentine’s Day.
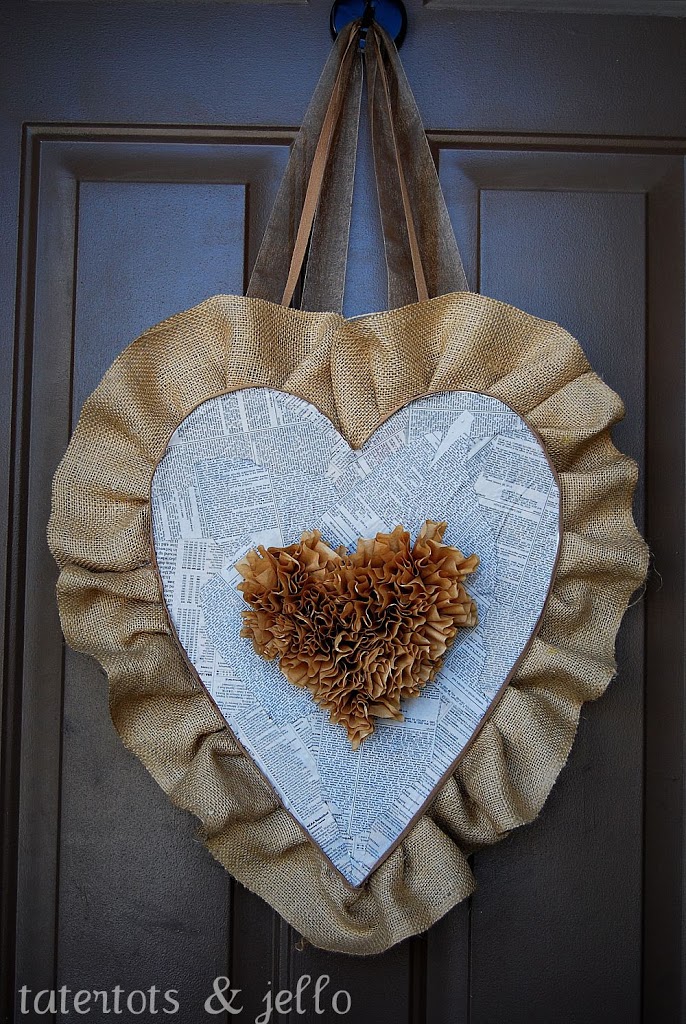
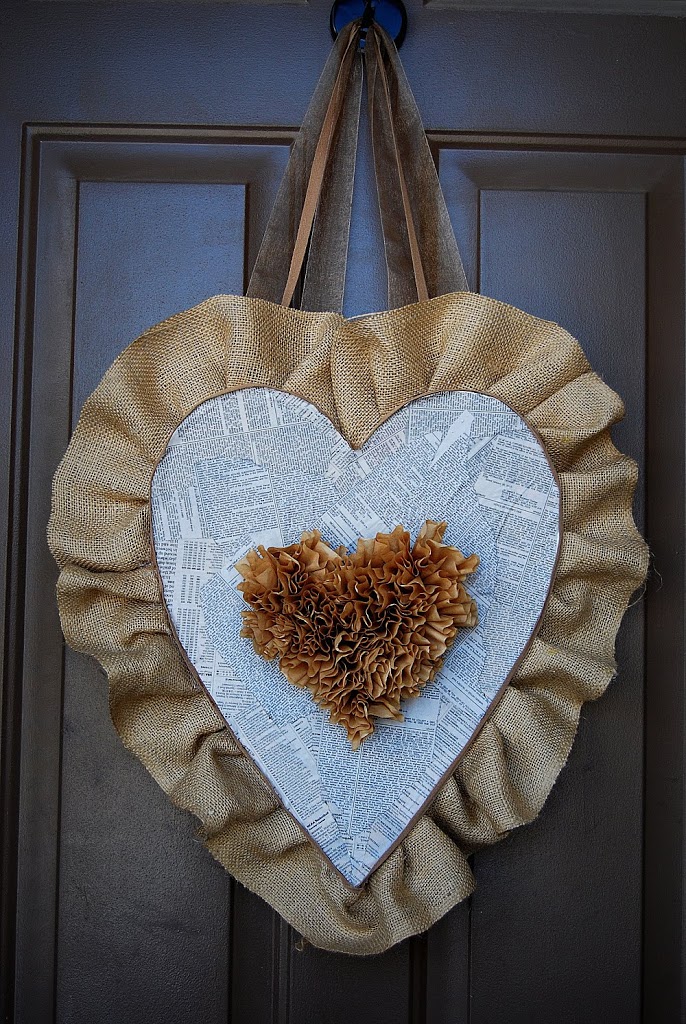
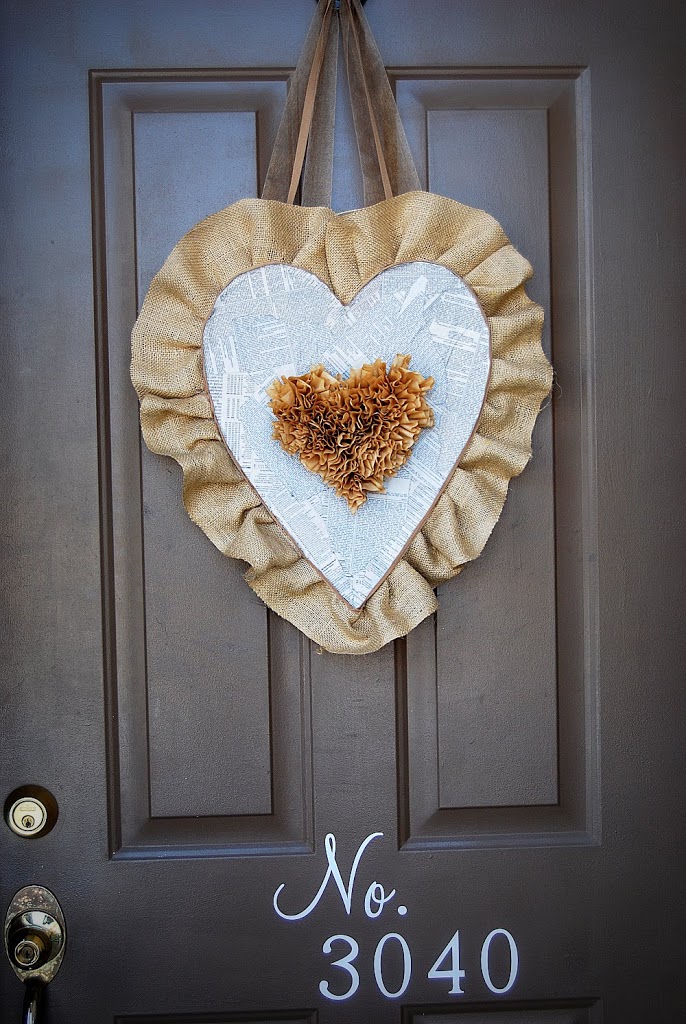
Burlap Valentine Heart
This is a really simple, inexpensive project.
Here’s what you need:
foam core board (available at craft stores)
newspaper
burlap (4 feet long– cut into 2 4-inch long sections — you will have burlap left over)
Brown coffee filters (about 15-20)
tan ribbon (60 inches)
brown organza ribbon (40 inches)
hot glue gun and glue sticks
newspaper
burlap (4 feet long– cut into 2 4-inch long sections — you will have burlap left over)
Brown coffee filters (about 15-20)
tan ribbon (60 inches)
brown organza ribbon (40 inches)
hot glue gun and glue sticks
-
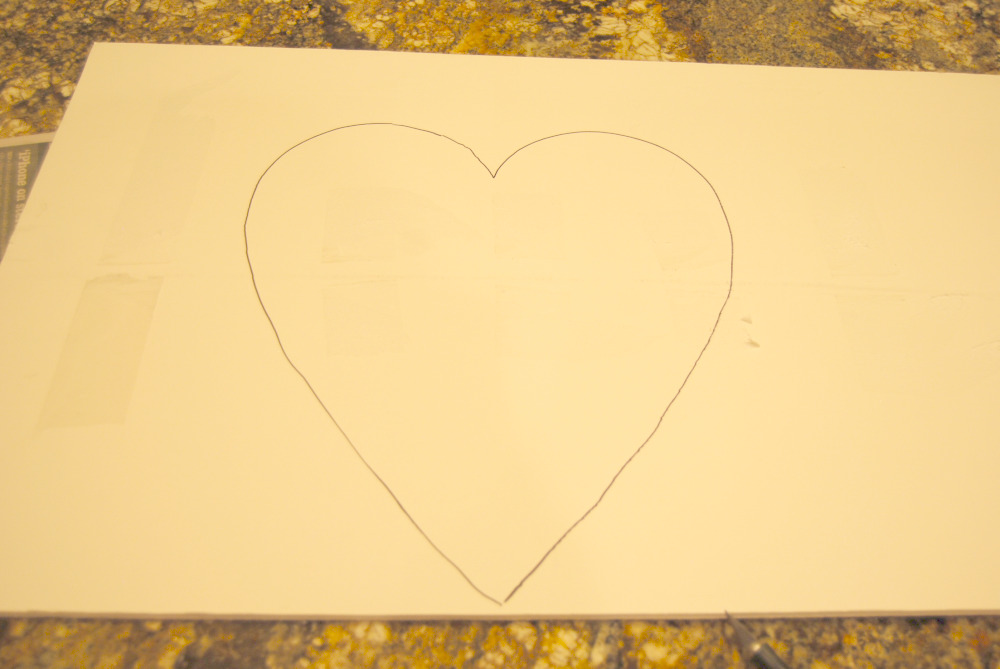
The first thing to do is draw the heart on your foam core board. I used an old piece of foam core that I had used previously as a sign.

- Use an exacto knife to cut the heart out of the foam core. It does not need to be perfectly smooth.
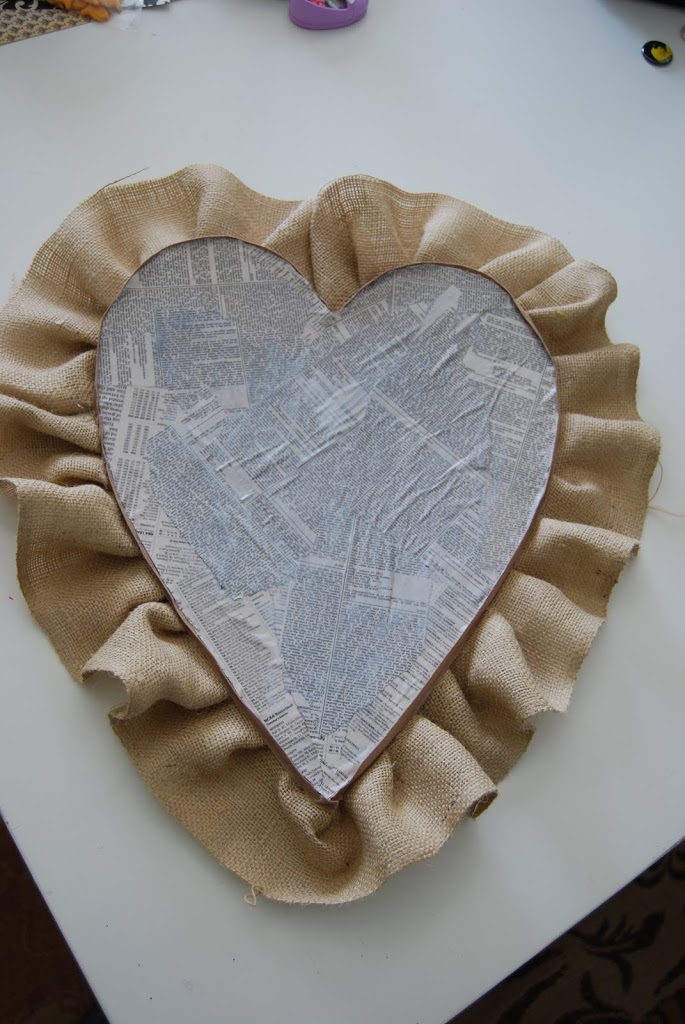
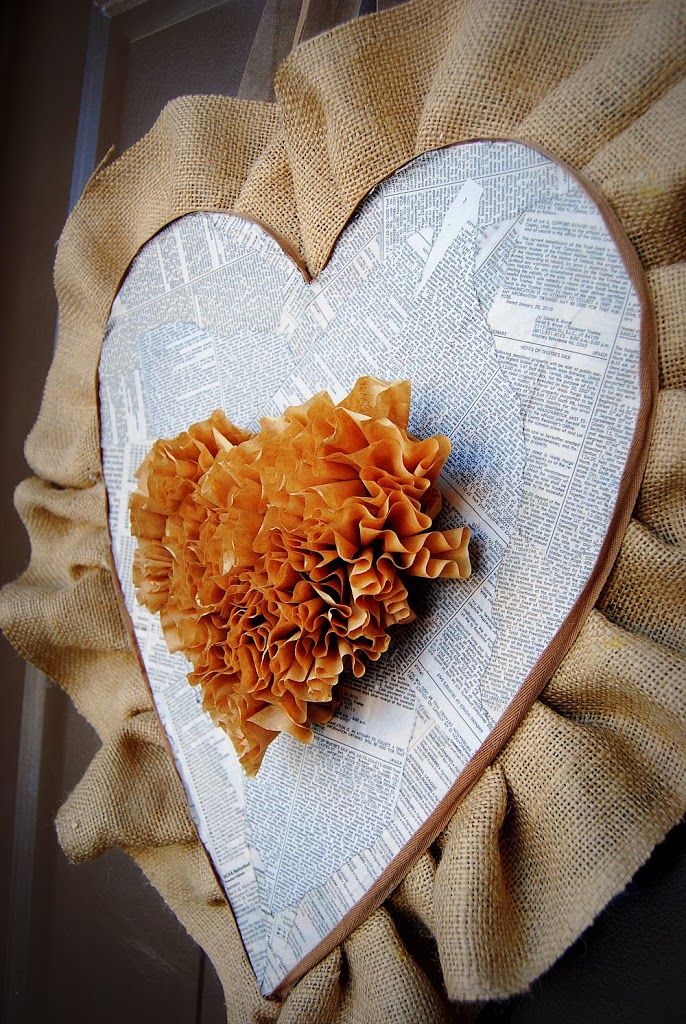
- Take your newspaper and rip a couple pages into strips. I used the notice section of the newspaper that has smaller print.

- Lay the newspaper out over the heart to see where you want to place the strips.
- Use Mod Podge to attach the newspaper to the foam core board. I applied a coat to the entire heart and then laid the pieces of newspaper on top of the mod podge. I did several layers for a more layered look. Don’t be afraid if the newspaper gets a little wrinkled, this adds character to the project.
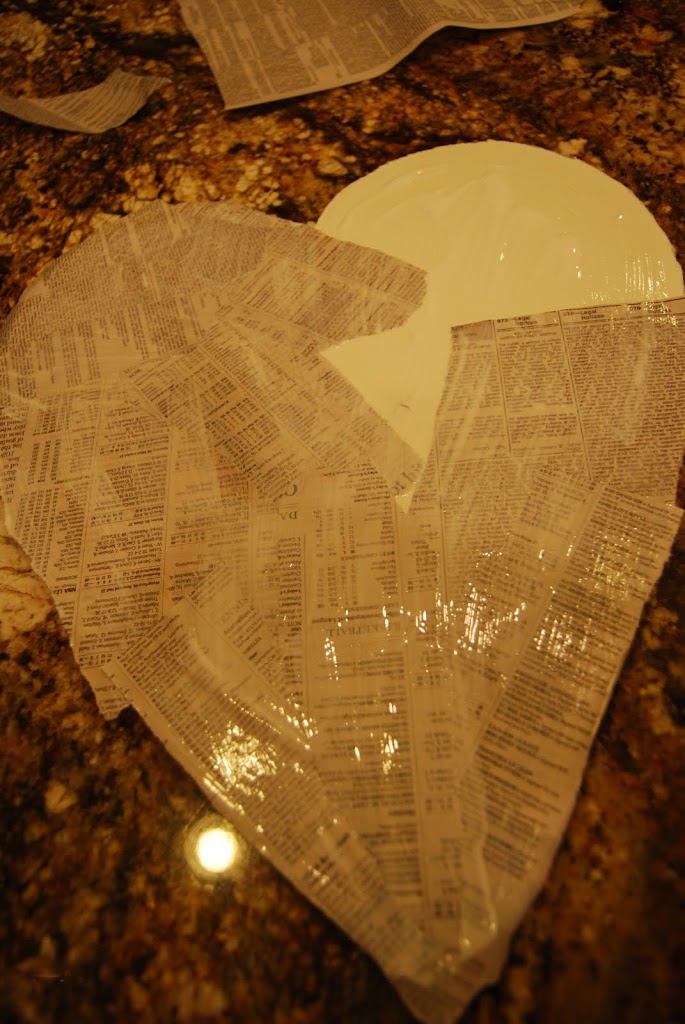
- Once you have the newspaper applied to the heart, put another layer of Mod Podge over the top and let it dry.

- Then take the tan ribbon and measure around the edges of your heart. Cut the ribbon a little longer than what you think you will need. Use a hot glue gun to attach the ribbon to the edges of the foam board.
-
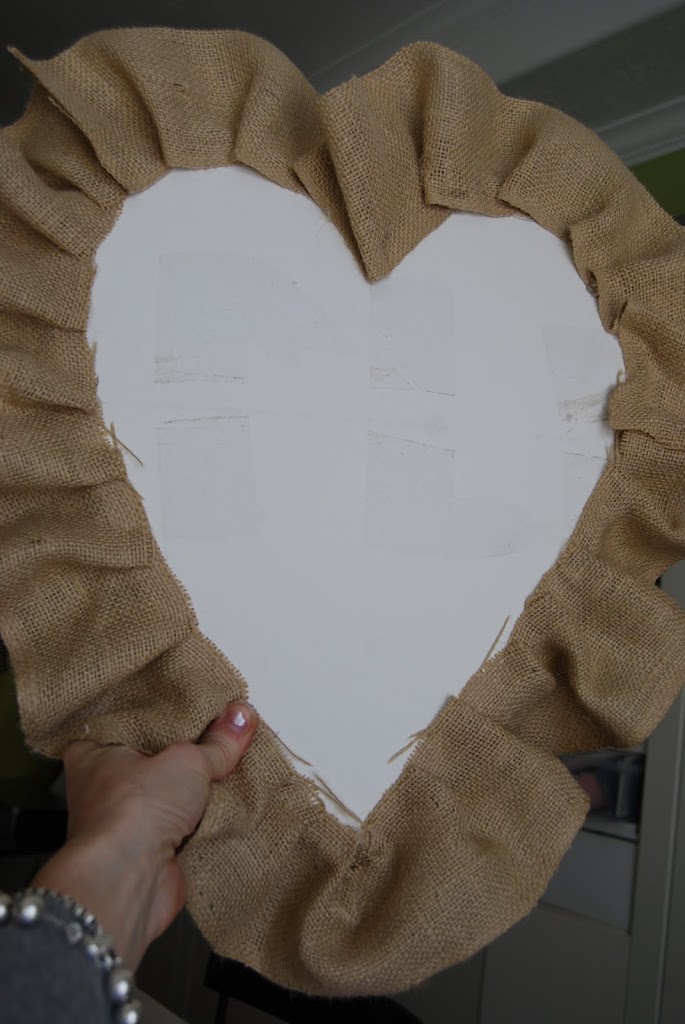
Cut your burlap into 4 inch strips. Then attach the burlap to the back of the foam board heart. Start at the side of one of the curves of the heart. Apply a glue small strip of glue along the outside of the heart, lay the edge of the burlap on the glue and every 2 inches or so make a fold and glue it down so that the burlap border looks gathered. When you come to the end of the first piece of burlap, attach it to the second with your glue gun by making a seam, facing toward you and hide it in one of the folds.
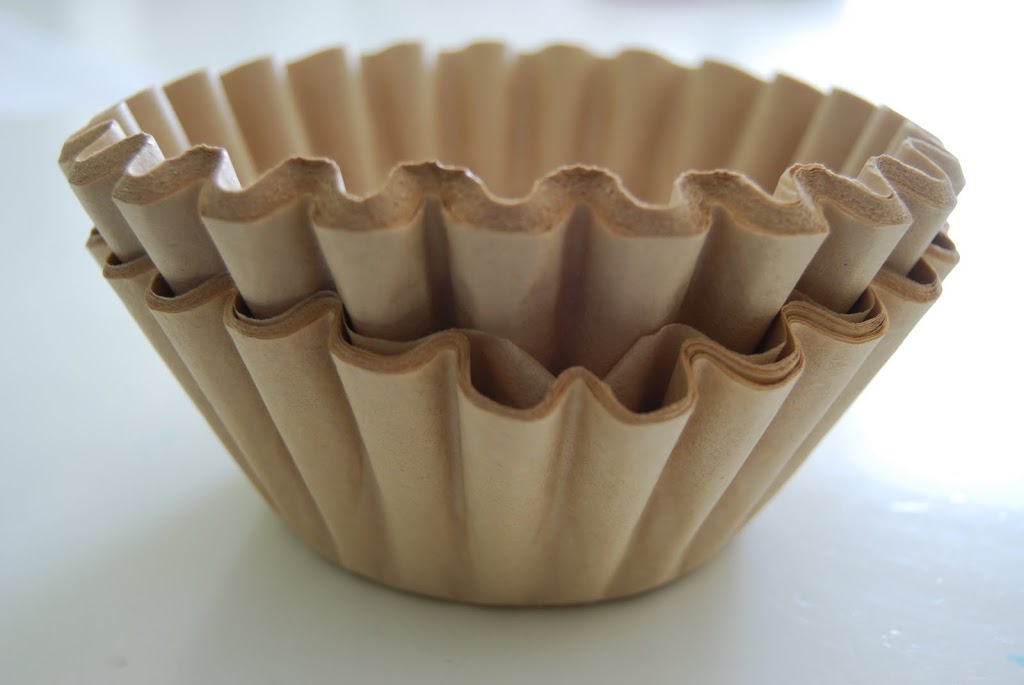
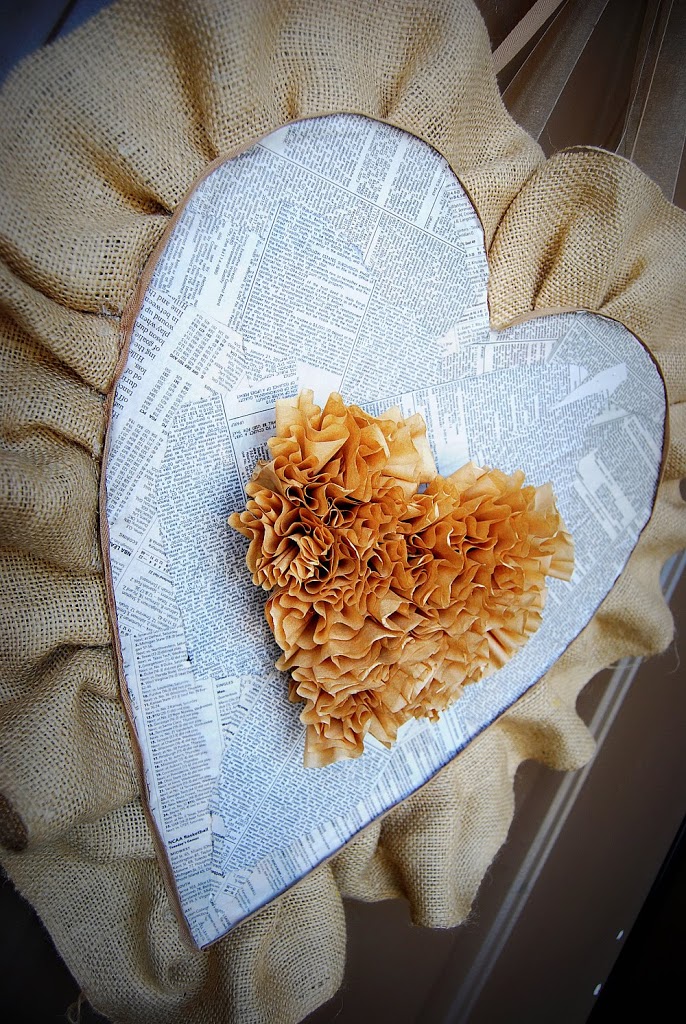
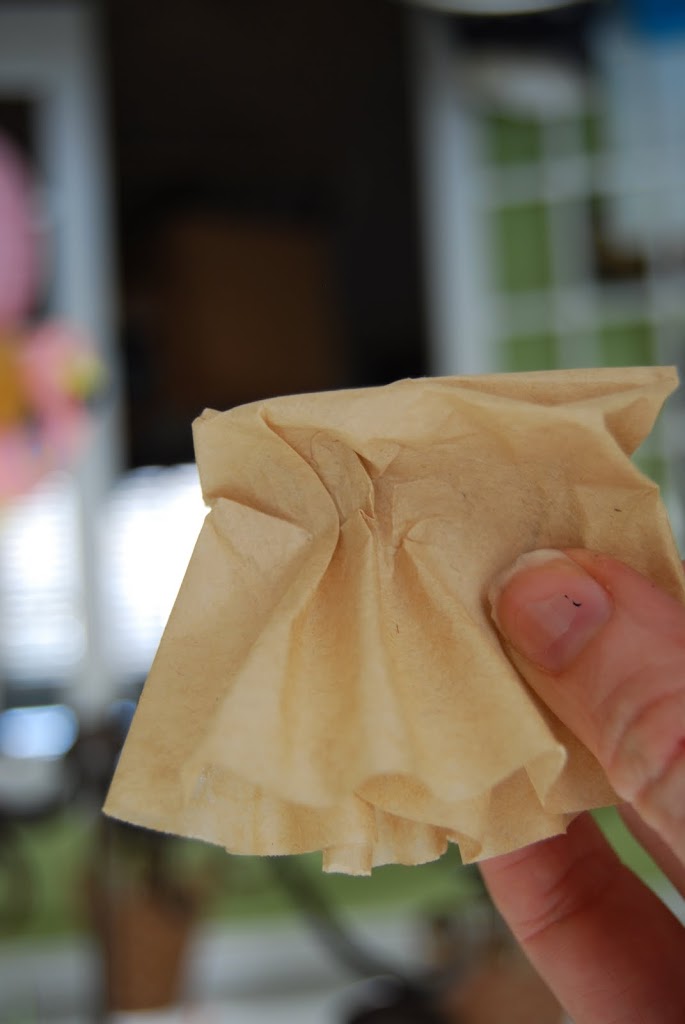
- Turn the heart back over so the front is facing up. Take one of the brown coffee filers and scrunch it up from the middle, pulling the middle down and flattering it at the bottom so the top of the coffee filter looks like a flower. Apply the first coffee filter to the place where you want the point of your heart to be. Then apply the other coffee filter flowers to the board, placing a dot of glue on the board and pushing down on the base of the flower. Keep the coffee filters close together with no gaps. Make your heart as big as you like.

- When you are done making the coffee filter heart, apply the ribbon to the back of the foam core board.
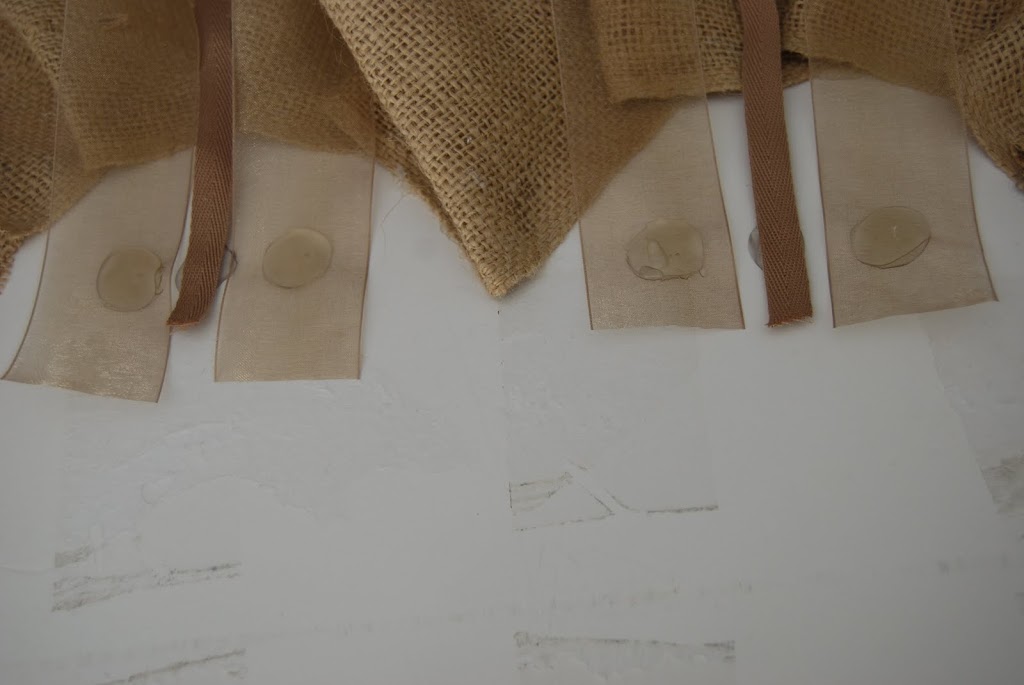
- Place three dots of glue on each side of the top and put one edge of each of the three ribbons on the glue. The brown tan ribbon goes in the middle.
I hope you can stop by and say hi sometime!
XOXO


How beautiful and creative!
Love it JENN!!!!! DARLING!
oooowww ooowww ooowww that’s perfect…..
I love this! So cute!
Thanks for having me Kari! I love love love your blog!!!
Have a fantastic Friday!
XOOX
Jen
I love Jen’s creations and I’m so glad that she led me to your blog. I’m following and can’t wait to see what you’ll be blogging about next 🙂
I love it!!! Yippee, more things to cover in burlap 😉
Love this! I will surely try to make this one.
This is so lovely! I love all three elements here…AWESOME!
That is a great idea! Love her blog and love yours!
gorgeous!!
This is absolutely ADORABLE!! Thanks for sharing!
Jen, you have cured me of my former distaste for hearts! I love this project and will no doubt be obsessing over it for the rest of the night. Why did I check Google reader AFTER I went to the grocery store? Must get brown filters, must get brown filters…
Adorable! I already stop by quite often though lol!
Very cool!
This is fabulous esp. because I can use it all year round!!! Thank you!
You go Jen! Super cute!
Wow, that is absolutely lovely and so refreshing after all the reds and pinks that this time of year brings!
I love the natural look of this valentine wreath, I would keep it up all year long! Thanks for the great tutorial, Theresa
p.s. I follow your blog and love it!
Love the use of texture! This is very sweet and simple looking. Beautiful yet down to earth.
Very cute. I love the coffee filters! They look great in the middle!
alemonsqueezyhome.blogspot.com
Jen’s done it again! I absolutely ♥ this one!! SO cute! Thanks for hosting her. She’s fabulous. 🙂
Jen-I really love that coffee filter “flower” on this. Too clever…all the time!
Sue
Jen, this is soooooo amazing!! I have been a fan of yours for awhile and am honored to have you share this fabulous project on Ucreate! THANK YOU!
This is just adorable! I love it!
You are the Burlap Queen! I love this project Jen and am going to give it a try. I have everything except coffee filters but I think I can use tissue paper instead.
xo,
Manuela
Just darling! Love.
Jenn rocks the house! I’m posting on my Facebook site fo’ sho’ . . .
I loved the rolled fabric flowers and burlap heart! Maybe I can use a variation of one of these for the favors for my outdoor wedding! If you have any creative ideas for outdoor wedding favors, please do share! I’m three months away and haven’t much ready for the big day!