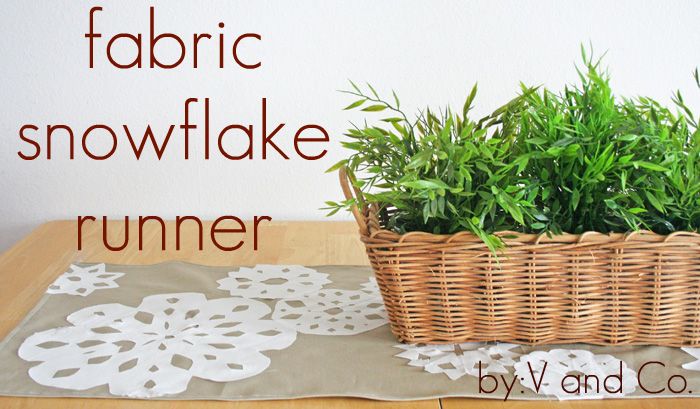
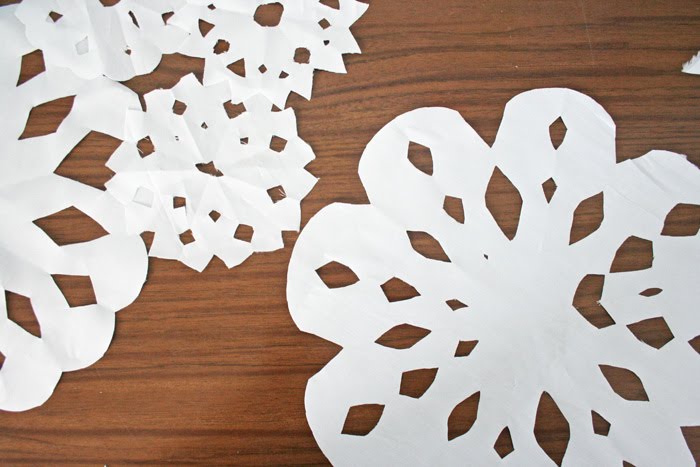
so i have to tell you how this tutorial came about…the kids and i wanted to make snowflakes, you know out of paper like we used to make when i was young…well i forgot how to make them. seriously? i sat there and made square snowflake after stupid square snowflake, cursing that it was so simple when i was a kid and what was i doing wrong…for heavens sake. so i went and learned all over again how to make them. we had a blast making a ton of snowflakes, and the mess of clippings that go with it. we had so much fun that i thought to myself…why not try to make fabric snowflakes, that we could keep to come out year after year. and well here you go, it was an experiment, that i’m kind of happy i tried. it may be a fun thing to try at your house too.
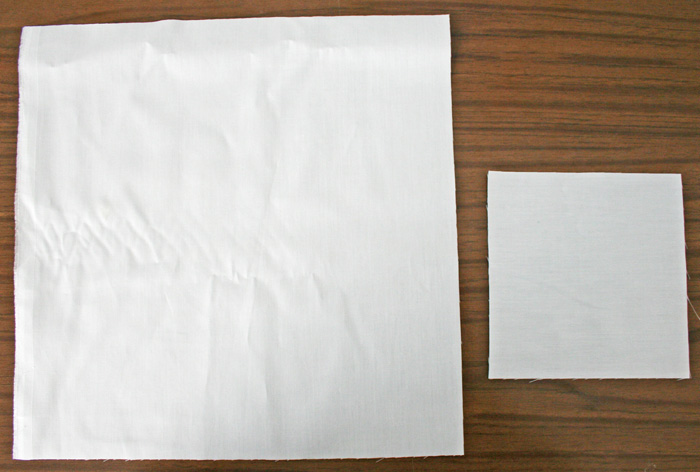 Materials: squares of thin white cotton fabric. (my squares featured here are 10″ by 10″ and 5″ by 5″) craft bond adhesive spray. long piece of fabric at the width and length you would like your table runner to be plus one inch to length and width (or length + 1″ and width + 1″) i used kona stone by robert kaufman.
 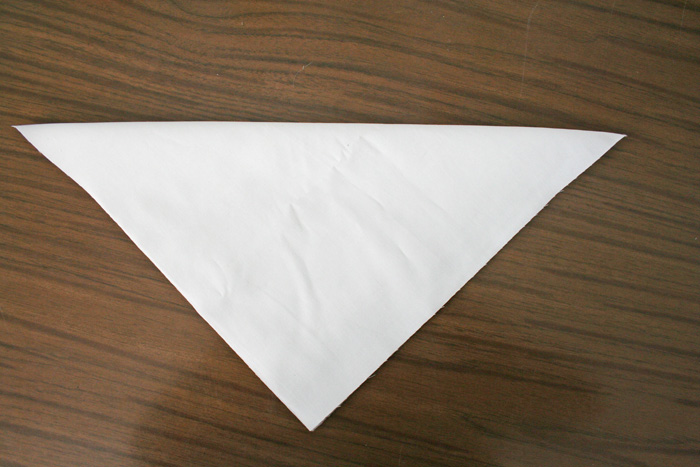 take your square and fold point to point like the picture above. with an iron press your seam.
 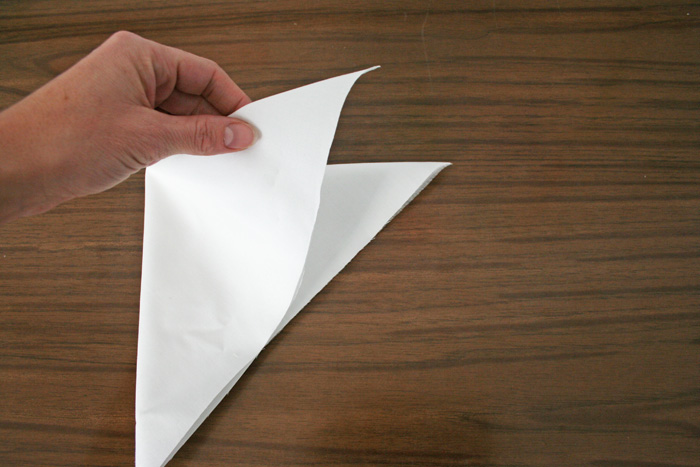 fold in half press your seam with an iron.
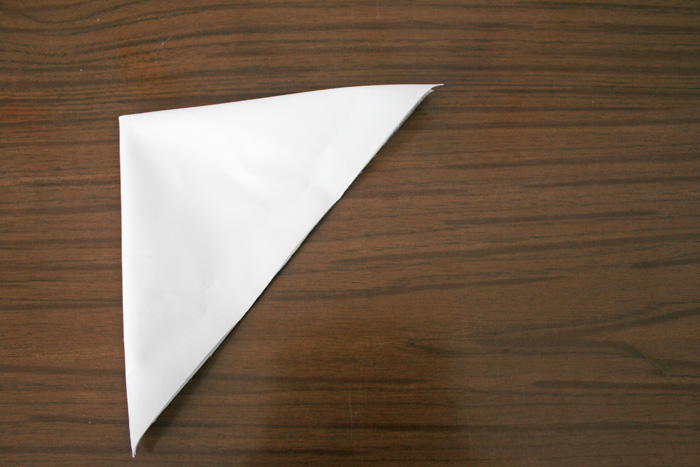
 fold in half again. press your seams with the iron.
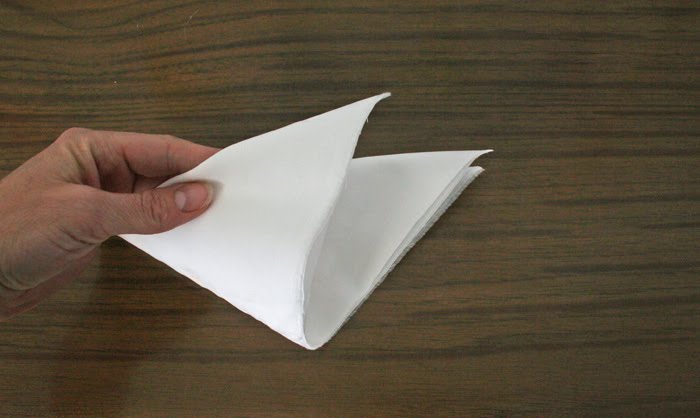
  and one more time. you will see there’s a little tail left. and make sure you press it with the iron one last time.
 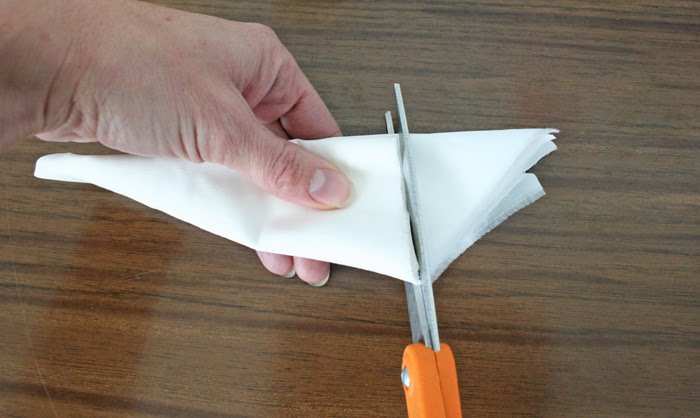 holding the top part firmly, cut off the tail. (see i wasn’t getting the tail and hence why my first attempts with the paper snowflakes were square…not that there’s anything wrong with square snowflakes…it’s just that i wanted pretty round ones.)
 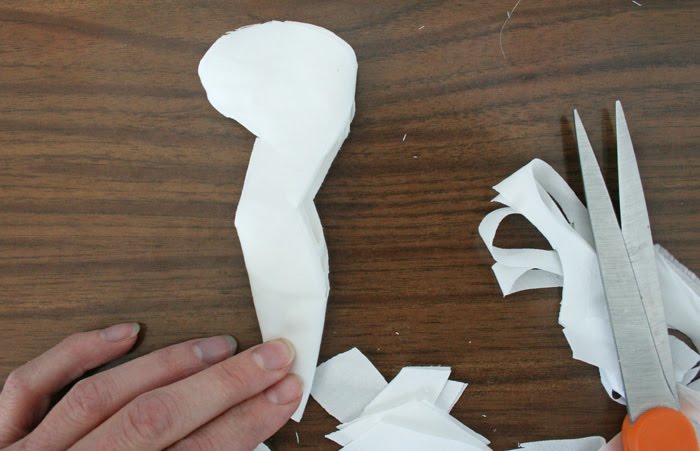 next you are going to cut your pattern on the snow flakes. make sure you have a very firm grip on your triangle, other wise the fabric will slip around a little.
when making your snowflakes keep in mind that a rounded edge, makes roundy end edges, a pointy edge makes, well, pointy end edges. play around with it. see how many different kinds of snowflakes you can make!
if you are interested in a super cool book that i came across when trying to create paper snowflakes with the kiddos check out the Snowflakes for all Seasons book…they have a different kind of snowflake for every kind of season. um try like 72 different kinds of snowflake patterns. we got to try the book because my neighbor actually owns it, and i’ve got to say, it was pretty sweet but some of those patterns made me get the sweats with how complicated they were…but i digress…onto the what we were talking about…the table runner.
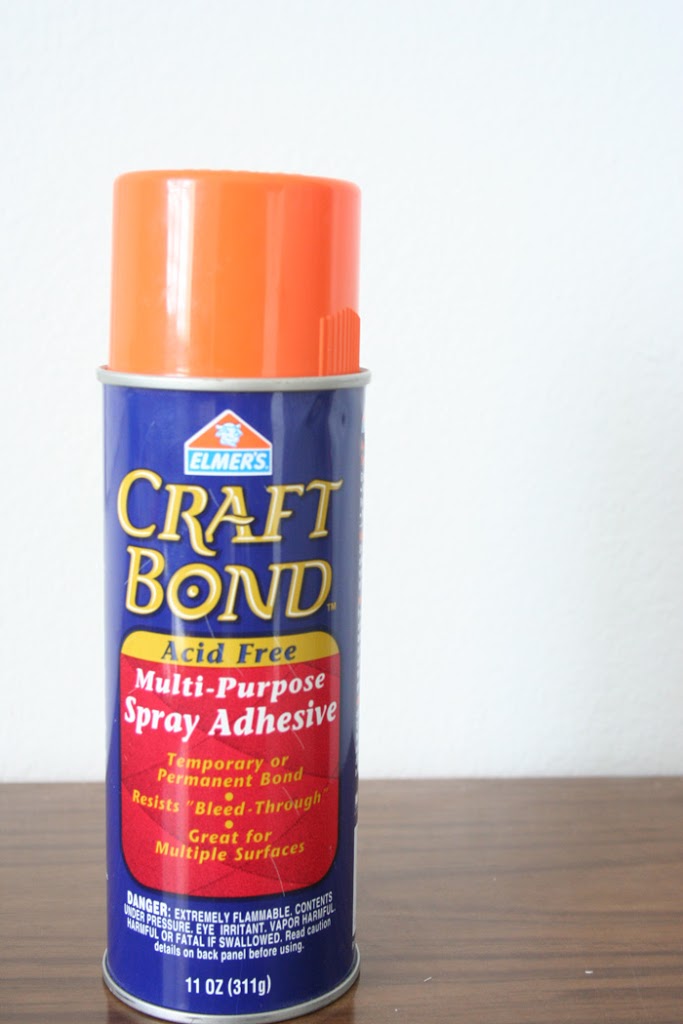
now get your spay adhesive, and if you have a big sheet of paper or a towel you don’t care about, place your snowflakes wrong side up on the paper or towel, and lightly spray one snowflake at a time. place on the table runner where you would like your snowflake.
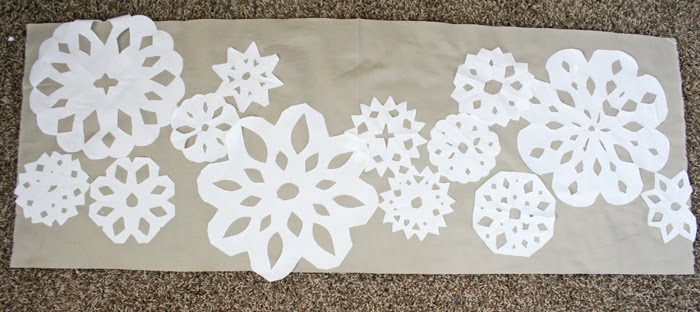 i had some of my snowflakes come off the runner because i thought it would look cool if some of them were halfway on…
after the snowflakes dried on the runner i cut off the extra hanging pieces flush the edge of the runner.
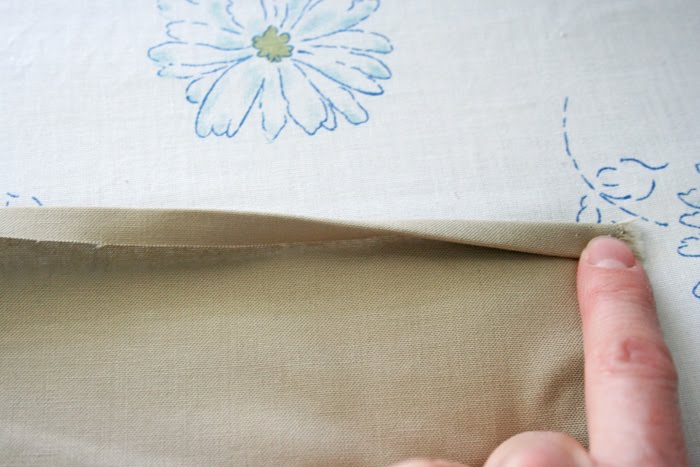
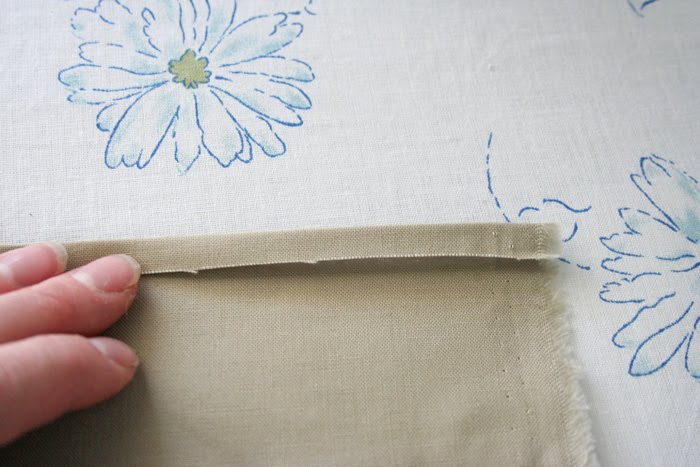 next to make the edge of the runner i did the simplest form of finishing my runner. you could make binding and that would be cute, but in this case this is what i did:
first fold your edge over 1/4″ and press with an iron. then fold over again 1/4″ and press with an iron. do this to each of the four edges of your runner.
  sew around your folded edge. you are done. this would be a super easy and fast gift for neighbors or teachers!
 then fold over again 1/4″ and press with an iron. do this to each of the four edges of your runner.
  sew around your folded edge. you are done. this would be a super easy and fast gift for neighbors or teachers!

I love this idea! So simple and fun, bringing you back to your childhood!
Thanks for sharing! This is really pretty! And like the last poster said, it’s from your childhood, but a step up and much nicer!