
Hi! My name is Christine and I’m so happy to be here on Ucreate today. How fabulous is it to be a guest on one of my very favorite blogs? Exciting! I am the author of the blog From an Igloo. I post crafty tutorials as well as the odd tasty treat. My favorite thing to post though is sewing tutorials. I want even beginning sewists to know that they can create beautiful and well made things for themselves and their children even without using patterns! I hope you will come and take a peek at my blog and I can inspire you to create something beautiful!
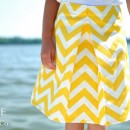
Today I am going to show you how you can create a cute little easy Reversible Sun Top for your little princess (in any size)! Quick to sew and like two tops in one! Also perfect for that little one that seems to spill things on themselves whenever you are out! I have three of those!
Let’s begin…
Use 1/4 inch seam allowance unless otherwise noted.
What you will need:
– Aprox 1/2 yard each of two different fabrics
– 1/2 inch elastic
– Sewing machine, thread, and all that stuff
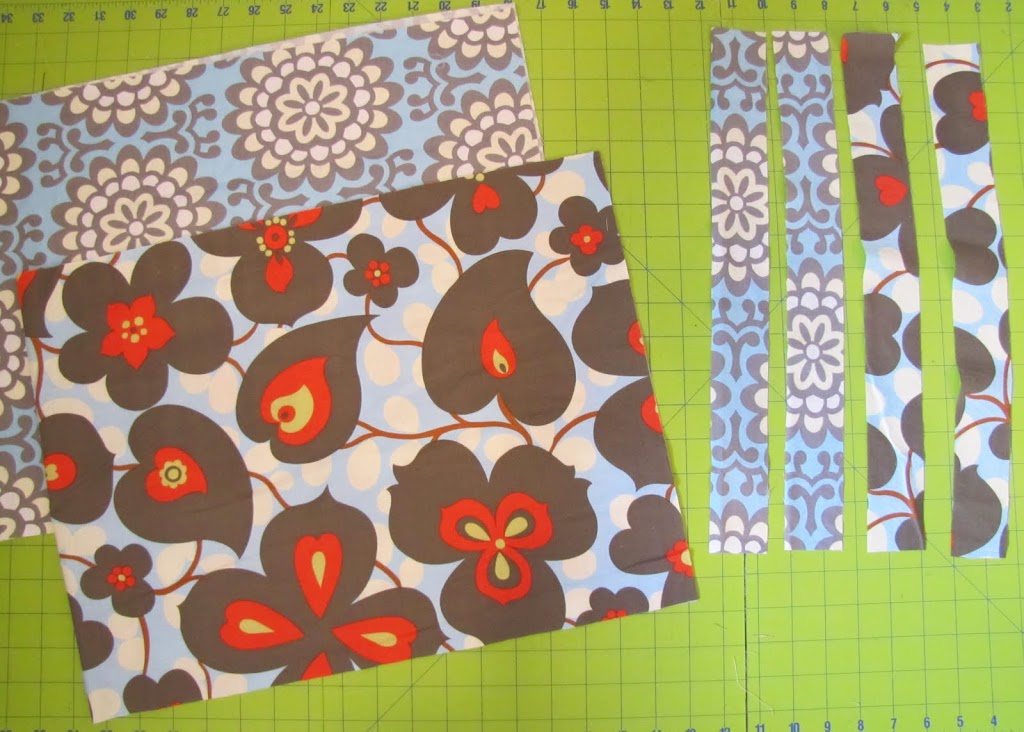
Your Pieces:
When you are done cutting you will have 6 pieces.
2 shirt panels
4 Strap Pieces
To cut these you need to take a couple of measurements from your kiddo.
1. Measure all the way around your child’s chest (We’ll call this measurement A)
2. Measure mid chest, up over the shoulder to the same spot on the back- This is for the strap length.
(We’ll call this measurement B) Be conservative on the measuring so the straps don’t end up too long.
3. Measure mid chest down to where you want your top to end. (We’ll call this measurement C)
Shirt Panels (cut 1 of each fabric)
Measurement A multiplied by 1.5 + 1 inch
For example my measurement A was 23 inches X 1.5 + 1 inch = 35.5 inches
Now take Measurement C and add 1/2 inch
For example my measurement C was 13 inches + 1/2 inch = 13.5 inches
I am going to cut two panels (one of each fabric) 35.5 inches by 13.5 inches
Straps (Cut 2 of each fabric for a total of 4)
Measurement B multiplied by 1.5 + 1/2 inch by 1.75 inches (all sizes)
For example my Measurement B was 10 inches X 1.5 + 1/2 inch = 15.5 inches .
I am going to cut 4 pieces (2 of each fabric) 15.5 inches by 1.75 inches
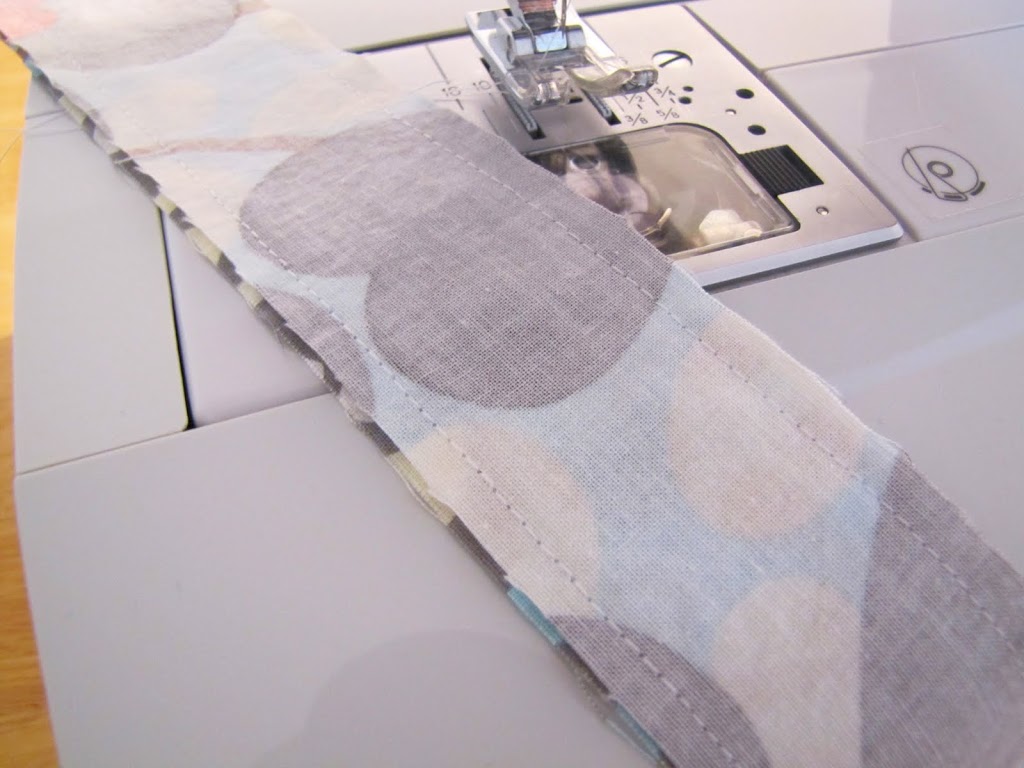
Let’s get sewing! Take one strap piece of each fabric (so you will have two strap pieces which are different). Right sides together sew down the long edges leaving the ends open. Do this with the other two pieces.

Turn your straps and press. Top stitch in from either side 1/4 inch. This is going to be the casing for your elastic.
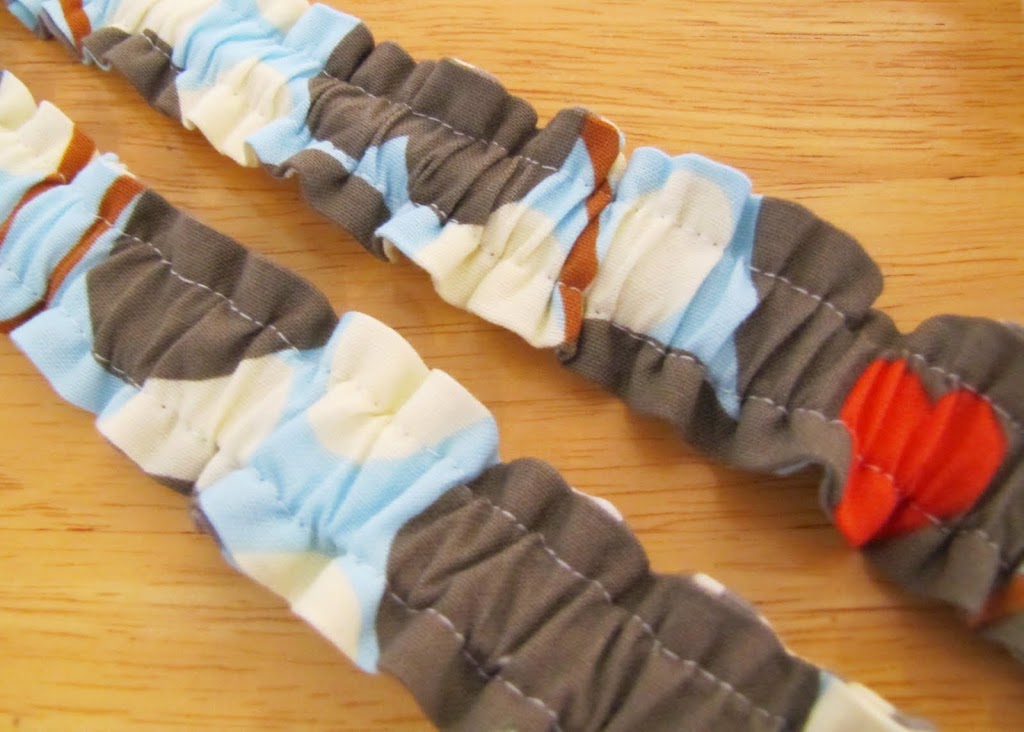
Cut two pieces of elastic the length of your measurement B + 1/2 inch. So I cut two pieces of elastic 10.5 inches. using a safety pin insert into the casing of each strap. Sew the very ends just to secure the elastic. Even out the fabric along the elastic to create nice pretty gathers. Set straps aside.

Grab one of your shirt panel pieces and fold right sides together sewing down the short end. You will create a tube like shown. Now opposite your seam sew along the fold 1/4 inch. I like side seams on things. If it doesn’t bother you just having one seam you can skip this step. Do the same thing with the other shirt panel.

Take one of your shirt “tubes” and using a ruler mark into thirds. Pin your straps to the two marks you made. Your opposite fabric should be facing up.

Take the other end of your straps and pull under your shirt panel and up to the same spot on the other side. Pin.

Place inside your other shirt panel, right sides together matching side seams. It is a good idea to pin all the way around. I’m going to be a rebel and not pin. I like to take risks like that. Sew all the way around and remove pins.

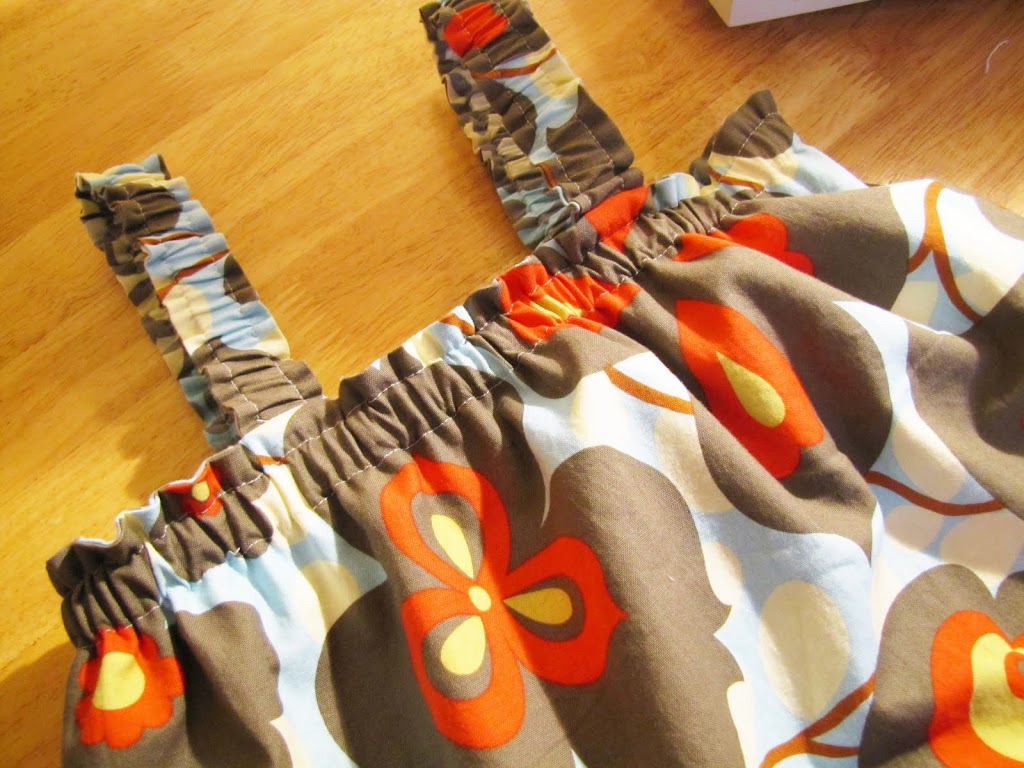
Turn right side out and press. This is what you should have so far.
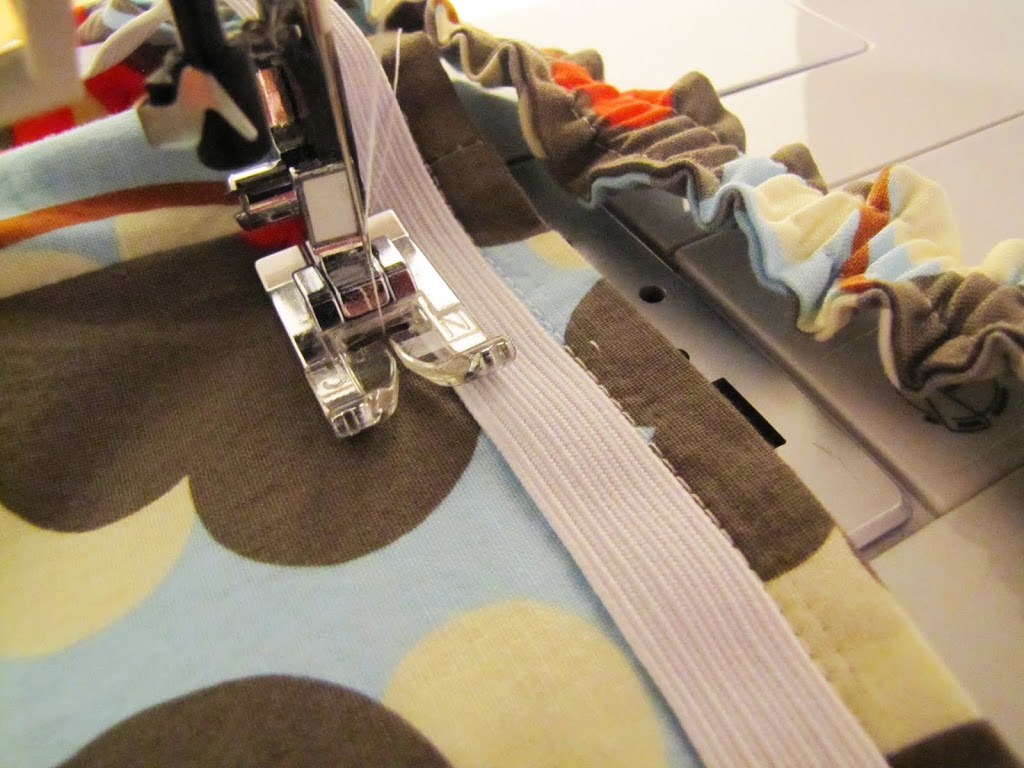
Top stitch along the top edge 1/2 inch in. Then in again a little more than 1/2 inch to create a casing for your elastic. The second line of sewing you do make sure you leave an opening of about an inch to insert your elastic. To create an even line of stitching I just place my elastic on top lined up to my first row of stitching to make sure I am going to have a wide enough casing. I am just using the elastic as a ruler, not sewing it!
Cut a length of elastic equal to measurement A. Putting your hand up between both layers of your top insert your elastic. Sew ends of elastic together and then close up the inch you left open to insert the elastic. This is what you will have now. Almost done!
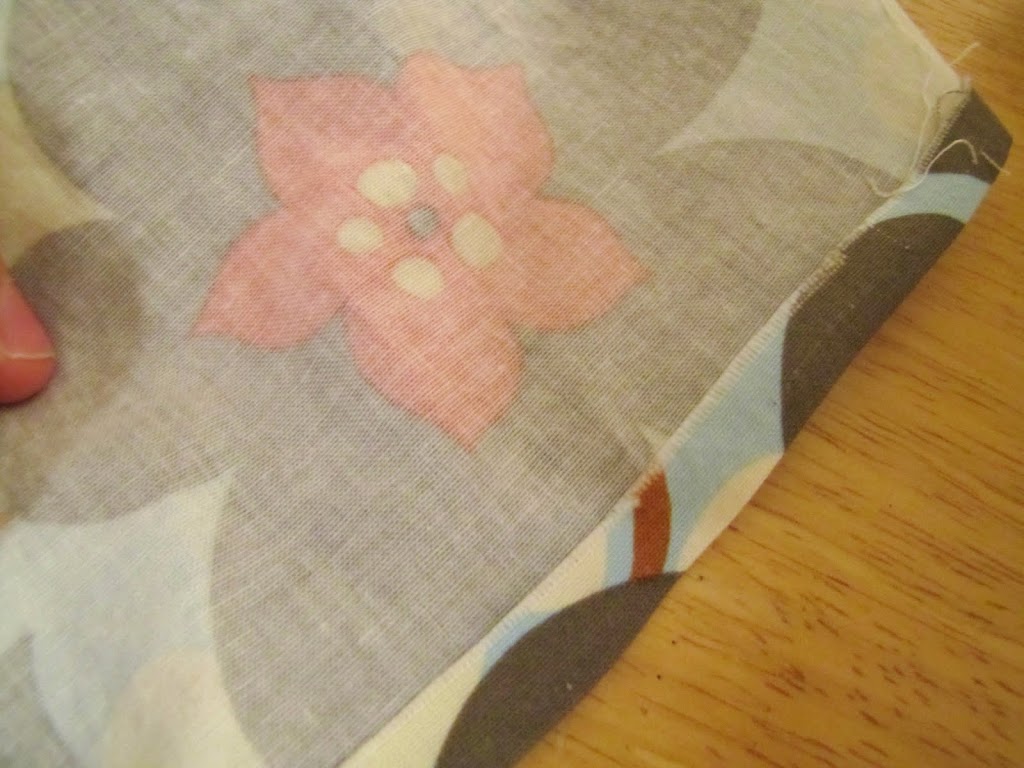
Press up your shirt panels 1/4 inch. I am showing you one panel. Do this with both.

Top stitch the bottom hem in about 1/8 inch. Your hem should be completely even on both sides and the top stitching should show through on the other side on the same spot. This will enclose the raw edge of the bottom of your top. You’re done!

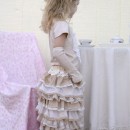
Now look into the adoring eyes of your princess when you hand over her new top! My little one thinks having a reversible top is just about the coolest thing ever. When she wears this she switches the pattern a handful of times a day! Better than switching outfits a handful of times a day (or are my girls the only ones that do this).

Thank you for letting me share this tutorial with you all today! I had fun being here and I hope you come on by and visit me in my igloo.


so cute, and simple to make too! Love this, and that little girl is too adorable!!
Great work, your daugther looks to lovely in that top
Very, very cute! This will definitely be bookmarked for future use.
LOVE IT!!!
Oh, I’m so excited to to try this one!
LOVE it! I can’t wait to give it a try! Thanks for sharing!
Katy
http://www.kdbuggie.blogspot.com
Lovely! I will have to try this. 🙂
What a great idea! And so easy! It will be going on my “to make” list!
Love it. Wonder if it would work in my size…
~Found you through Craft Gossip~
I’ve got a little girl that generates such a massive laundry pile every week from changing outfits so many times!!! It’s not just you!! Reversible items are such a lifesaver for little ones 😀
I will definitely make this. It is a very sweet and functional top. It can even move in to cooler months with a blouse or longsleeve t underneath. Great tutorial.
This just made my sewing project a lot easier! My girls are wanting matching clothes for them/their dolls. How easy would this be. Thanks for sharing another great tutorial!!
i can’t wait to try this! very cute and looks very easy! thanks so much! 🙂 lisa
This is adorable! Wish my girls weren’t too old for one!
Very cute top and model! I am a big fan of From An Igloo ever since I made those winter hats from her pattern, they are just so easy to make and the pattern works so well for different head sizes.
Way to go Christine!