Hi Ucreate with Kids readers! I’m excited to be here today. I’m Erin from Hazel and Company, where I blog about my crafty adventures, fabric hoarding and crazy life with my handsome cowboy husband and five children (and….baby #6 who is on the way!) I love doing crafts with my kids….especially if the alternative is dishes or laundry!
I thought it would be fun to make my girls Valentine’s Day shirts this year, but before I decided what to do, or really decided I’d do anything, I found THIS post , The Painted Heart Bag by Vanessa at V & Co.
We love dot painting in our house and have done quite a bit of it. In fact, one of my sons just won an award in an art contest. His picture was a dot painting of an alien.
We love dot painting in our house and have done quite a bit of it. In fact, one of my sons just won an award in an art contest. His picture was a dot painting of an alien.
So, it wasn’t a big leap to do the same thing, but on shirts. And then, I realized, instead of me doing them, my girls could do this themselves. Awesome.
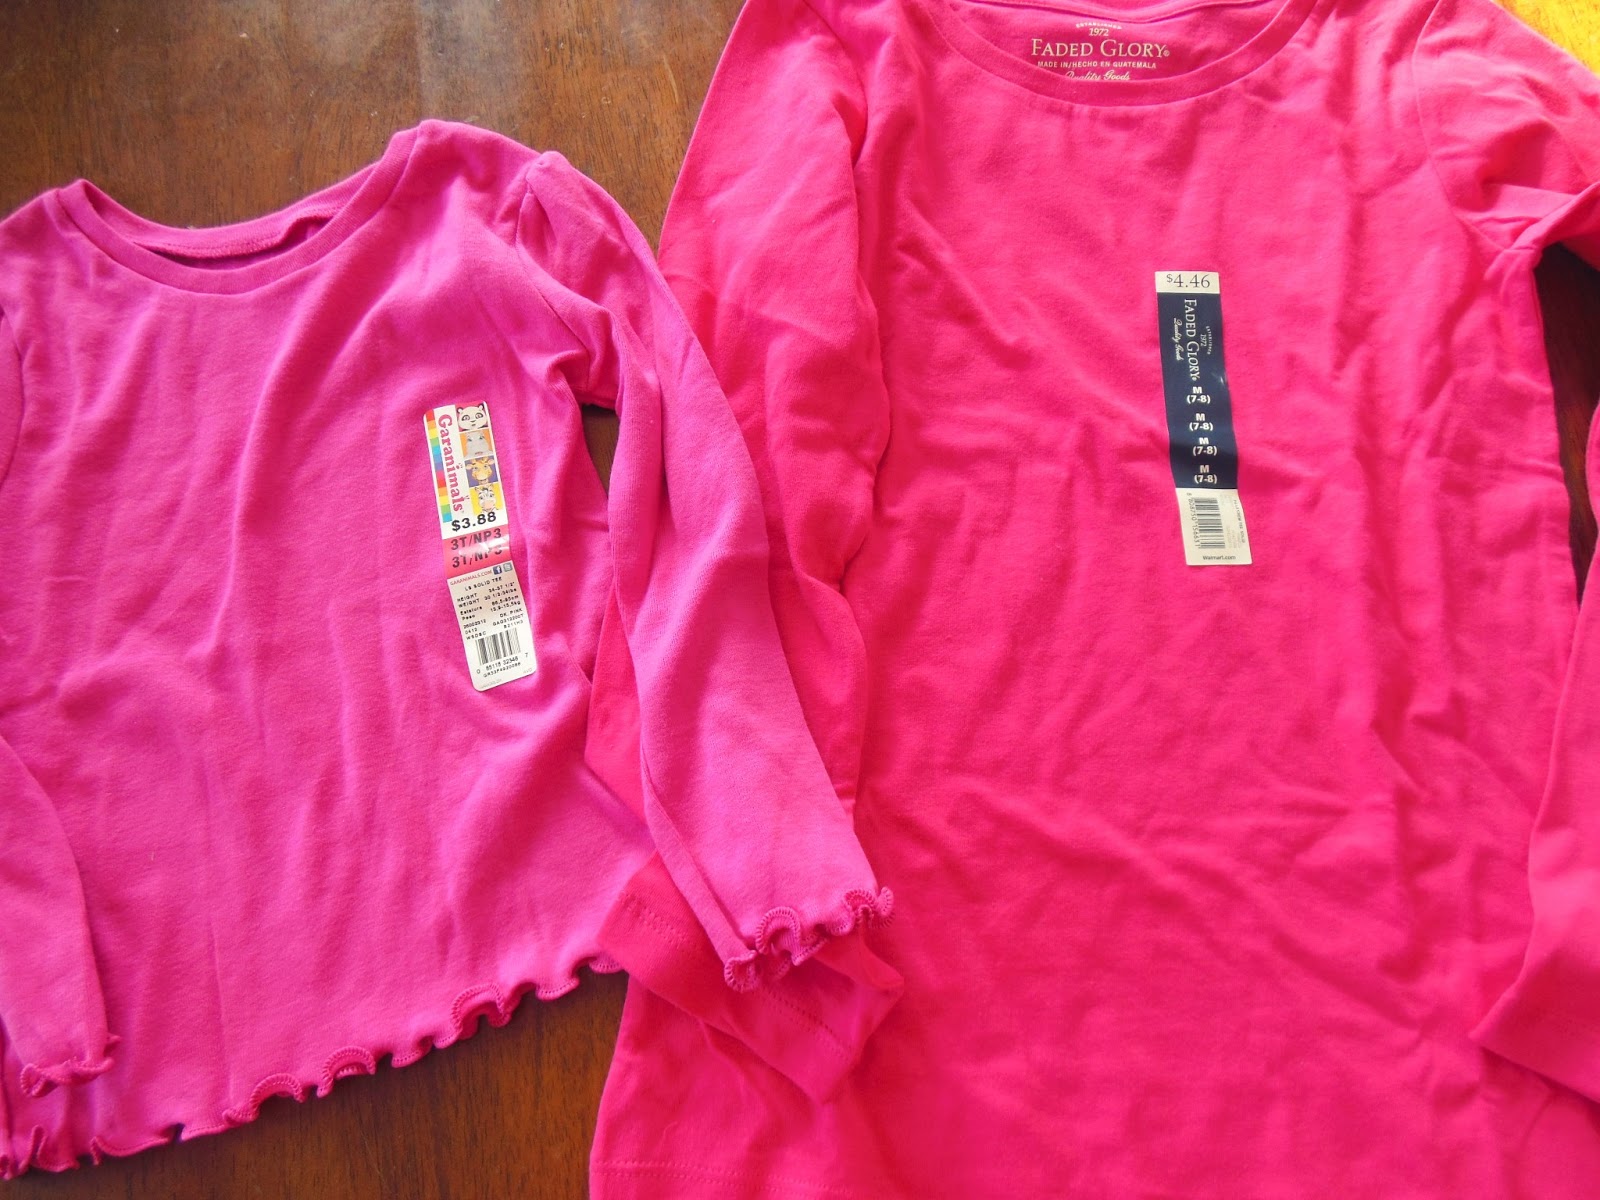
First I picked up some cheap shirts and since my girls are all about pink, I snagged these…
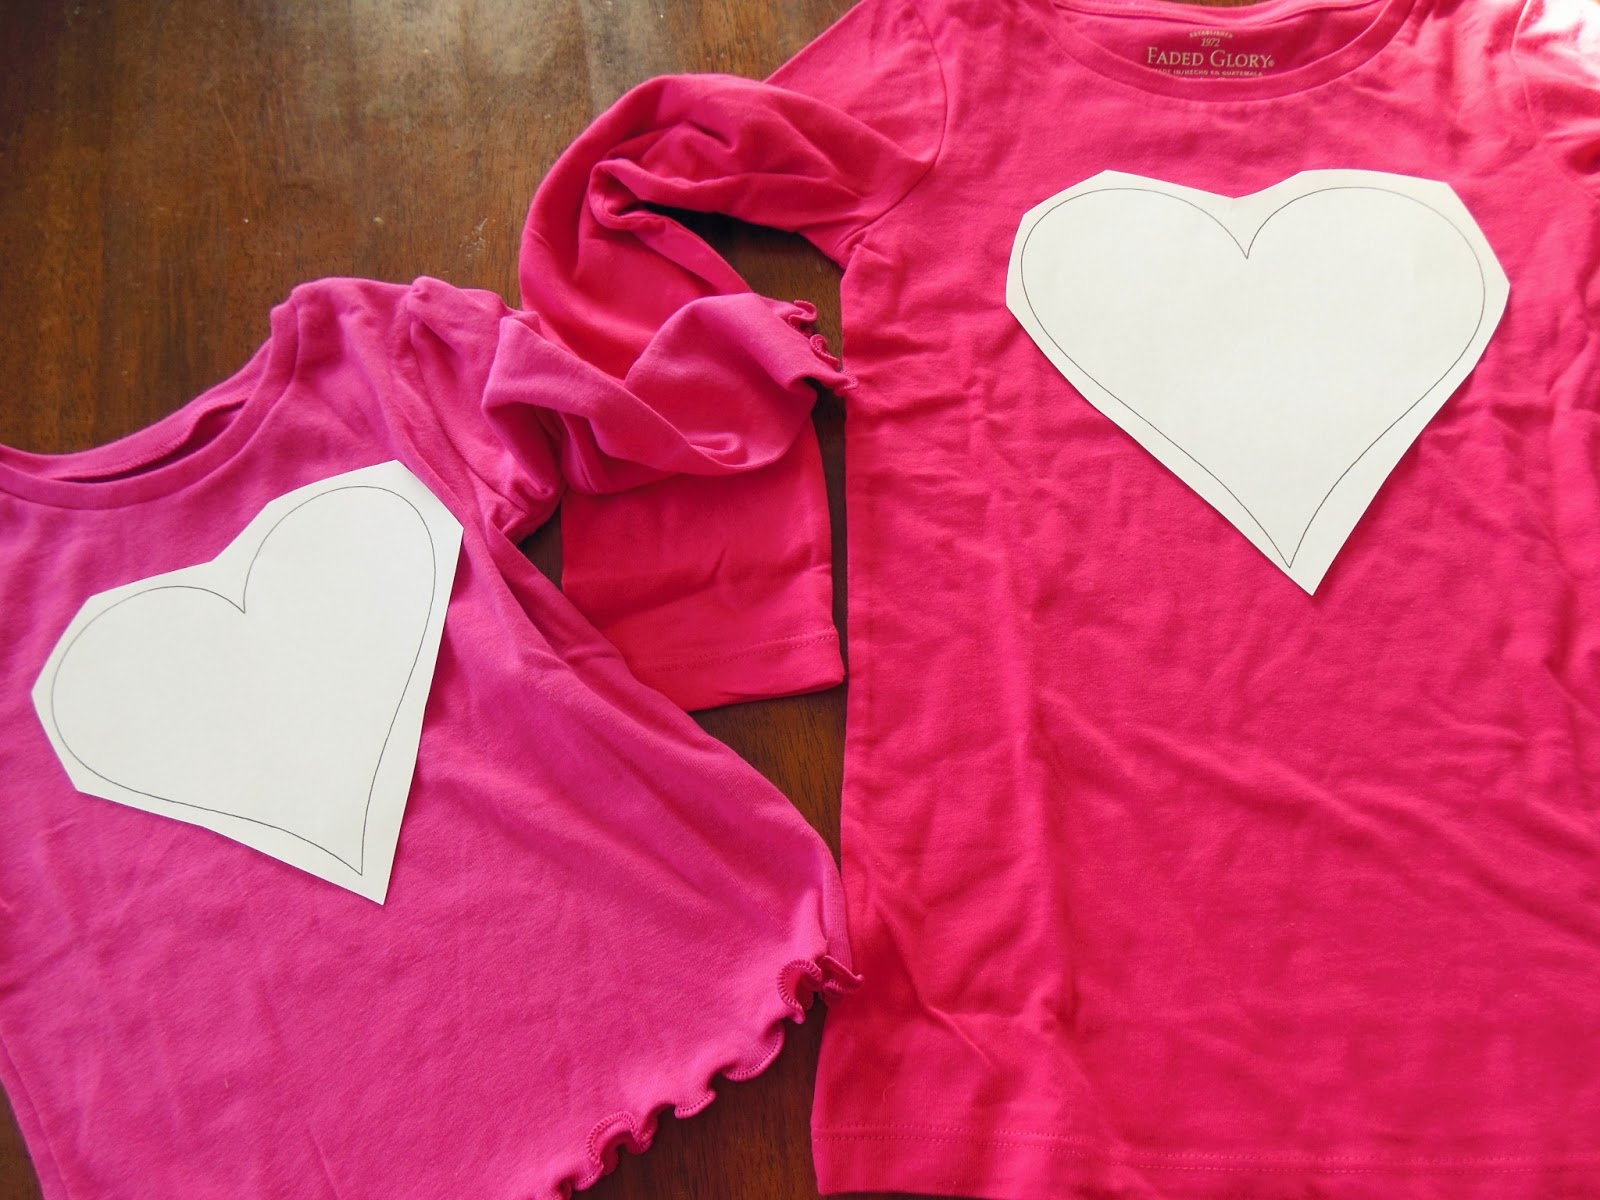
Next, I found a heart template I liked on-line. I made it a bit bigger for Zoe, my five year old. And a wee bit smaller for my 2 year old. The template I used is HERE. I printed them out and laid the hearts on the shirts to check the size.
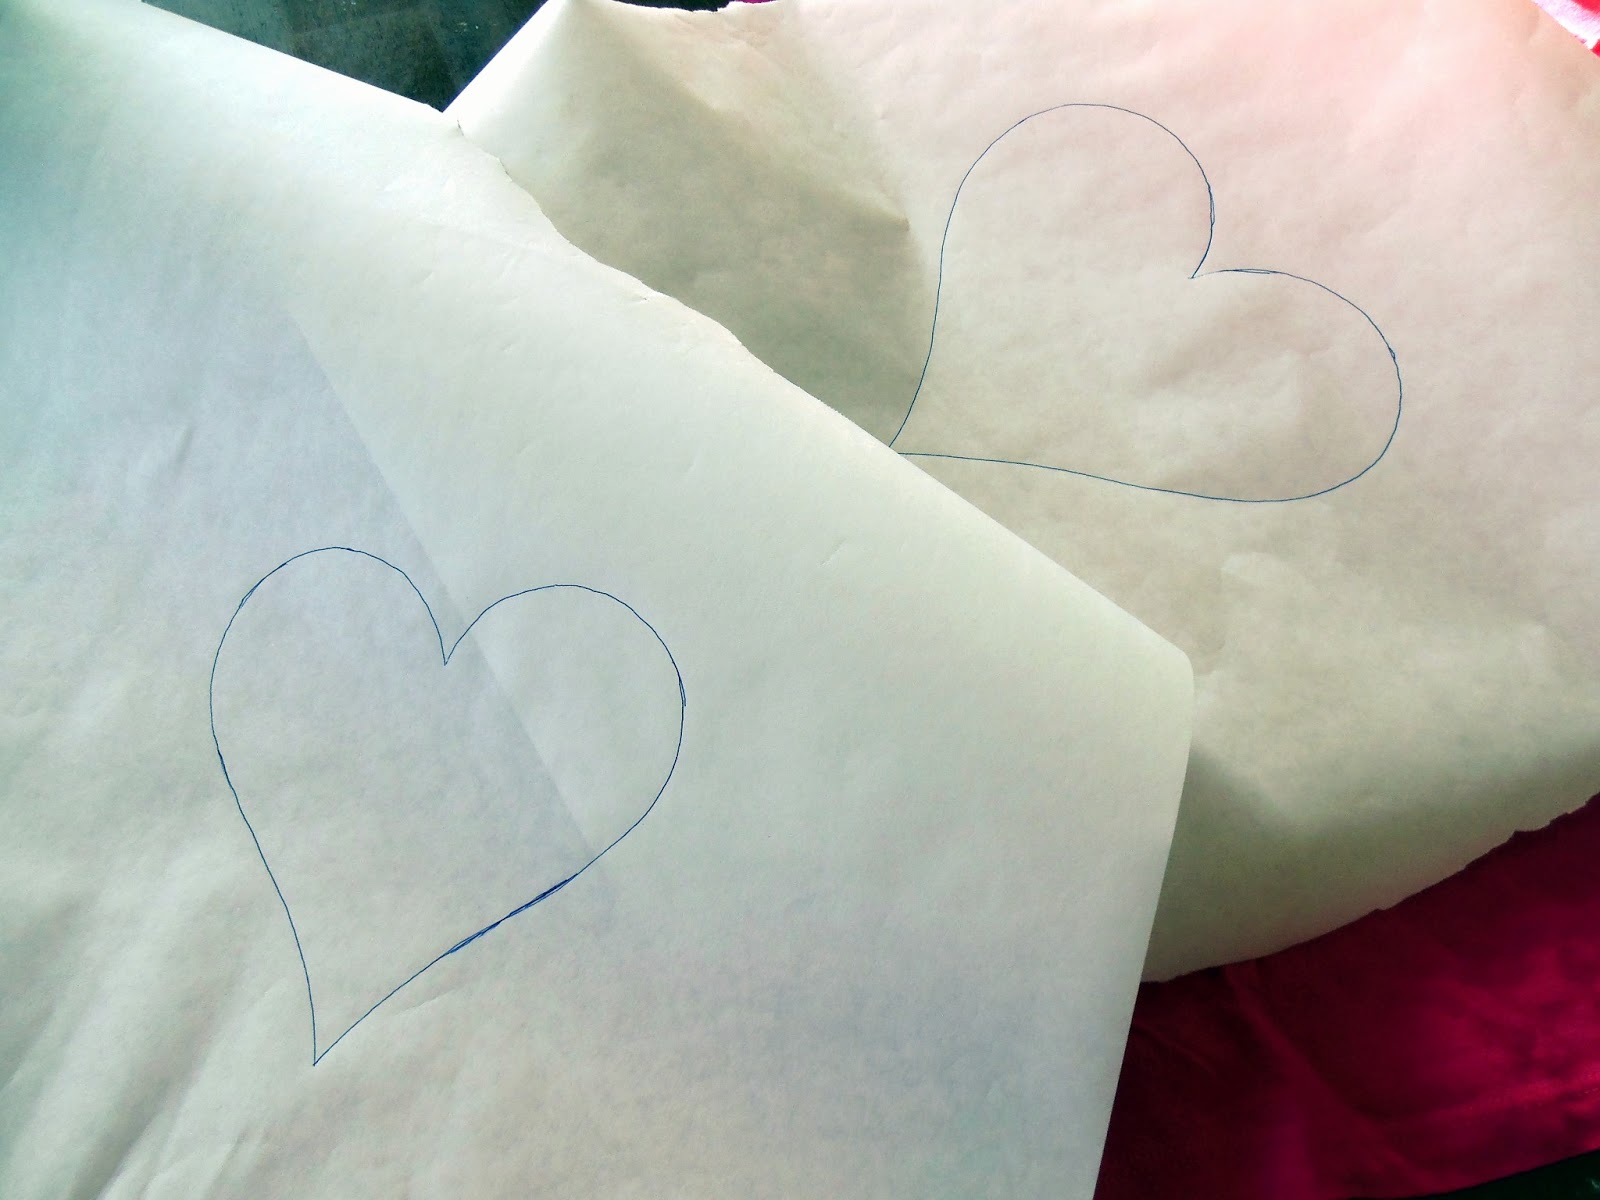
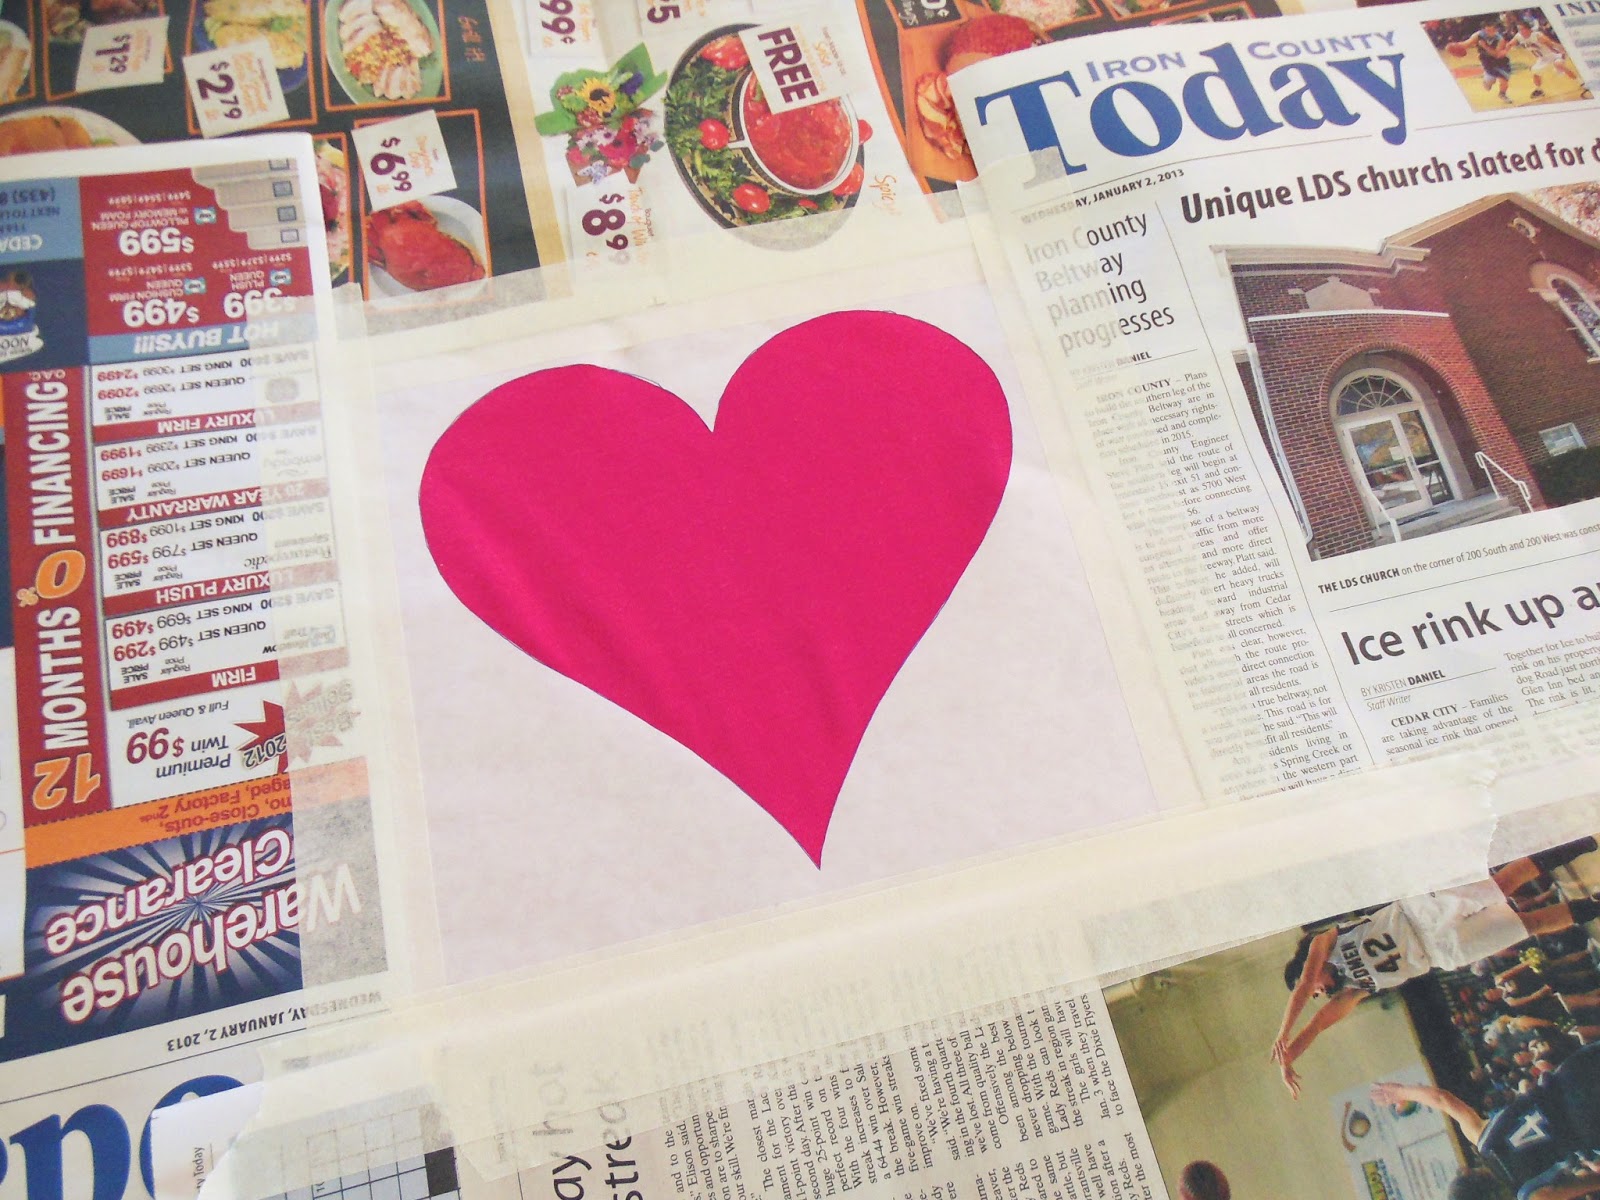
Next, I traced the hearts onto freezer paper.
Then I cut out the hearts and ironed the paper to the front of the shirts, shiny side down. Freezer paper is brilliant.
In order to keep my cute girls from painting the rest of the shirt by accident, I taped newspaper around the freezer paper, covering the shirt.
Also, and this is very important, I slipped a piece of poster board into the middle of the shirt directly behind the heart. You don’t want to skip this step! Otherwise you’ll end up with a heart on the back of your shirt, too! Which…um…might look cool? Or not.
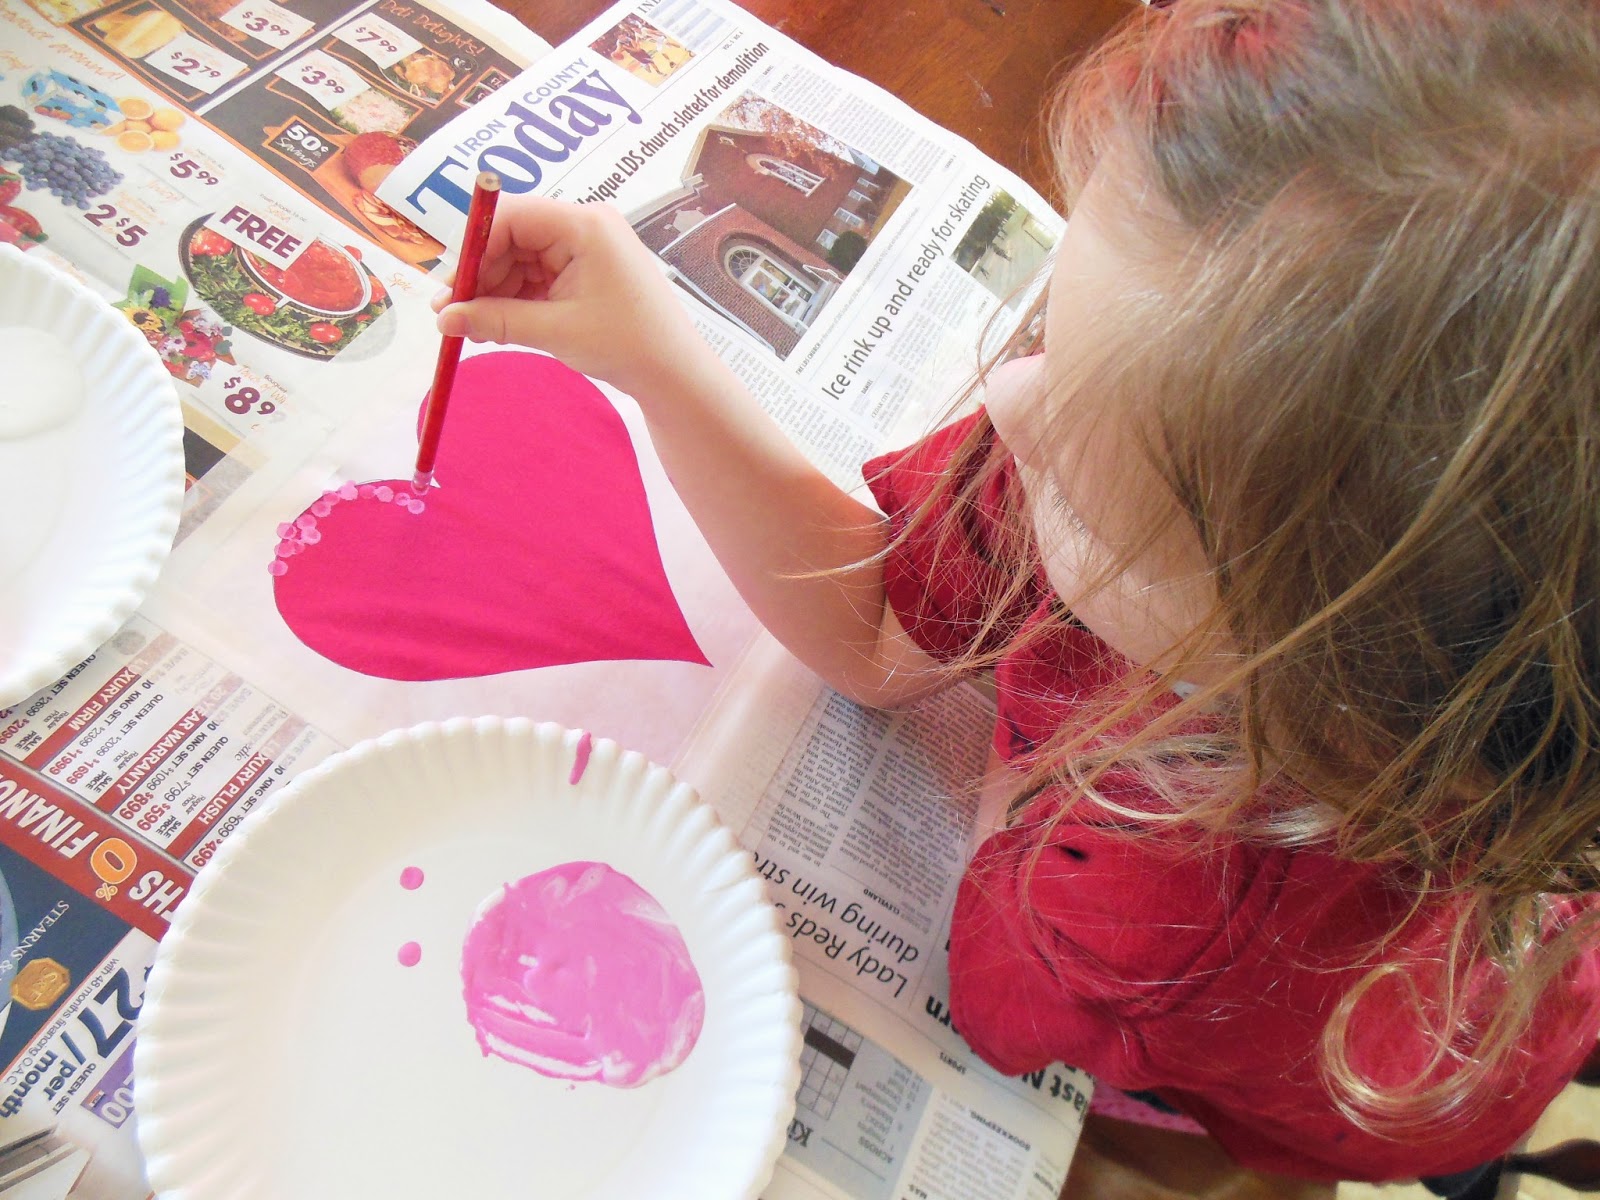
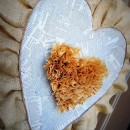
I gathered up our supplies which were regular ol’ acrylic paint, pencils and paper plates. I put a puddle of color on each plate and we used one pencil per color.
Next you simply start stamping dots with the eraser end of the pencil.
I stayed pretty close to Molly at first to help. I worried she would get all crazy with the paint. But she just dipped and stamped. She loved this!

Zoe also loved stamping the dots. And it doesn’t matter if the dots aren’t perfect! Kid’s artwork is better if it’s real, right? And kids are wonderfully messy!
We needed to get Zoe to Kindergarten soon, but she really wanted to wear her new shirt. So I grabbed my blow dryer to dry the paint in a hurry. Molly really enjoyed this part, too. This is also where she ditched her painting shirt in anticipation of wearing her new polka dotty top!
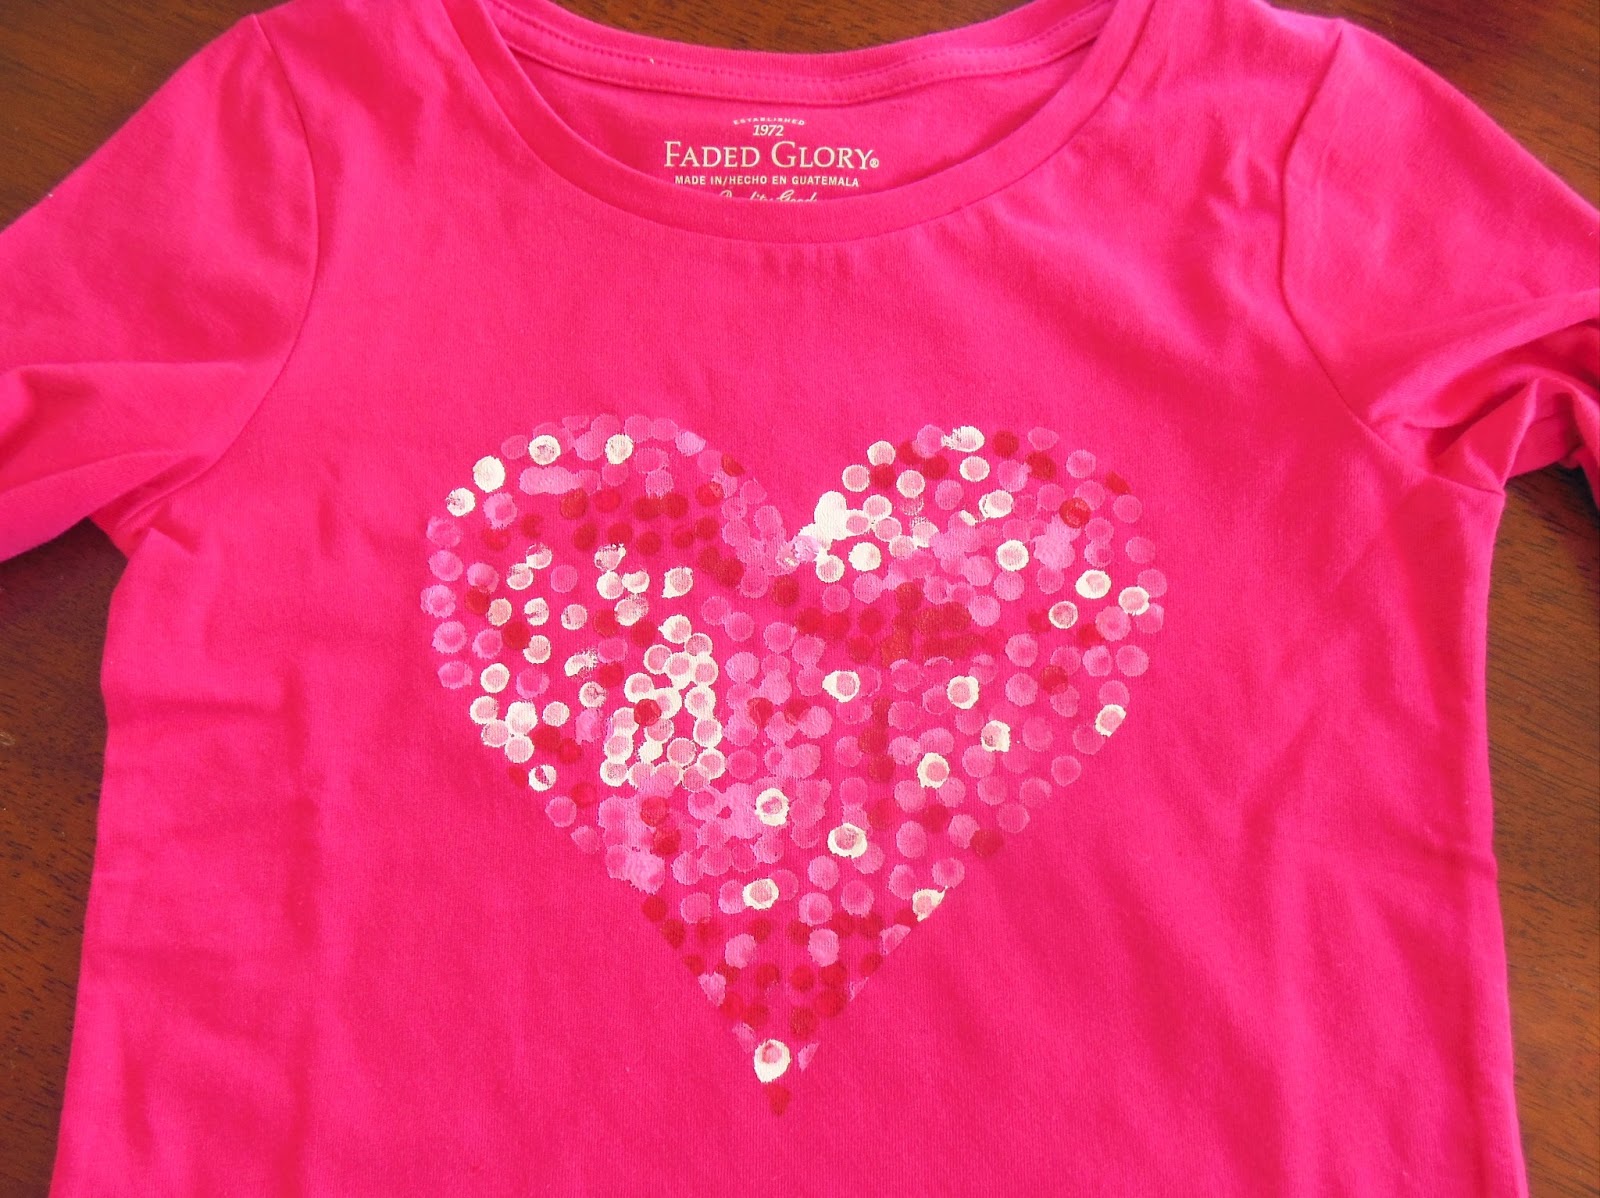
The last thing I did was pull the newspaper and freezer paper off the shirts, take the poster board out of the middle and then ironed the front of the shirt really good, with a piece of cotton fabric over the painted heart, in order to heat set the acrylic paint.
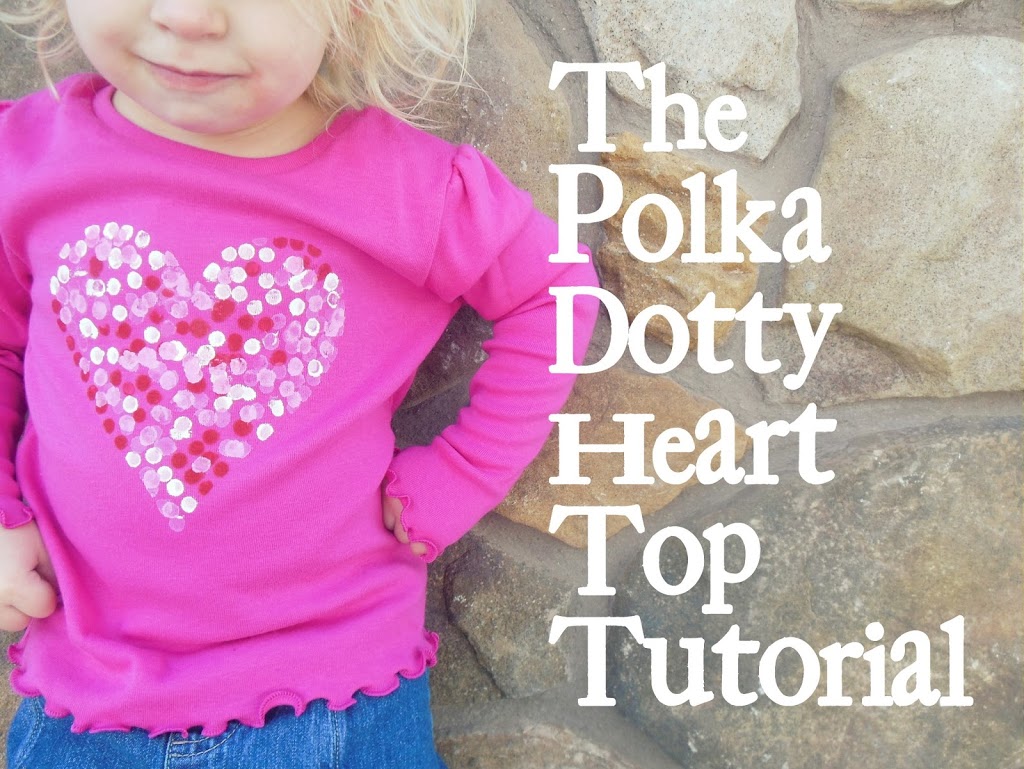
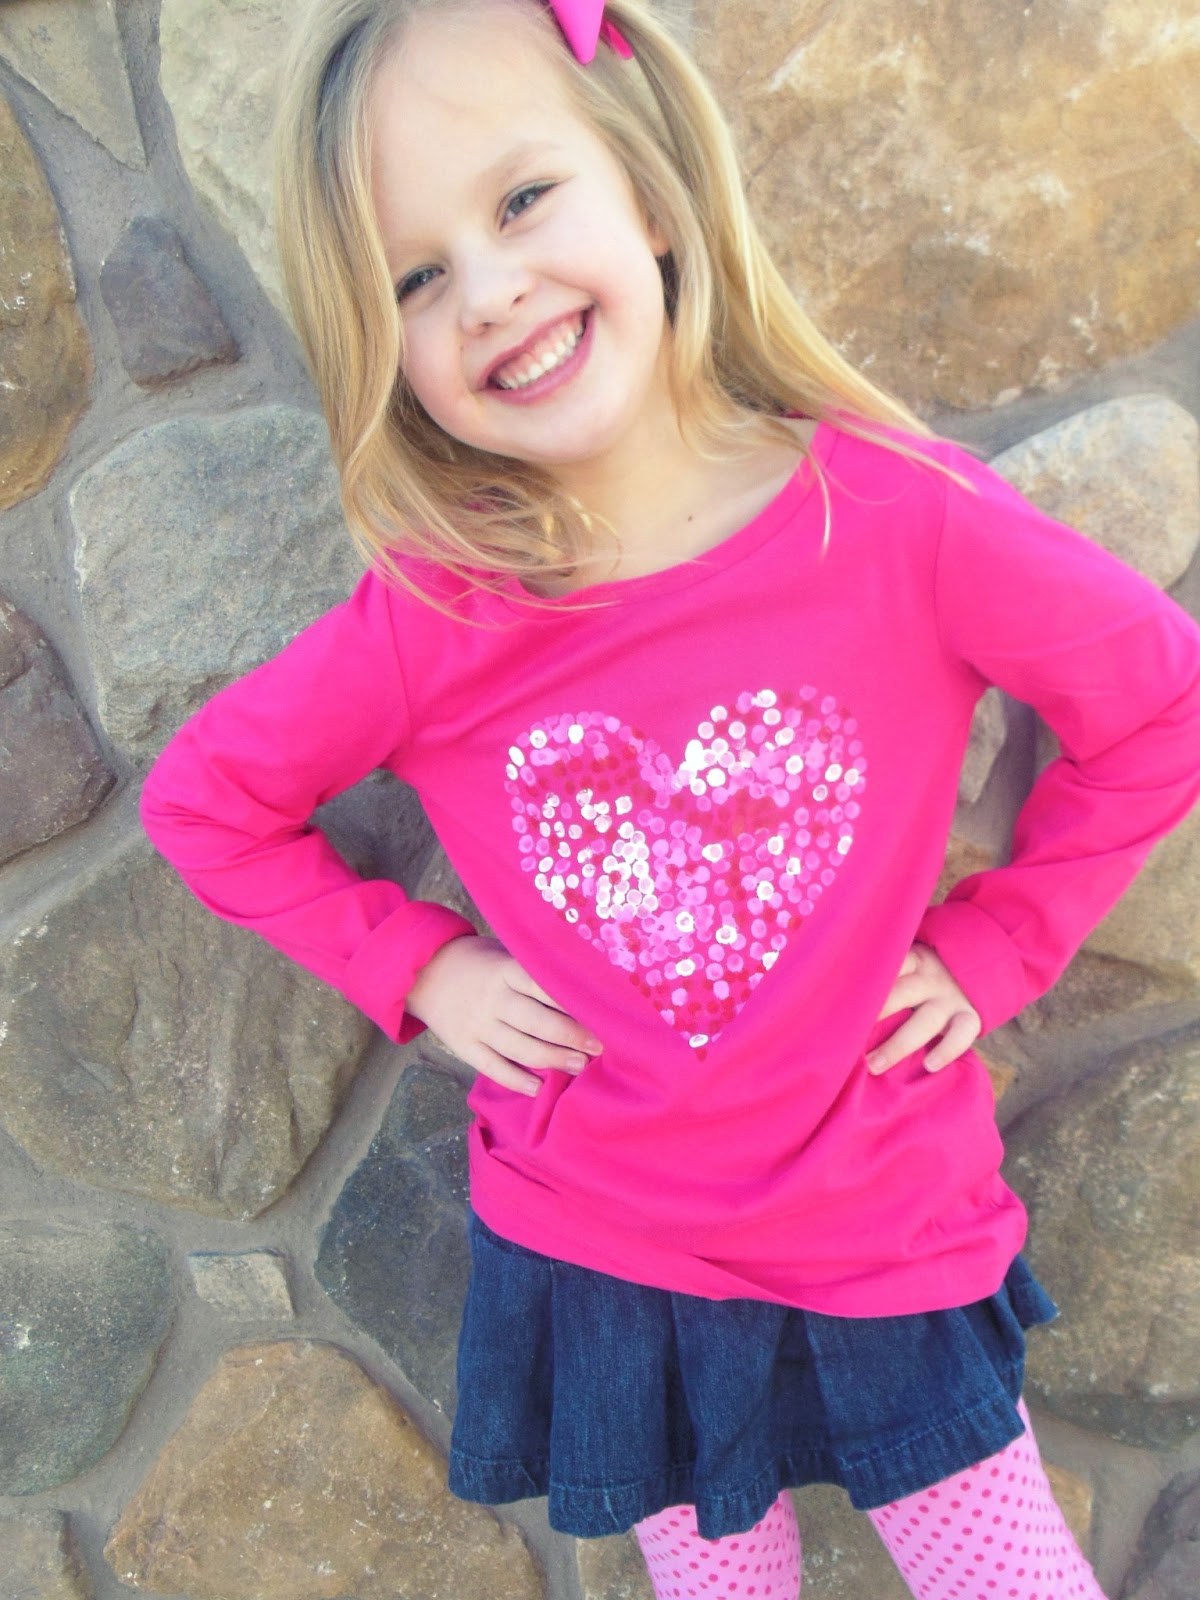
Oh, and then, of course, we had to snag some cute shots of the girls in their new polka dotty heart tops!

This was so easy and fun. If you have any questions, let me know!
Thank you so much for being here today, Erin!
Check out these other great craft tutorials at Hazel and Company!


Thanks for sharing my tutorial!
Anytime! It is brilliant!
CUTE! thanks for the idea!!!
Thanks! This is super cute!!
Soo cute!
Erin thank you for sharing this fabulous idea…my girls will LOVE this!!!
So fun and festive!
Hi! Question: What is freezer paper & where do you get it? I have parchment paper & wax paper, but have never seen freezer paper. Is it in the same aisle where the foil, wax paper, plastic wrap is found? This looks so cute & my daughter would love to make this! Thank you!
Adorable. My girls would love to make one of these!