I love handmade greeting cards…like a lot, but I don’t make them for people nearly enough. The smart thing to do would be to make a bunch at one time, right? That way I would have them on hand ALL of the time and give a little handmade goodness at every happy event. But I am a wife, mother, and blogger so my time is super full of really important things like sweeping up the box of cereal that got knocked over and scrubbing toilets, etc. Well, today I took time to enjoy some crafting. I made some greeting cards embellished with fabric and ribbon!

I used some super bright and fun fabric with coordinating embellishments. Basically I raided my sewing stash and made the perfect cards.
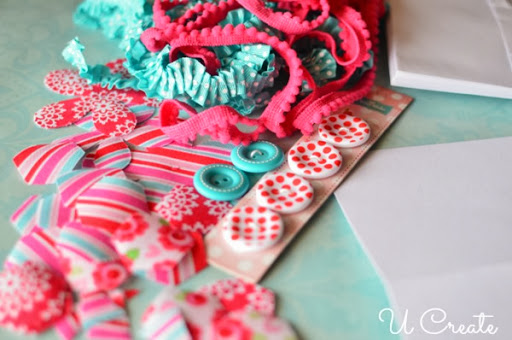
Supply List:
- -Package of white cards and envelopes.
- -3 fat quarters of coordinating fabrics
- -coordinating trim and buttons
- –fusible fabric stabilizer
- -digital cutter or scissors
- -sewing machine with matching thread
I took three coordinating fabrics and ironed some fabric stabilizer to the back. The fusible interfacing is kind of thick and feels plastic-like. Then I used a digital cutter (ie, Cricut, Silhouette, etc) and cut out a bunch of hexagons, triangles and flowers. You can easily use scissors and stencils to cut your desired shapes as well. The best thing about the interfacing is that I was able to iron the shapes right onto the cardstock rather than gluing the fabric down. It made these handmade cards so much more fun to make.
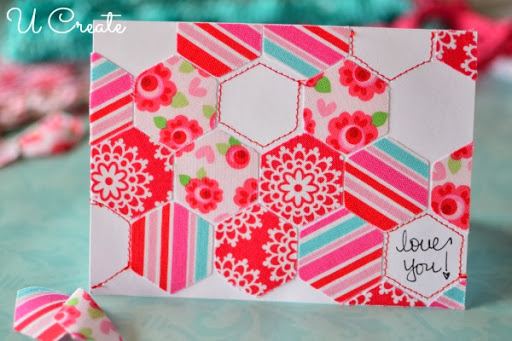 Card #1: Love You!
Hexagons are a huge trend right now and I LOVE IT! I see a bunch of ladies making hexi quilts; why not make a hexi card? Give it a try! For this card I used 16 hexagons that are about 1” around.

Step #1: Arrange the hexagons how you want them. Leave some white space in between. Iron the hexagons down (or glue them on if you aren’t using interfacing).
Step #2: Sew some hexagons in the white space. I love the dimension this creates. It just adds more interest and finished lines.
Step #3: Add a personal touch by handwriting your sentiment. Even if you think your hand writing is ugly, it’s just more personal.
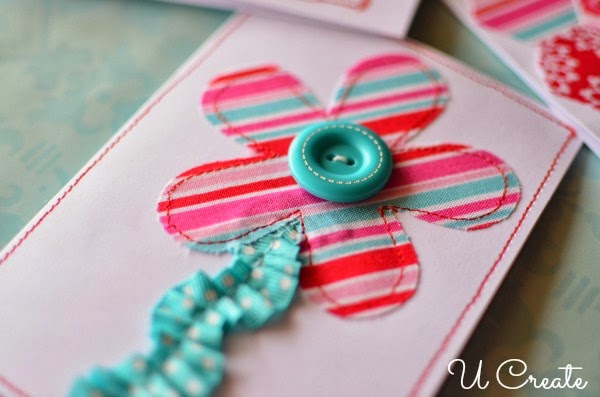 Card #2: Button Embellished Flower
This is the simplest card of them all. Seriously, it took all off 5 minutes to make…if that. I cut a 2” flower and used some amazing ruffled ribbon.
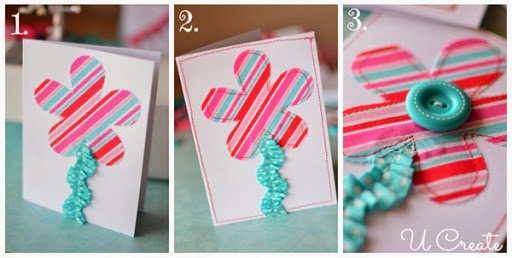 Step #1: Glue a 2” piece of ruffle ribbon in the middle of the card. Attach the flower to the top of the ribbon.
Step #2: Stitch around the inside of the flower and around the card, creating a border.
Step #3: Glue the button in the center and you are done!
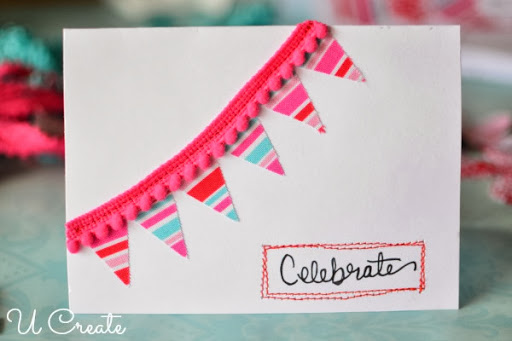 Card #3: Celebrate!
These fun banners have been around for a while now, but they never get old…at least, not to me. I love to use them on birthday cards or party invitations.
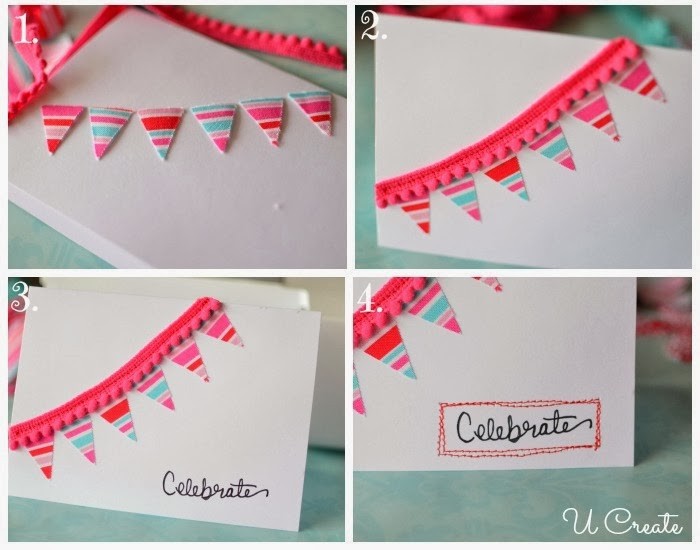 Step #1: Arrange 6 triangles around the corner of a blank card and adhere them down.
Step #2: Sew this tiny fringe trim along the top of the triangles.
Step #3: Hand write your sentiment…yes, even if you hate your handwriting.
Step #4: Sew a frame around your sentiment…twice for fun sketch pen look.
Quick and beautiful cards are simple to make and add such a personal flare! Grab from your growing craft stash and show us what handmade cards you come up with. Post a picture on Instagram and tag us @ucreateblog or share it on our Facebook page.
Post by –


Ohh, this is so adorable! Definitely trying this! Thanks for sharing this. Happy Thanksgiving!
xoxo Zoe
http://thatszoe.blogspot.com
These are so sweet. The perfect card for that someone special. Love the embellished flower!
Jake’s a Girl