
Hey there! I’m Jess, from the East Coast Creative duo. I blog with my super-talented best friend, Monica. You may remember us by our awesome pallet wall and the DIY Industrial Collage we shared a few months ago here on U Create. We’re serious about all things DIY and design and we love stopping over to visit Kari’s little piece of blogland-it’s always full of amazing inspiration and fabulous readers! Thanks for having us back, Kari!

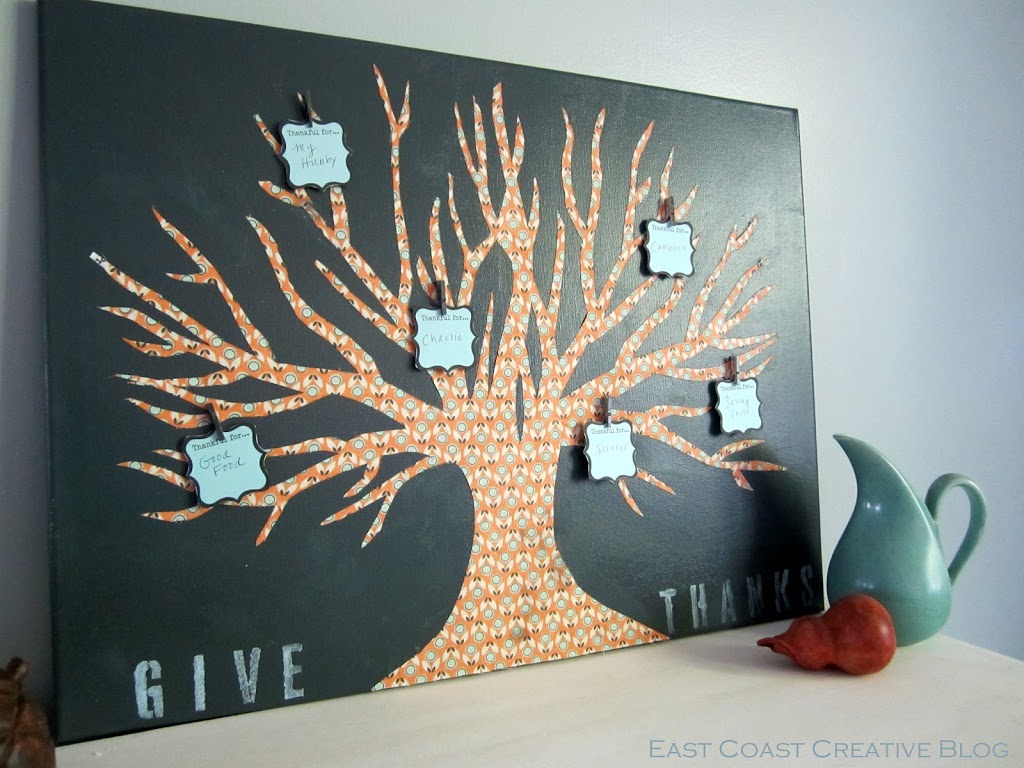
We realize that Halloween is only a few weeks away, but believe it or not, we’ve already begun planning for Thanksgiving. Let’s face it, once Halloween is over, the holiday season is in full force and being intentional with projects and decor gets really hard. Because of that, I decided to tackle a project that would keep my family centered and focused on being grateful throughout November: a Thankful Tree that can be reused every year.
Here’s what you’ll need to make your own:

-
Canvas (mine is 18in x 24in)
-
1/2 yard-3/4 yard of fabric
-
Spray Adhesive
-
Spray paint
-
Mod podge (not pictured)
-
Baby clothespins (not pictured)
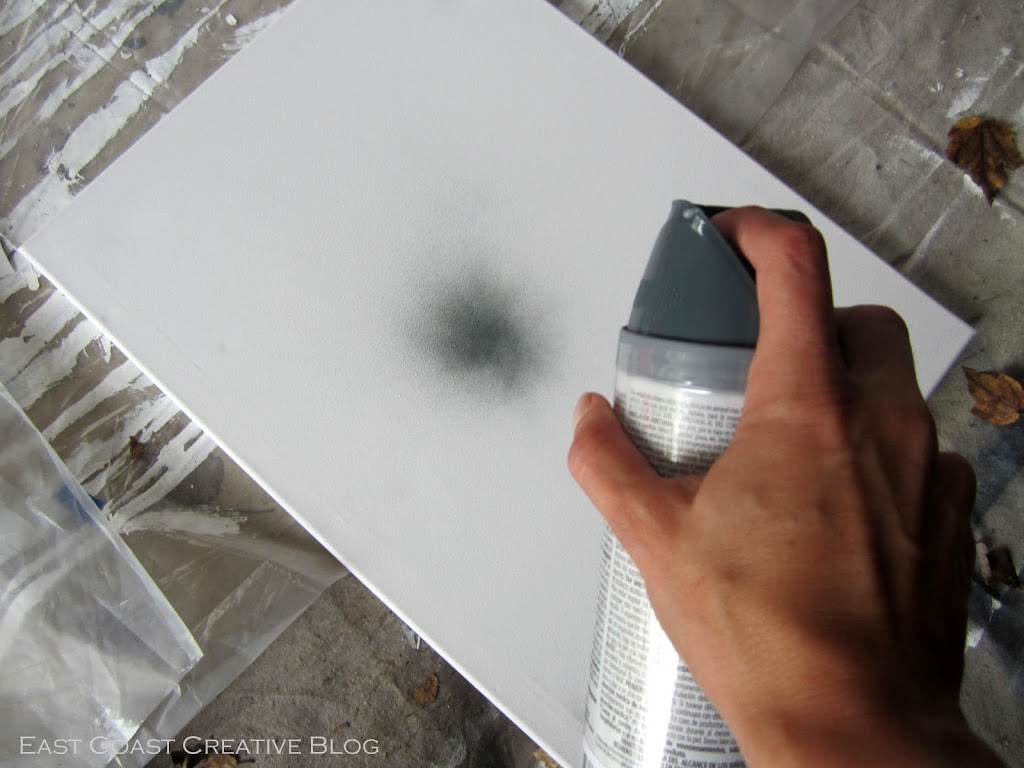
Step 1: Spray paint your canvas in your color choice. If you want to cut back on some serious blinding glare, use a satin paint for a more matte look.
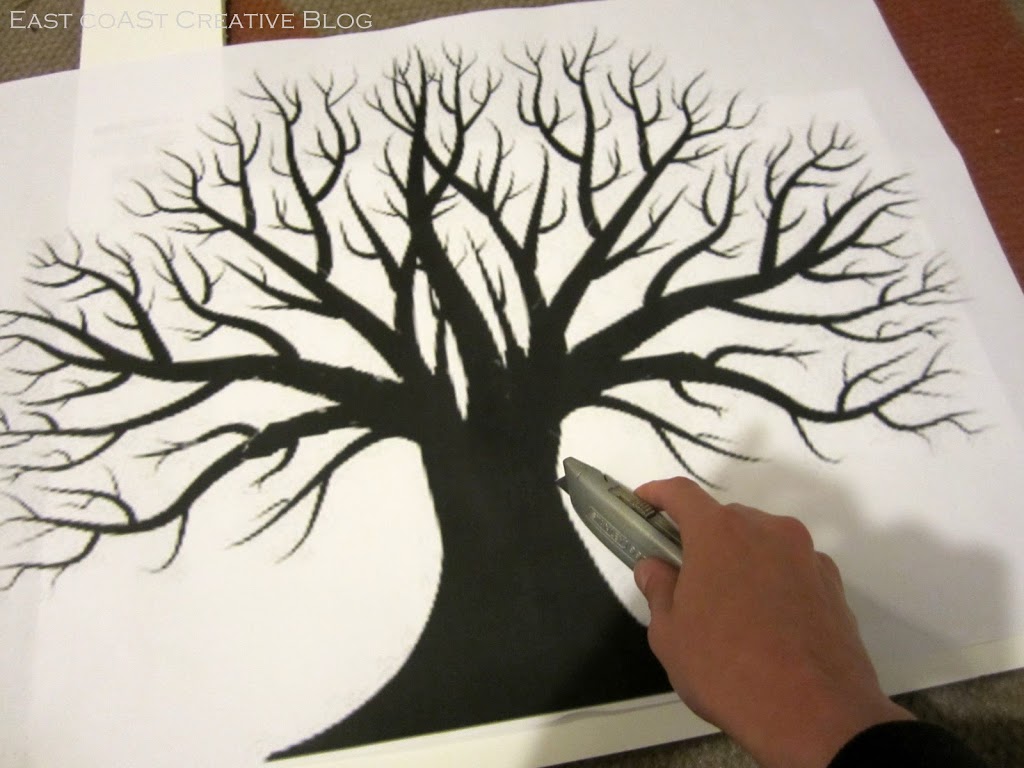
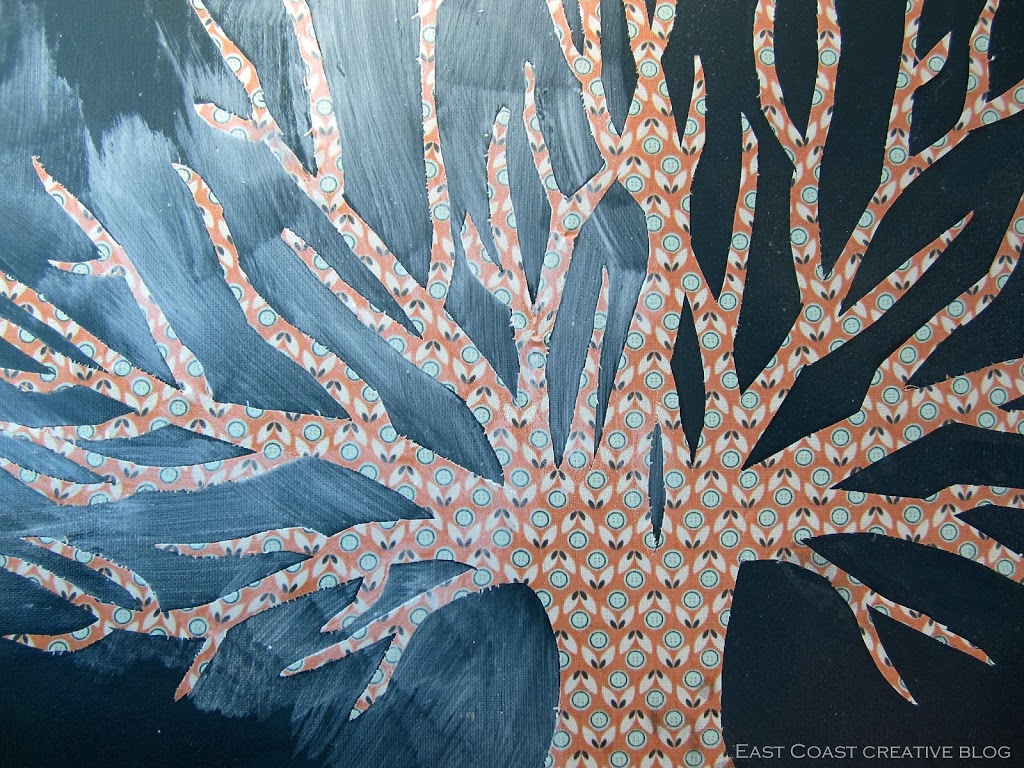
Step 2: Locate your tree image (there are tons of free clipart images listed in Google images) and enlarge it to fit your canvas. We love the engineer prints from Staples and use them all the time.
Step 3: Use a sharp-edge razor to cut the tree out. Don’t worry about all the little limbs, and focus on the larger ones. This seems daunting, but surprisingly went quickly and smoothly. I accidentally cut a branch that I wanted to keep on (doh!) but was easily able to use tape to fix it.
Step 4: Lay your image down on the backside of the fabric and trace it with a pen.
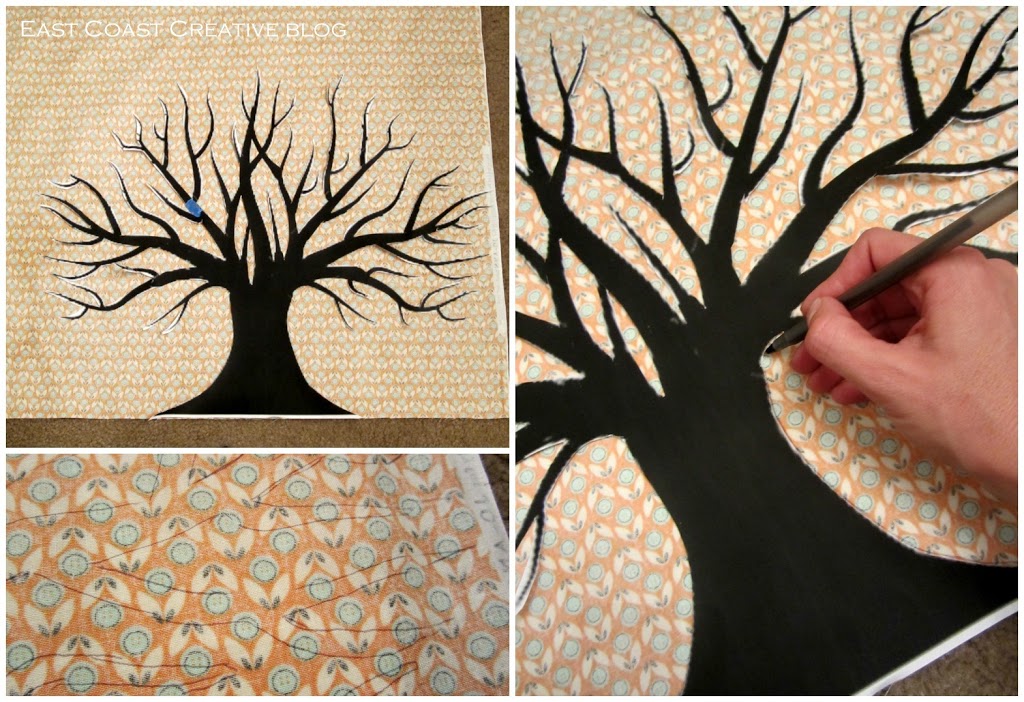
Step 5: Spray the fabric tree with spray starch and iron it to make it stiff. This makes cutting it out with scissors a piece of cake.
Step 6: Center the tree on the canvas. Starting at the trunk, lift small sections and lightly spray with adhesive. Smooth out all of the bubbles from the center out to the edges. A little spray adhesive may get on the canvas where you don’t need it, but that’s ok. We’ll be taking care of that later.

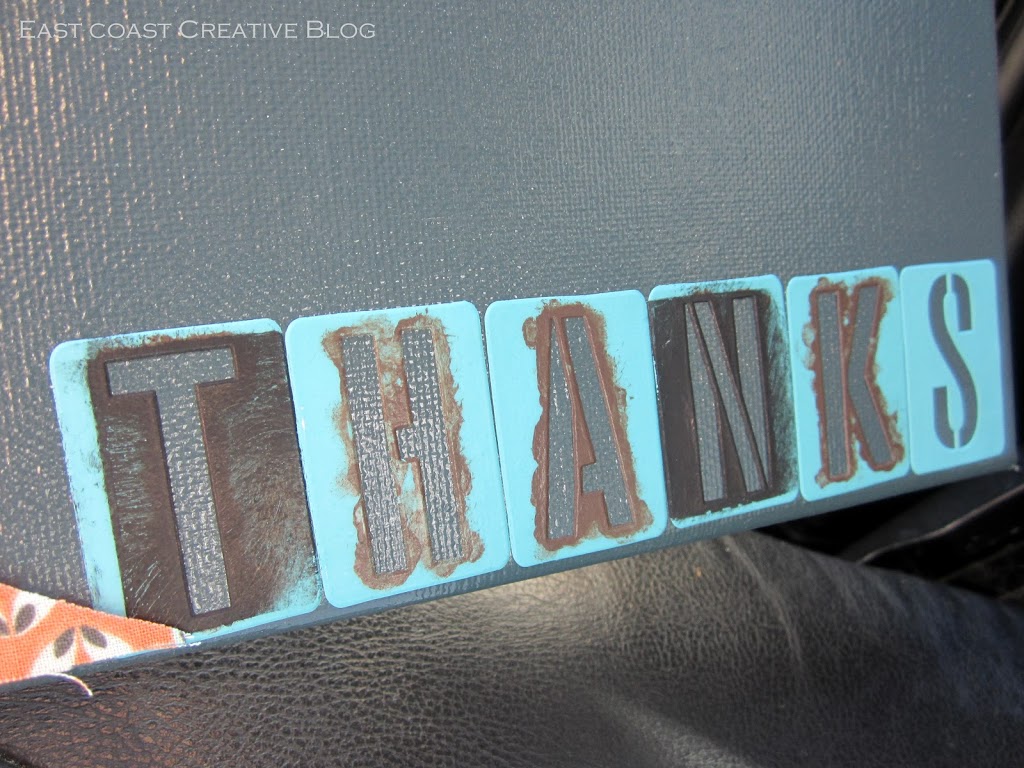
Step 7: Place stencils on your canvas and stencil away! We used Martha Stewart’s self-adhering stencils which are awesome because you don’t have to worry about them moving around while you stencil.
Step 8: Mod Podge the entire canvas starting at the center of the tree and working out to the edges. This will seal the tree and make it more resistant to wear and fading. And remember that spray adhesive I mentioned before? The Mod Podge takes care of hiding that, too. Score!

It’s scary at first, but dries clear!
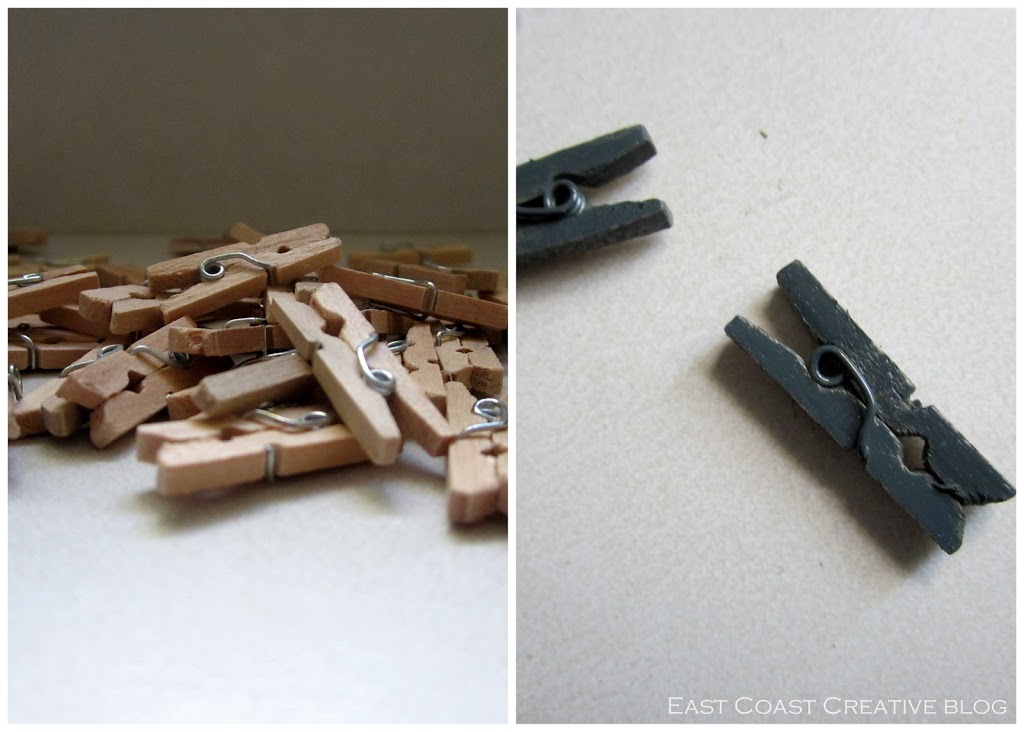
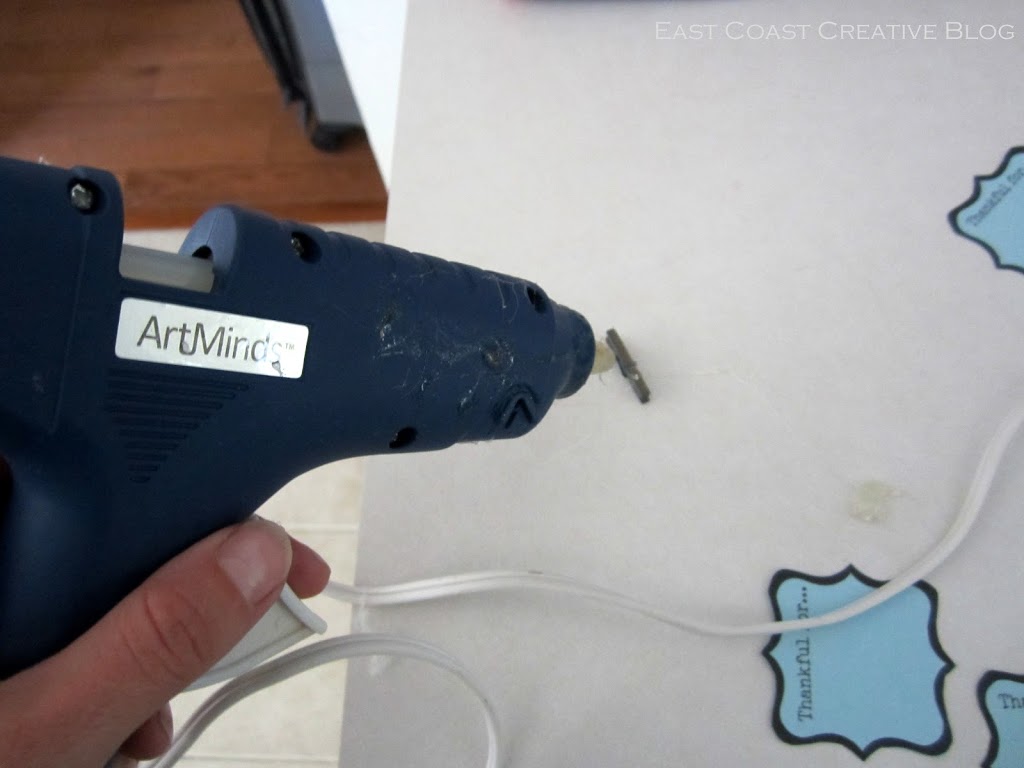
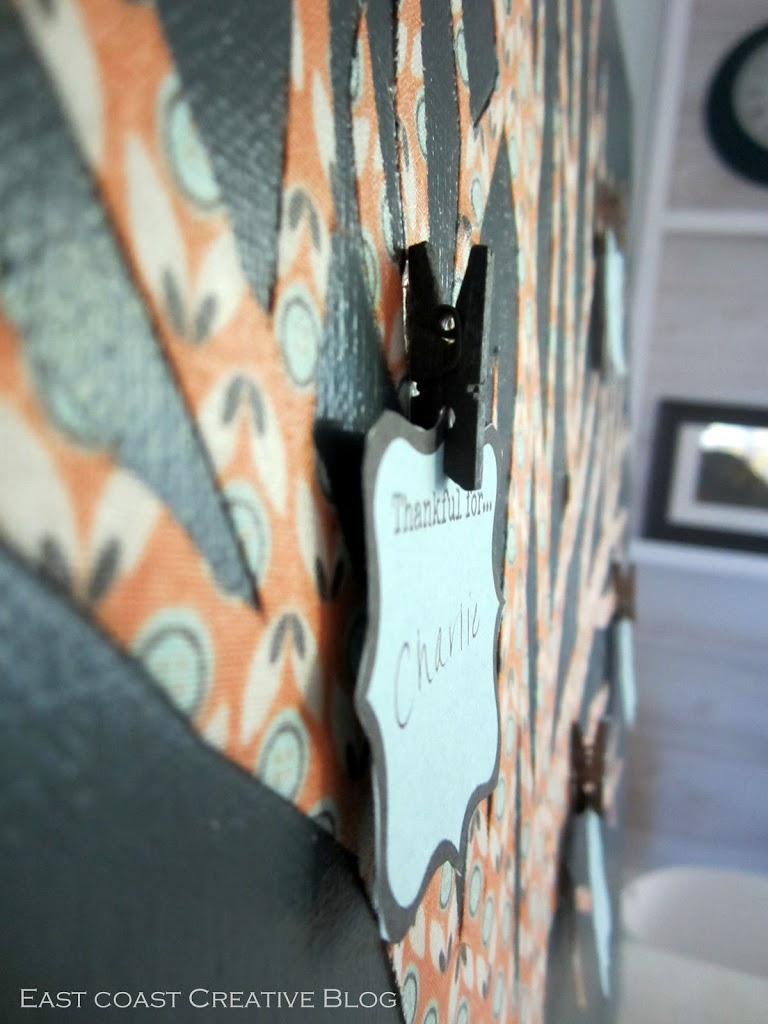
Step 9: Spraypaint the clothespins and adhere them to the canvas with hot glue.
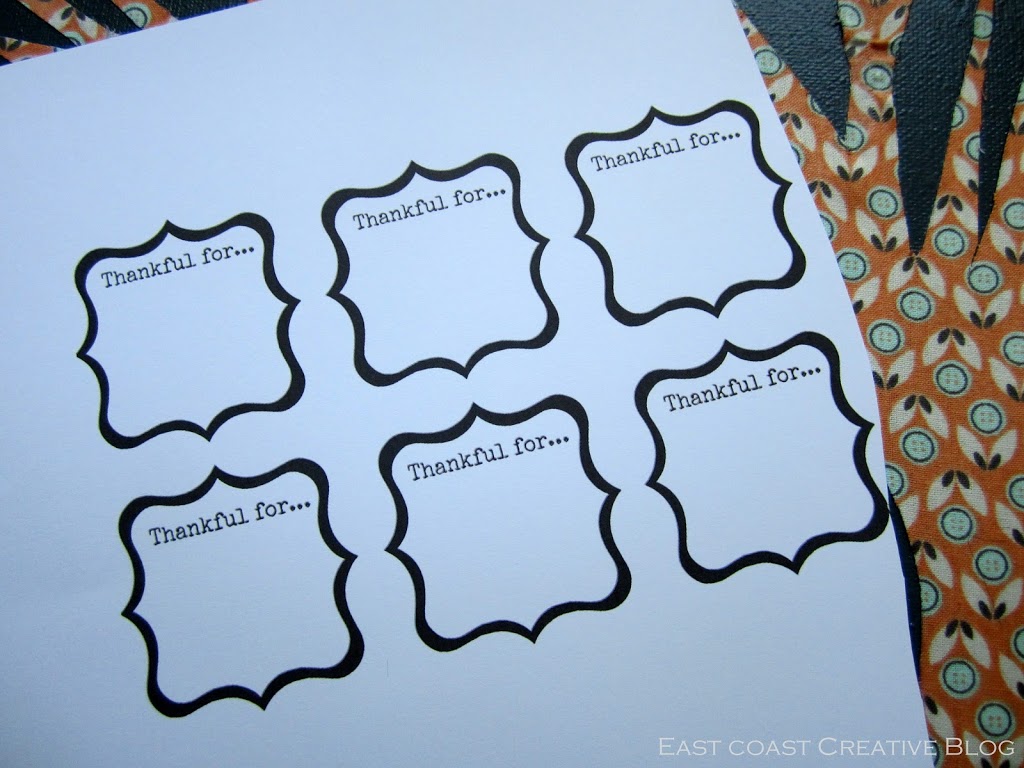
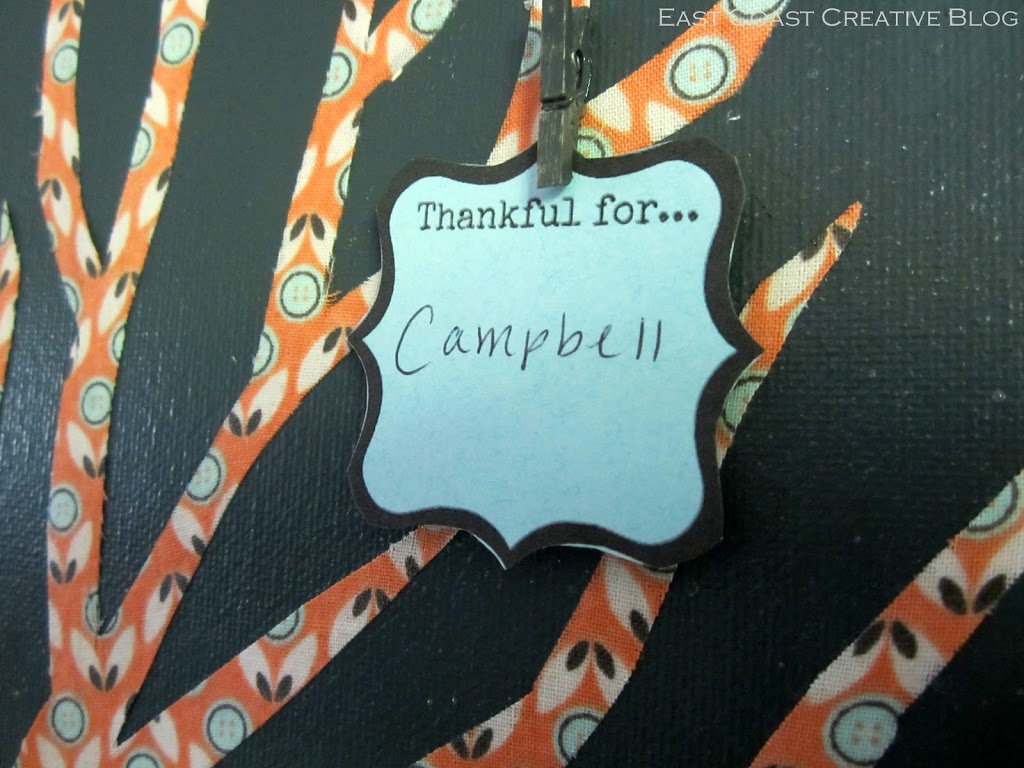
Step 10: Print out our fun “thankful” labels on card stock (download them here) and cut them out using scissors. Have your family write what they’re thankful on each of the tags and then clip them to the canvas.
Voila! You’re done and are left with an adorable, re-useable canvas that will help your family focus on what’s really important in the next month. Plus, it’s super cute, so it’s a win-win!


This is such a great idea! Thank for sharing!
I love this. It is beautiful! I want to make one. 🙂