Hi everyone! I’m Consie and I blog over at Atop Serenity Hill. I am so excited to be here today (thanks, Kari!) to share an easy face painting project for all you princesses out there!
I have been face painting at fairs and birthday parties for over seven years and next to the butterfly, being a princess is one of the most requested faces. And really, who doesn’t want to be a princess for a day!
The supplies you will need for this project are:
- Face paint in your choice of colors
- 2 soft sponges (for basecoat)
- Round brush and liner brush (for the details)
- Cosmetic glitter (do not use craft glitter as it sometimes contains metal)
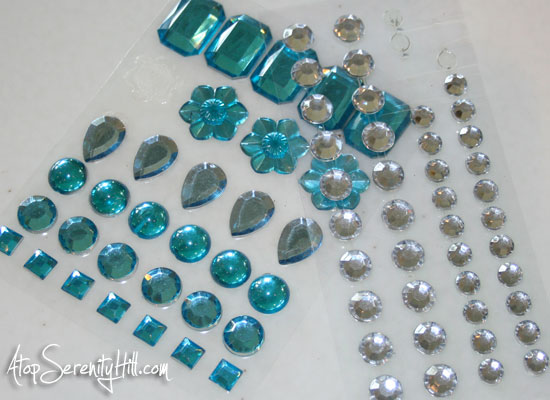
- Stick-on jewels (pictured above…can be found at your local craft store)
- Small container of water
- Your camera!
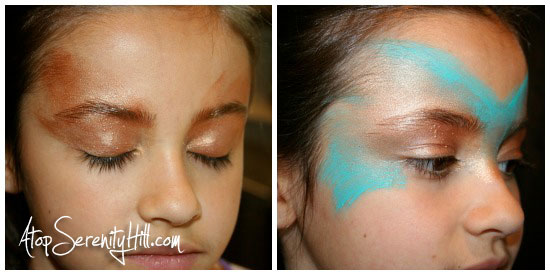
The first step is to apply a gold color over the eyes and up onto the forehead using a sponge. With a clean sponge add in the light blue under the eyes and create a V-shape on the forehead. Bear in mind that face paint is water activated and a little can go a long way. You can always add more paint and/or water, but you don’t want the paint to be dripping down the face. 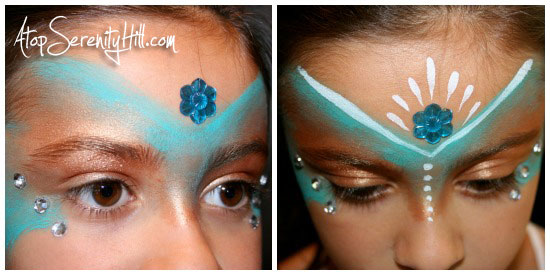
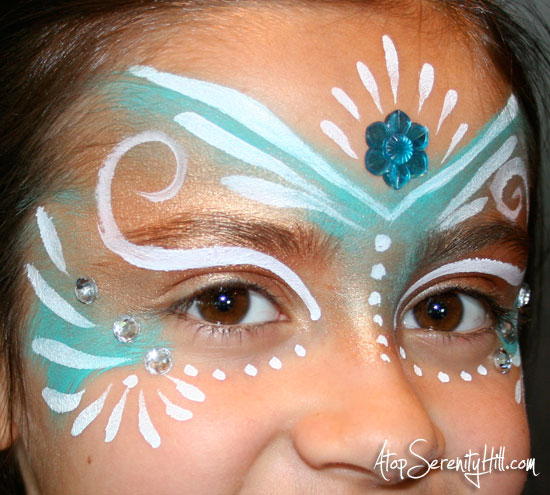
Next, add the stick-on jewels. I placed a large flower as the focal point on the forehead and three clear rhinestones on each side of the eyes. Using a round brush and white face paint, add in a set of teardrops around the flower jewel and two long teardrops along the top of the blue V-shape. Finish this section with a series of white dots down the nose using the tip of the brush. Tip: activate the paint with a little water so it flows but is not runny.
Continue to add teardrops, dots and swirls around the eyes to fill in your design. 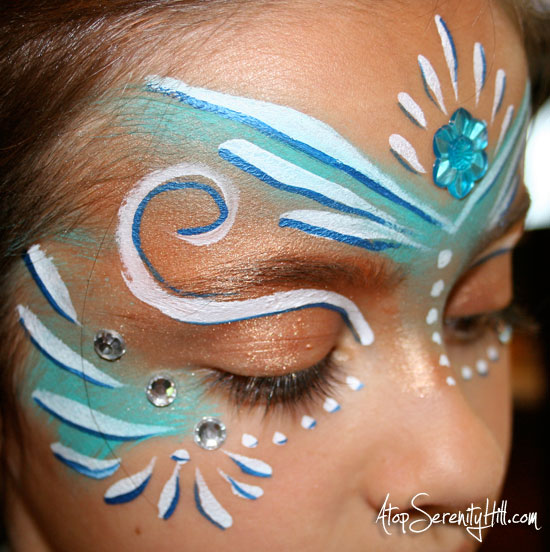
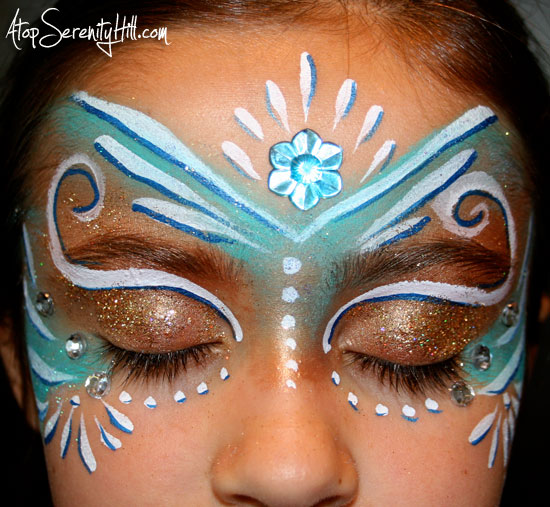
Using either the round brush or a liner brush, add a dark blue outline on one side of all your white teardrops, dots and swirls.
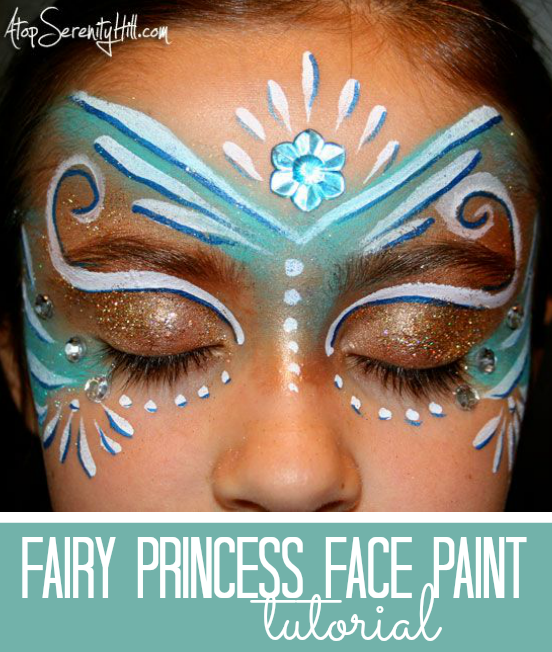
The final step is the one that gets all the ohhhs and ahhhs!! GLITTER! I used a gold glitter on the eyelids and a white transparent glitter on the rest of the design. 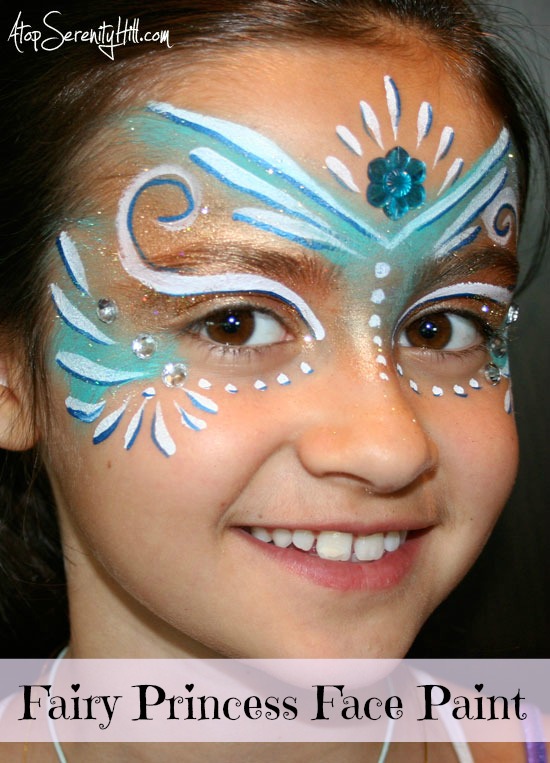
One of the best parts of this design is that by changing the colors, you can customize the fairy princess so it is the favorite of your kids. This color scheme works great for Cinderella or even Ariel (just add a shell jewel instead). Add red jewels to this design and you have Snow White. Use more greens and you have Tinkerbell or Tiana. At the fairs, when we get a request to be a specific princess, we just ask the little girl, “What is that princess’s favorite color?” Then we customize the design around that answer. They always love the results, especially the glitter!
Being a princess is many a little girl’s dream! This is a fun way to make their dream come true even if it is just for the day! Give it a try and remember, if it is in their favorite color and glitters, they will love it!
You can find more face painting tutorials on my blog like…
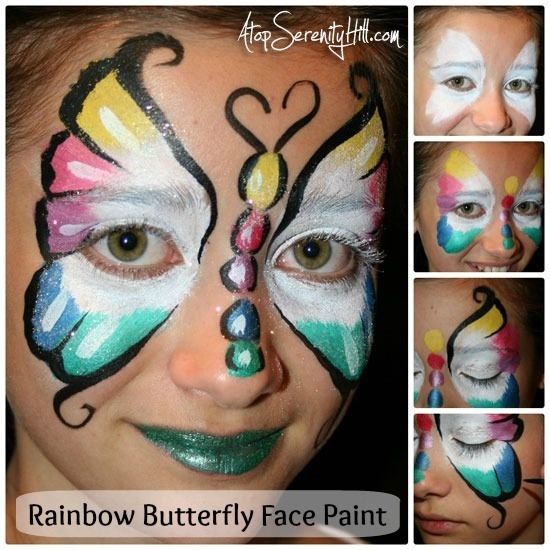
Rainbow Butterfly Face Paint Tutorial
Also find recommendations for safe face painting supplies.
And if you like to be social, you can find me on Facebook, Instagram, Pinterest and Twitter. I had a great time creating this design for you. T
hanks, ladies for inviting me to share with your readers!
~Consie




They look great.Thank you for the idea.:)
Lovely ideas! So cute! 🙂