Supplies
2 fat quarters
1/4 yd. fusible interfacing
1/4 yd. thin batting
1 Riley Blake 2” button
Download and print pattern
Sewing machine and thread
needle and thread (for button)
First off, iron those fat quarters really well before you start cutting.
Download the PDF pattern here . Print and cut the pattern and cut the fabric according to the specifications on the pattern pieces. If you have questions, please feel free to email me at becky@u-createcrafts.com
Let the cutting begin.
2 outer panel pieces (Posy Blue fabric), 2 fusible interfacing, 2 pieces of batting: 10 1/4 x 7 1/2 inches
2 inner panel pieces (Blooms Pink fabric), 2 fusible interfacing: 10 1/4 x 7 1/2 inches
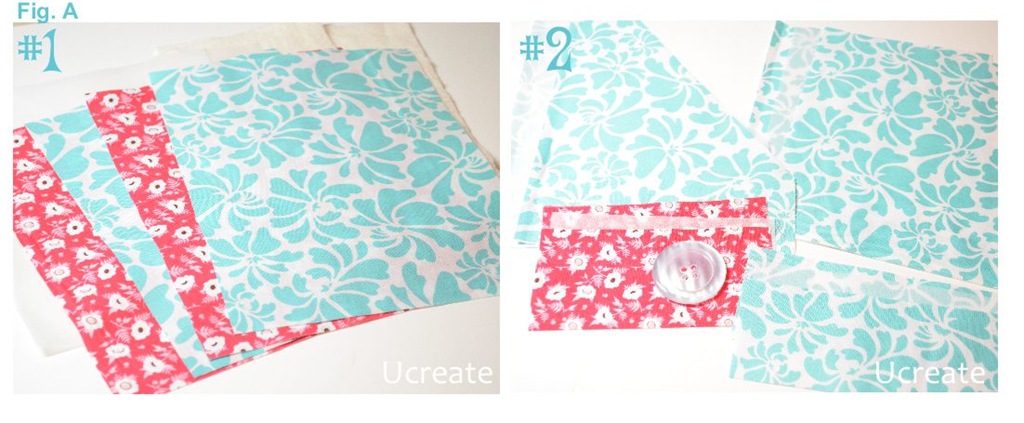
2 slanted pocket pieces (Posy Blue), 2 fusible interfacing cut according to pattern specifics.
2 notebook pocket pieces (Posy Blue), 2 fusible interfacing: 9 1/4 x 7 1/2 inches
2 button strap pieces (Posy Blue), 2 fusible interfacing: 2 3/4 x 6 1/4 inches
2 pen/card pocket pieces (Blooms Pink), 2 fusible interfacing: 3 x 6 1/4 inches
I put my cut fabric into two piles:
1. outer and inner panels, interfacing and batting.
2. slanted pocket, notebook pocket, pen/card pocket, button strap along with interfacing that goes with each piece.
Time to get sewing! This is my favorite part.
Iron all the interfacing to the appropriate fabric pieces.
OUTER PANELS
1. Taking your 2 outer panels, place right sides together then sandwich them in between the batting. Line up the corners and pin one of the long sides (10 1/4 inch side).
2. Sew 1/2″ seam (everything except the panels will be a 1/4 inch seam)
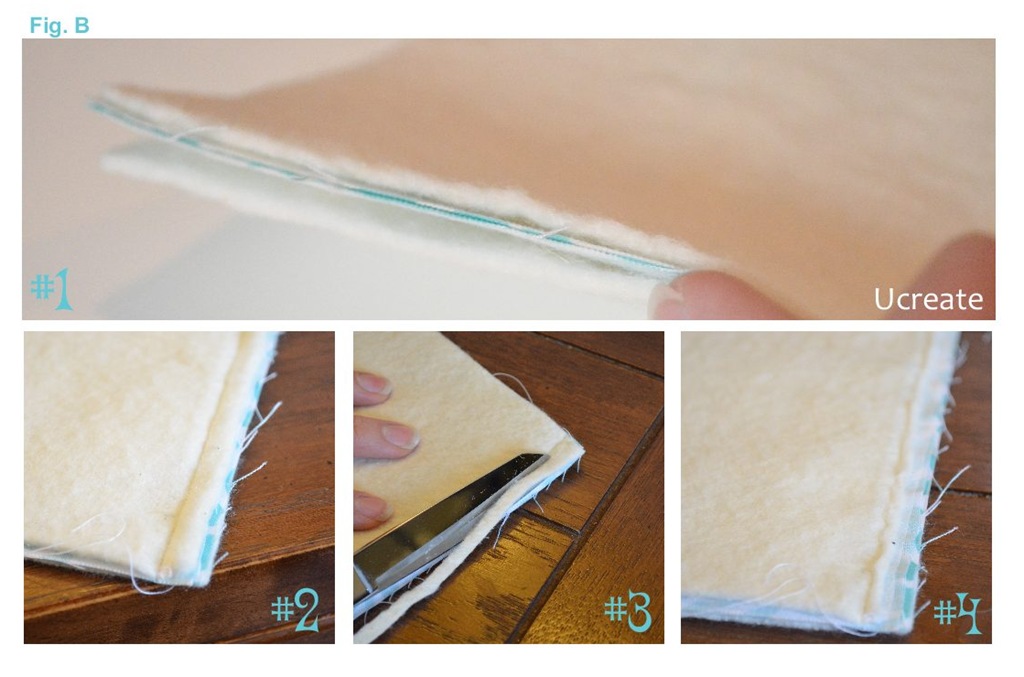
3. Cut off the excess batting.
4. Cut the batting to the threads. This helps the Notebook Folder lay flat and not be so bulky when it’s finished. It also makes it easier to sew.
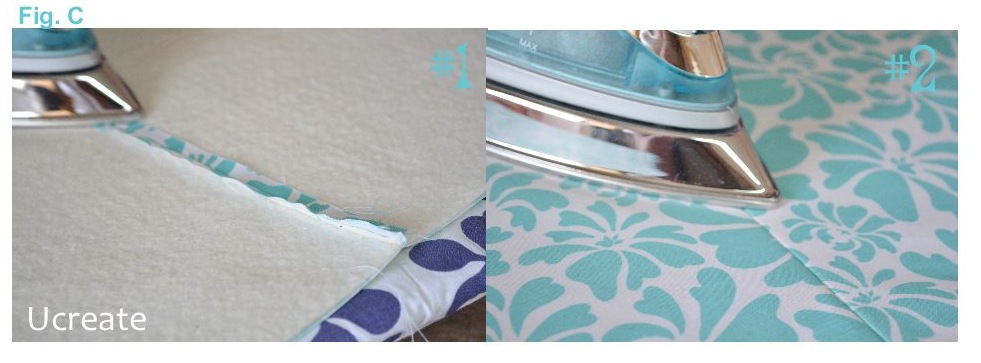
1. Press seam open on the back
2. Flip over and press seam flat on the front. Lay that aside for now.
BUTTON STRAP
With right sides together sew three sides of the button strap fabric (1/4 inches seam) leaving one of the 2 3/4 inch edges open in order to flip right side out. 
1. Clip the corners. Flip right side out and press flat.
2. Now top stitch (1/8 inch stitch) around those same three edges.
3. Create the button hole according to the guideline on the pattern. (Use the button hole foot that came with your machine or just zigzag stitch up and down each side and take your seam ripper to the middle to create the cut between the two zigzag stitches)
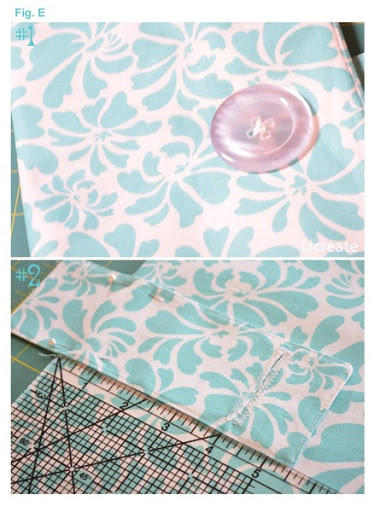
Time to hand sew your 2” Riley Blake Designs button to one of the outer panels according to the guide on the pattern. (This panel will be the front of your completed Notebook Folder). To secure my button I used white DMC floss and just sewed it on. {Fig. E #1}
Lay your ruler on the back panel starting at the raw edge. Then lay your button strap on the back panel (across from the button) with the finished edge hitting the 5 1/2 inch mark. {Fig. E #2} Put the outer panels aside and lets work on the inside. INSIDE PANELS
PEN/CARD HOLDER
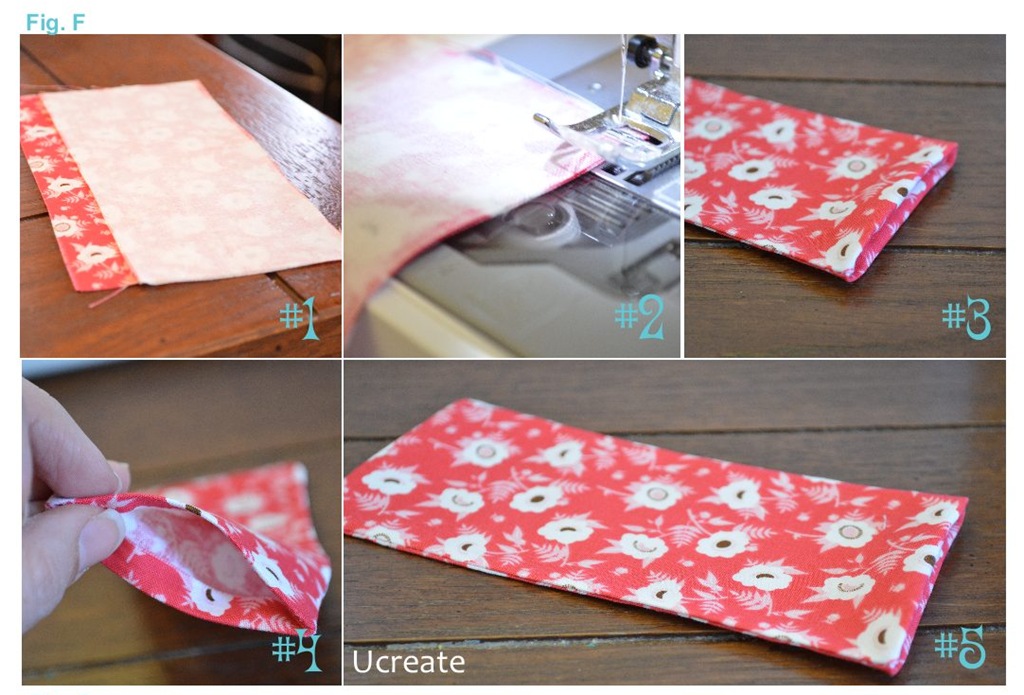
1. Place the Pen/Card holder fabric right sides together.
2. Sew around all but one edge 1/4” seam. (Like the button strap)
3. Turn right side out and iron flat.
4. Turn your raw edge under a 1/4” and iron flat…we will sew this such later.
5. Top stitch on of the long edges and set aside.
SLANTED POCKET
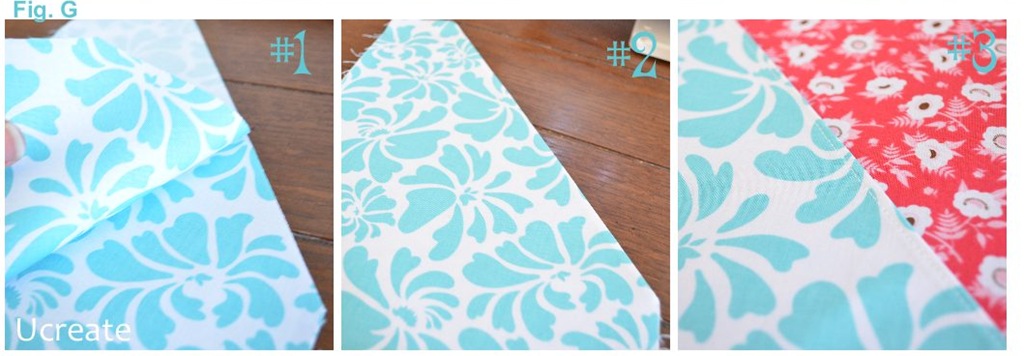
1. With right sides together, sew only the slant of the slanted pocket using a 1/4” seam.
2. Turn right sides out and press the seam nice and flat.
3. Top stitch the slant.
BACK TO THE PEN/CARD HOLDER
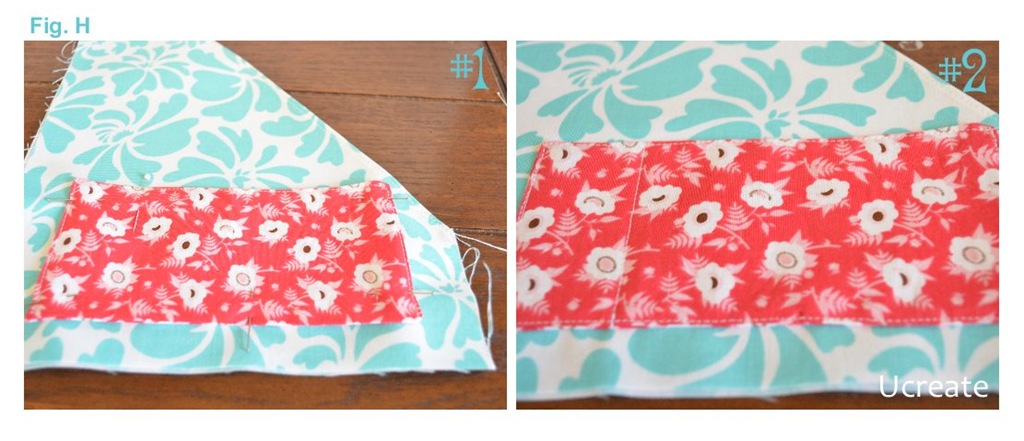
1. Place the pen/card holder about 1 1/2 inches from the bottom of the slanted pocket. (Make sure the part you have already top stitch is at the top.) Pin it in place and top stitch (1/8 stitch) the sides and bottom. Place a pin where you need to sew in order to make a pen pocket. (There is a guideline on the printed pattern.)
2. Sew a straight line making sure to back stitch at the beginning and the end. Viola! Pen pocket is now created!
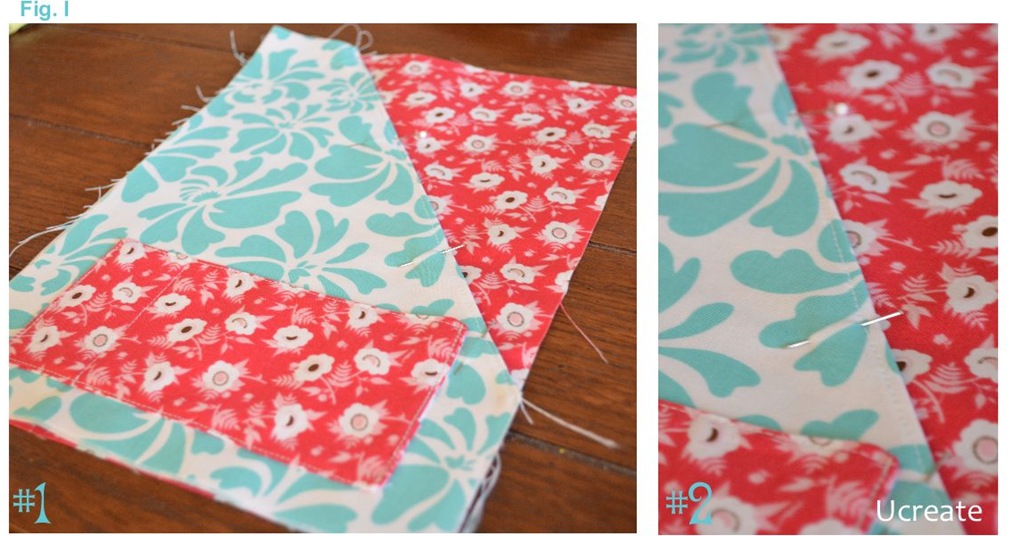
1. Place finished slanted pocket on one of the inner panels making sure to match the bottom corner and sides together.
2. Pin in place along the slant and set aside.
NOTEBOOK POCKET
1. With right sides together, sew the top of the notebook pocket using a 1/4” seam.
2. Flip right sides out and iron the seam flat.
3. Top stitch and pin to your other inner panel.
Sewing the INSIDE PANELS TOGETHER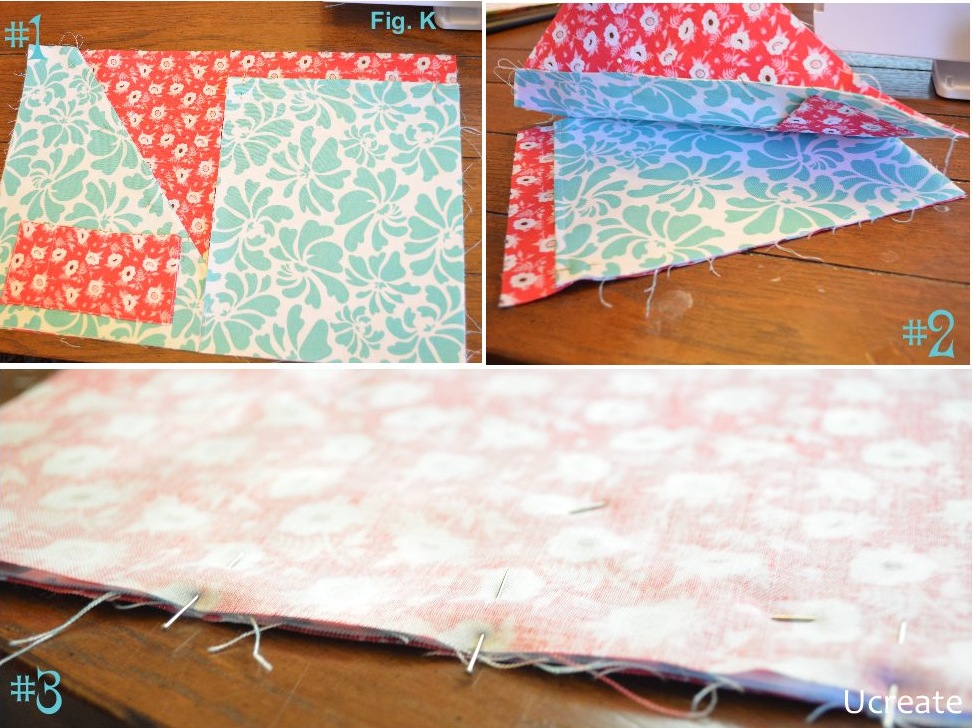
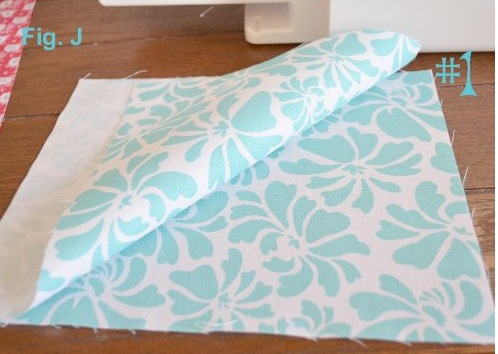
1. Now you have the two inner panels done and ready to sew together.
2. Place right sides together, line up the edges.
3. Pin the inside edge and sew 1/2” seam
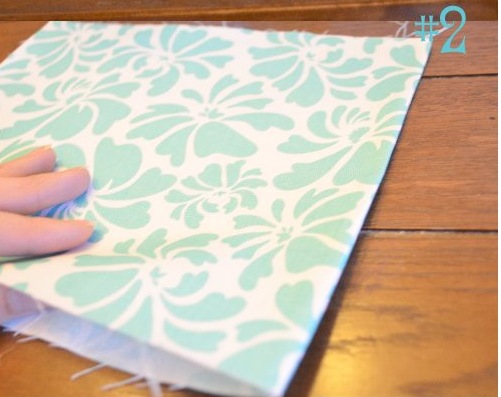
1. Now that the two sides are sewn, iron flat.
2. Make sure to iron the back and press the seams open.
Grab the completed outer and inner panels and put them right sides together.
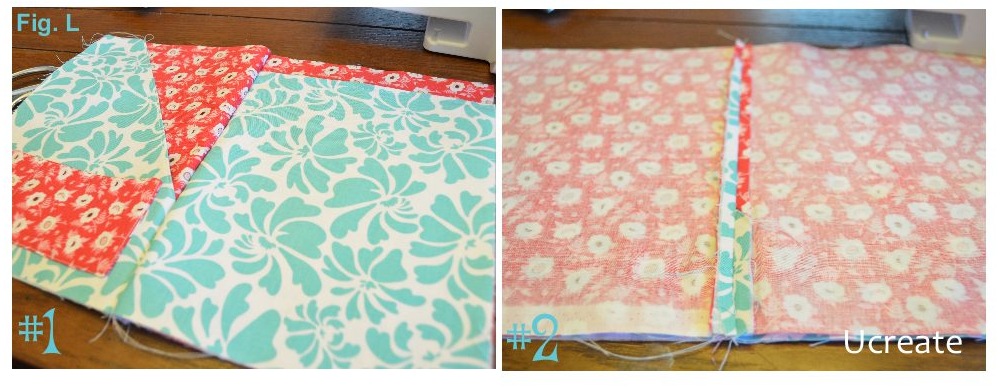
Pin all the way around leaving one side open to turn everything right side out. I find it best to leave the top of the notebook pocket open; there is less bulk there. {Fig. M: 1 & 2 & 3} Using a 1/2” seam sew all the way around (except for your open end) making sure to back stitch at the beginning and the end.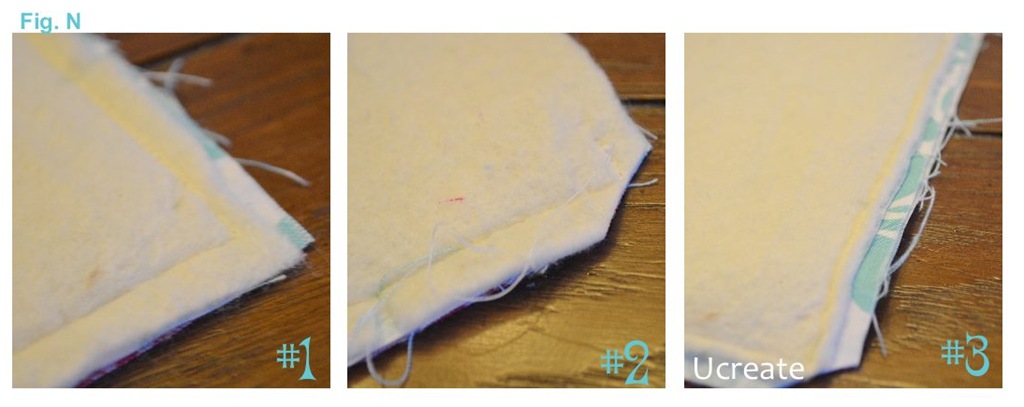
1. See these corners?
2. Clip the corners diagonal.
3. Cut the batting to the stitches (like before).
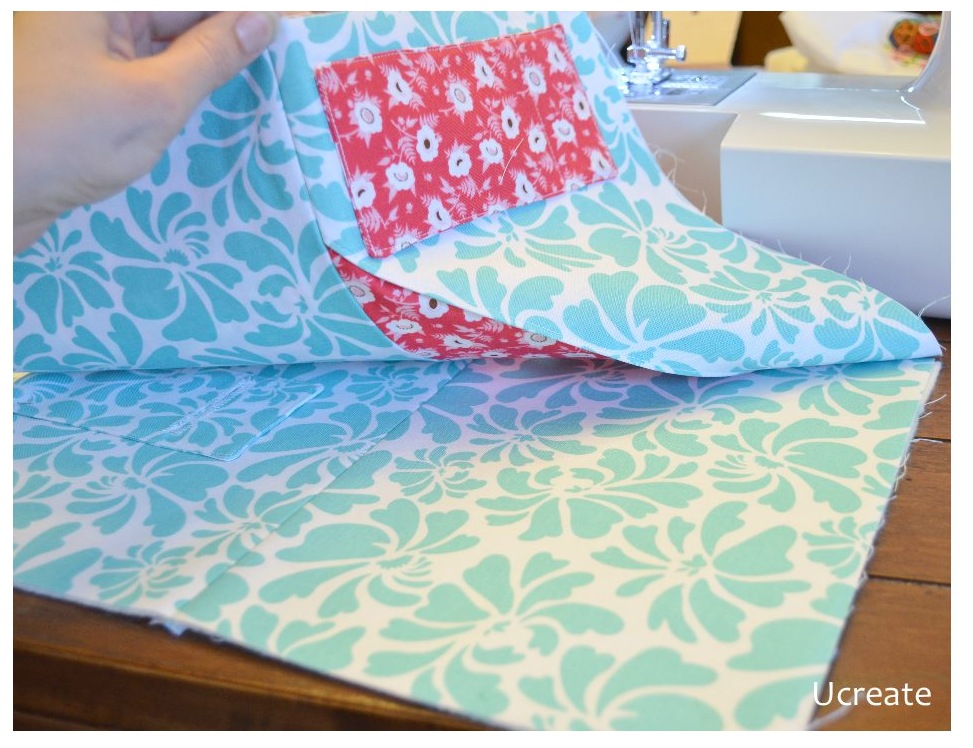
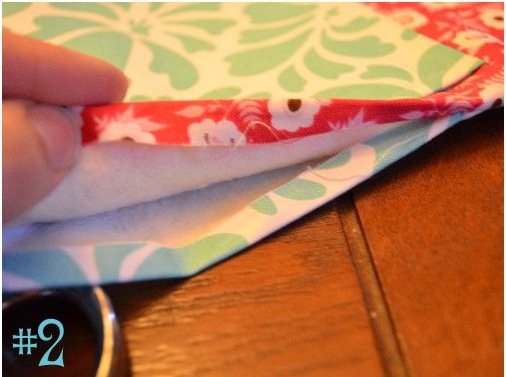
1. Turn the whole thing right side out. This process look like a hot mess, huh?
2. Should look like this. {Fig. O, #2} Make sure to push the corners out to create a point.
1. Iron the whole thing flat and pretty.
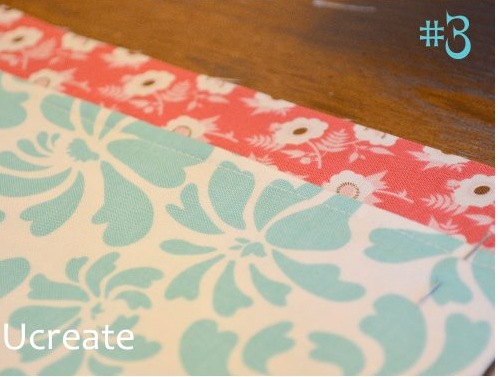
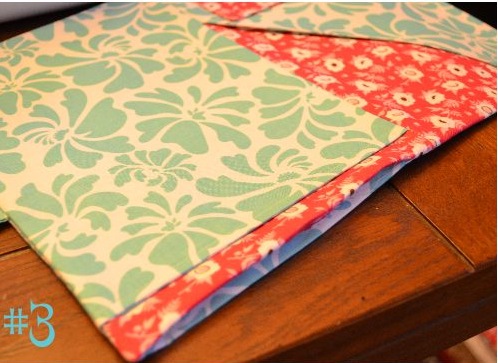
2. Turn the open edges in 1/2” and iron flat…
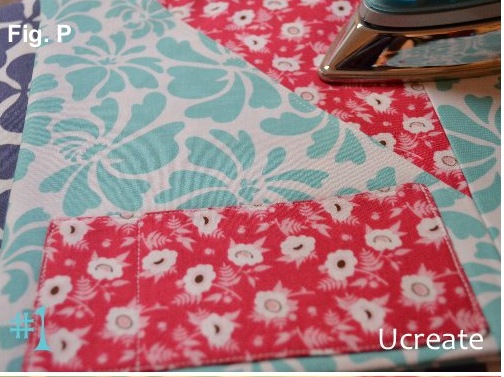
3. Like this. {see FIG. P, #3} ALMOST DONE!!
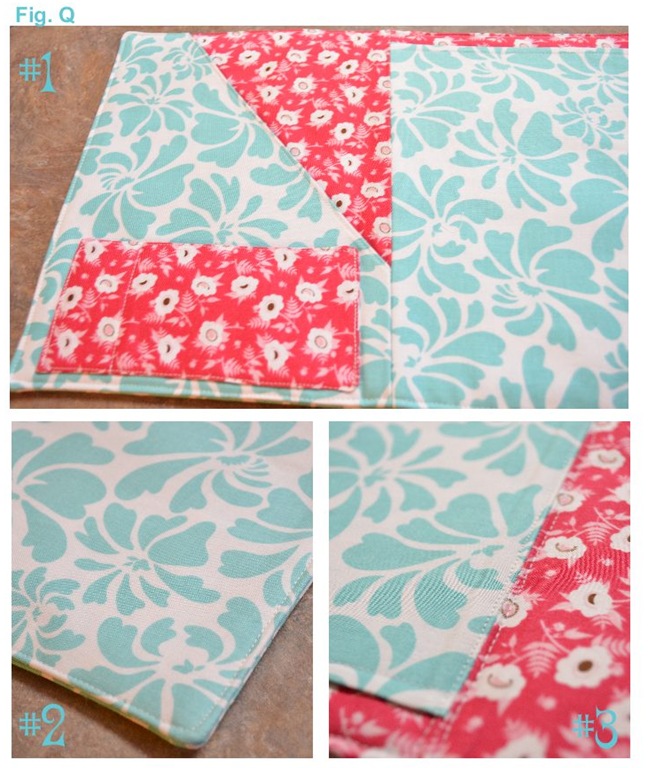
1. Top stitch 1/8” all the way around.
2. Close up of top stitched corner.
3. Top stitch on either side of the spine. Close the finished Notebook Folder and iron the seam shut a bit.
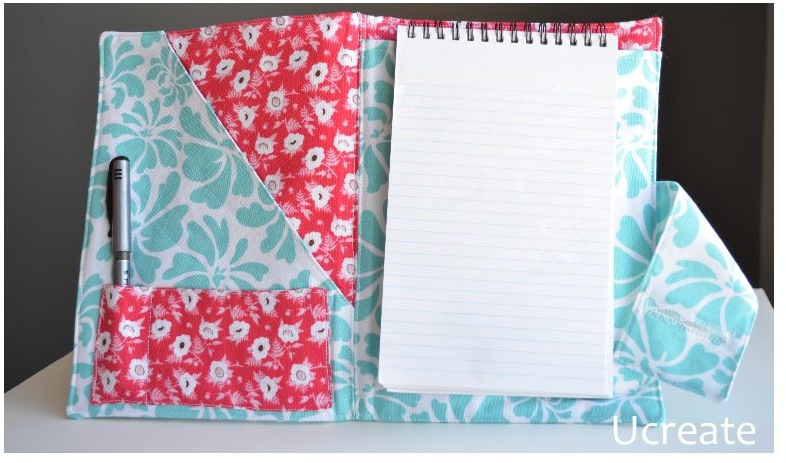
Insert your favorite notebook and pen and whatever else makes you happy…and you’re done!!
Let me know if you have any questions and I will be happy to help you: beckyucreate@gmail.com
Post By…








Very cute! Thanks for a great tutorial.
So super cute!
Thank you so much for sharing this. I can think of so many times I have needed a pen and paper in a hurry.
This is so cute! I live in Tanzania and have made it with local fabric for some of the women I work with in the villages. Everyone loves it and it makes a great gift. Thanks!