U Create
It's a good day to create!
About
Advertise
Contact
pinterest
facebook
instagram
twitter
rss
crafts
crochet/knit
jewelry
kids crafts
paper crafts
sewing
bags
boys-clothing
girls-clothing
women-clothing
pillows
quilts
home decor
bathroom
build it
frames
kids
kitchen
office
recipes
desserts
dinner
snacks
soups
parties
baby shower
birthday
games
gift wrapping
party decor
party favors
printables
holidays
Christmas
Easter
Father’s Day
Halloween
July 4th
Mother’s Day
New Years
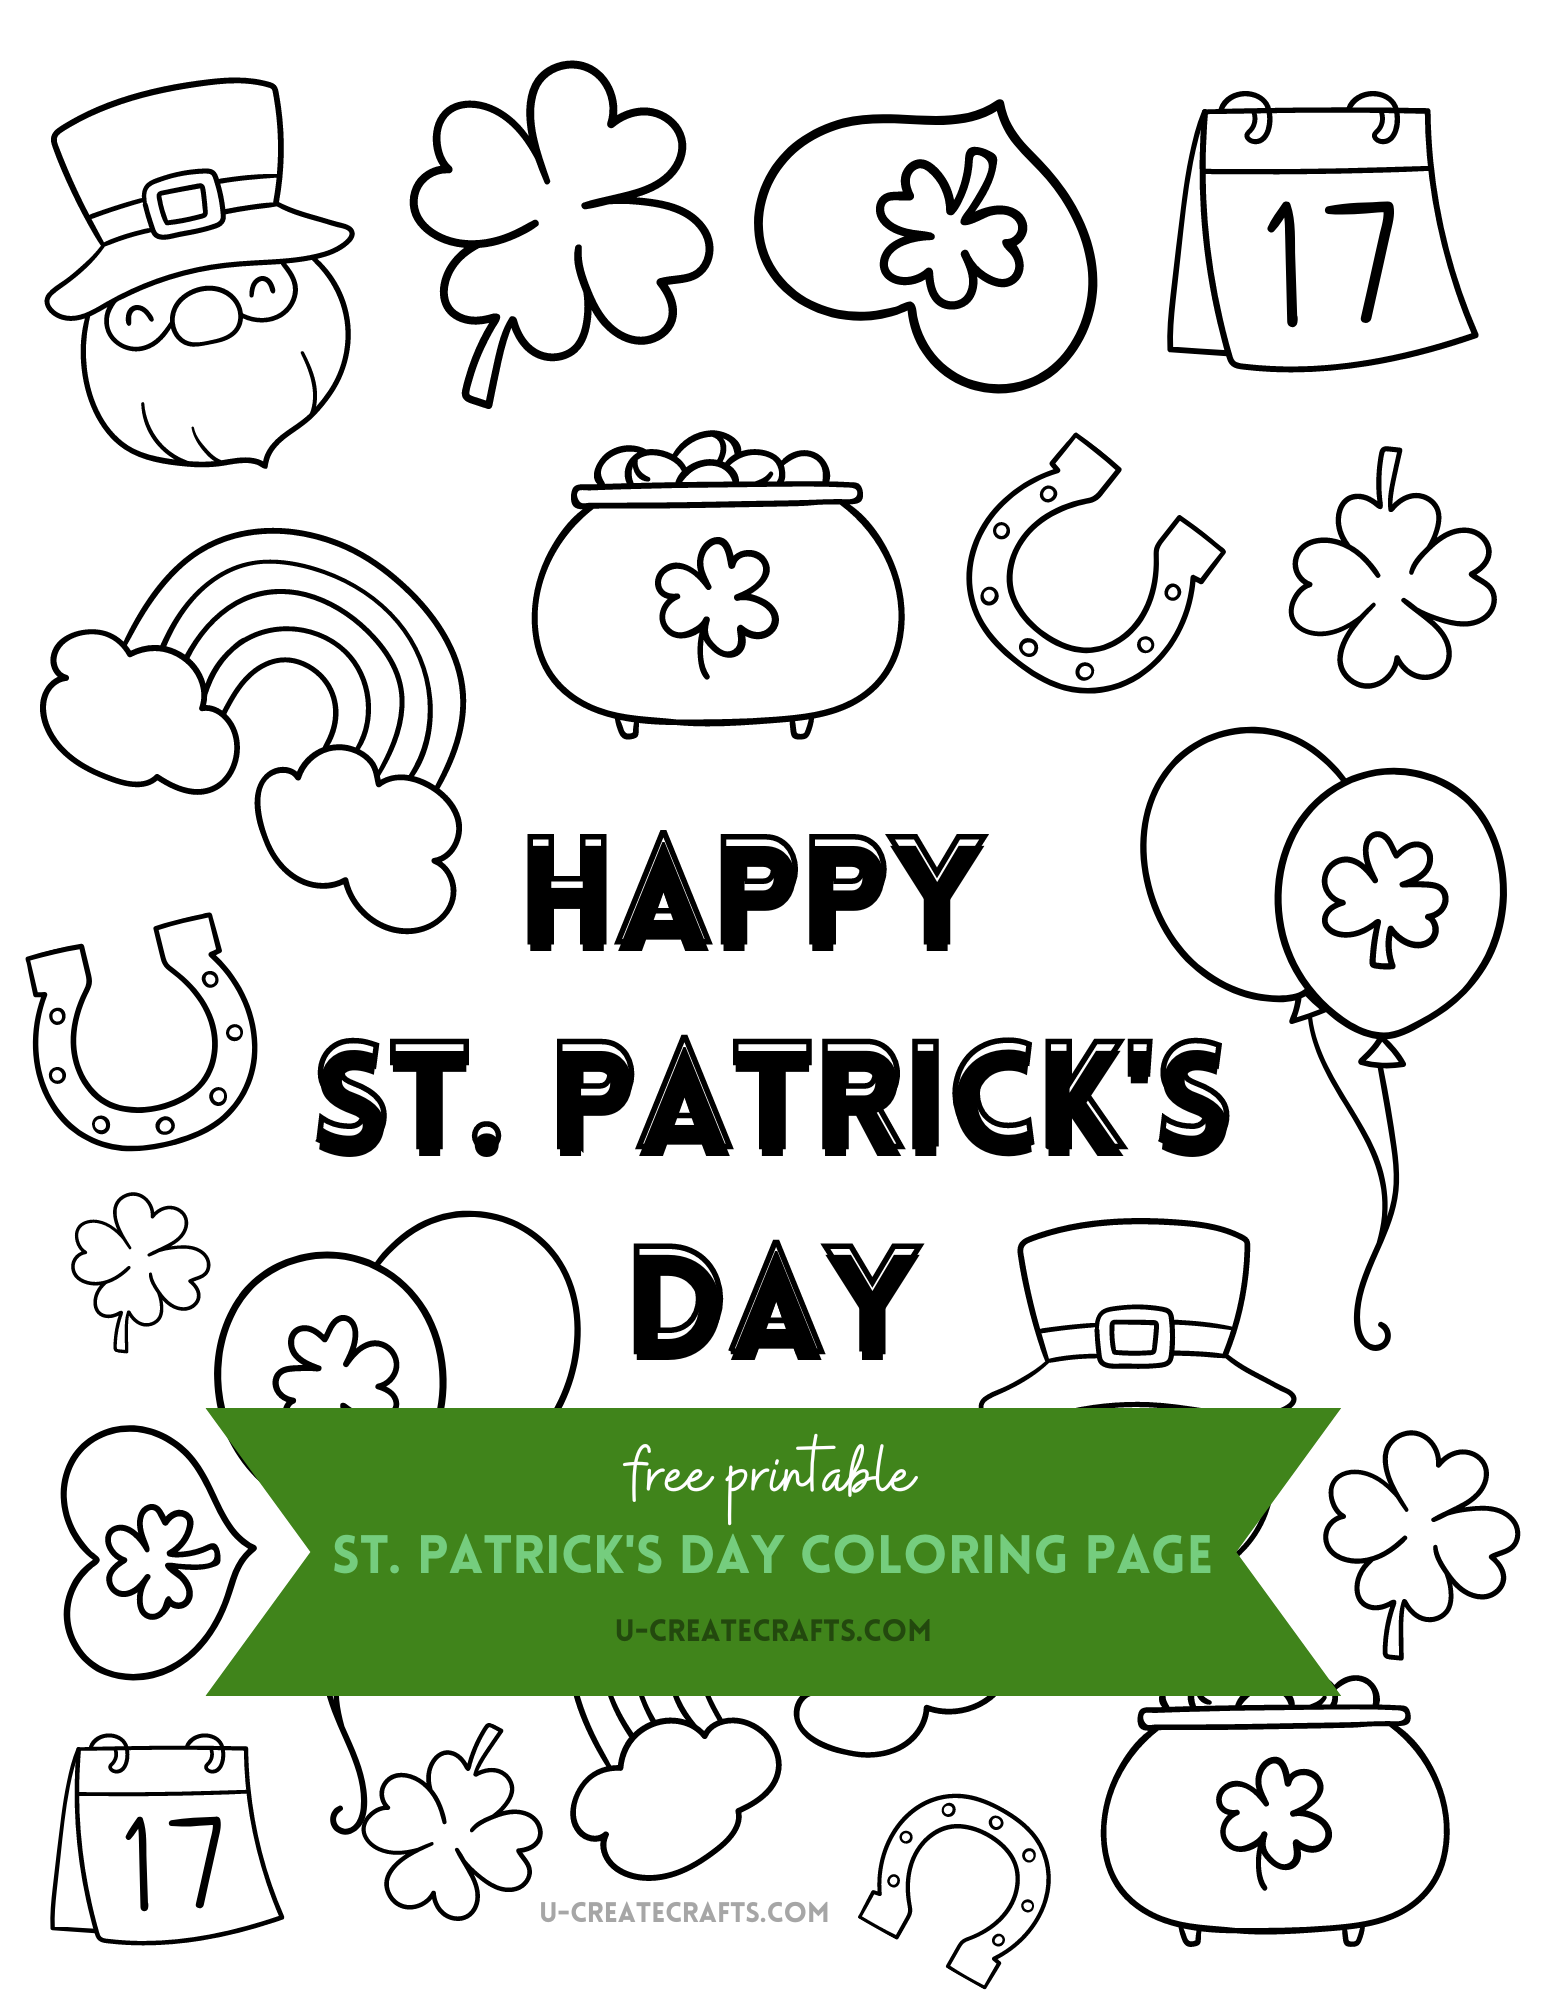
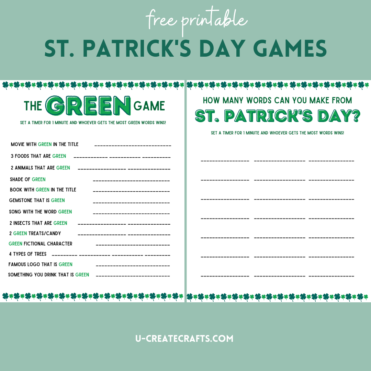
St. Patrick’s Day
Thanksgiving
Valentine’s Day
gifts
baby
electronics
graduation
teacher gifts
About
Be My Guest
Advertise
Contact
pinterest
facebook
instagram
twitter
rss
Our most popular posts!
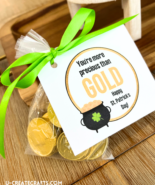
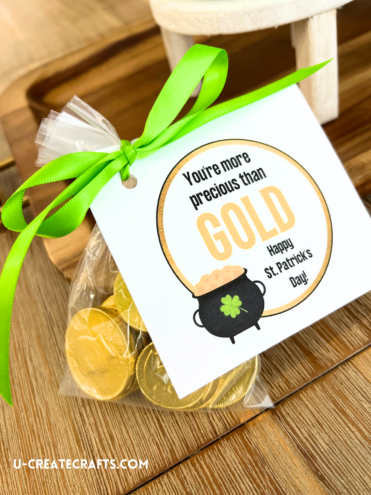
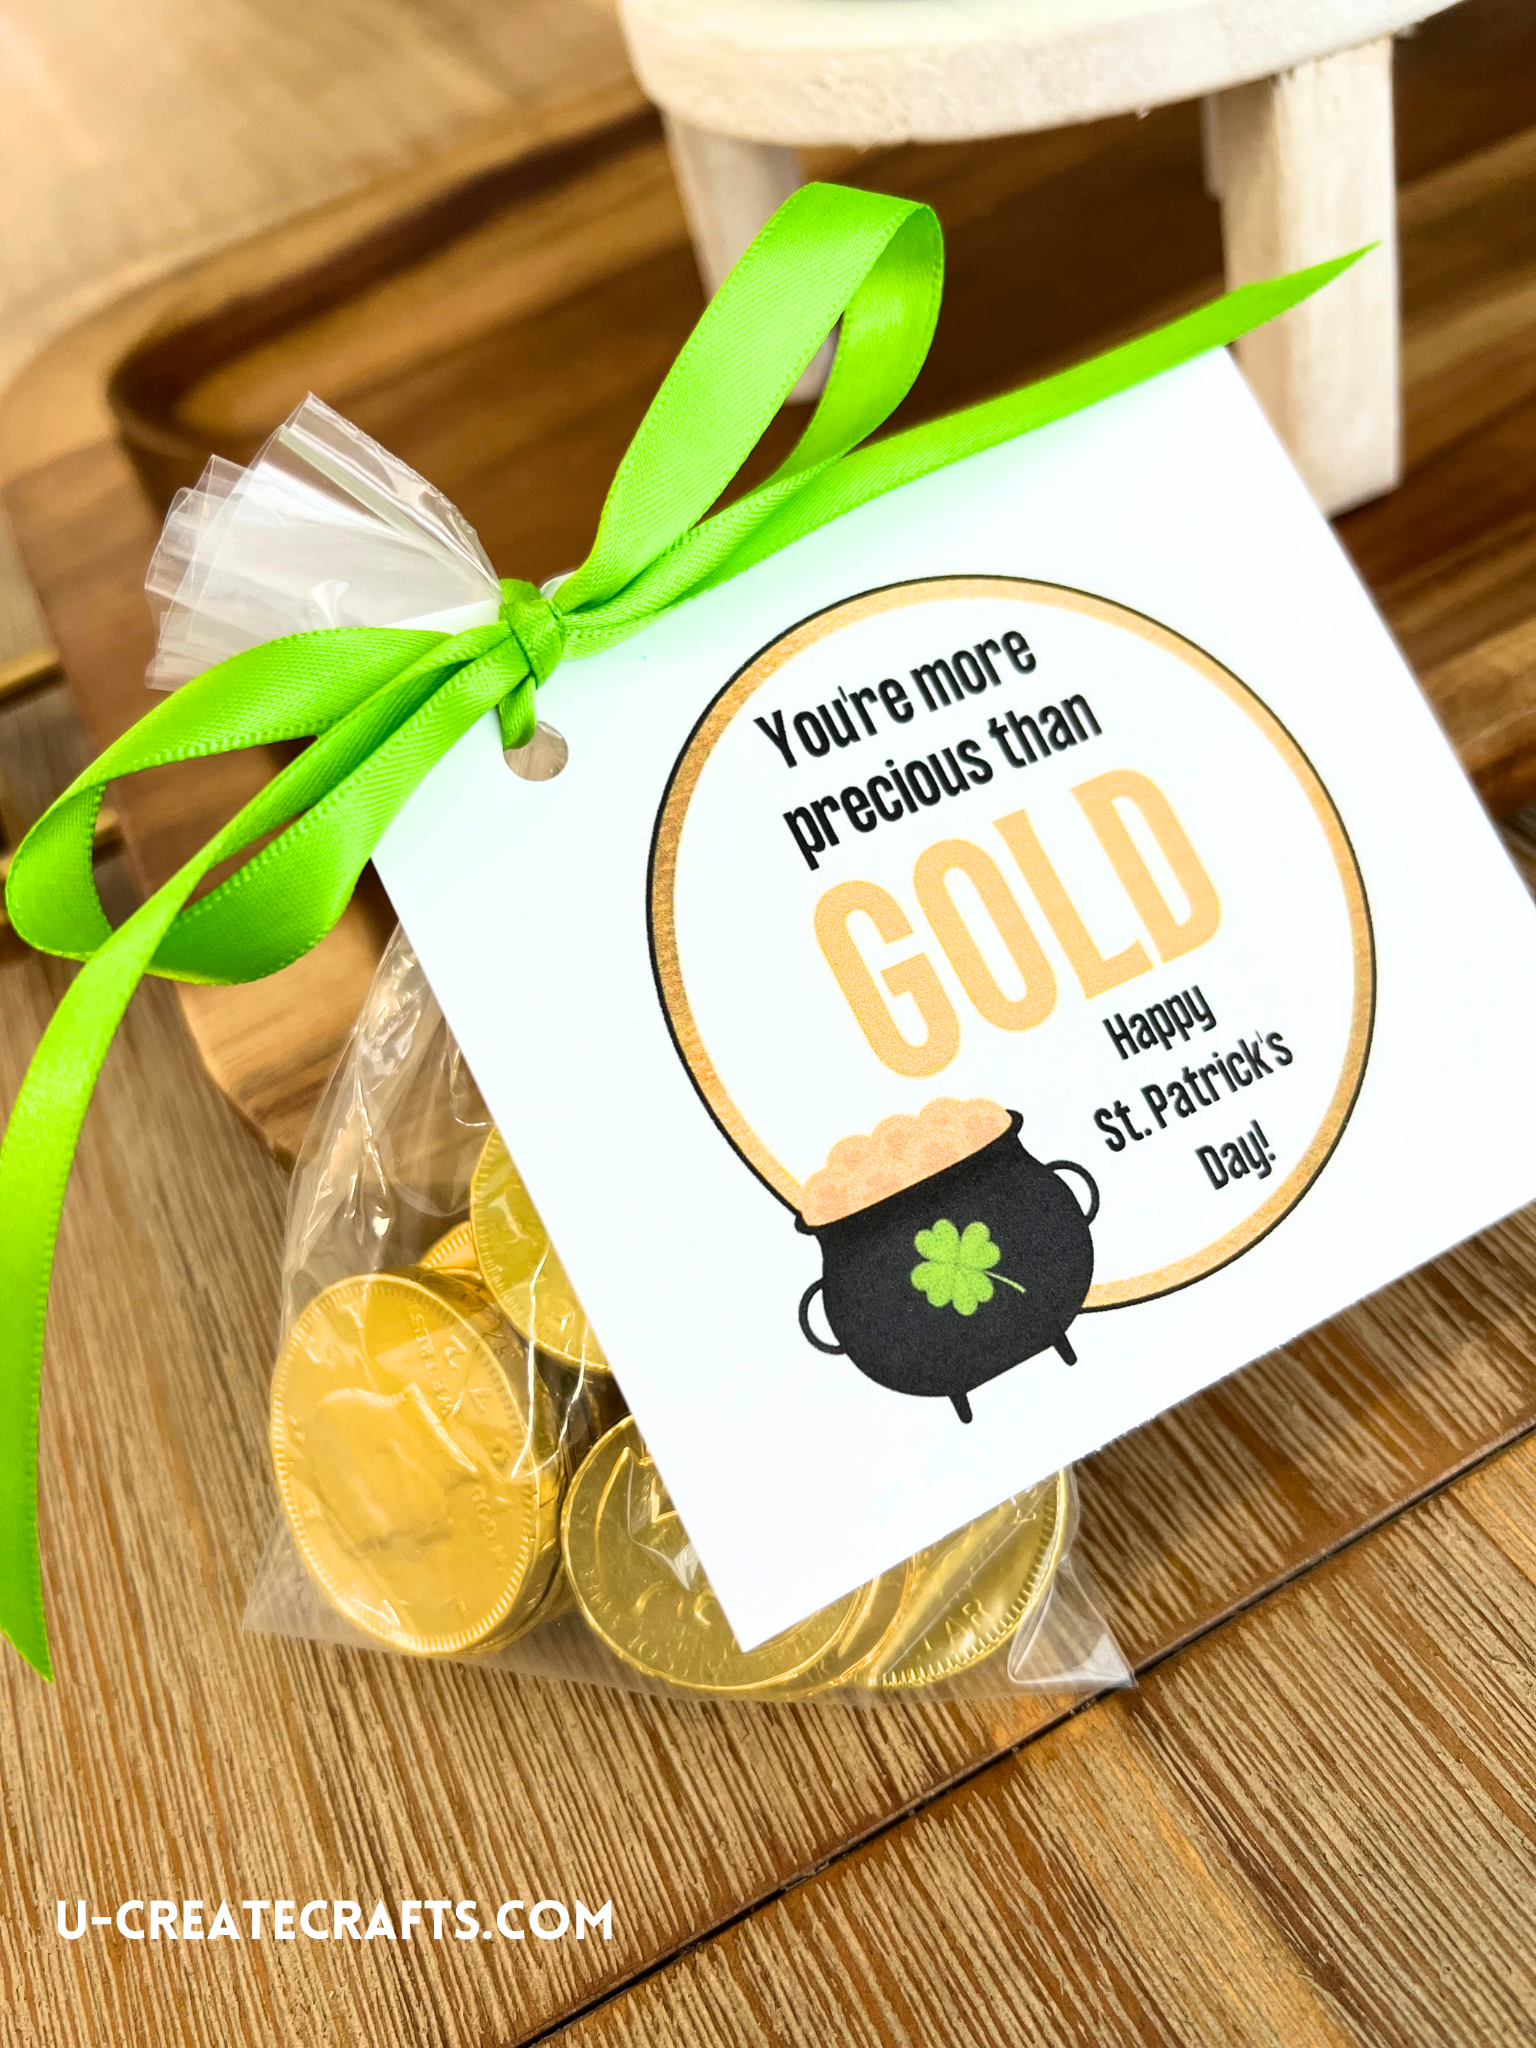
St. Patrick’s Day GOLD Printable
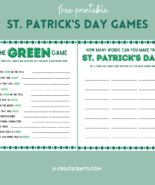
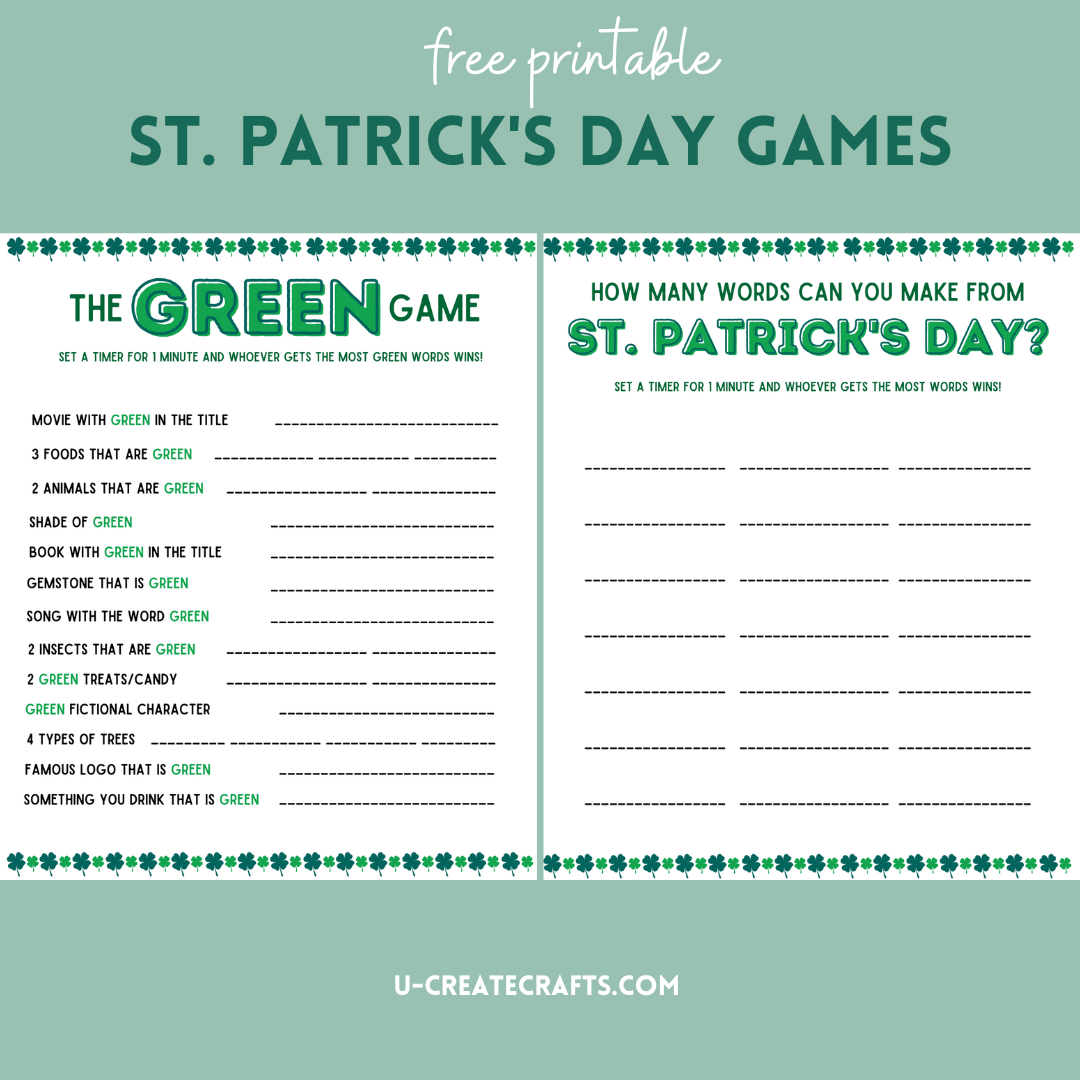
St. Patrick’s Day Game Printables
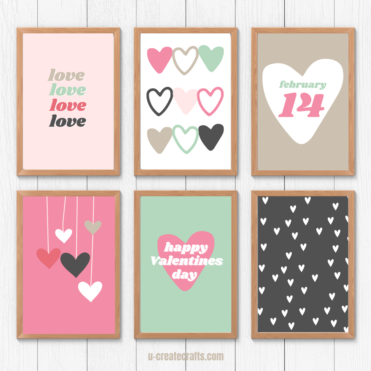
Valentine Art Printable Set
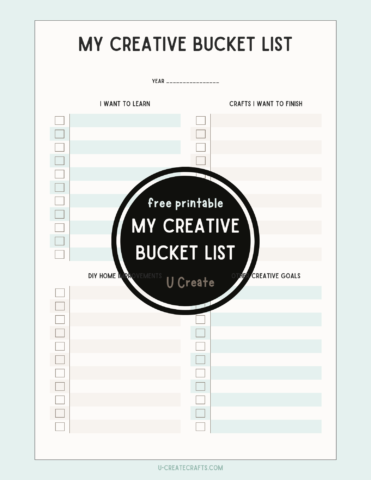
Free Printable: My Creative Bucket List
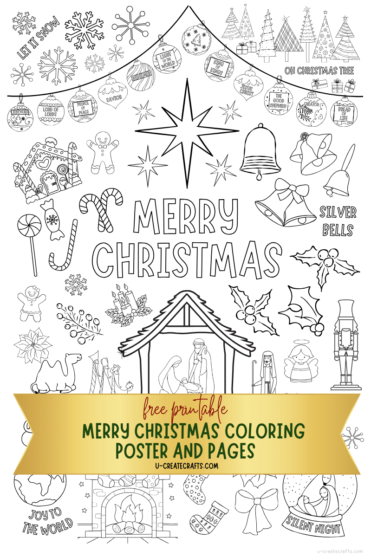
Merry Christmas Coloring Poster
Embroidered Christmas Ornaments
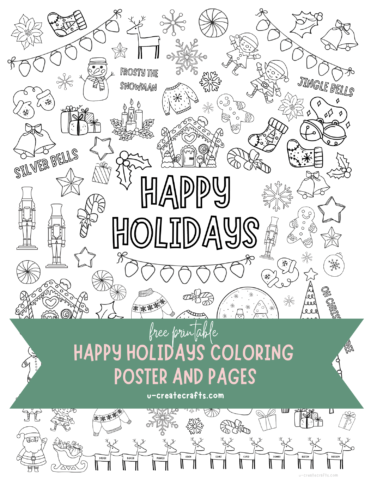
Christmas Holiday Coloring Poster
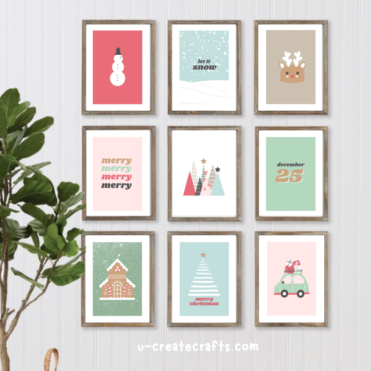
Holiday Christmas Art Printables
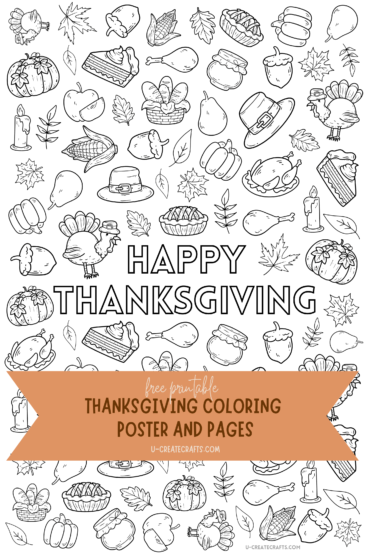
Thanksgiving Coloring Poster Printable
1
2
3
…
105
Next