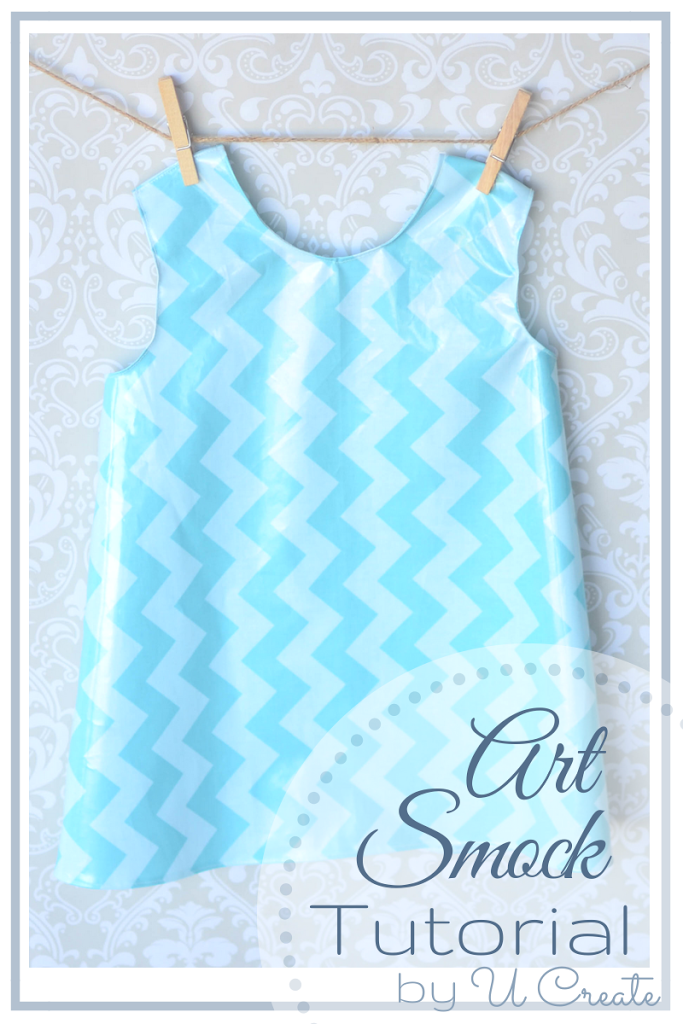
My preschoolers LOVES to paint! I am not talking about the dollar store water colors either. She likes the acrylic paint “that mommy uses.” So I usually put an old shirt of mine over her clothes and let her paint shoe boxes and butcher paper. That is until I was introduced to laminate fabric. I knew EXACTLY what to make with it: an Art Smock for the little one. So of course I created a sewing tutorial to share with you.
- 1/2 yard of Riley Blake Laminate Fabric
- Butcher paper to create the pattern
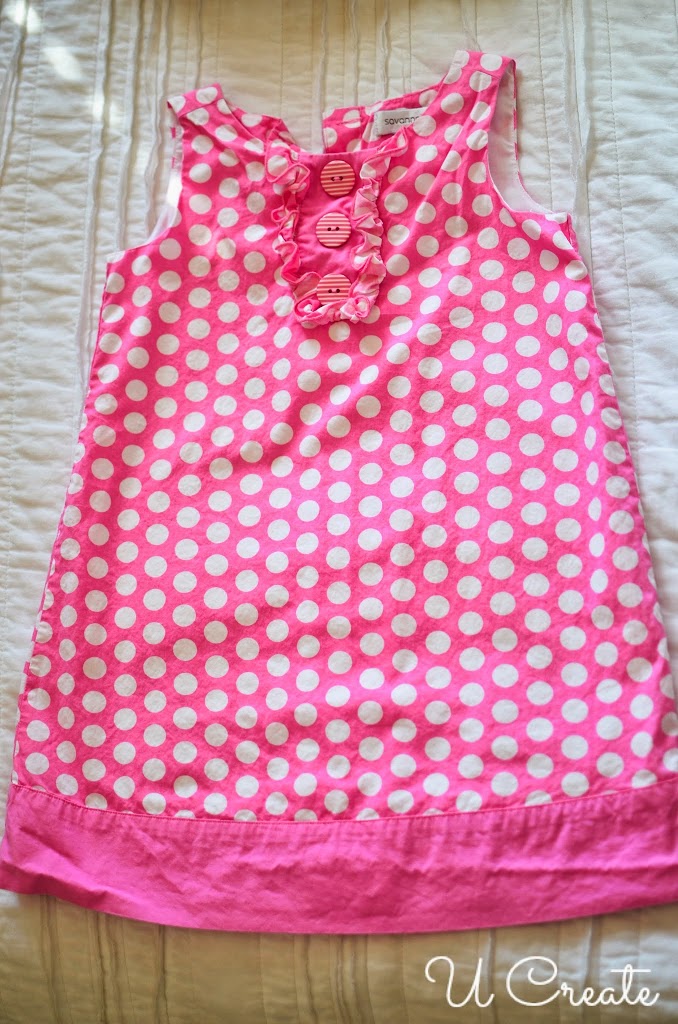
- a sundress to create the pattern
- Sewing Essentials: Matching thread, pins, Sew machine, scissors, serger (if you have one)
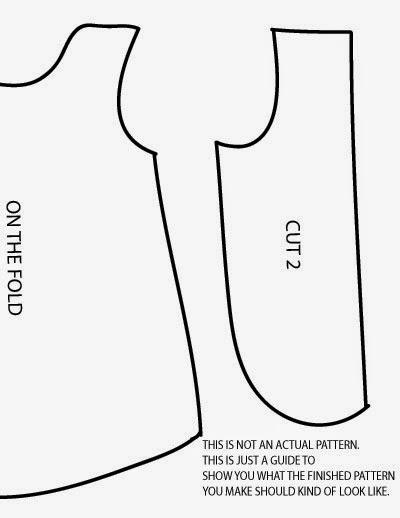

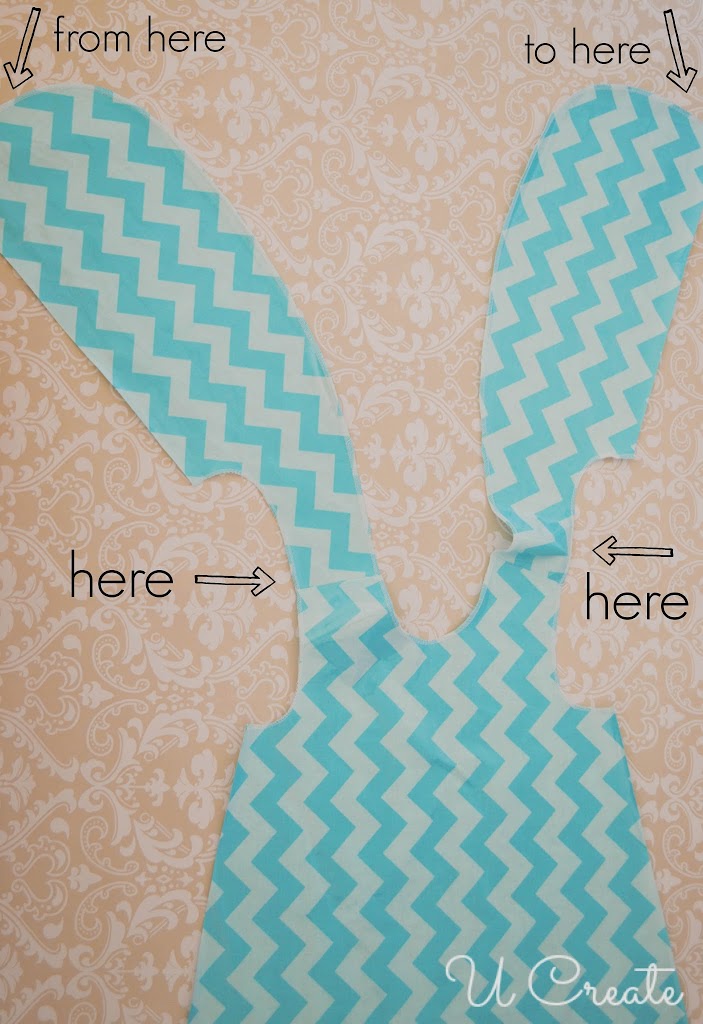
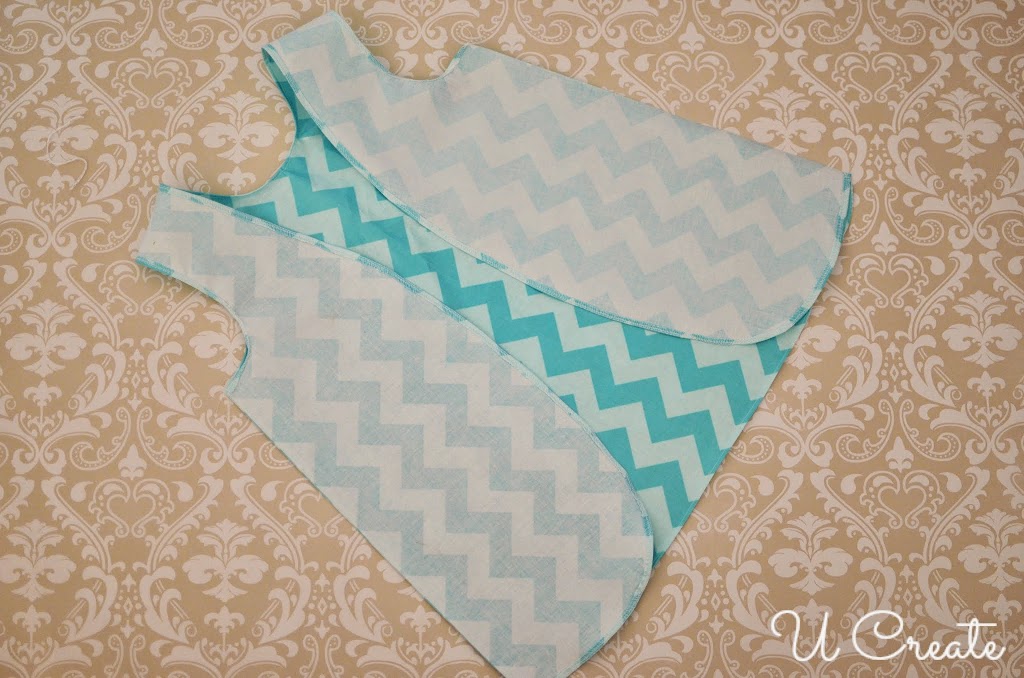
1. Cut out your laminate fabric using your hand drawn pattern.
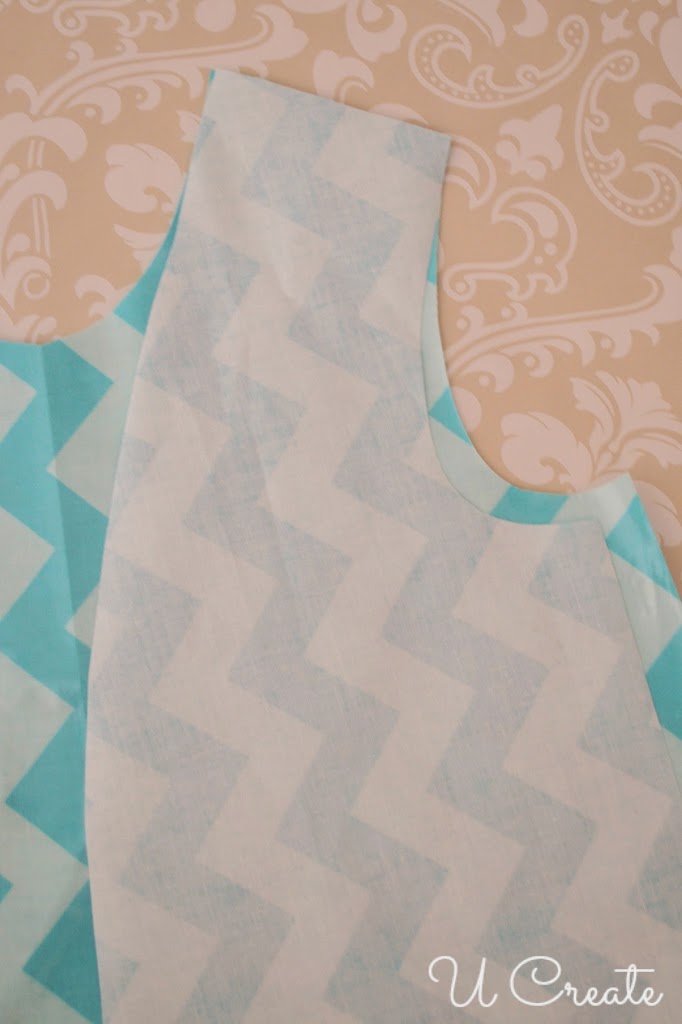
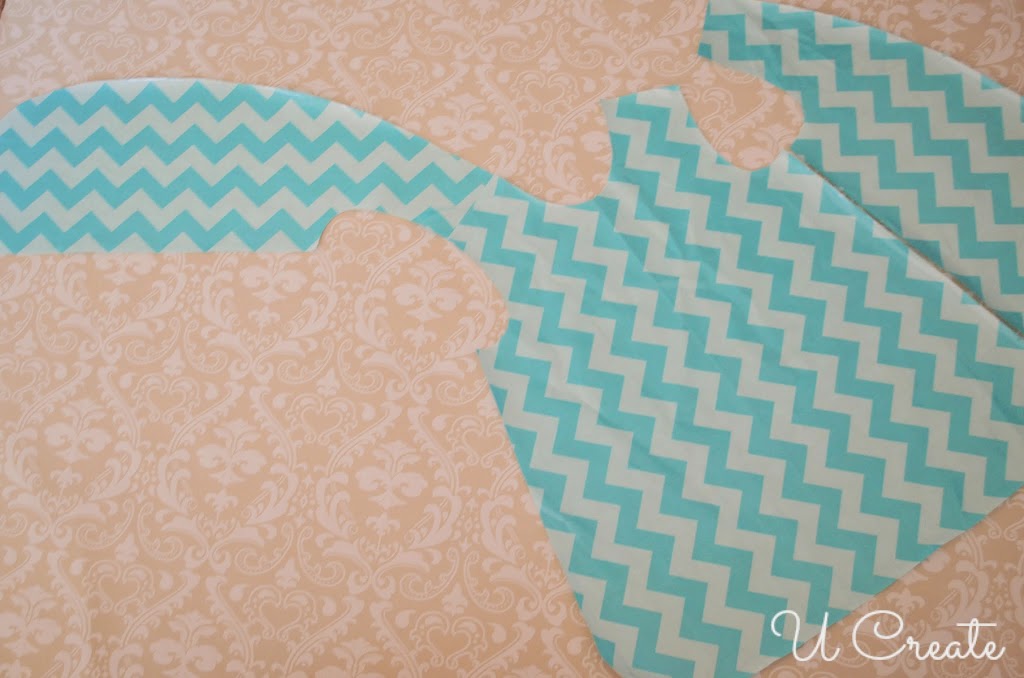
This photo shows one side sewn on and the other not yet sewn. It will begin to look like ears attached to the front of a dress.
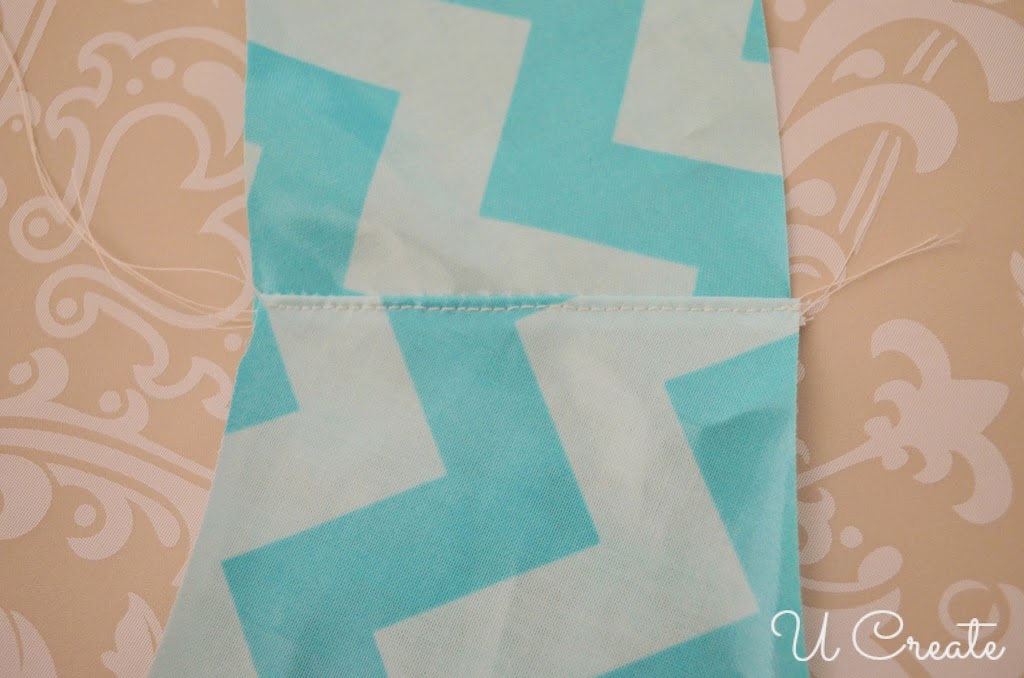
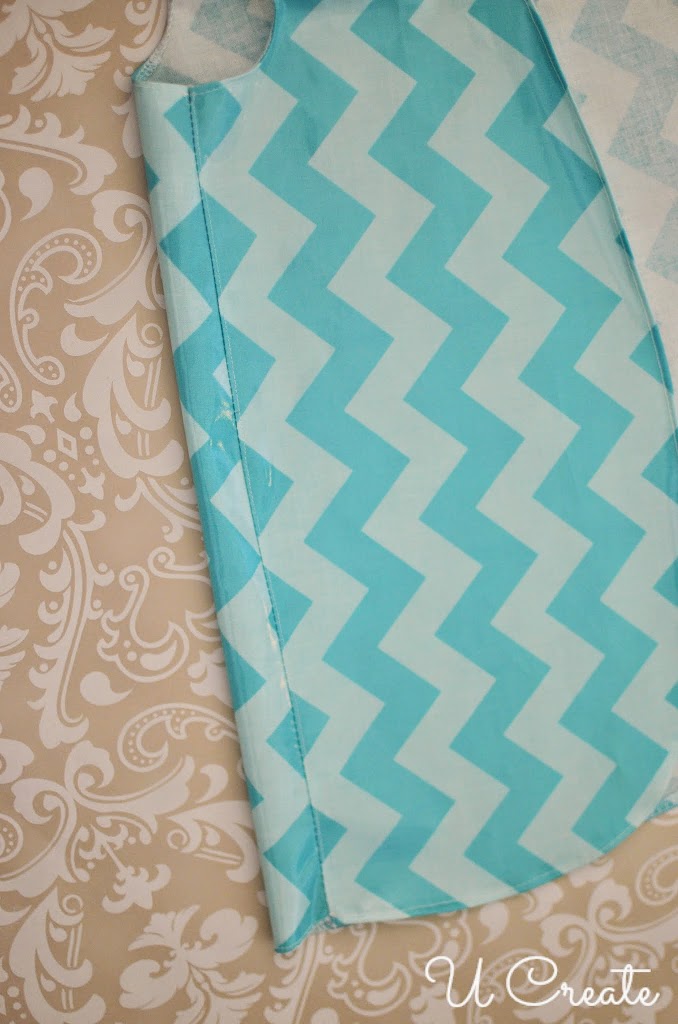
3. Top-stitch the shoulder seam. Top-stitching is just adding a tiny stitch on the seam you just sewed together.
Above you can see one side is top-stitched down and looks nice and the other is just sewn together without the finishing top-stitch. I always add a top-stitch because it just makes the garment look
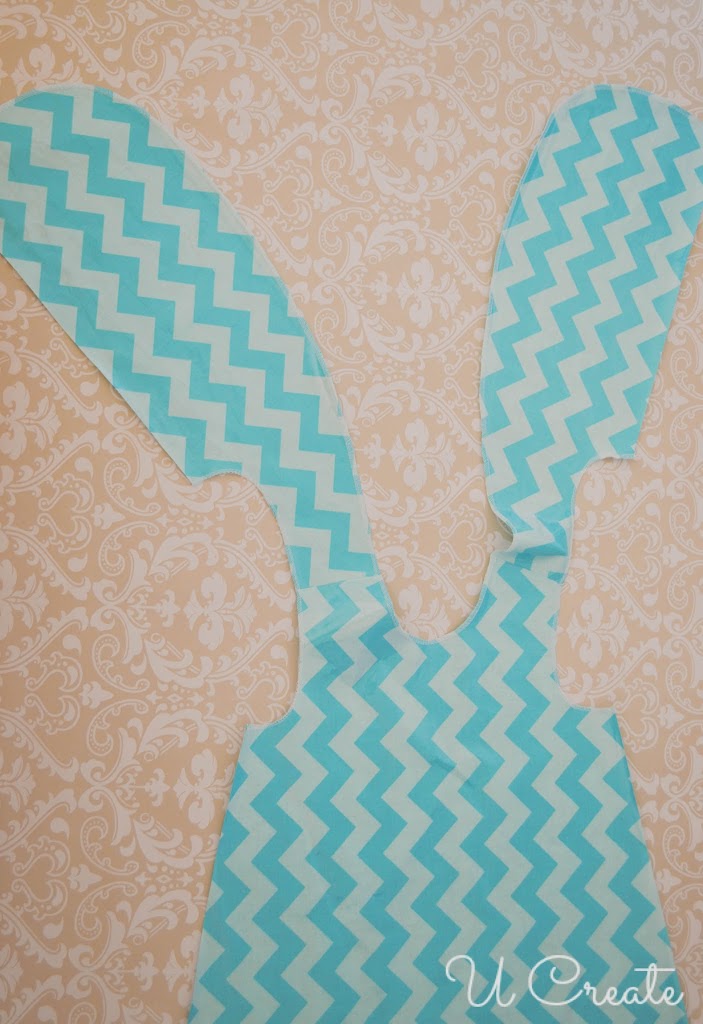
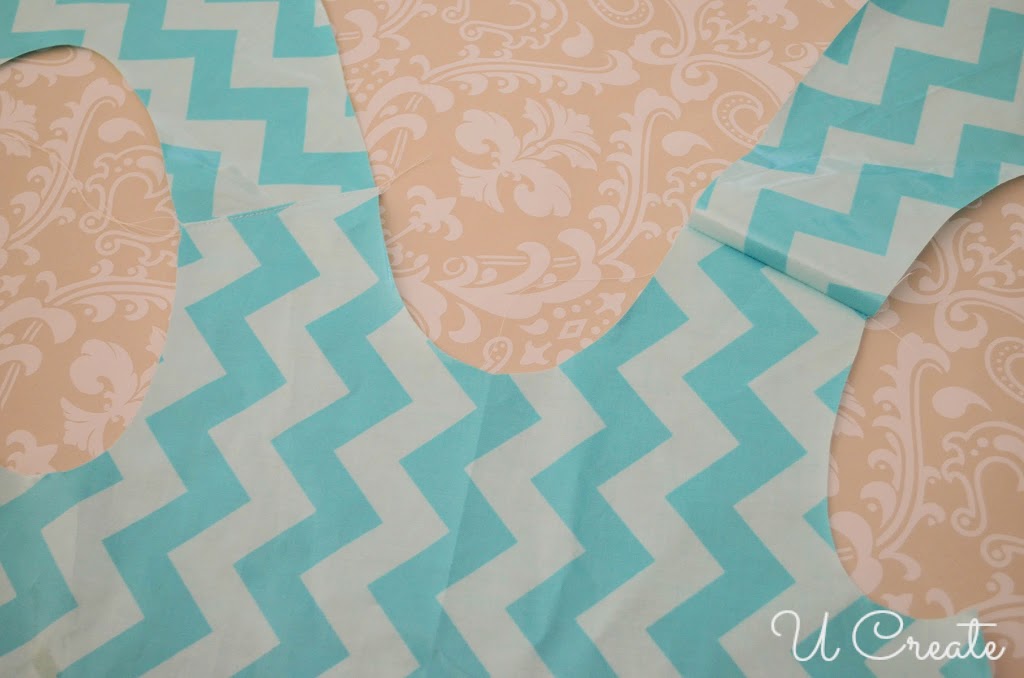
4. You’ve created the bunny ear look now. 🙂 Before we sew the sides together, we are going to finish the raw edges.
I have found that it is easier to hem the arm holes and around the unfinished raw edges now rather than trying to do it when the garment is completely sewn. Wrong or right, that is the best way I have found for me.
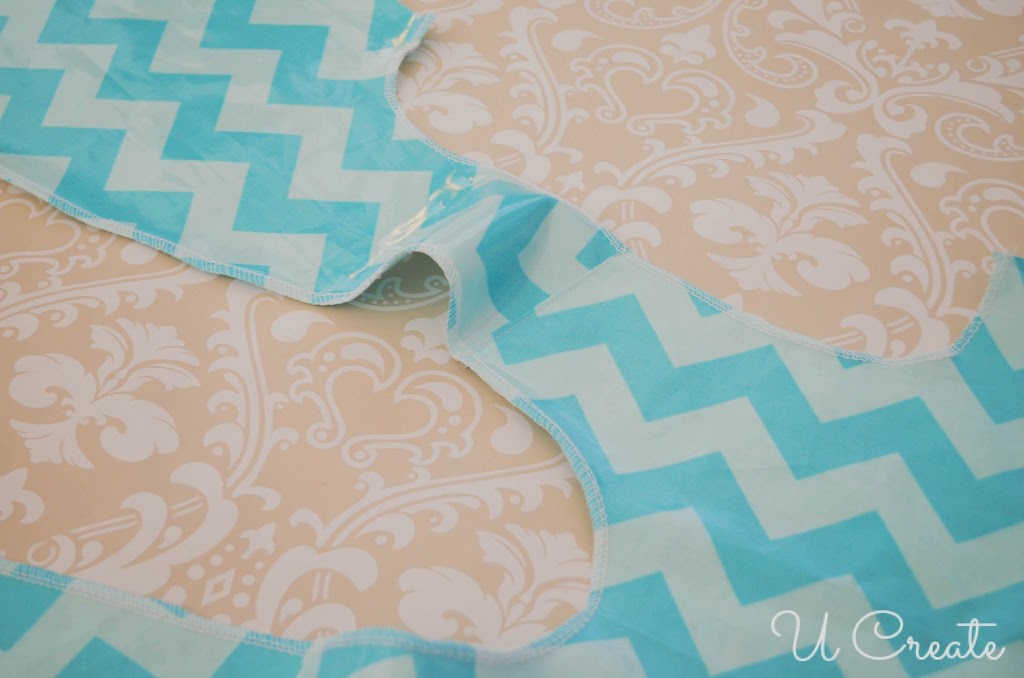
This photo is just to show you what I mean by serging and zig zag stitching. The only part NOT sewn on at this point is the sides where we will sew the garment together.

6. Because I CANNOT iron the laminate fabric to create the crease where I would sew and I don’t like pinning the fabric, I used the serged stitch as the guide to where I would hem the raw edges. I just folded it over as I went.
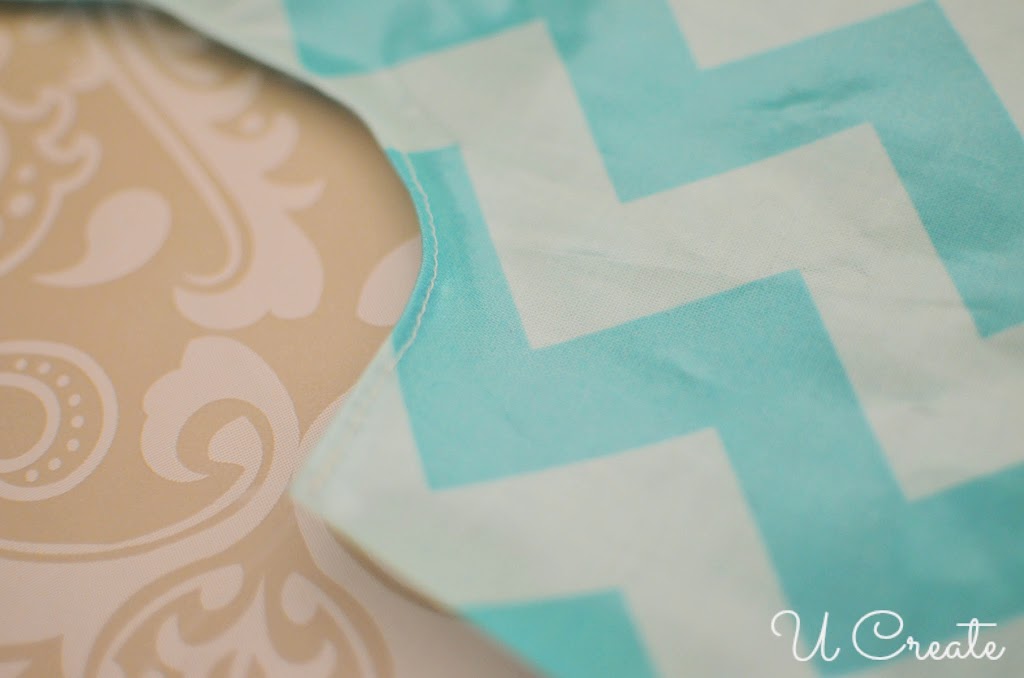
The bobbin thread ends up being your top-stitch. Above is a finished arm hole.
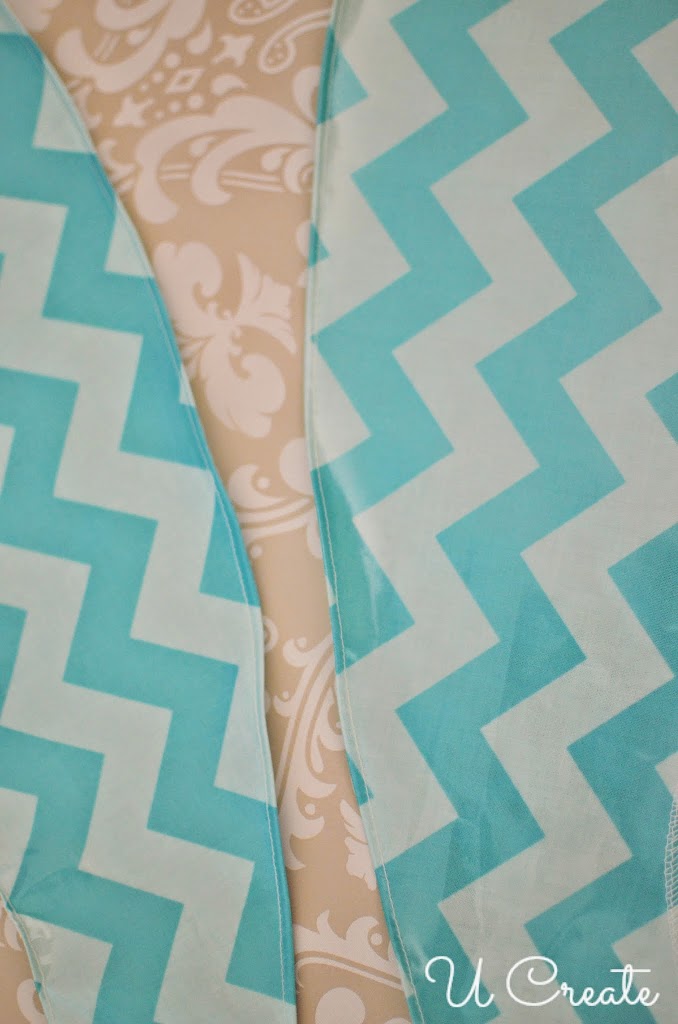
And here is the finished back. Now all the raw edges are turned under and look finished.
7. Next we are going to sew the sides together! Putting the right sides together, sew down the sides using 1/2 inch seam allowance.

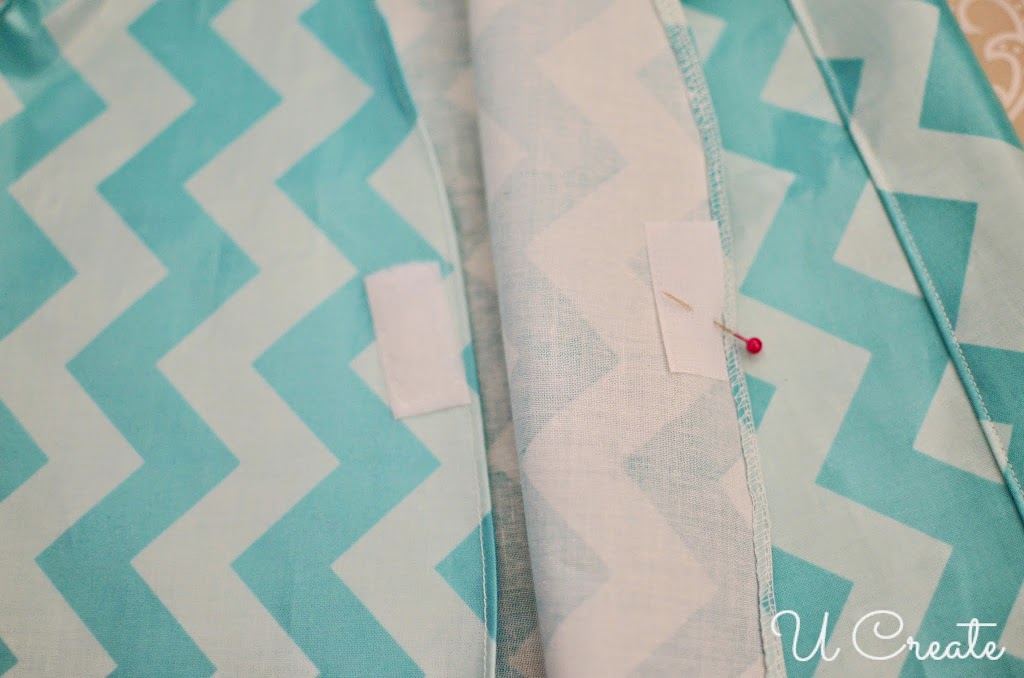
10. Add the other side of the Velcro to the inside of the back and sew all the way around it.

Ta-Da! You are all done and your little one is ready to get messy. The laminate fabric wipes right off and is also perfect for bibs! I love this stuff.
If you are a bit nervous to sew with the laminate, try this Roller Sewing Foot! It helps pull the fabric through.
Happy sewing!
Posted By: Becky


Leave a Comment