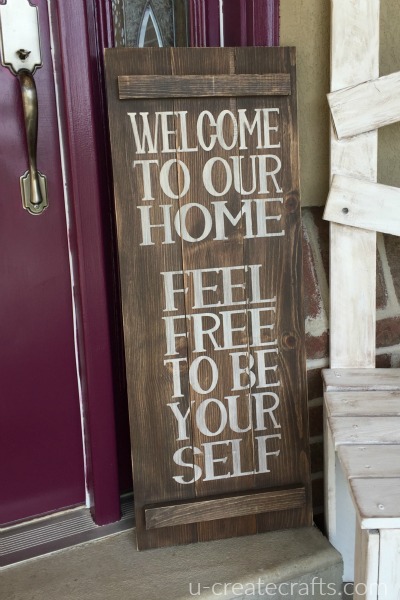
One of my favorite things from my front porch makeover is the welcome sign I made. It’s a simple and easy DIY project that makes a big impact.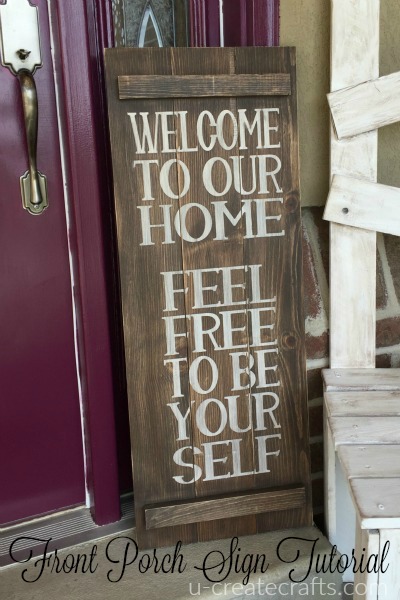
Supply List:
- Foam brushes (one for paint; one for stain)
- Slat board 11.25″ x 17.75″ **The Wood Connection has the boards for $6.95; my board, however, is a “large porch sign” (about 3 ft high and 14″ across) only available in stores and not online. No worries though, I have adjusted the vinyl to fit the slat board**
- Dark wood stain
- light paint (I used a sampler of Valspar March Breeze)
- fine sandpaper (180 grit or higher)
- glossy sealer (I used Mod Podge Clear Acrylic Sealer)
- vinyl stencil 11″x17″ (purchase from us here for $10.50)
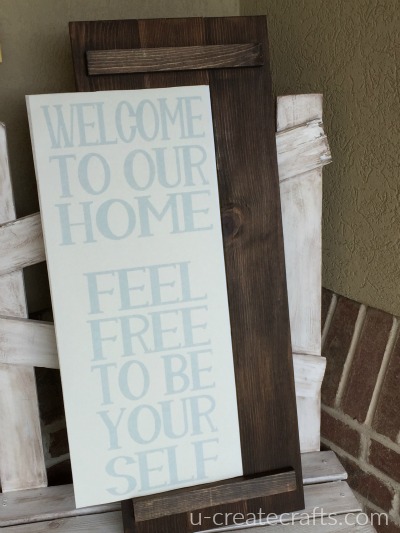
Step #1: Stain and seal the wood.
I did this the hard way and didn’t seal the wood until the last step which made the vinyl stencil SUPER frustrating to adhere. A few unhappy words may have escaped my mouth. So make your life easier and lay down a thin layer of sealer. I am confident that will help.
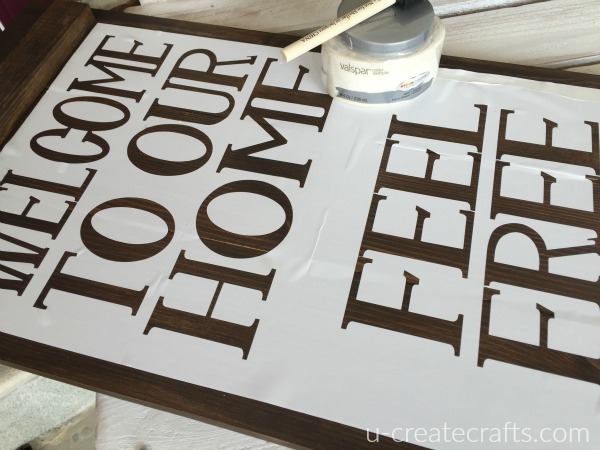
Step #2: Apply the vinyl stencil.
Do it patiently and carefully. I applied the vinyl in 2 sections. You can even cut each line and apply them one at a time. Make sure there are no bubbles around the letters though. You don’t want paint getting under the vinyl…that kind of defeats the purpose of a stencil, huh?
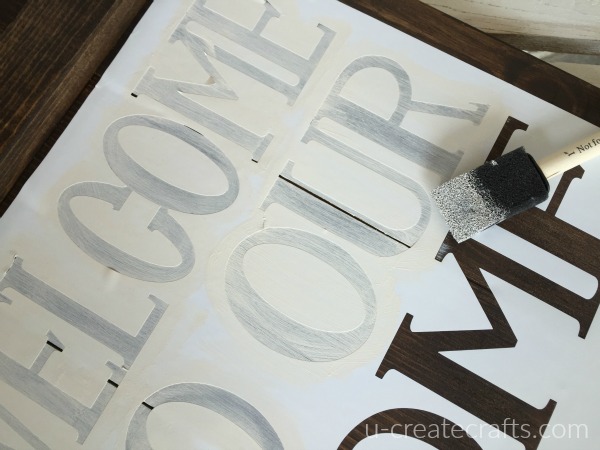
Step #3: Apply the paint and remove vinyl
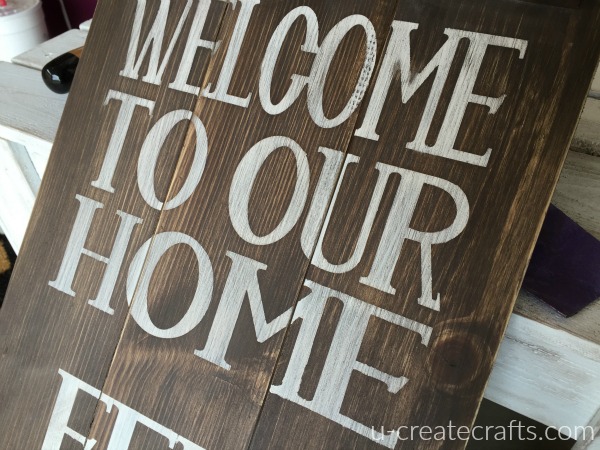
I used a sponge brush and dabbed on the first layer of paint. Once that was dry I painted on another layer and slowly removed the vinyl.
Step #4: Sand the letters and apply sealer
With a fine grit sandpaper go over the letters and smooth everything out. Then spray on a nice coat of acrylic sealer to protect it from the weather.
 Step #5: Put it on display
You can either add hardware to hang the sign or you can just lean it against something on your front porch. I had every intention of hanging it above my doorbell, but when I leaned it against the door window to dry, I was kind of really happy with where it was. So there it remains!
Post by Becky

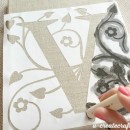

Do you make vinyl stencils with any saying we send you? I have never made one, nor did I know I could order them from people with, I assume, those machines?
Thanks!
What type of vinyl should I use to stencil on wood like your sign above? How do I transfer it to my wood to stencil? I’m assuming I weed just the opposite way I would if I wanted the letter to be on the sign instead of painting.
Hi Tracie,
I use whatever extra vinyl I have laying around, usually Orcal 631. However, I have heard that contact paper is great to use also.