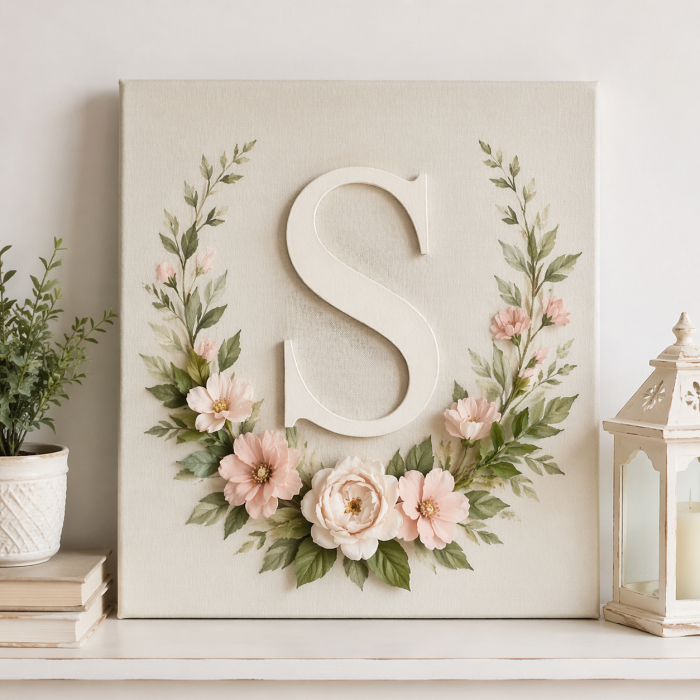
There’s something so special about decor that feels personal, and this monogram canvas does exactly that in such a soft and beautiful way. With a neutral background, a dimensional letter, and faux florals and greenery, this project feels elegant without being hard to make. It’s perfect for a bedroom, nursery, entryway, or as a thoughtful handmade gift.

Supplies:
- 12×12 or 16×16 stretched canvas
- Wooden or chipboard letter
- Acrylic craft paint in warm white or soft cream
- Foam brush or paintbrush
- Faux flowers
- Faux greenery stems
- Hot glue gun and glue sticks
- Wire cutters or scissors
- Pencil
- Ruler
Instructions:
- Paint the canvas and letter.
Start by painting your canvas a soft neutral shade if needed. A warm white, ivory, or pale linen color works beautifully for this look. Paint the wooden letter S in the same tone or one shade brighter so it stands out just slightly from the background. Let everything dry completely. - Plan your layout before gluing.
Place the letter S in the center of the canvas. Use a ruler to make sure it feels balanced. Then begin laying your greenery around the lower half of the letter in a soft wreath shape. The design in the mockup has the florals rising upward on both sides, with fuller flowers clustered near the bottom. - Build the greenery base first.
Trim your greenery into smaller pieces and start hot gluing the stems around the bottom curve of the letter area. Let the leaves extend outward and slightly upward on each side. This creates the soft framed look and gives you a natural base for the flowers. - Add the largest flowers. Place your biggest blooms near the bottom center and lower sides of the arrangement. This helps anchor the whole design and gives it that full, layered look. Keep the flowers slightly asymmetrical so it feels natural and not too stiff.
- Fill in with smaller blooms.Add medium and smaller flowers around the greenery, especially along the lower corners and a little way up each side. Stick to a soft palette of blush, ivory, and pale pink to keep the project elegant and light.
- Attach the monogram letter. Once you’re happy with the floral placement, glue the letter S in the center of the canvas. You can glue it down before or after the florals, but adding it after the base layout often makes spacing easier.
- Tuck in finishing pieces. Add a few extra leaves or tiny floral pieces anywhere the arrangement feels sparse. The prettiest version of this project has a gentle, airy look, so avoid overfilling every space.
- Clean up and seal if desired. Remove any visible glue strings and check that all the flowers are secure. If you want extra protection, lightly spray the finished canvas with a matte sealer.
This DIY monogram canvas is such a lovely way to create personalized wall art that feels soft, timeless, and handmade in the best way. The floral details make it feel extra special, and the letter gives it that custom touch that works beautifully for your own home or as a heartfelt gift.


I just love this idea and may use it to make my mom a DIY gift. I’ve already bought a gift, but my mom is so wonderful, I want to celebrate her even more!!
I’m glad I found your blog and you give great instruction while posting pictures throughout the project. This is a site I’ll visit frequently.
I would like a “S” stencil