
Hey Guys!!
We were so excited that our sweet friend Kari asked us to come play over at her blog this week!!
The theme of the week is right up our alley!
CHEAP… Whoop!
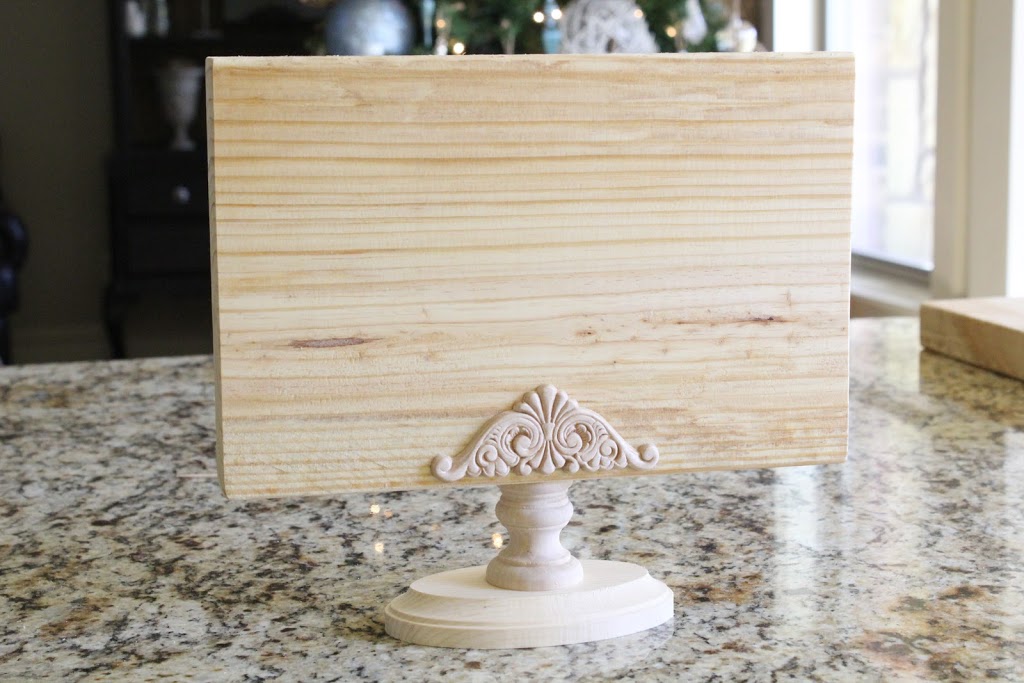
So my project is a great gift for neighbors, teachers, friends or family! Here is the finished product…
It’s a super simple photo, recipe or memo display!
Here is how to make it!
All of these supplies can be found at craft stores and hardware stores.
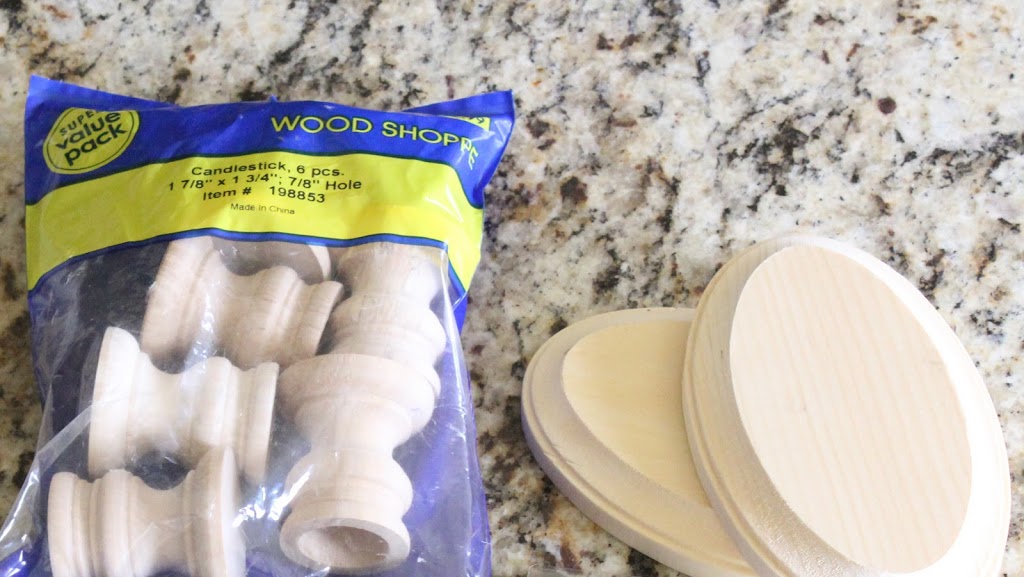
You will start with some wood ovals and a bag of small candlesticks. I got mine from Hobby Lobby. The wood ovals were $.50 a piece and the candlesticks were $2.99 for the bag.
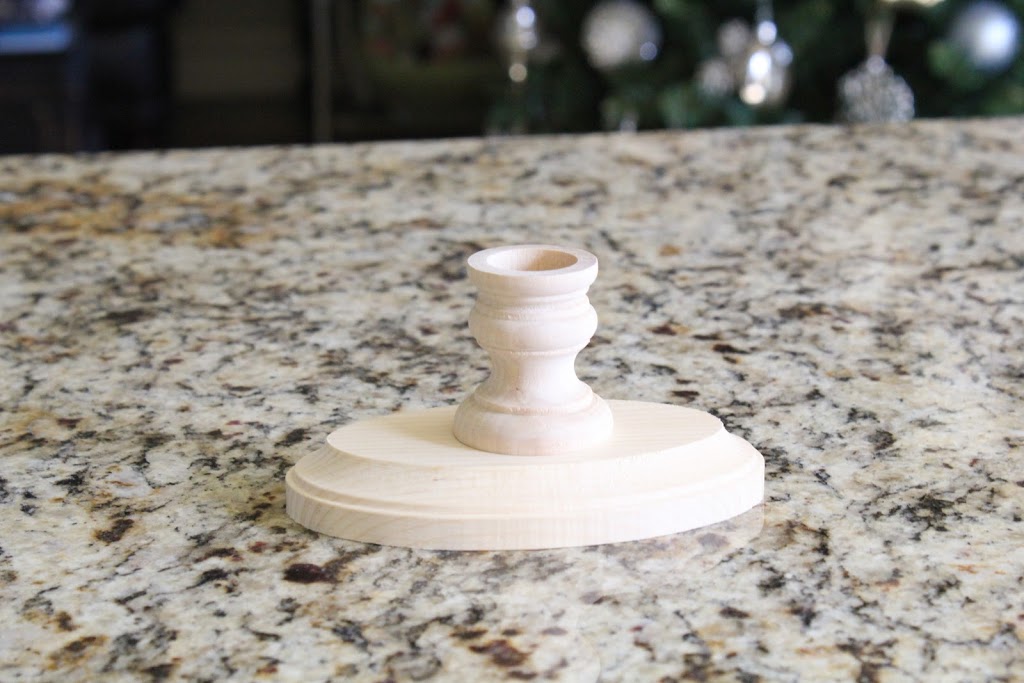
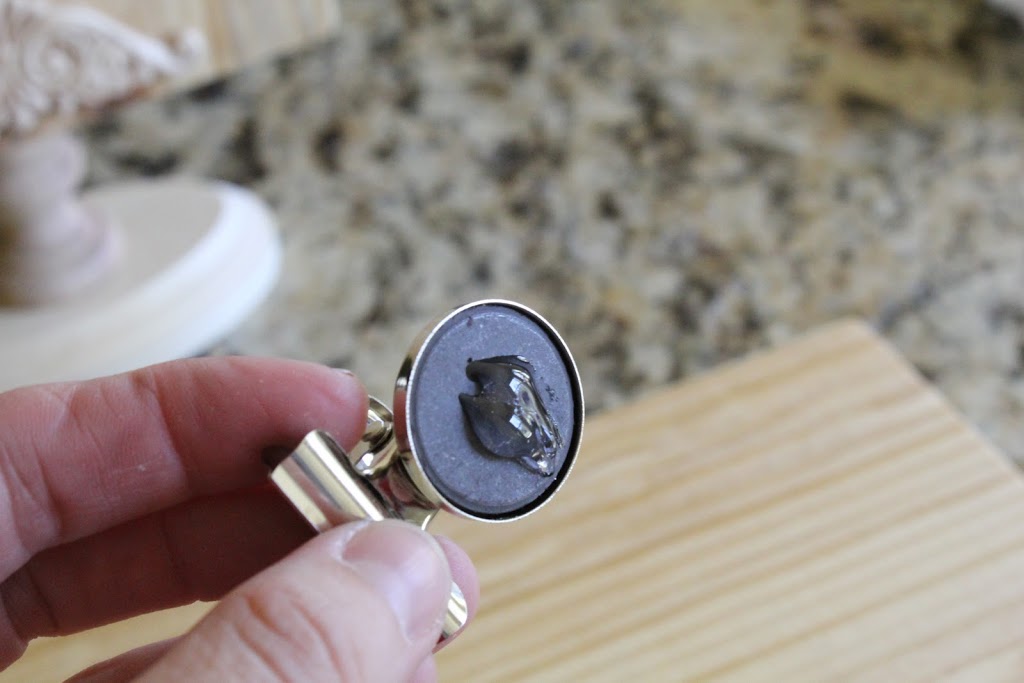
I used e6000 to attach a candlestick to one of my ovals.
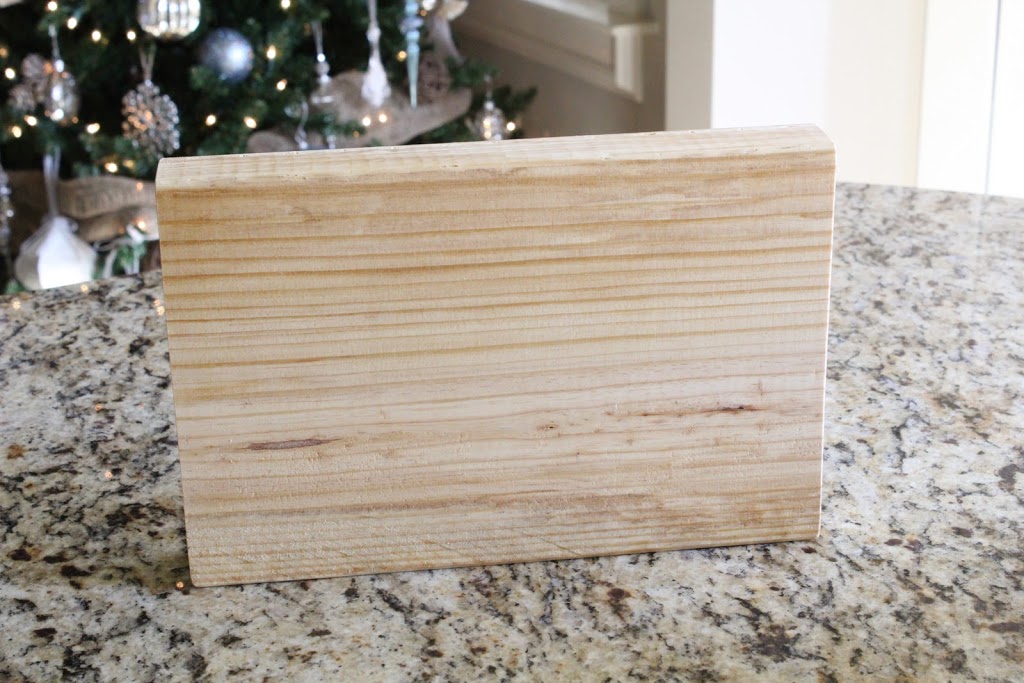
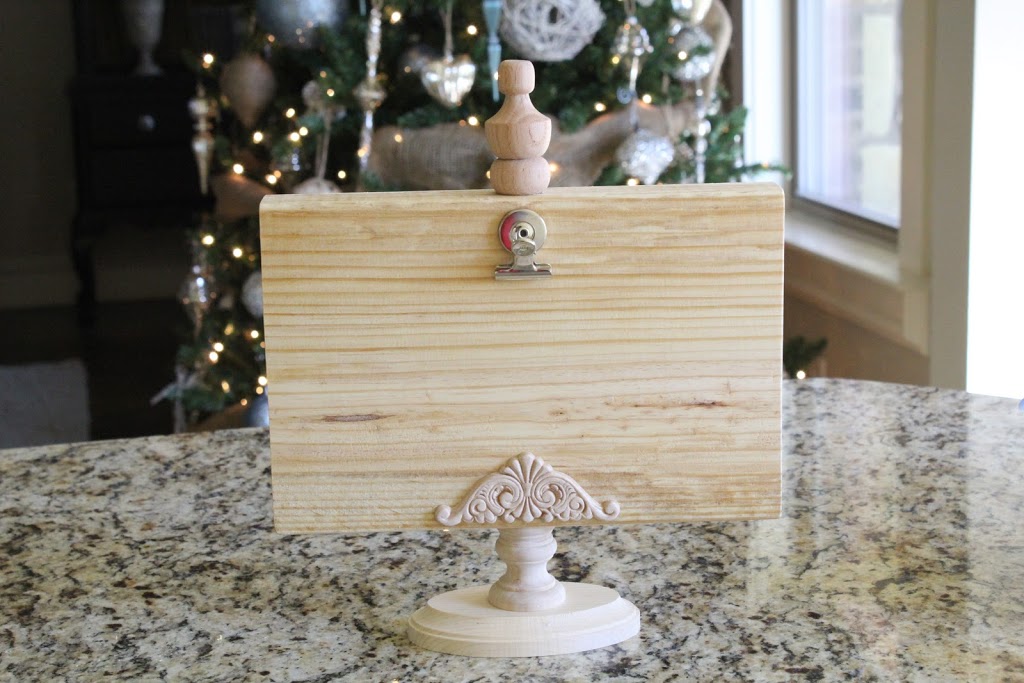
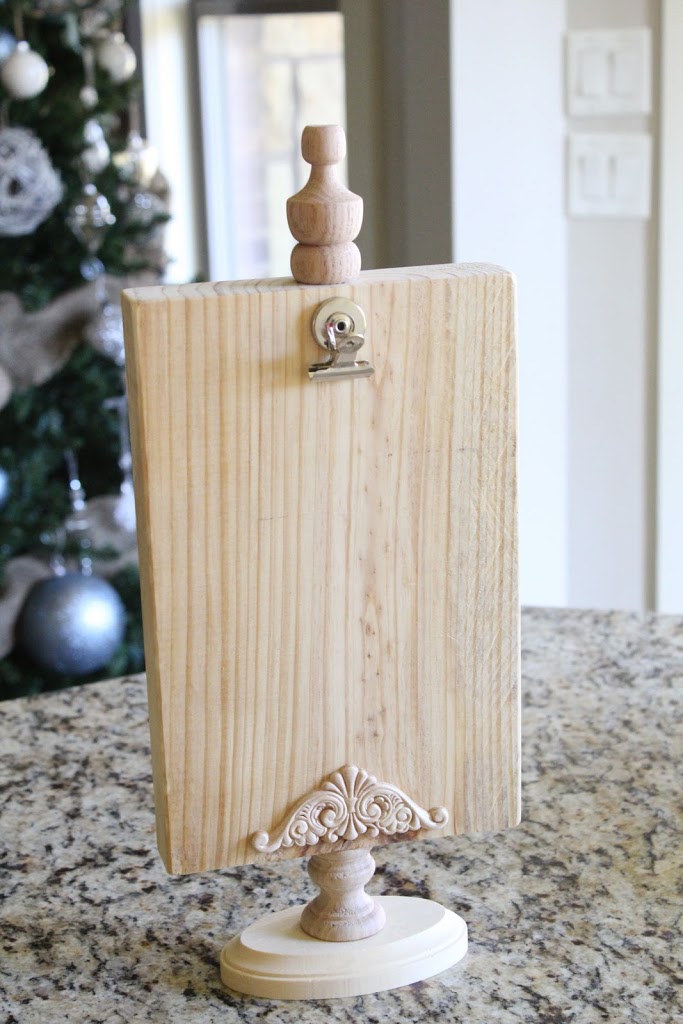
For my big piece I used a 2x8x8 from Lowe’s. Home Depot will cut it down for you if you don’t want to purchase the whole piece. I cut my wood in 11″ pieces to use for these. If you don’t have a saw just have Home Depot cut it for you when you buy it… Easy!
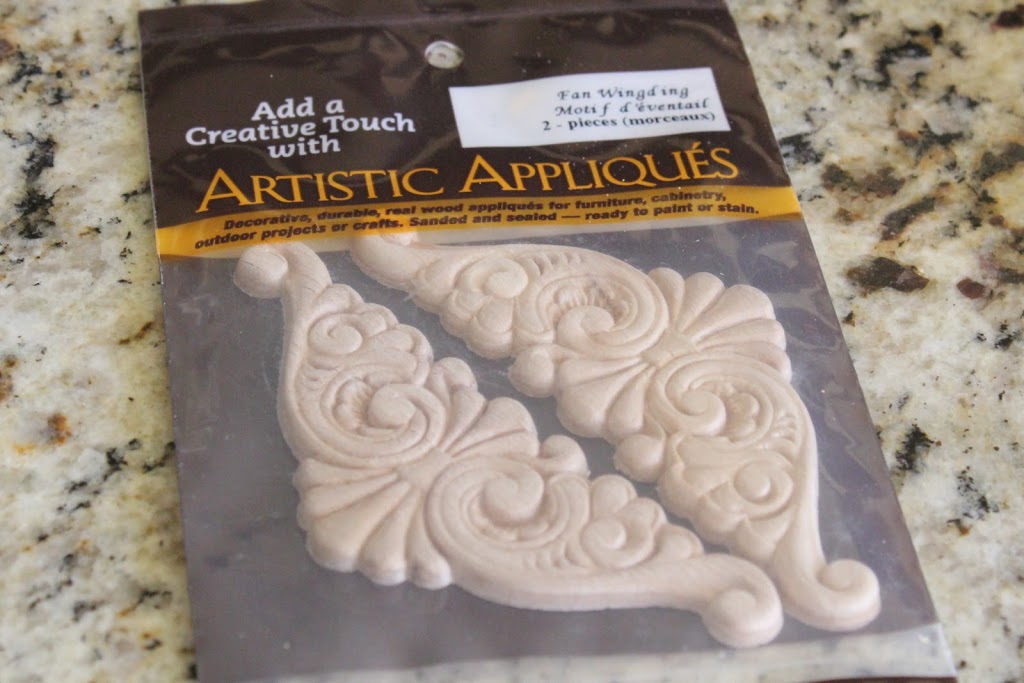
I bought these cute scrollies (professional term) from Hobby Lobby to add a little detail. They were $1.99 for a package of 2.
I used my glue to attach it to the bottom of the wood. I made two displays going different directions so I could show you both.

I added some e6000 to the now dry candlestick and attached the large wood piece to it.

Drying…
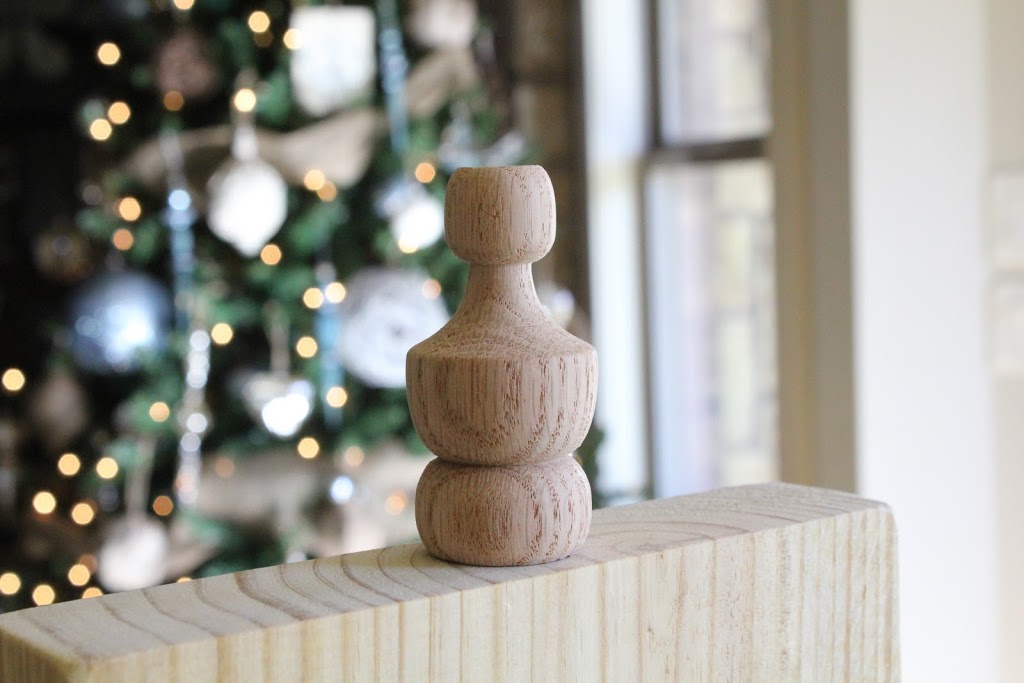
I found these great finials at Lowe’s. I love them and use them on LOTS. They are $1.86 for 2.

I drilled a small hole in the top of the wood. You don’t have to drill a hole but it does make this part much faster!
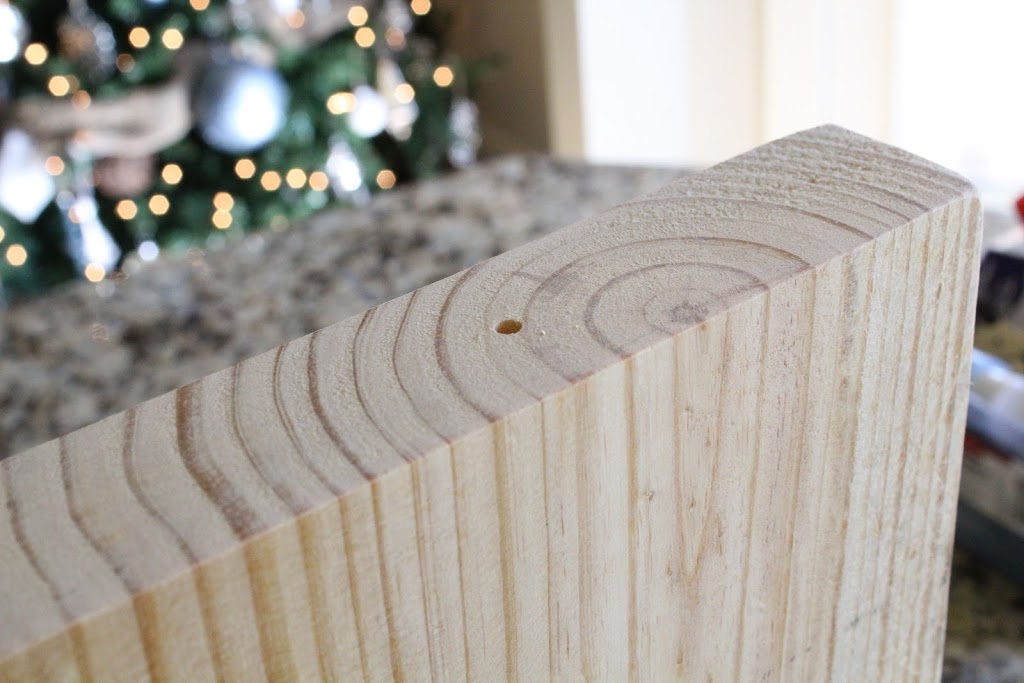
And added my finial.
I found these clips at Walmart. They are $1.88 for a pack of 4.
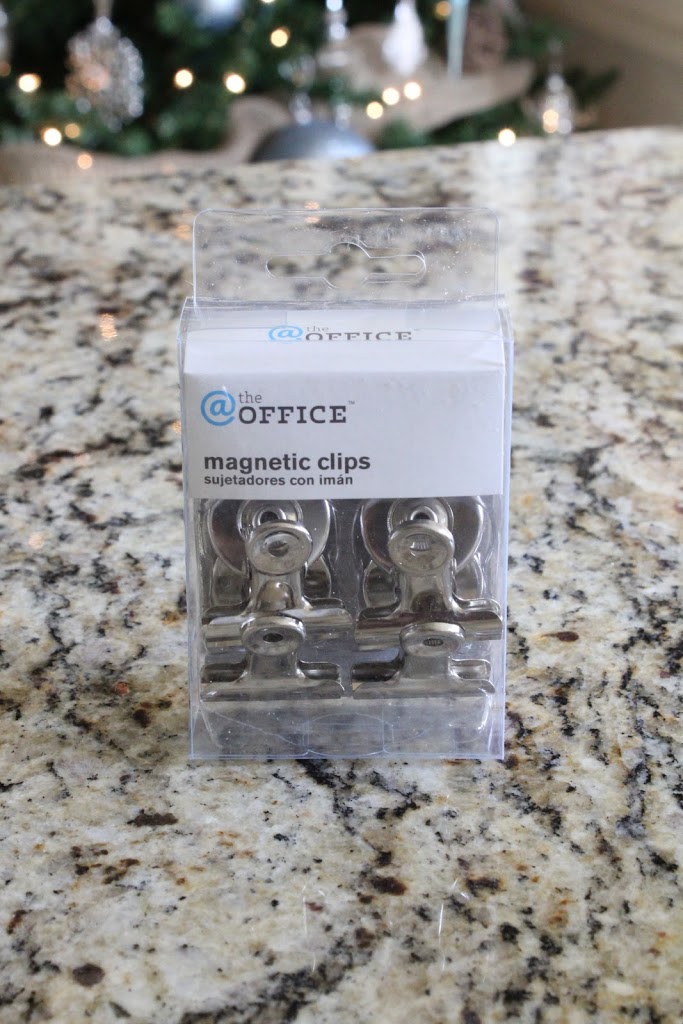
I added some e6000 to one of the clips….
And stuck it to my display.

Here they are ready for some spray paint.
I sprayed both displays with Rust-Oleum Painter’s Touch. I used Heirloom White on one and Canyon Black on the other. After they were dry I used my sanding block to shanty the edges up a bit! Here is how they turned out!


Hope you like them! They are fun, easy and best of all CHEAP!
If you want to make these for just $5 a piece you need to make 4 of them. Because the supplies come in bags and groups that is the best way to get more bang for your buck! I will be giving mine to my kids teachers this year. My mom is my neighbor so she may just get one too!
T
hanks Miss Kari for having us!
~Whitney from Shanty 2 Chic

Fabulous! I love it!
cute!
the unfinished wood happens to be 50% off at Hobby Lobby this week,too 🙂
So cute! I love this gift idea. Thanks!
Just perfect for an extended family member gift. I am totally going to do this and am super excited for it. So your board was a 2×8? It looks smaller in the photo. Thanks for sharing this great tutorial! Love it : )
These are really great! thanks.
Has anyone tried putting a clip on both sides of the block? It would only cost a clip and another piece of decorative trim.
Love that idea!!
I have looked everywhere for those finials and can’t find them anywhere! I also live 2 hours from the nearest Lowes or Home Depot. Any other ideas for the finials? Thanks.