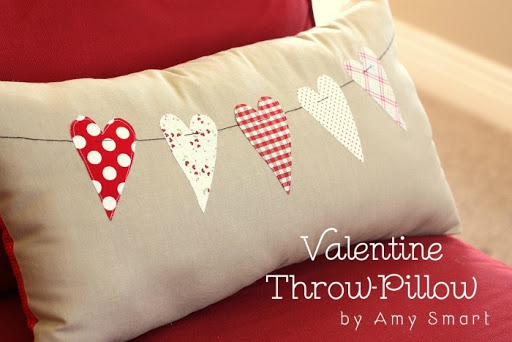
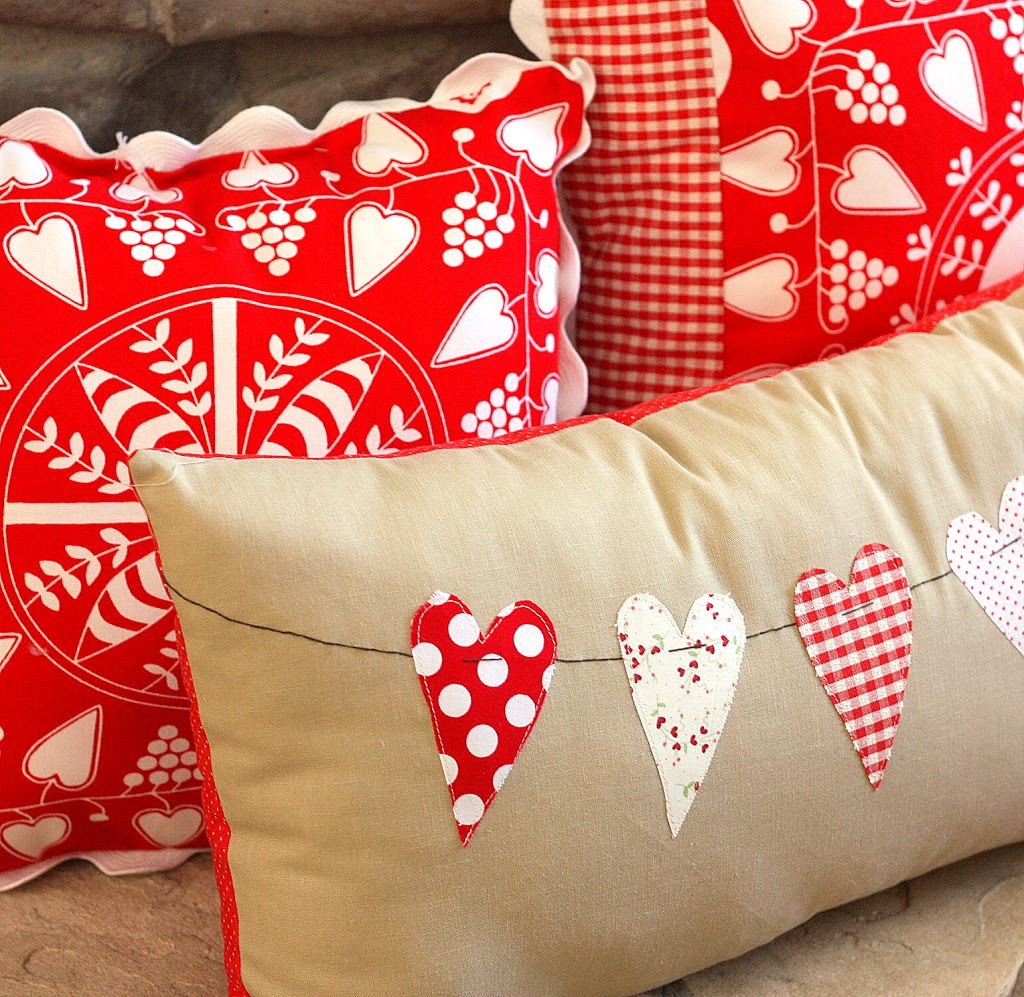
My name is Amy Smart and I blog about my sewing adventures at Diary of a Quilter. Today Kari invited me to share a tutorial for a quick and easy Valentine’s Day project. This throw pillow whips up fast and is oh so cute.
Supplies needed:
WonderUnder or HeatNBond – enough to trace 5 hearts
Scraps of fabric for the hearts
Background fabric in the size you desire
Needle and DMC floss for the ‘string’
Batting to stuff the pillow
Backing fabric in the same size as your background fabric for the back of your pillow
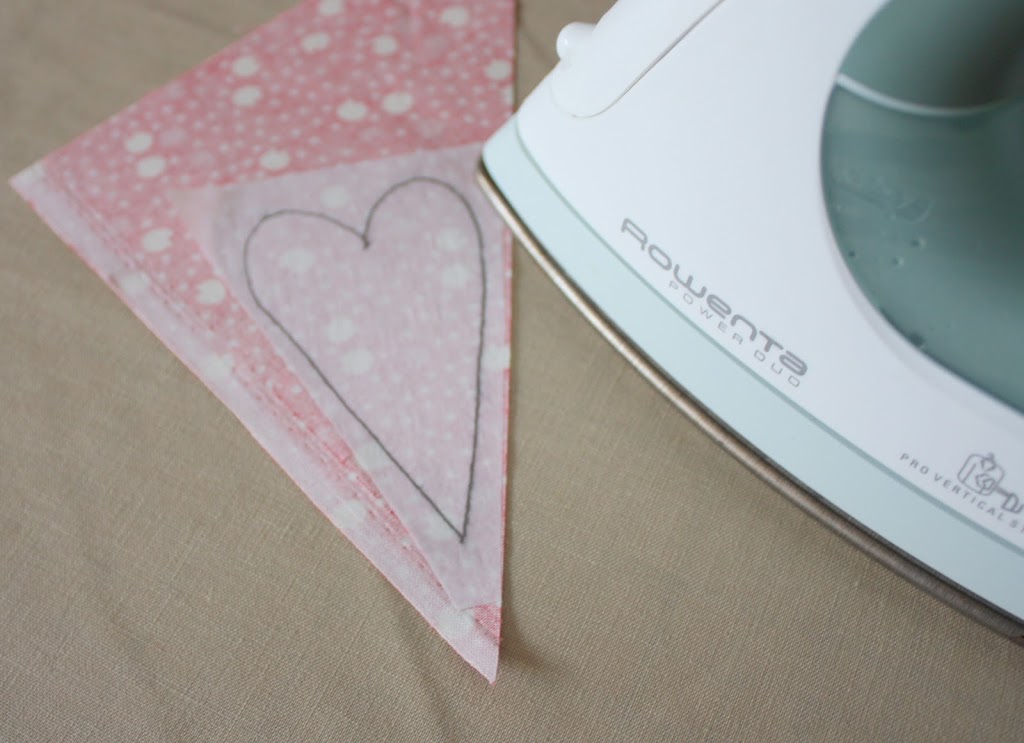
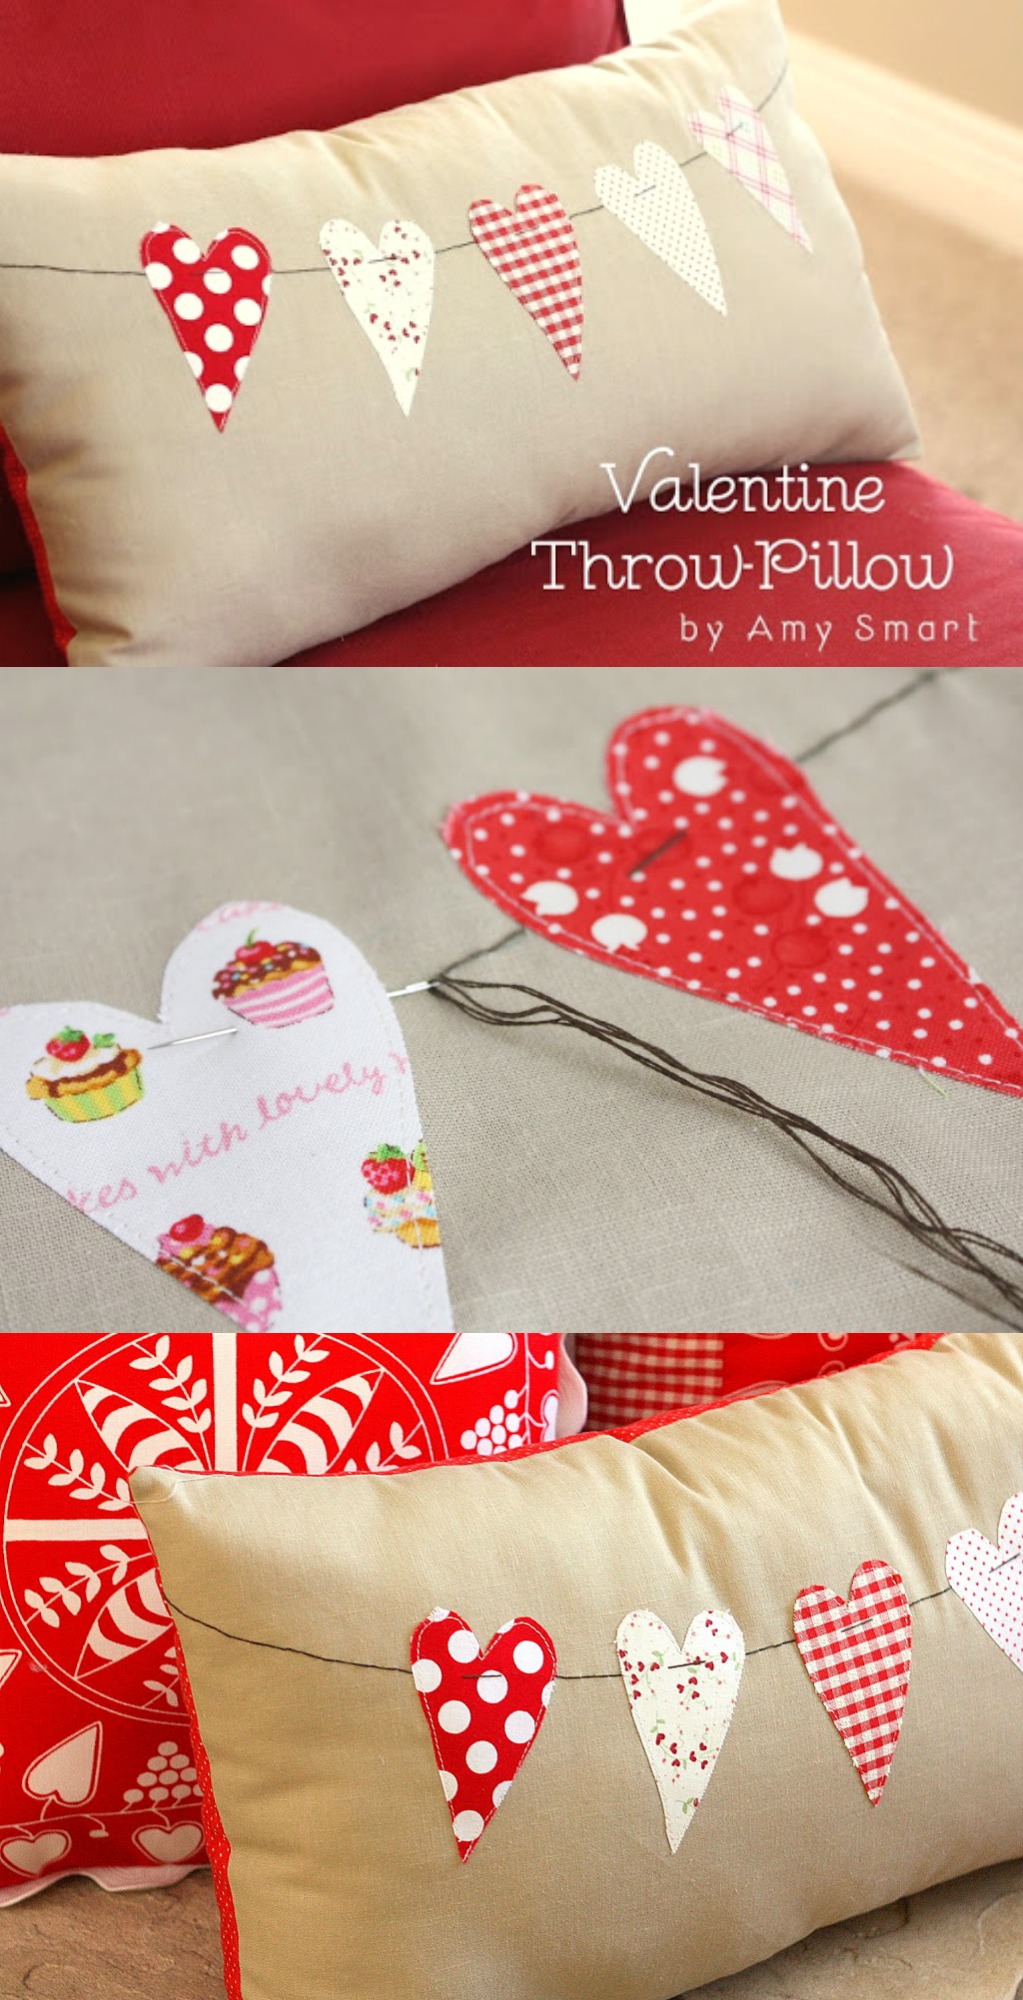
First trace a heart template (or draw your own) on the paper side of the WonderUnder/HeatNBond. I googled Heart Template and found dozens if you want a slightly different heart. I used this one, reducing the size a little. My hearts are about 3.5″ long and 2″ wide.
Iron the fusible side to the back of your fabric scraps. You could use a variety of scraps, or if you’re not like me with fabric scraps coming out of your ears, you could use all the same fabric. Felt would be equally adorable.
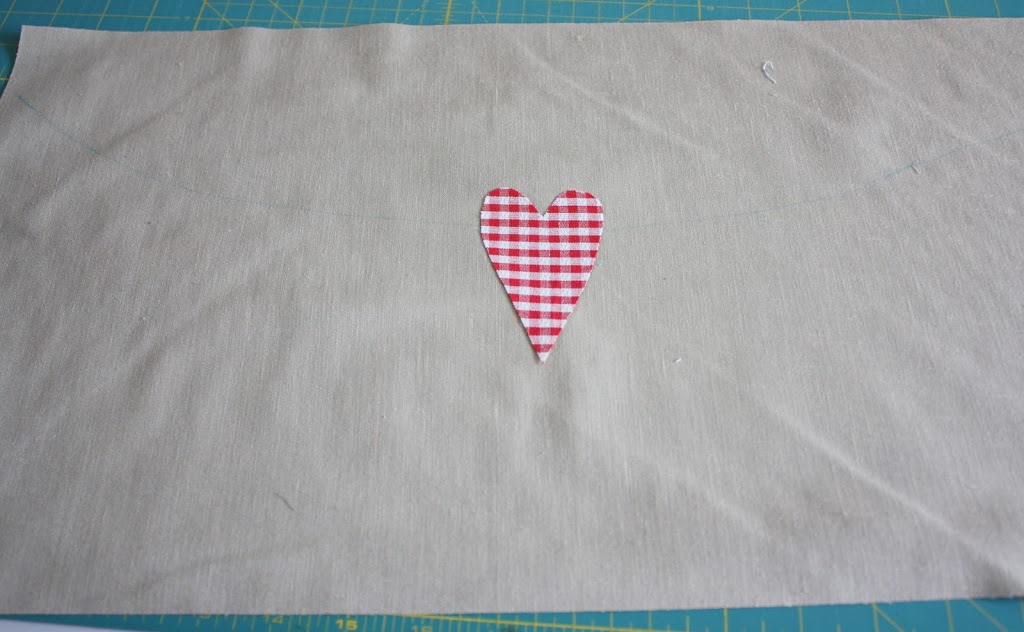
After the HeatNBond is fused on, cut out fabric hearts. Cut a piece of backing fabric to the size you would like your finished pillow. I used a piece of nubby, linen-type fabric and cut mine 12″ x 21″ – but there’s lots of room for flexibility here. Make it whatever size you want.
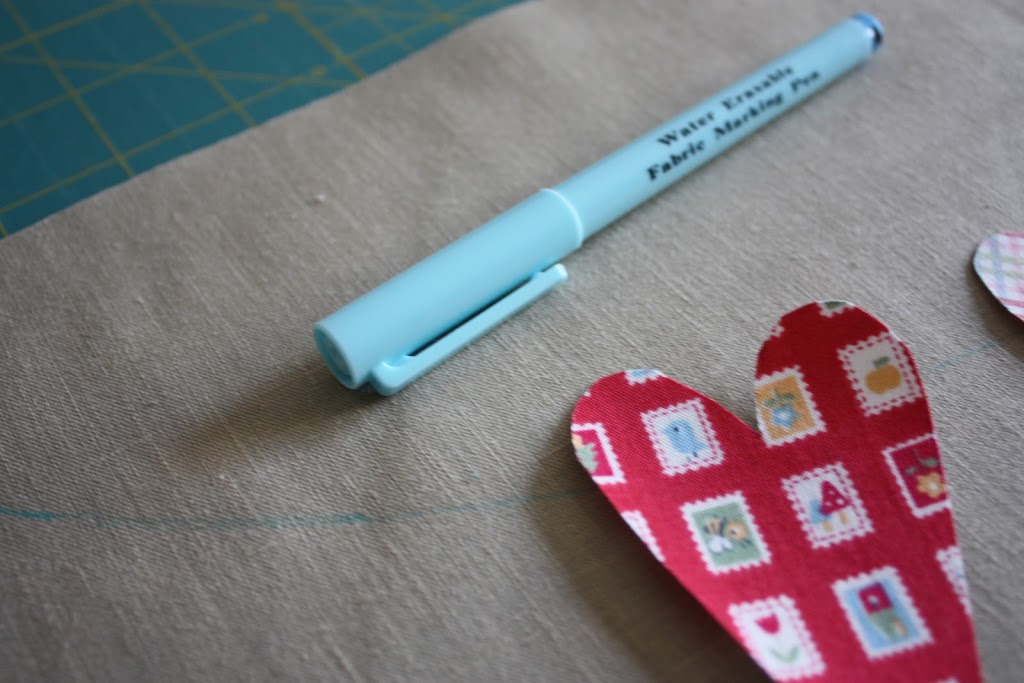
Using a water eraseable pen draw a line for the ‘string’ the hearts will hang on. I just eyeballed it. And if I wasn’t happy with the drape of the string, I erased and changed. Don’t stress about this part. You will stitch on this line after the hearts are attached.
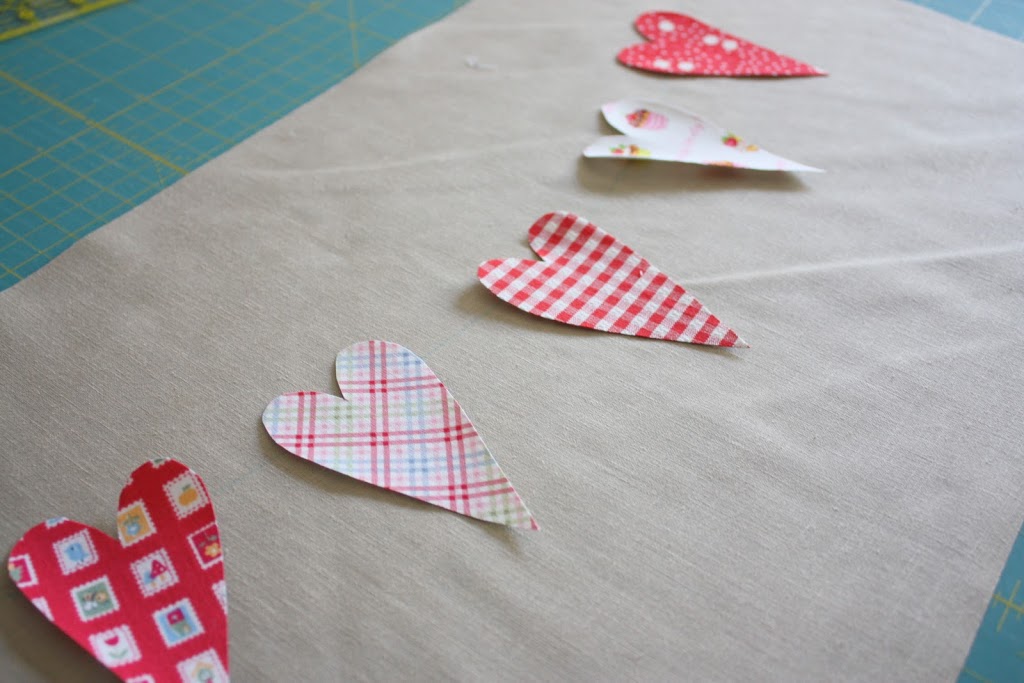
Lay your hearts on the ‘string’ line to play with their placement.
You could mark where you would like them to stay permanently.
Start with the center heart when you are ready to adhere the hearts to the backing fabric. Remove the paper backing of the WonderUnder and iron the first heart into place. Repeat with the hearts on the left and right of center, and then finish with the final two hearts.

After hearts are fused to the background fabric, sew around the edges with a sewing machine. Hand stitching would look great too.
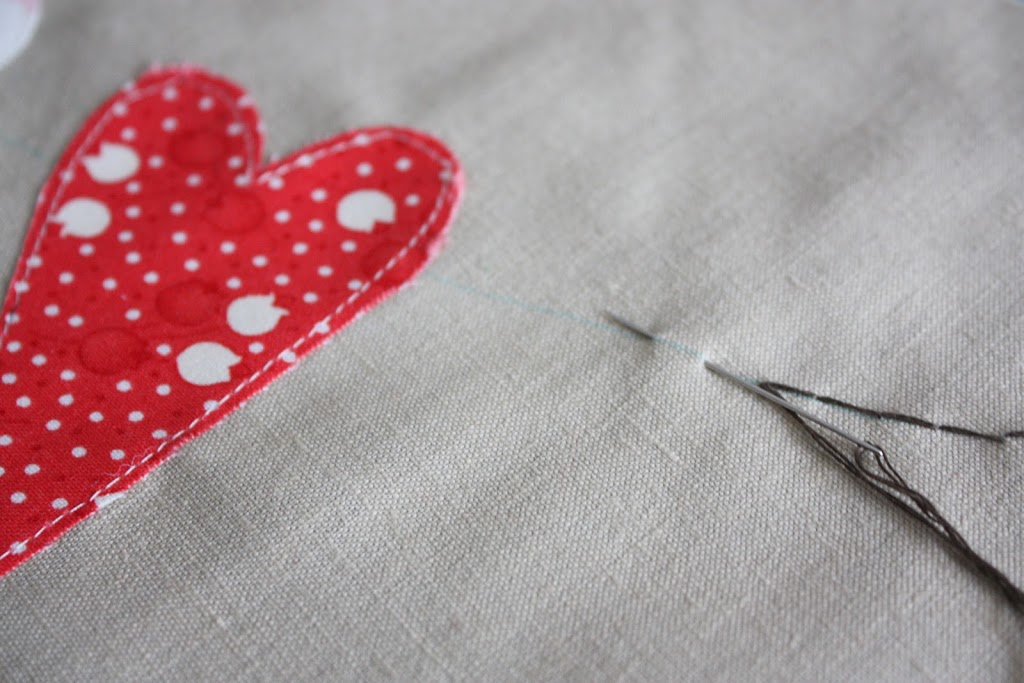
After hearts are stitched down, it’s time to stitch the ‘string’ the hearts are ‘hanging from.’ I used 2 strands of some dark gray DMC floss and backstitched along the line I’d drawn on the fabric.
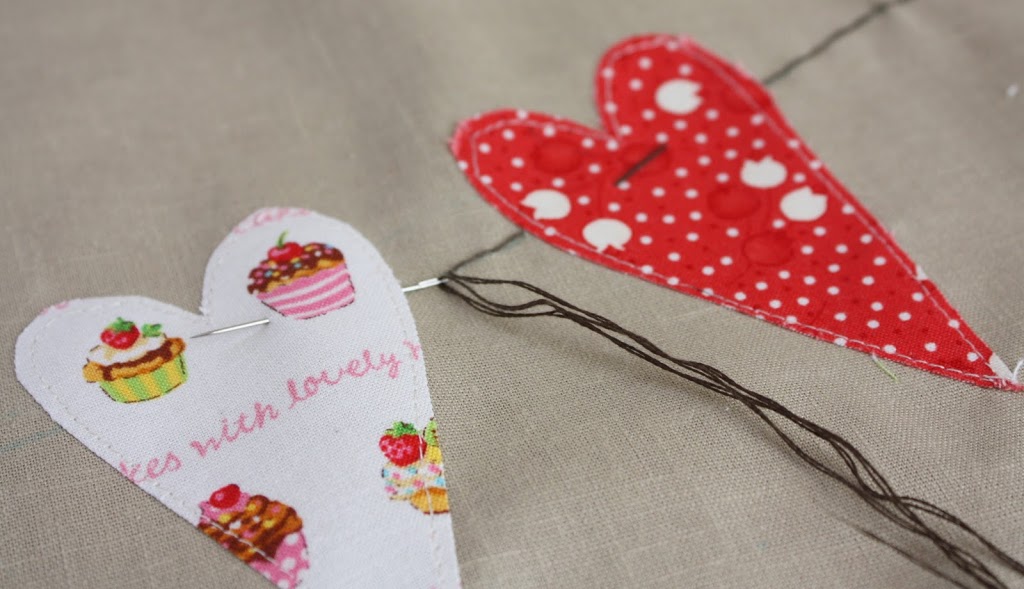
When you get to the edge of the heart come up inside the heart about 3/4″ from the edge, make a 1/2″ stitch” and resume stitching on the other side of the heart, so it looks like the hearts are threaded onto a string, hanging like a banner.
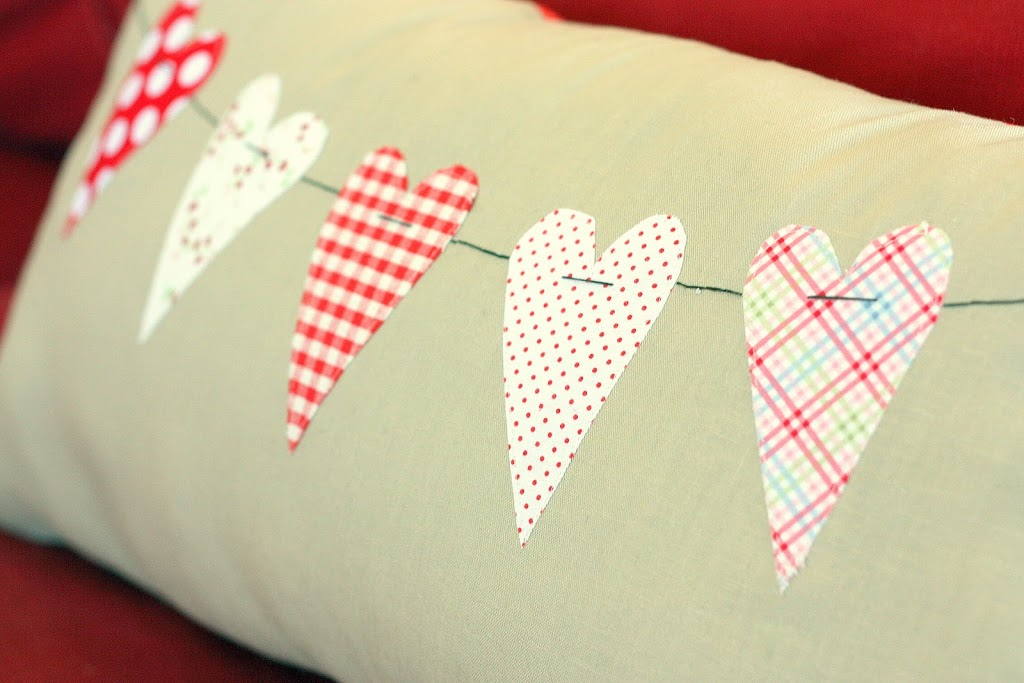
When you’re finished stitching, cut a backing fabric the same size as your front piece. Sew right sides together, leaving an opening at the bottom for stuffing. Turn right-side out and stuff. That’s it! Super easy. The same design could be used as a table runner or wall hanging, instead of a pillow.
Thanks again Kari for letting me come play today!
–Amy from Diary of a Quilter


Very cute pillow, I love the simplicity of it.
http://www.mesewcrazy.com
But this pillow is beautiful! Thanks, looks very nice and not too hard to do! 🙂
Ciao, Mariolonza!
Awesome tutorial! I’m seeing so much great Valentine’s Day items. Too bad I have no time! It doesn’t snow in California (where I am) and hence, no snow days from work!
beautiful, beautiful! love how modern this feels. great job amy and thanks to kari for hosting!
that banner pillow is ADORABLE! So sweet & cute!
What an adorable twist on the pennant craze! Perfect for Valentine’s Day, too.
Oh I love it. Very simple and sweet. Love the shape of the hearts, too.
What a great idea! It’s so cute too, and with lots of possibilities. Thanks for sharing!
Amy is so talented and such a sweetheart! Fun to see her featured here. And I love the pillow!
This is absolutely adorable!!!!
Oh so cute! Love it thanks for sharing!!!
I’m dying over this. I love it so so so so so much!
So cute! I could see it in my bedroom all year long!
Super cute and SO easy, totally making this!!
Hello I like your blog. Very nice and interesting work.
I looked at the page from which you got your template, but could not figure out based upon their instructions how to save the image without the watermark across the heart image. Did you figure it out?
Many thanks for your kind comments!
Gina-don’t stress too much about the watermark. You’re just using the outline as a basic template to trace a heart on the heatnbond. You can just trace right over it. Or just google ‘heart template’ and you’ll find a ton of other hearts to choose from. Hope that helps!
Have fun everybody. 🙂
LOVE your pillow!!! Thanks for the tutorial!!!
This is such a cute pillow. Thank you for shraring!
Fully enjoying this post info.Thanks
Lovely pillow, perfect for little red scraps and wonderful tutorial.
Oh..my…heck. That is soooo cute!!! Love it!!
This is so cute! I love it! I’ve been wanting to make some Valentine’s Pillows but my craft room is in the middle of a mini-remodel so there is stuff all over the place – not great for sewing. Maybe I’ll have a few ready for next Valentine’s Day!
I love it- it’s adorable.
Gorgeous pillows – defiantly something to try
Very cute pillow, thanks for the tute
Thanks for sharing! Love it, made it.:)
Love it, thanks for the nice idea
I absolutely love it! So very adorable! What a great idea…
hugs x
Crystelle
This looks really tasty!
YUM!
hugs x
Crystelle
http://www.crystelleboutique.com
magnífico!!!!!
Amy, this is so sweet! I’ve recently started making pillows, and I want to try this one. I found it at The Seasoned Homemaker, and came over here to get a better look. Thanks for a great idea and a helpful tutorial! PINNED! 🙂
Just made mine and love how it turned out! I used a white background instead of the tan since that is what I had, but still love it! Thank you for the great instructions!
Angela,
We would love to see your pillow! Can you email it to us??
Thanks so much!!
thanks for the great tutorial! I came across this post when attempting a very similar pillow that I fell in love with at Etsy, but no longer available. You can view my project here: http://themooninmae.blogspot.com/2016/02/diy-heart-pillow.html
I made sure to mention your helpful tutorial as well!!
I made a pillow like yours this morning! I love it!
Love this! Simply beautiful!! ❤️