Yes, Kari the author of Ucreate.
If Kari from Ucreate, the Oprah of crafting on blogs, was following me, then perhaps I was wrong. Women are ready to build, not just glue, sew and refinish. Perhaps I just had not reached the right audience.
Kari, thank you for supporting me. And once again, thank you for giving a carpenter another chance. I am so proud to be guest blogging for you today.
 |
 |
 |
 |
 |
 |
 |
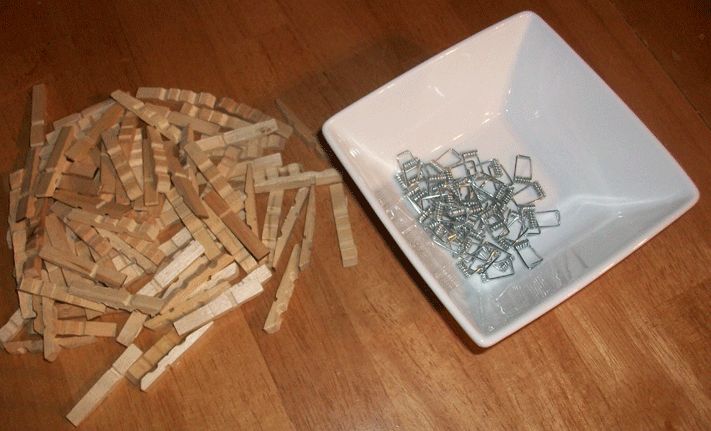
2 – bags of small clothespins, 24 count each (bought mine at Joanns for $2.49 each)
Glue (I used Elmers)
Paint (I used Valspar Antique White Satin leftover from the bookcases. The fastest method would be to spraypaint)
4 screws or 4 Picture Hanging BracketsTools and Supplies
Paint Brush (if you are not spraypainting)
Tape Measure
Level
Drill (If you are not using Picture Hanging Brackets)
Scewdriver (If you are using Picture Hanging Brackets)
Directions
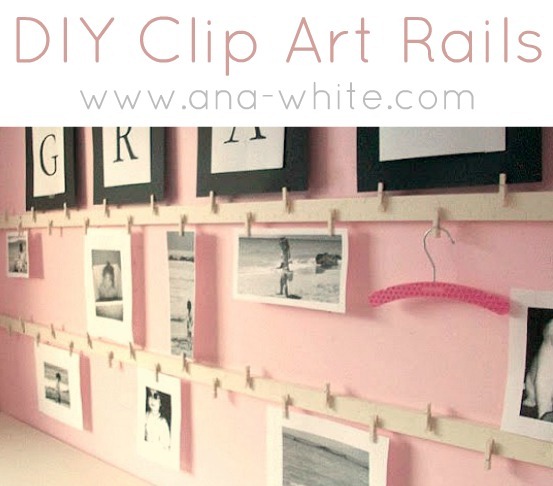
The Clip Art Rails measure 8 feet long and 3″ overall high by 2″ overal thick. You can cut the board to any desired length to fit your needs.
1. Remove the springs from the clothespins.
 |
 |
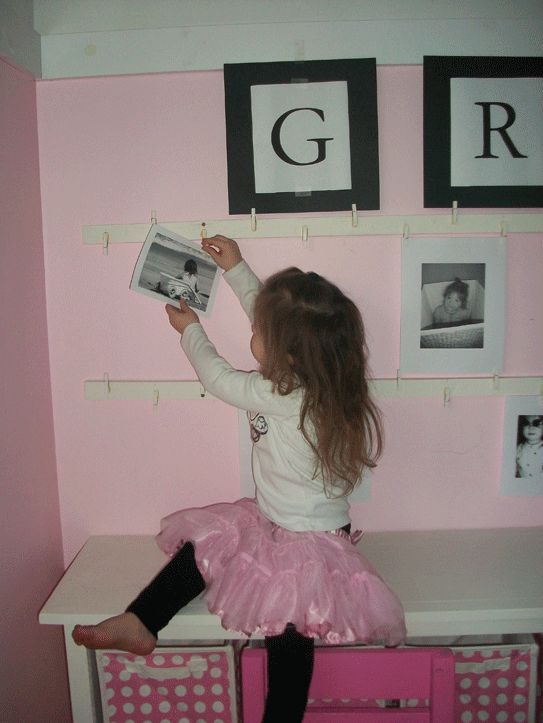 |
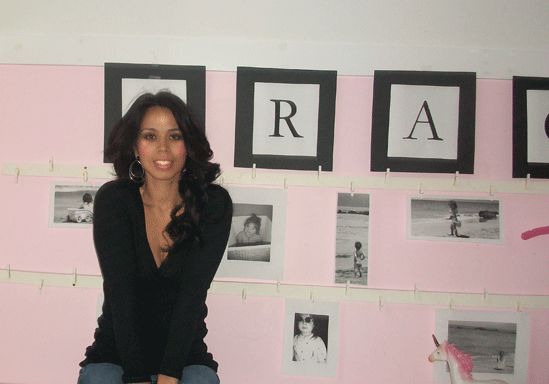
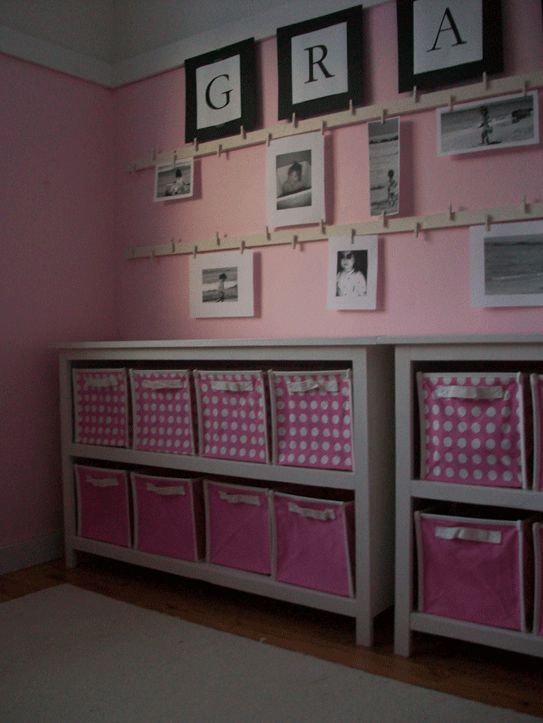
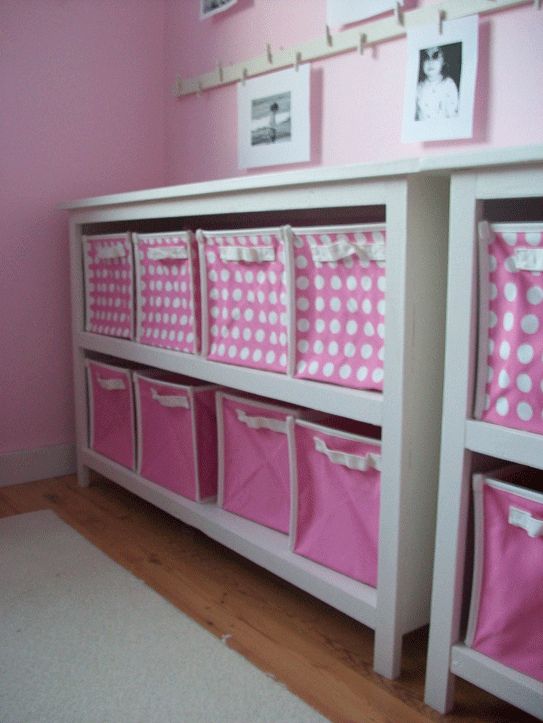
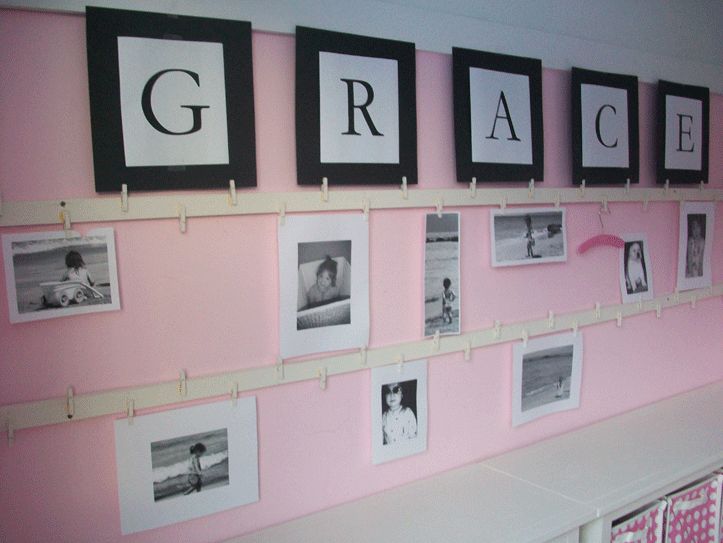
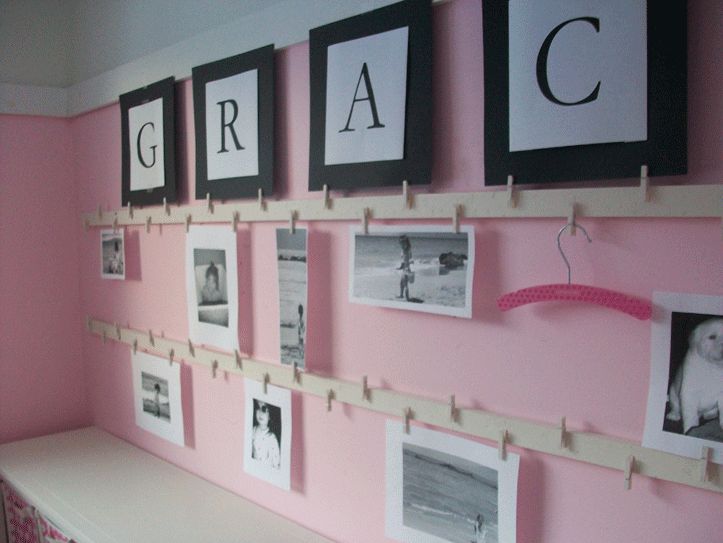
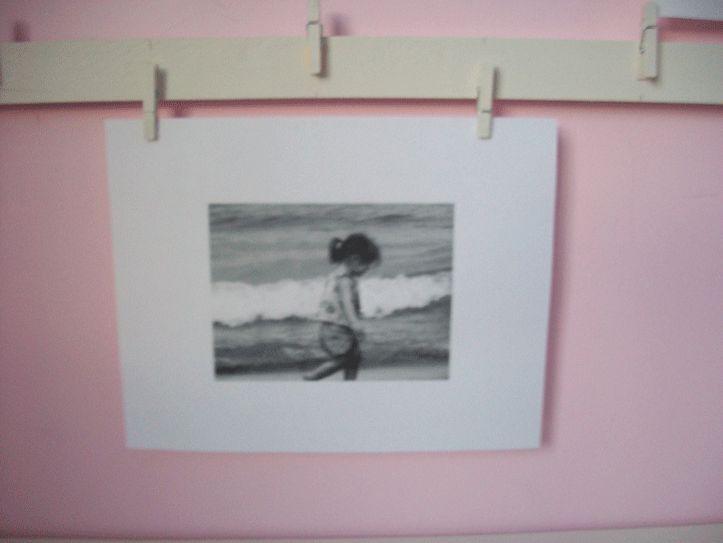
4. Attach the Clip Art Rails to the wall either using the Picture Hanging Brackets or screw through the face of the Clip Art Rails into a stud in your wall (or a drywall anchor). Hang your artwork, photos, or other lightweight objects. For the letters GRACE I simply printed out each letter, cut the paper down to 8″ x 8″ and glued it to a 12×12 scrapbooking paper. The photos are simply black and white prints of favorite photos.Here is the before and after animation. I cannot believe I just shared that photo with the entire world! Amazing what $70 in lumber, paint, and some clothespins can do for a room!Grace can actually play in her room now! And I just checked on her. Gone are the beautiful black and whites, replaced with stick figures with suns in the upper corners that look more like ugly beetles.
I like her artwork better.
Love, Ana


I’ll follow. I’ve wanted to do more than just crafts, and this is right at my skill level. Thanks. Valerie
I love, love the pink saw-horses!! Oh, and the fun tutorial. Thanks for sharing!!
I love that idea! I have come across her blog before and have admired her other projects. I really want to learn to do more wood projects. So cute!
XOXO
Jen
So Cute! What a great idea. I’ll check out your blog.
I don’t know how handy I would be with actual building, but I think I could make that. Super cute!! I will definitely start checking out your blog!
These are awesome!
And i am going to hop on over to your blog for the shelves too. My office needs those EXACT shelves!
I love this new idea – I am about two weeks out from closing on our home. I am checking out all sorts of new crafty blogs to get ideas for decorating – I Think you can do this idea in any color and would do great for an office!
Great job!
Thank you!
I was just brainstorming how I could clip my kids art to our play room wall. This is way better and cheaper than what I was thinking. I am going to see if I can wrangle my husband to help make those shelves too! Exactly, Exactly, Exactly what I wanted for our tight budget play room!
I will be a knock off wood follower from now on!
I love this! Perfect way to showcase my kids art!
Wow I love these! Rushing over to your blog now
This is beautiful! I love the idea for the hallway between my kids’ rooms.
So cute! I was trying to do something similar, and it wasn’t even this cute in my head. Awesome!
i just found your blog the other day but didn’t have the chance to fully explore it. wow! thank you so much for all your awesome plans. i don’t know a thing about building things but i feel like with your amazing guidance i might be able to do it!
love this one!
I’ve already got the plans for the tray table from your blog too- so that’s 2 projects to try!
I LOVE this stuff. I will definitely be checking out this blog more in-depth. And, I can hardly wait to start on a project all by myself. You know what I mean–usually, I have to beg my husband to make this or that for me so I can get the look I want. Now, I am feeling empowered! Amazing!
Thanks!
thank you!!! don’t give up. i love you.=)
Love the before and after, what an awesome change and on a budget too!
so cute!!! what a great idea!!
Love it. And the bookshelves. 🙂
Very cute! Just became a follower of her blog. Umm…if I pick up carpentry will I sweat enough to get her figure?!?! 😉
This is soooo perfect! I have a wall in my kitchen that is covered in artwork that my kids do. I just scotch tape them up and they fall down sooner or later. This would be fabulous. I will also be checking out the instructions for making the bookshelves. I was seriously planning this exact same thing with the cloth storage bins! I just didn’t know where to start. SAAAWWWEEEET!
Awesome! Can’t wait to try some of her projects!!
So cute! Would love to do this!
I’m guessing there will be a whole bunch of new followers for Knock Off Wood. I love those Clip Art Rails…and the shelves. Gonna have to do some building the next time we go to Grampa’s house! (For the garage…and the tools!)
I was going to make these exact rails last year for my laundry room for air drying above my electric baseboard. I like your use for them much better! Thanks for sharing!
So glad you kept blogging! I love your site and look forward everyday to seeing what’s new!
I am so happy to have seen this post and found your blog. I would really, really like to start building some of my own stuff and you have inspired me to give it a try. I LOVE your ideas and will follow your blog from now on.
I think I’ve got the materials to complete this over the weekend. The Clip Art Rails are PERFECT for our play room and just might help me finish off the room!!!
Great project Ana, and you can’t beat the cost! ~Maria in TN, a fan & follower 😉
Wow – this gal rocks! Thanks for featuring her.
Kari, Thanks so much for posting (and following) Ana’s blog! I love it and am now a follower. I don’t have all the tools to make any of it. But I believe the big box hardware stores will cut wood for me, if so I am going to make my daughter one of the beds…I can’t decide which one I like the best! If they won’t cut it, my dad has the tools, I will just have to wait until I visit him.
And i have been stressing out over getting her into a “big girl” bed because of the cost! Thanks, Kari and Ana!
Don’t ever stop blogging!!! You blog is one of my favorites! I have been telling everyone about. I have plans to build some of your things… just looking for time:)
This one is my favorite so far. I’m actually going to see if I can have someone teach me to cut MDF.
Unbelievably gorgeous! I am now a follower of yours.
mythriftytreasures.blogspot.com
Thank you everyone for taking your time to look at what I love to do! I read each and every comment and am so happy that I could provide you will a tutorial that could be useful to you.
I just wanted to comment to the Oxford Family that carpentery does burn alot of calories – around 300 per hour. I have a link on my blog to Self Magazine’s Carpentry Calorie Counter. I have actually lost alot of weight since becoming a carpenter.
And thank you Piccolina Designs for your nice comments. I would love a show! With a show, I could not just talk about building furniture, I could show people how to build.
Thank you, thank you! Love, Ana
Ana should totally be one of the carpenters on Extreme Home Makeover or trading spaces. She is so talented and she is beautiful.
I checked out her blog and she has some wonderful plans. I so wish I had a shop or area to build in so I could make some of them. They are so practical, but so pretty. Maybe I will have to talk a brother-in-law into making me some of them with his shop.
I agree!! Ana is not only amazing but incredibly friendly and intelligent!! I have had a blast getting to know her a little bit better.
LOVE this! I too have been glued to your blog since I ran across you via another blog last week. I went and purchased MDF and Pine 1*2’s and borrowed some power tools from friends yesterday. Now I am just waiting for the arctic blast to move back north and I am building those shelves! I have always wanted to take up woodworking but always felt to intimidated. I am quite handy with power tools and have no problem installing trim work but all jargon and tools necessary for cabinetry just left me less than confident that I could be successful. Thank you so very much for taking the time to set the example! I hope that my own little Ana is pleased with the new shelves in her room and the additional space and self-sufficiency they will offer her. You Rock, Momma!
I just found Ana this week and I have been pouring over her blog. She’s got some serious skills!
Brilliant! Thanks so much for the tute. I will definitely be doing this in our family room — to cut down on the amount of tape used by my tyke to hang up her masterpieces!
Oh my gosh, I randomly came across Knock-Off Wood the other day and was so impressed, and now was so excited to see her again! What a fantastic website and creativity, I bookmarked her site for my husband, he should be busy every weekend now for the next few months!
Wow! I’m glad you’re still blogging! Just checked out your blog and I LOVE it! It seriously has been driving me crazy that I can’t have sweet bookshelves to store and organize my kid’s toys simply b/c we’re struggling college students. But you have given me hope. I’m excited to make the shelves and the art rails. What a cute idea to show off your kids’ artwork! Thanks for the inspiration and for sharing your plans with us!
Those are so cool!! I love DIY stuff, and I have always wanted to make furniture…
Um…I LOVE this idea! I’ve used those Ikea metal strings version and do not like how the pictures move along the metal. This is the perfect compromise of the same idea! Love it…and I will be doing it soon!!!
Rebecca of the R&W Gals
Wow, these are way cool! What a fun idea. I’m so glad you kept blogging! I’ll be linking to this.
Ana,
I found your blog just a few days ago and my brain has been churning ever since. I keep reading all your plans and trying to decide what my first attempt should be. Your site makes me feel empowered!!
Heather
Cute tutorial. I am doing a guest spot at Ucreate tomrrow and say your post. I will sign up to follow and I would love it if you did the same. I just posted a PB knock off the other day.
Cheri
I completed these over the weekend:
http://generallycreative.blogspot.com/2010/01/play-room-clip-art-rail.html
And then created artwork with my daughter to display:
http://generallycreative.blogspot.com/2010/01/smile.html
Great tutorial!
Awesome idea! Will make this with kids
I love the rails, if I make it low enough on the wall my son can hang his own artwork on it. What a great idea…