U Create

It's a good day to create!

  • pinterest
  • facebook
  • instagram
  • twitter
  • rss
  • crafts
    • crochet/knit
    • jewelry
    • kids crafts
    • paper crafts
    • sewing
      • bags
      • boys-clothing
      • girls-clothing
      • women-clothing
      • pillows
      • quilts
  • home decor
    • bathroom
    • build it
    • frames
    • kids
    • kitchen
    • office
  • recipes
    • desserts
    • dinner
    • snacks
    • soups
  • parties
    • baby shower
    • birthday
    • games
    • gift wrapping
    • party decor
    • party favors
  • printables
  • holidays
    • Christmas
    • Easter
    • Father’s Day
    • Halloween
    • July 4th
    • Mother’s Day
    • New Years
    • St. Patrick’s Day
    • Thanksgiving
    • Valentine’s Day
  • gifts
    • baby
    • electronics
    • graduation
    • teacher gifts
  • About
  • Be My Guest
  • Advertise
  • Contact
  • pinterest
  • facebook
  • instagram
  • twitter
  • rss

13 Jan

DIY Elastic Headbands

DIY Elastic Headbands by Ruffles and Stuff

Hello everyone!!

For those of us who haven’t met, I’m Disney, and I’ve got a little craft blog called Ruffles and Stuff! I love sharing my projects and tutorials for all kinds of crafts, and I love to take old, seemingly useless things and make them into something beautiful!
Guest posting on Ucreate feels a little like being asked to guest host for The Today Show or something, but despite being a little nervous, I’m super excited to be here!
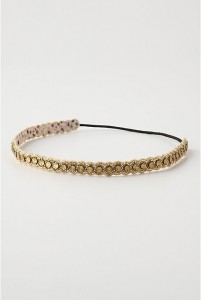
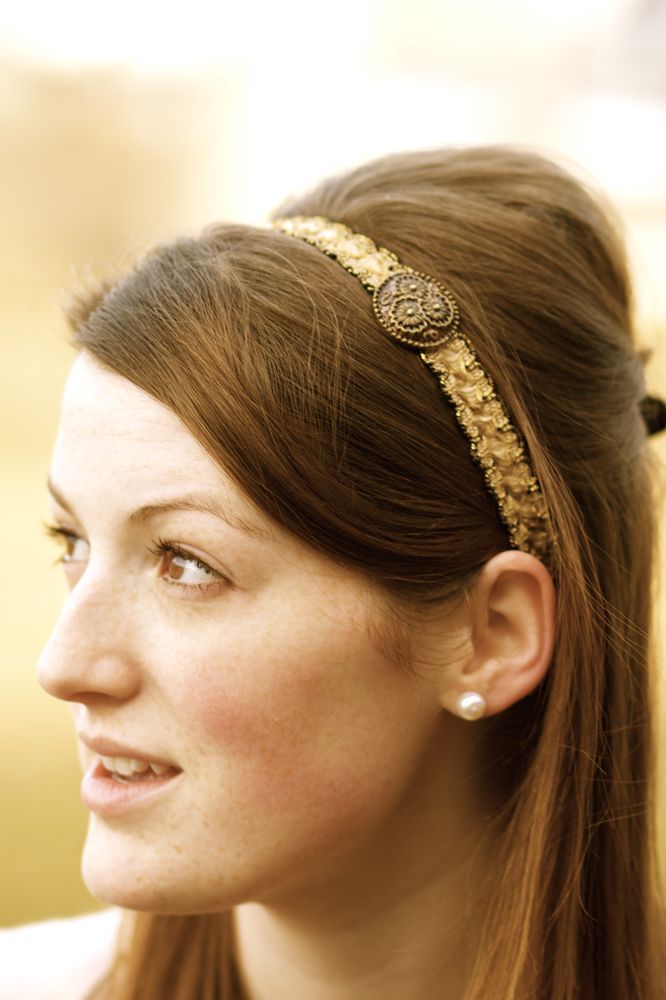
I wanted to show you a little tutorial I worked up, that I call the Cheater’s Guide to an Anthro Headband.

I saw these the other day, and absolutely adored them! So, doing what any respectable crafter would do, I figured out a way to make my own!
What you’ll need:
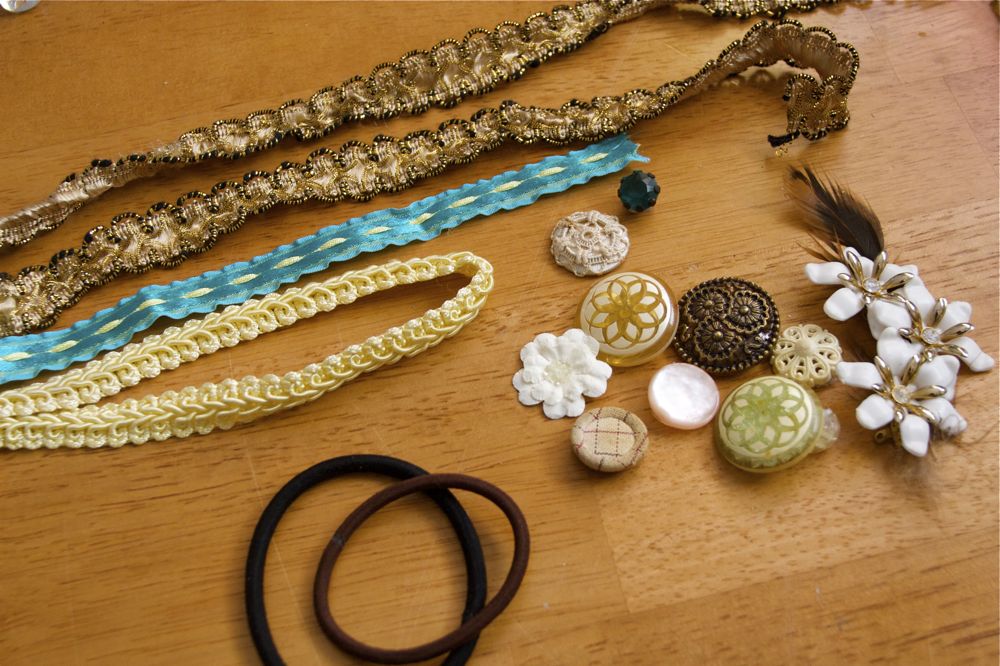
A thick elastic hair band
Ribbon, lace, or any other trim which catches your fancy
A sewing machine (or needle and thread)
Optional:
Glue gun
Embellishments

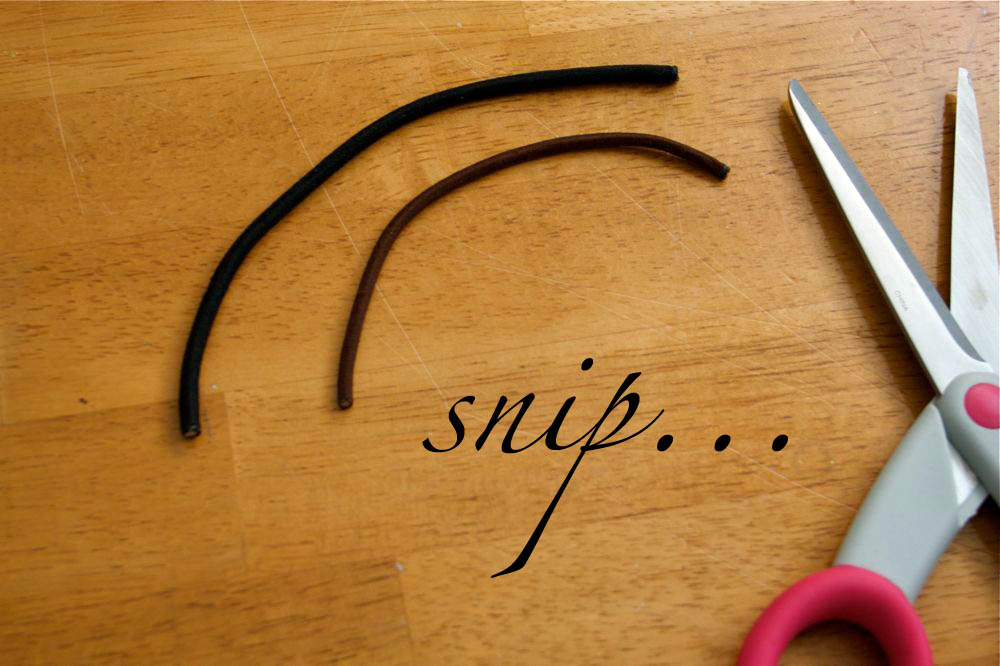
1) Your first step is to snip your elastic band in half and measure it. (Mine were 6 inches) 2) The average headband is about 19″, so add as much trim as it will take to equal 19″ when added to your elastic, plus 1″ extra for seams. (i.e. 6″ elastic +14″ ribbon = 20″) Fold the edges of your trim over about 1/2″.
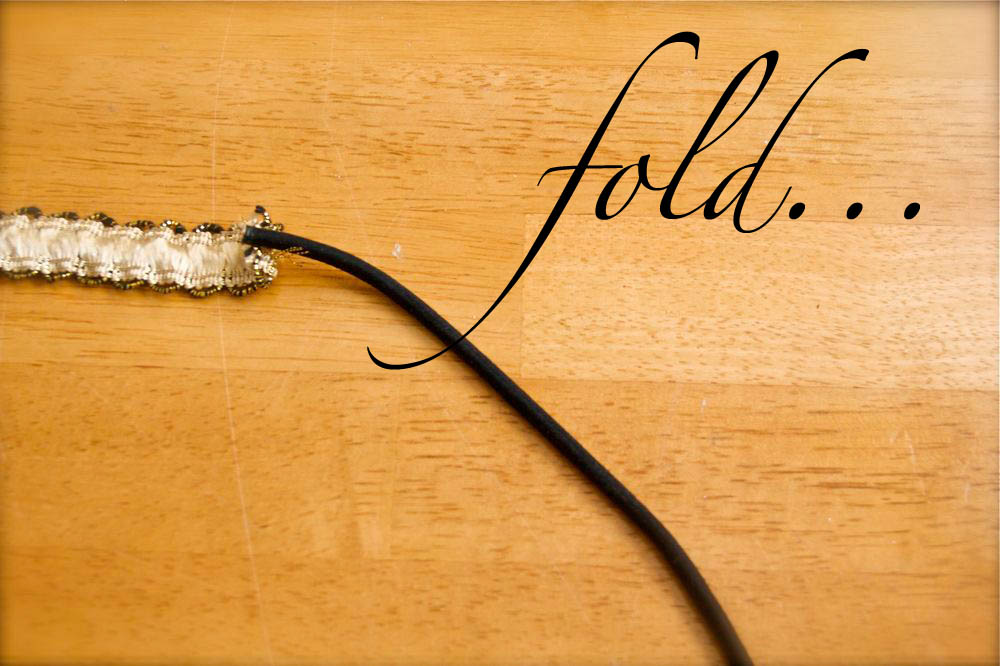
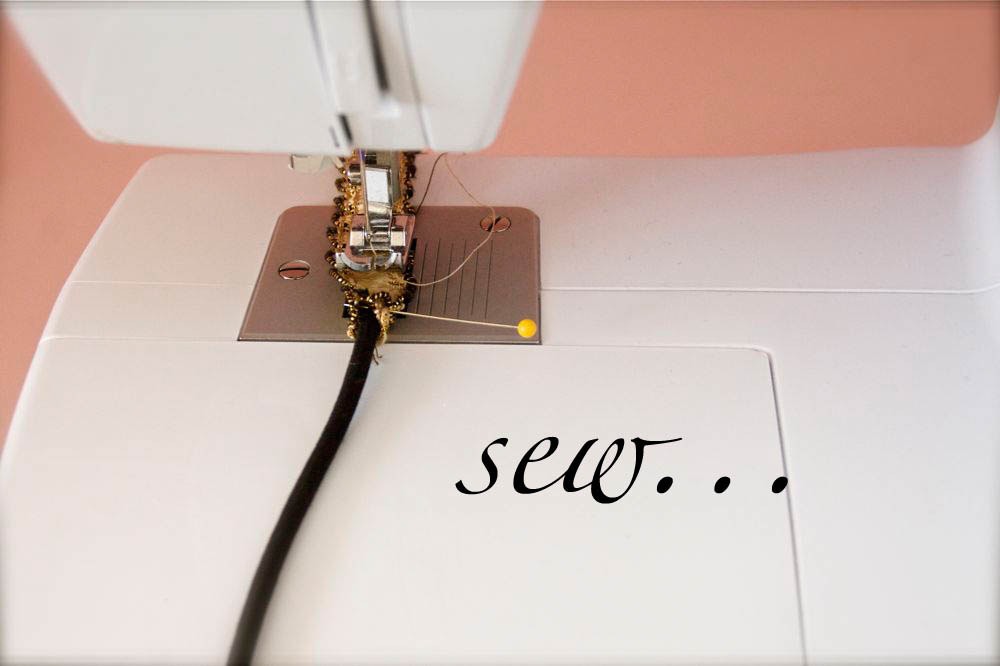
3) Lay one end of your elastic on top of the folded edge, wrap trim around elastic end, and pin.
4) Using a zig-zag stitch, sew your elastic to the trim very well, about 20 stitches. (you may also do this by hand, if you don’t have a machine)

5) Repeat steps 3&4 on the other end of your elastic.
6) Cut two, 3″ lengths of ribbon in a color that blends well with your elastic, and wrap it around the edges of the trim, glueing as you go, and tucking under the end of the ribbon for a finished look.
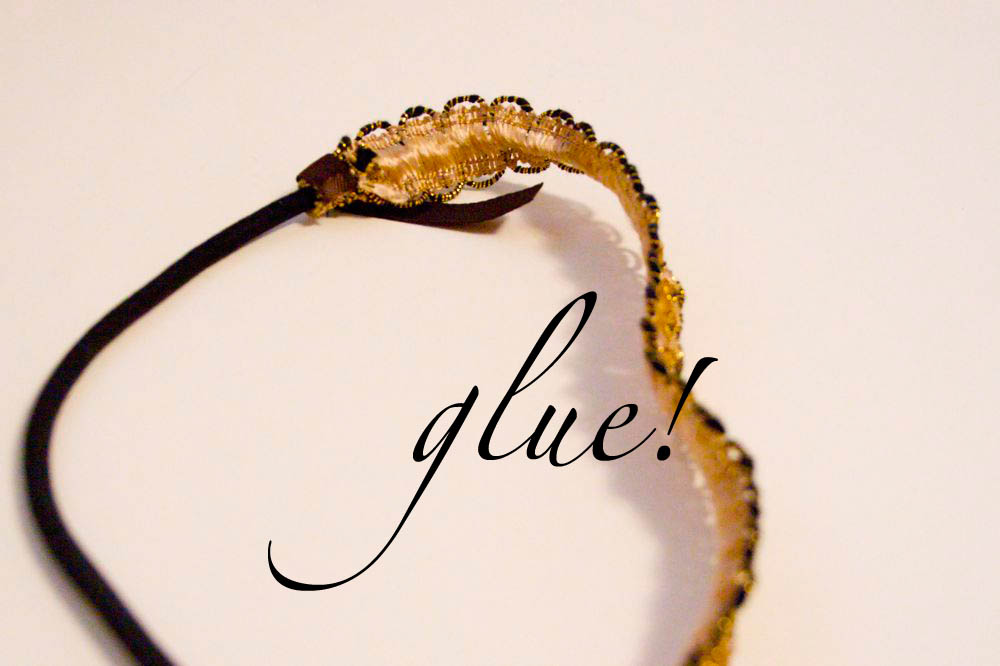
Slip it on, and enjoy the compliments! :o)
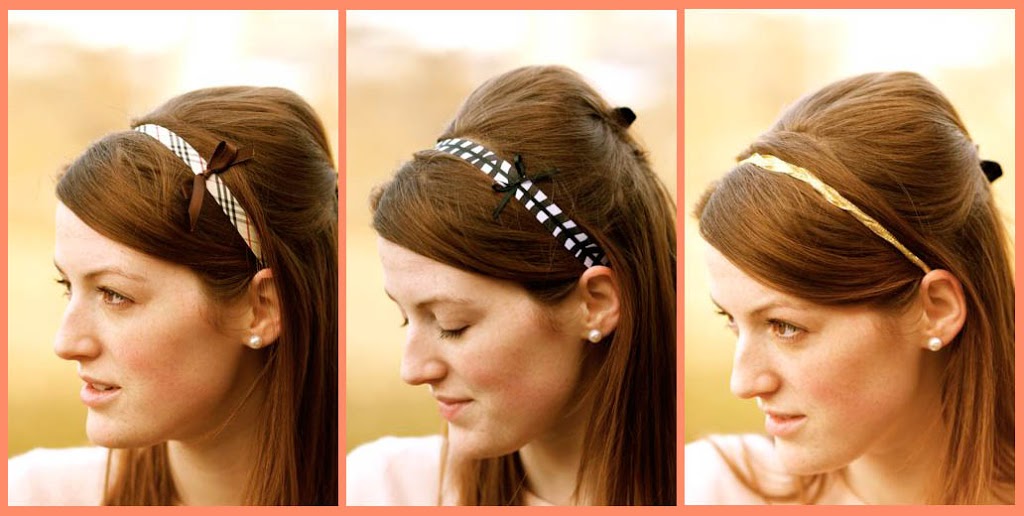
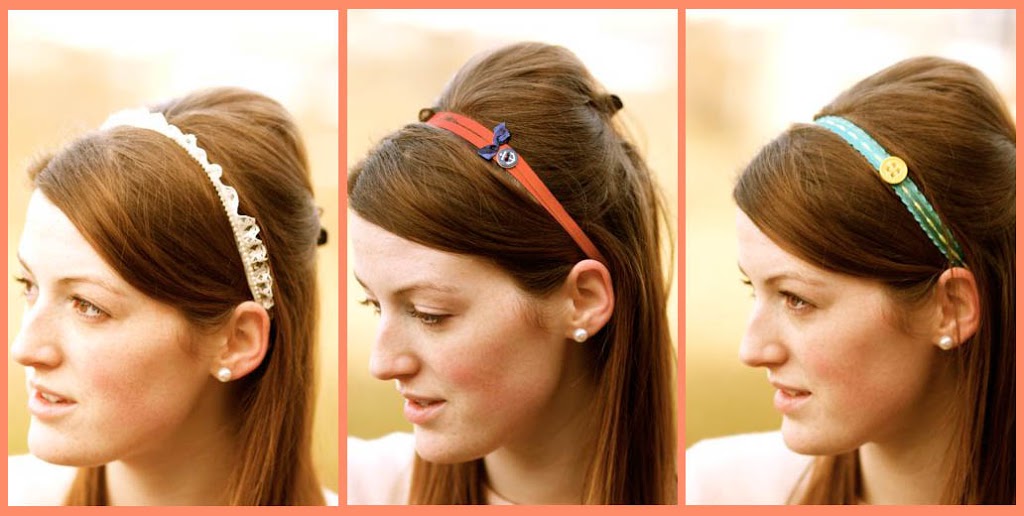
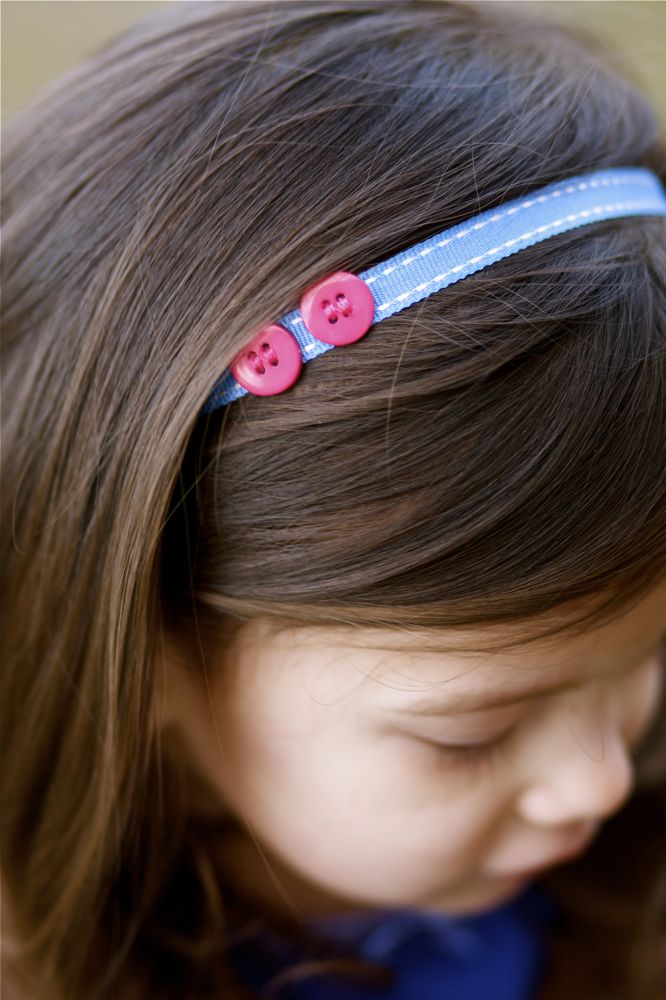
You may also add embellishments like buttons or bow by sewing or glueing them to the side!

And of course, there are many other variations that you can try! My personal favorites are lace, and braided gold ribbon (top right)

And don’t forget the little ones!
(you’ll need to measure their head to find the right measurement)

Thank you so much, Kari, for having me today!
Take care, everyone! Come by and visit anytime!


You may also like these

Daisy Headband Tutorial by Krazy KitzyDaisy Headband TutorialFelt Bunting Headband by U Create and CrafternoonFelt Bunting HeadbandBeautiful Hairstyles for GirlsWoven Knot Hair TutorialPop of Color Ribbon Braid by Measured by the Heart
Previous Post: DIY Clip Art Rails
Next Post: XOXO Table Runner Tutorial

Comments

  1. Terri says

    January 13, 2010 at 12:01 PM

    Isn’t that cute and so simple, thanks!

    reply to this comment >
  2. Lynette says

    January 13, 2010 at 12:42 PM

    I love all the varieties! I’m going to have to try these…thanks Disney!

    reply to this comment >
  3. tini-uk says

    January 13, 2010 at 1:20 PM

    They look so beautiful and I know what I will use the ribbon I saved from a box of chocolates for. Thank you.

    reply to this comment >
  4. Lori says

    January 13, 2010 at 1:34 PM

    Thank you so much for this post!! I am a huge anthro fan but not so much for the prices. I saw the headbands about a month ago and pondered the idea of making my own as well. Thanks again!!!

    reply to this comment >
  5. pink and green mama says

    January 13, 2010 at 1:39 PM

    Adorable!!! : )

    reply to this comment >
  6. amy says

    January 13, 2010 at 2:23 PM

    really beautiful.

    amy
    http://techzed.net

    reply to this comment >
  7. michelle@somedaycrafts says

    January 13, 2010 at 7:55 AM

    Really cute and simple, Disney. You ARE the best!

    reply to this comment >
  8. Eila says

    January 13, 2010 at 8:44 AM

    So beautiful!

    reply to this comment >
  9. Trudy Callan says

    January 13, 2010 at 3:59 PM

    Great headbands. Thanks, Disney.

    reply to this comment >
  10. Amy says

    January 13, 2010 at 4:46 PM

    So cute… I’m making one of these today! Is your model wearing a bump-it? Haha, very adorable. Thanks for the tutorial 🙂

    reply to this comment >
  11. Anonymous says

    January 13, 2010 at 5:51 PM

    Love this! Thank you from Therese in Sweden 🙂

    reply to this comment >
  12. Karina - Project K says

    January 13, 2010 at 6:22 PM

    oh Disney, you’ve done it again! very cute, I love them!

    reply to this comment >
  13. Wendy says

    January 13, 2010 at 6:36 PM

    This are so cute. I am going to be making some of these for sure…Love them. Thanks for sharing.

    reply to this comment >
  14. Hollis says

    January 13, 2010 at 6:42 PM

    Super Cute! Thanks for sharing! I could totally make this

    reply to this comment >
  15. Tonya says

    January 13, 2010 at 12:38 PM

    I love this tutorial! Thanks so much for sharing! Well, I guess I’ll be picking up some thick elastic bands at Target this morning after dropping the kids off at school! 😉 Thanks again!

    reply to this comment >
  16. POPPY SEED FABRICS says

    January 13, 2010 at 8:50 PM

    So cute and so easy, I had no idea!

    reply to this comment >
  17. Laura Bray says

    January 13, 2010 at 9:04 PM

    Another fantastic Disney project!

    reply to this comment >
  18. casserole says

    January 13, 2010 at 3:22 PM

    These headbands are so pretty!!

    I blogged about your tutorial on Craft Gossip Sewing:
    http://sewing.craftgossip.com/tutorial-anthropologie-inspired-ribbon-headband/2010/01/13/

    –Anne

    reply to this comment >
  19. Tara says

    January 13, 2010 at 10:38 PM

    Disney you are amazing. I love love love everything you make!

    reply to this comment >
  20. Tasha says

    January 13, 2010 at 10:52 PM

    Wow. Fabulous. What a brillent idea to use a hair tie elastic thing. These are just beautiful

    reply to this comment >
  21. carmenMar!e says

    January 13, 2010 at 10:56 PM

    How cute is that? Those are so fun!

    reply to this comment >
  22. Kari @ Ucreate says

    January 13, 2010 at 4:02 PM

    Disney,
    Thank you! Thank you!
    I am always looking for fun accessories and these are just perfect!
    So excited to have you on Ucreate today!

    reply to this comment >
  23. Candace says

    January 13, 2010 at 11:18 PM

    How adorable! I can’t wait to try it! Thanks!

    reply to this comment >
  24. Joanne says

    January 13, 2010 at 4:26 PM

    These are gorgeous! I’ll be linking over the weekend! Thanks so much for sharing!

    reply to this comment >
  25. Tiffany says

    January 14, 2010 at 1:41 AM

    Darling & so clever! Can’t wait to try!!

    reply to this comment >
  26. jenjen says

    January 14, 2010 at 1:42 AM

    So so fun! I need to make those asap!

    XOOX
    Jen

    reply to this comment >
  27. Twiddle Thumbs says

    January 14, 2010 at 3:23 AM

    These are really pretty!

    reply to this comment >
  28. juliecache says

    January 14, 2010 at 3:26 AM

    i got here via piece n quilt. i am a big fan after a look around and am so following your blog.

    reply to this comment >
  29. Katie says

    January 13, 2010 at 10:34 PM

    This is great! Thanks!

    reply to this comment >
  30. Angie says

    January 14, 2010 at 3:56 AM

    So cute and easy! I can’t wait to try this. Thanks for posting!

    reply to this comment >
  31. ClassiclyAmber says

    January 15, 2010 at 1:50 PM

    This is so simply gorgeous! What a great idea! I really love it. <3

    reply to this comment >
  32. Suzanne says

    January 15, 2010 at 4:24 PM

    love this – of course i hate it too because i had to go out yesterday and buy some trim to work on it last night! Disney – i love your stuff and have.to.stop.copying!! 🙂

    reply to this comment >
  33. Silvia says

    January 15, 2010 at 5:00 PM

    Very nice!

    Kissies

    reply to this comment >
  34. Bethany says

    January 15, 2010 at 8:45 PM

    love this so much i posted it on my blog!! thanks!!! happy friday!

    reply to this comment >
  35. Marianna says

    January 16, 2010 at 7:31 PM

    love this!! simple and fun!!

    reply to this comment >
  36. Andrea @ The Train to Crazy says

    January 20, 2010 at 8:45 PM

    Very cute! Thanks for sharing! I’ll have to make a few of these.

    reply to this comment >
  37. Anonymous says

    January 21, 2010 at 2:12 AM

    THE HEAD BANDS ARE REALLY CUTE! AND I LOVE YOU’RE NAME!

    reply to this comment >
  38. Kelly says

    January 21, 2010 at 3:57 PM

    So cute! What a great idea. I’m going to Hobby Lobby today to pick up supplies.

    reply to this comment >
  39. Genevieve says

    February 5, 2010 at 6:14 PM

    this was a great tutorial! thank you! i actually used it to help a friend with her daughers cleopatra costume. i linked to it here-

    http://vievesscrapbooking.blogspot.com/2010/02/cleopatra.html

    thanks again!! love the blog

    reply to this comment >
  40. Magnolia-Mountain says

    February 6, 2010 at 3:34 PM

    I love these headbands! They are addictive. My daughter and I made some and posted them up on our blog! And put a link up to your site! Thanks Disney! 🙂

    reply to this comment >
  41. Fallan says

    April 4, 2010 at 7:46 PM

    I just loved this tutorial so much, that I had to try it myself. =) Here is a link showing the headbands I’ve made. SUPER quick & easy!! Thanks Disney for the tutorial!

    http://fallanstechnicolordreams.blogspot.com/2010/03/time-to-accessorize-your-hair.html

    reply to this comment >
  42. Chiara Handmade says

    May 14, 2010 at 1:29 PM

    really cute and easy! Thank you very much!
    Linked in my blog
    http://chiarahandmade.blogspot.com/2010/05/tutorial-dal-web-fasce-per-capelli.html

    reply to this comment >
  43. Abbie says

    November 27, 2012 at 1:50 AM

    These are really cute! I’ve made headbands out of braided t-shirt strips, and an easier way I’ve found to use the elastic hair band is to leave it intact. If you don’t cut the hair band, just make the ribbon longer. Instead of having to sew the ribbon to the tiny little end of the the hair band, fold it around the hair band and sew it on to itself. Its way less likely to snap if its being stretched out. 🙂

    reply to this comment >

Leave a Comment Cancel reply

Your email address will not be published. Required fields are marked *

Popular Posts

Watermark Tee Tutorial

Watermark Tee Tutorial

100 Things to Put on a Charcuterie Board

Snickers Popcorn Recipe

DIY Quilt Block Coasters

DIY Quilt Block Coasters

DIY Mason Jar Vase

DIY Mother’s Day Mason Jars

All About Mother and Grandma Free Printable

  • pinterest
  • facebook
  • instagram
  • twitter
  • rss
 
Privacy Policy
Back to Top

Copyright © 2022 U-Create • All Rights Reserved • Site Design by Emily White Designs