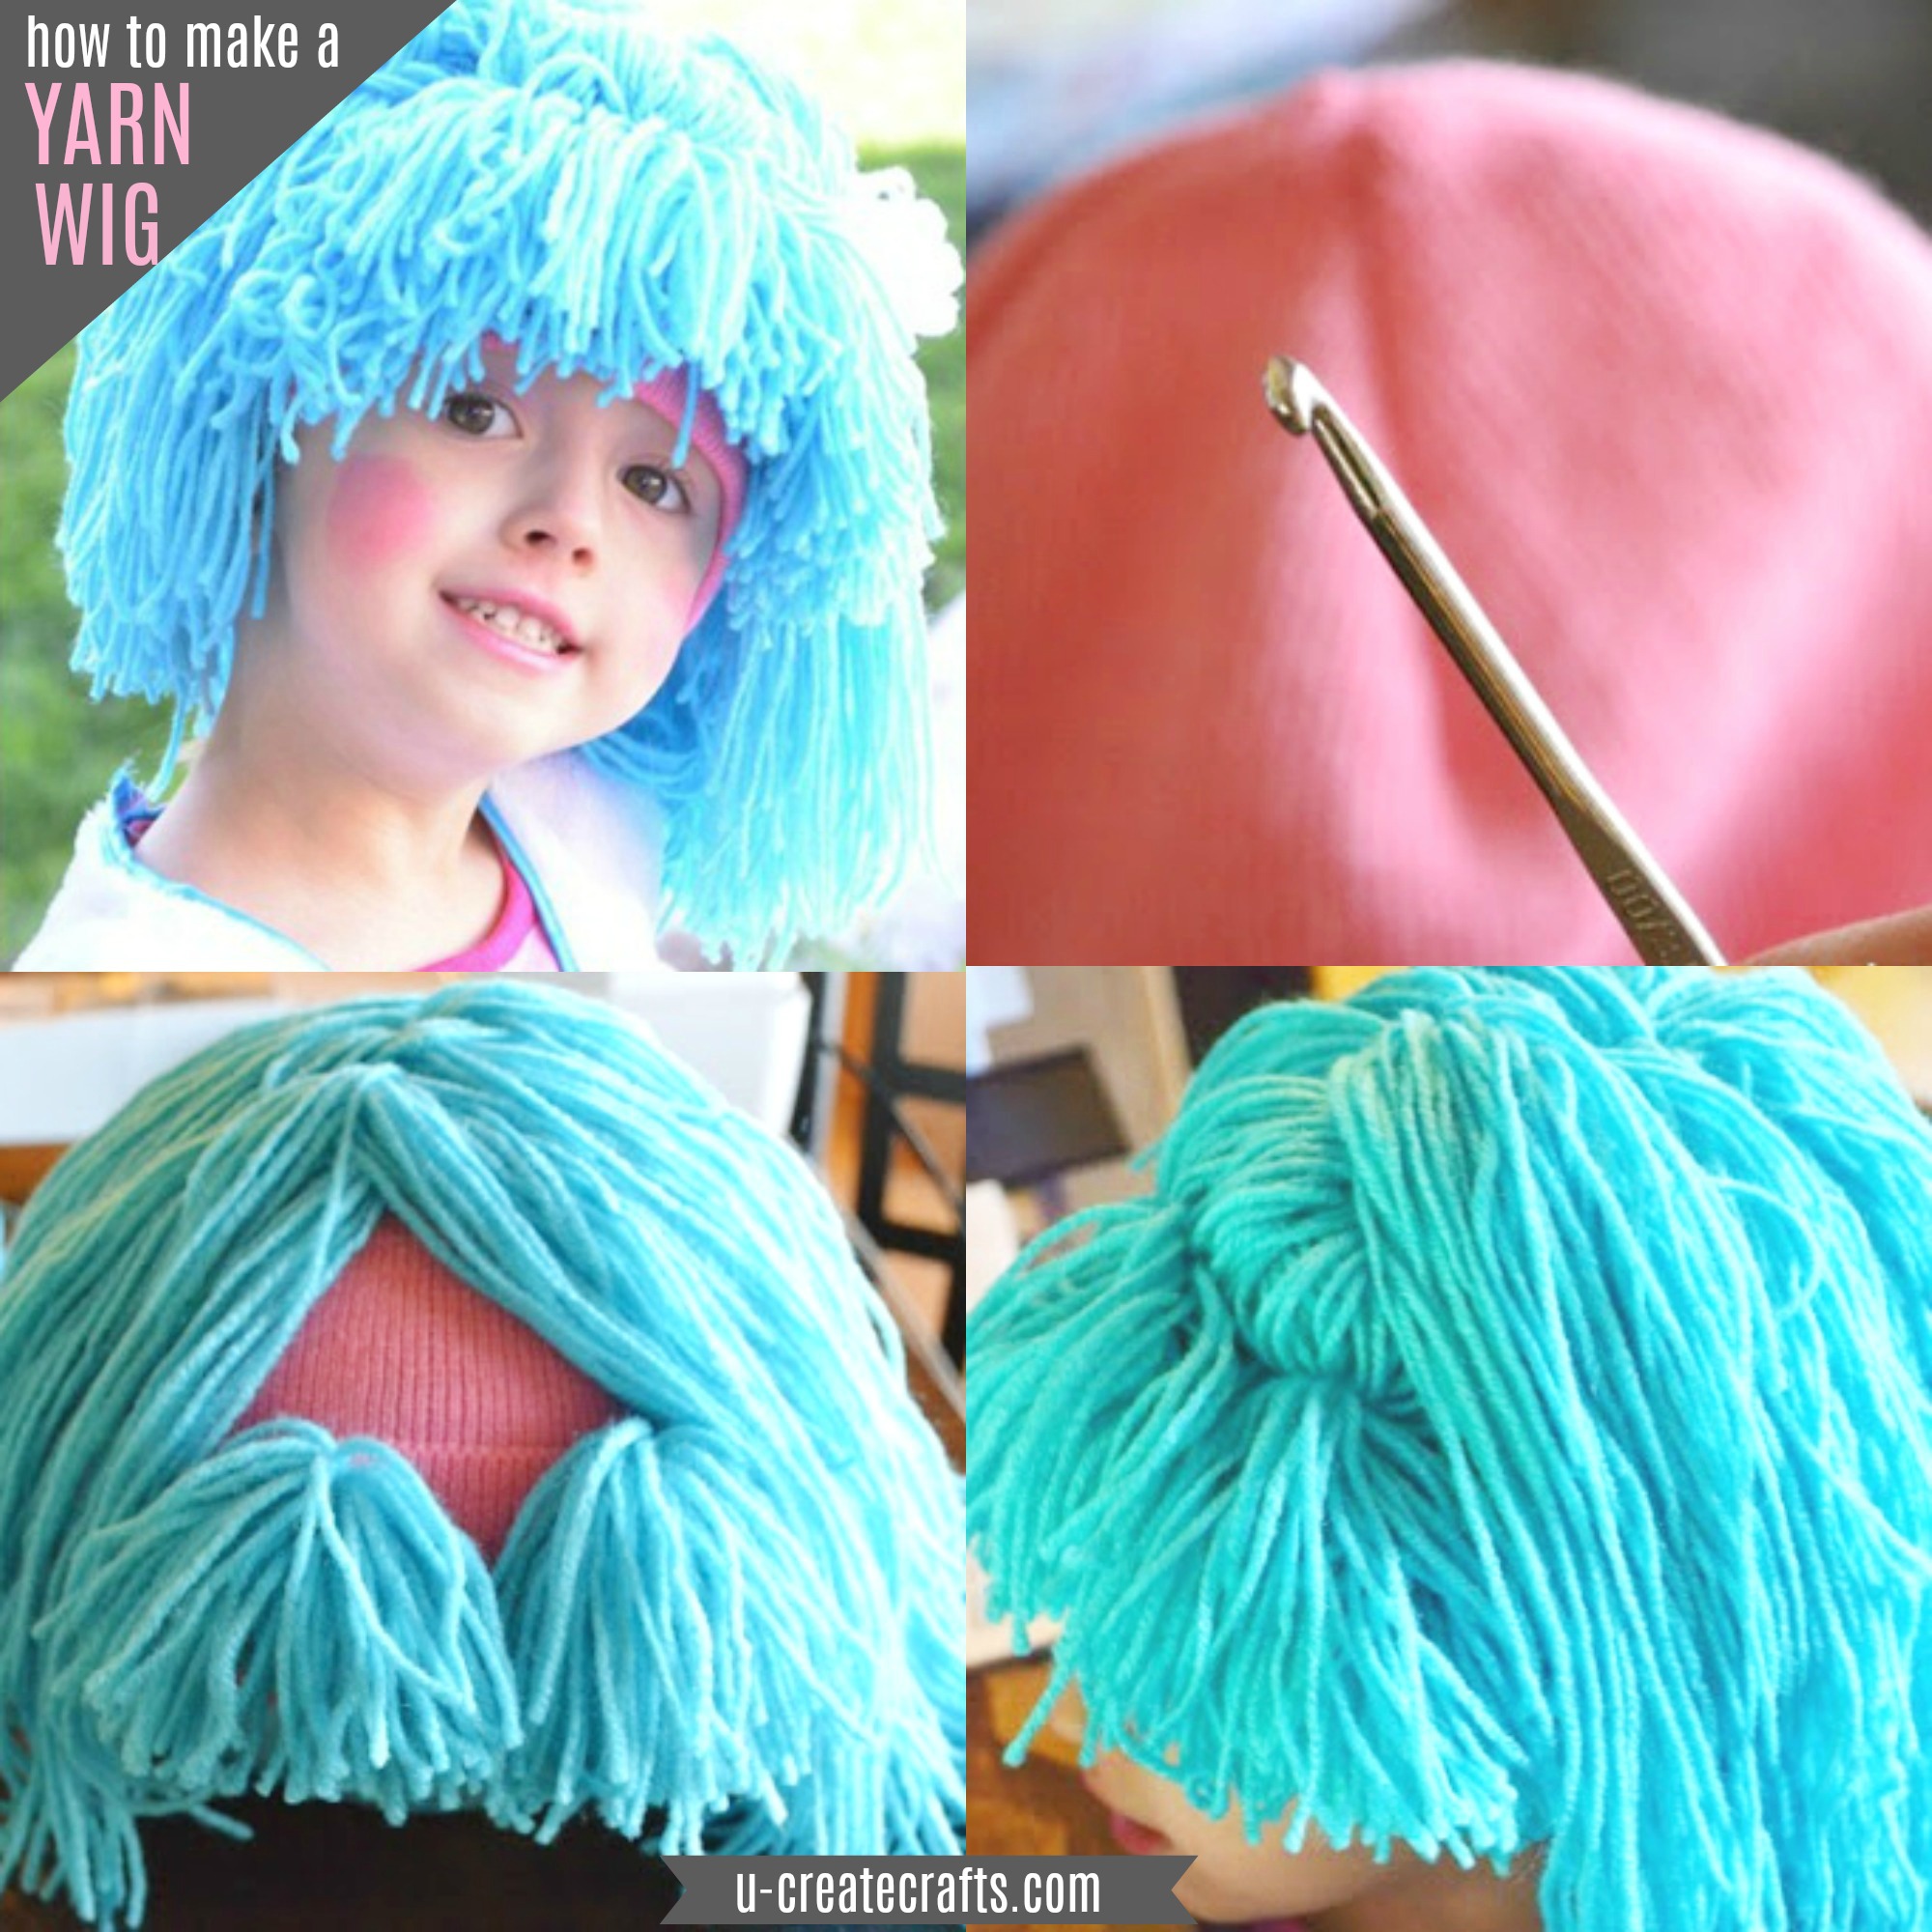
 My daughter has wanted to be a La La Loopsy Doll for Halloween since summer! I was all prepared to make her costume and it was going to rock…that is until I found exactly what she wanted to be on clearance for $7 at Wal-Mart. Are you kidding me?! I did the happy dance and bought it. When I brought it home and she said, “Where’s the hair?” Oh…I didn’t think about that. My first thought was, “How in the world do I make a yarn wig?”
Then the idea hit me: “I could pull yarn through a beanie!” Thus this Easy Yarn Wig Tutorial was conceived!
Not only is it easy, but it will keep her little ears warm while we are Trick-or-Treating in the cold Utah weather.

Supply List:
- 1 skein of yarn
- knit beanie
- scissors
- crochet hook

First, figure out how long you want the “hair” to hang over the beanie. Mine was 13 inches.


I then found a book that I could wrap the yarn around and cut one end to have by desired length. Wrap the yarn around the book about 30 times and cut one end.

Find the middle of the strings of yarn and tie them together with a single strand of yarn. Tie it together with a simple knot. Make sure to keep track of the threads of the knot because this is what you are going to pull through the beanie.
Now you are going to take your crochet hook and attached the pile of yard strings to the top of the beanie. I started in the very top center of the beanie.

1. Push your crochet hook through the top of the beanie to one side of the seam {if you have a seam}.
2. Grab you loose thread of the knot you made around the strings.
3. Pull it through the top of the beanie.
4. Make sure to pull it all the way through.
5. Push you crochet hook through the top of the hat on the OTHER side of the beanie and grab the other loose thread.
6. Pull it through. Tie both threads into a simple knot…pull it tight!
You have attached your first “lock of hair.”

Working along the seam in a mohawk-like fashion, repeat the process until you have attached 8 of these “locks of hair.” I attached 3 locks behind the initial one and 4 in front.
Now for the bangs!

1. Figured out how long you want the bangs.
2. Find a something that is the desired length {I used my phone}, wrap around 30 times and cut one side {like with the longer hair}.
3. Tie the yarn strings together with a knot and attach to the beanie with your crochet hook just like you did with the longer hair.
4. I attached one bunching of bangs on top of another one for a fuller look.
5. In the end I attached 6 bunches of bangs {3 rows of 2 bunches on top of each other.} The picture only shows 4 total bunches.
Try it on your model and make sure you have enough “body” where you want it. Basically, make sure it looks good! {This is when I added the extra bunching of bangs.}
 My model got ornery so I used a little beach ball. 🙂
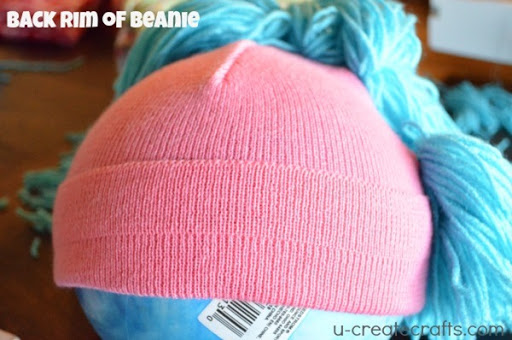


The back of the wig looked a bit lacking to me so I flipped all the yarn forward and added some half- sized locks in the back. I still wrapped the yarn around the book, but this time I cut both sides and tied the knot at the top. I made three of these and attached them to the back of the beanie above the rim.
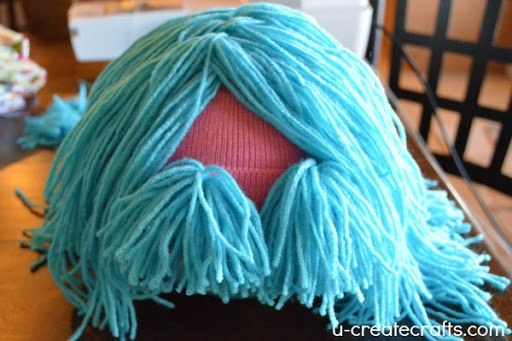
 Now, you should have this little empty triangle shaped hole. We are going to fill that in!
1. Take half of the yarn from you top layer of bangs.
2. The idea is to fill in the whole so we are going to pull the bangs back to make the hair look more done…like this.
3. Tie a piece of yarn around the bangs you gathered together and secure with a knot {just like before}. Pull the strands of the knot through with the crochet hook.
4. Arrange the “hair” around the bangs to hide any pieces of yarn that are imperfect or poking out!
Try it on your little one. You may need to add some other bunches of yarn if there are empty looking spot. Just mess with it until it is how you like it. I didn’t do the La La Loopsy ponytails or curly hair because I really like the Raggedy Ann doll look to this little wig. 
I would love to see your variations on this tutorial. If you try it, let me know!
My little La La Loopsy is thrilled with her new hair!

POST BY: Becky Vandenberg

Don’t miss our other Halloween costumes posts!
How to Make a Muscles for Costumes


That is so cool and your model is adorable 😀
That’d be fun to just have around for dress up too.
this is really cool ill have to try this with my daughter. ty
Genius!! I could have used your expertise when I made a Sally (Nightmare Before Christmas) wig!! Thank you for posting this!
Soooo cool! Thanks for sharing!
7 years ago I made a yarn wig for oldest DD’s halloween costume. She was dressed as Dora the Explorer and wanted the huge brown hair. I found a simple crocheted beanie at a dollar store. Yes, I could have made one, but it was nice having one that was already made and already fit. I just used brown yarn latch-hook rug style. I was 9 months pregnant at the time and actually did some of the work at the hospital after my new baby was born (and in teh NICU, so I had no baby to play with). It was absolutely PERFECT. A big ole wedge-shaped wig on my itty 3yo’s head. Even though it’s been so many years, it’s still a popular piece in our costume dresser! Since she’s particularly light skinned, we topped off the costume with a generous application of foundation for darker skin all over her hand/arms, neck, and face. And some warmish tan tights under the shorts. It was awesome XD
Holy cow, Becky. That is the coolest thing ever. LOVE how cute that turned out!
I used this for my niece. She has to dress up as a Dr. Suess character and she choose thing one and thing two. I’m adding alot of length to it so I can stand it up using a pop bottle. I also made her a tutu and her shirt. I think she will win best dressed, if I do say so myself! Wish her luck!
Ok, this is the most awesome little costume and adorable girl!!! Great job Becky!!
OMG YOU’RE A GENIUS. I LOVE THIS!!!!
Been thinking about how to pull off Rapunzel hair (I hate the feeling of costume wigs!!!) for my asian daughter! Will have to keep this in mind, thanks!
Wow! I never would have thought of that. I love it!
I used this tutorial 2 years ago for a Dora wig. This year I am trying to make a purple minion wig with the same instructions. Thanks!
What size crochet hook did you use? And I’m trying to make a Raggedy Ann wig for my daughter she is 10 months old so can i use a regular size beanie still, do you know?
Great craft but the attention is grabbed by the little adorable model!