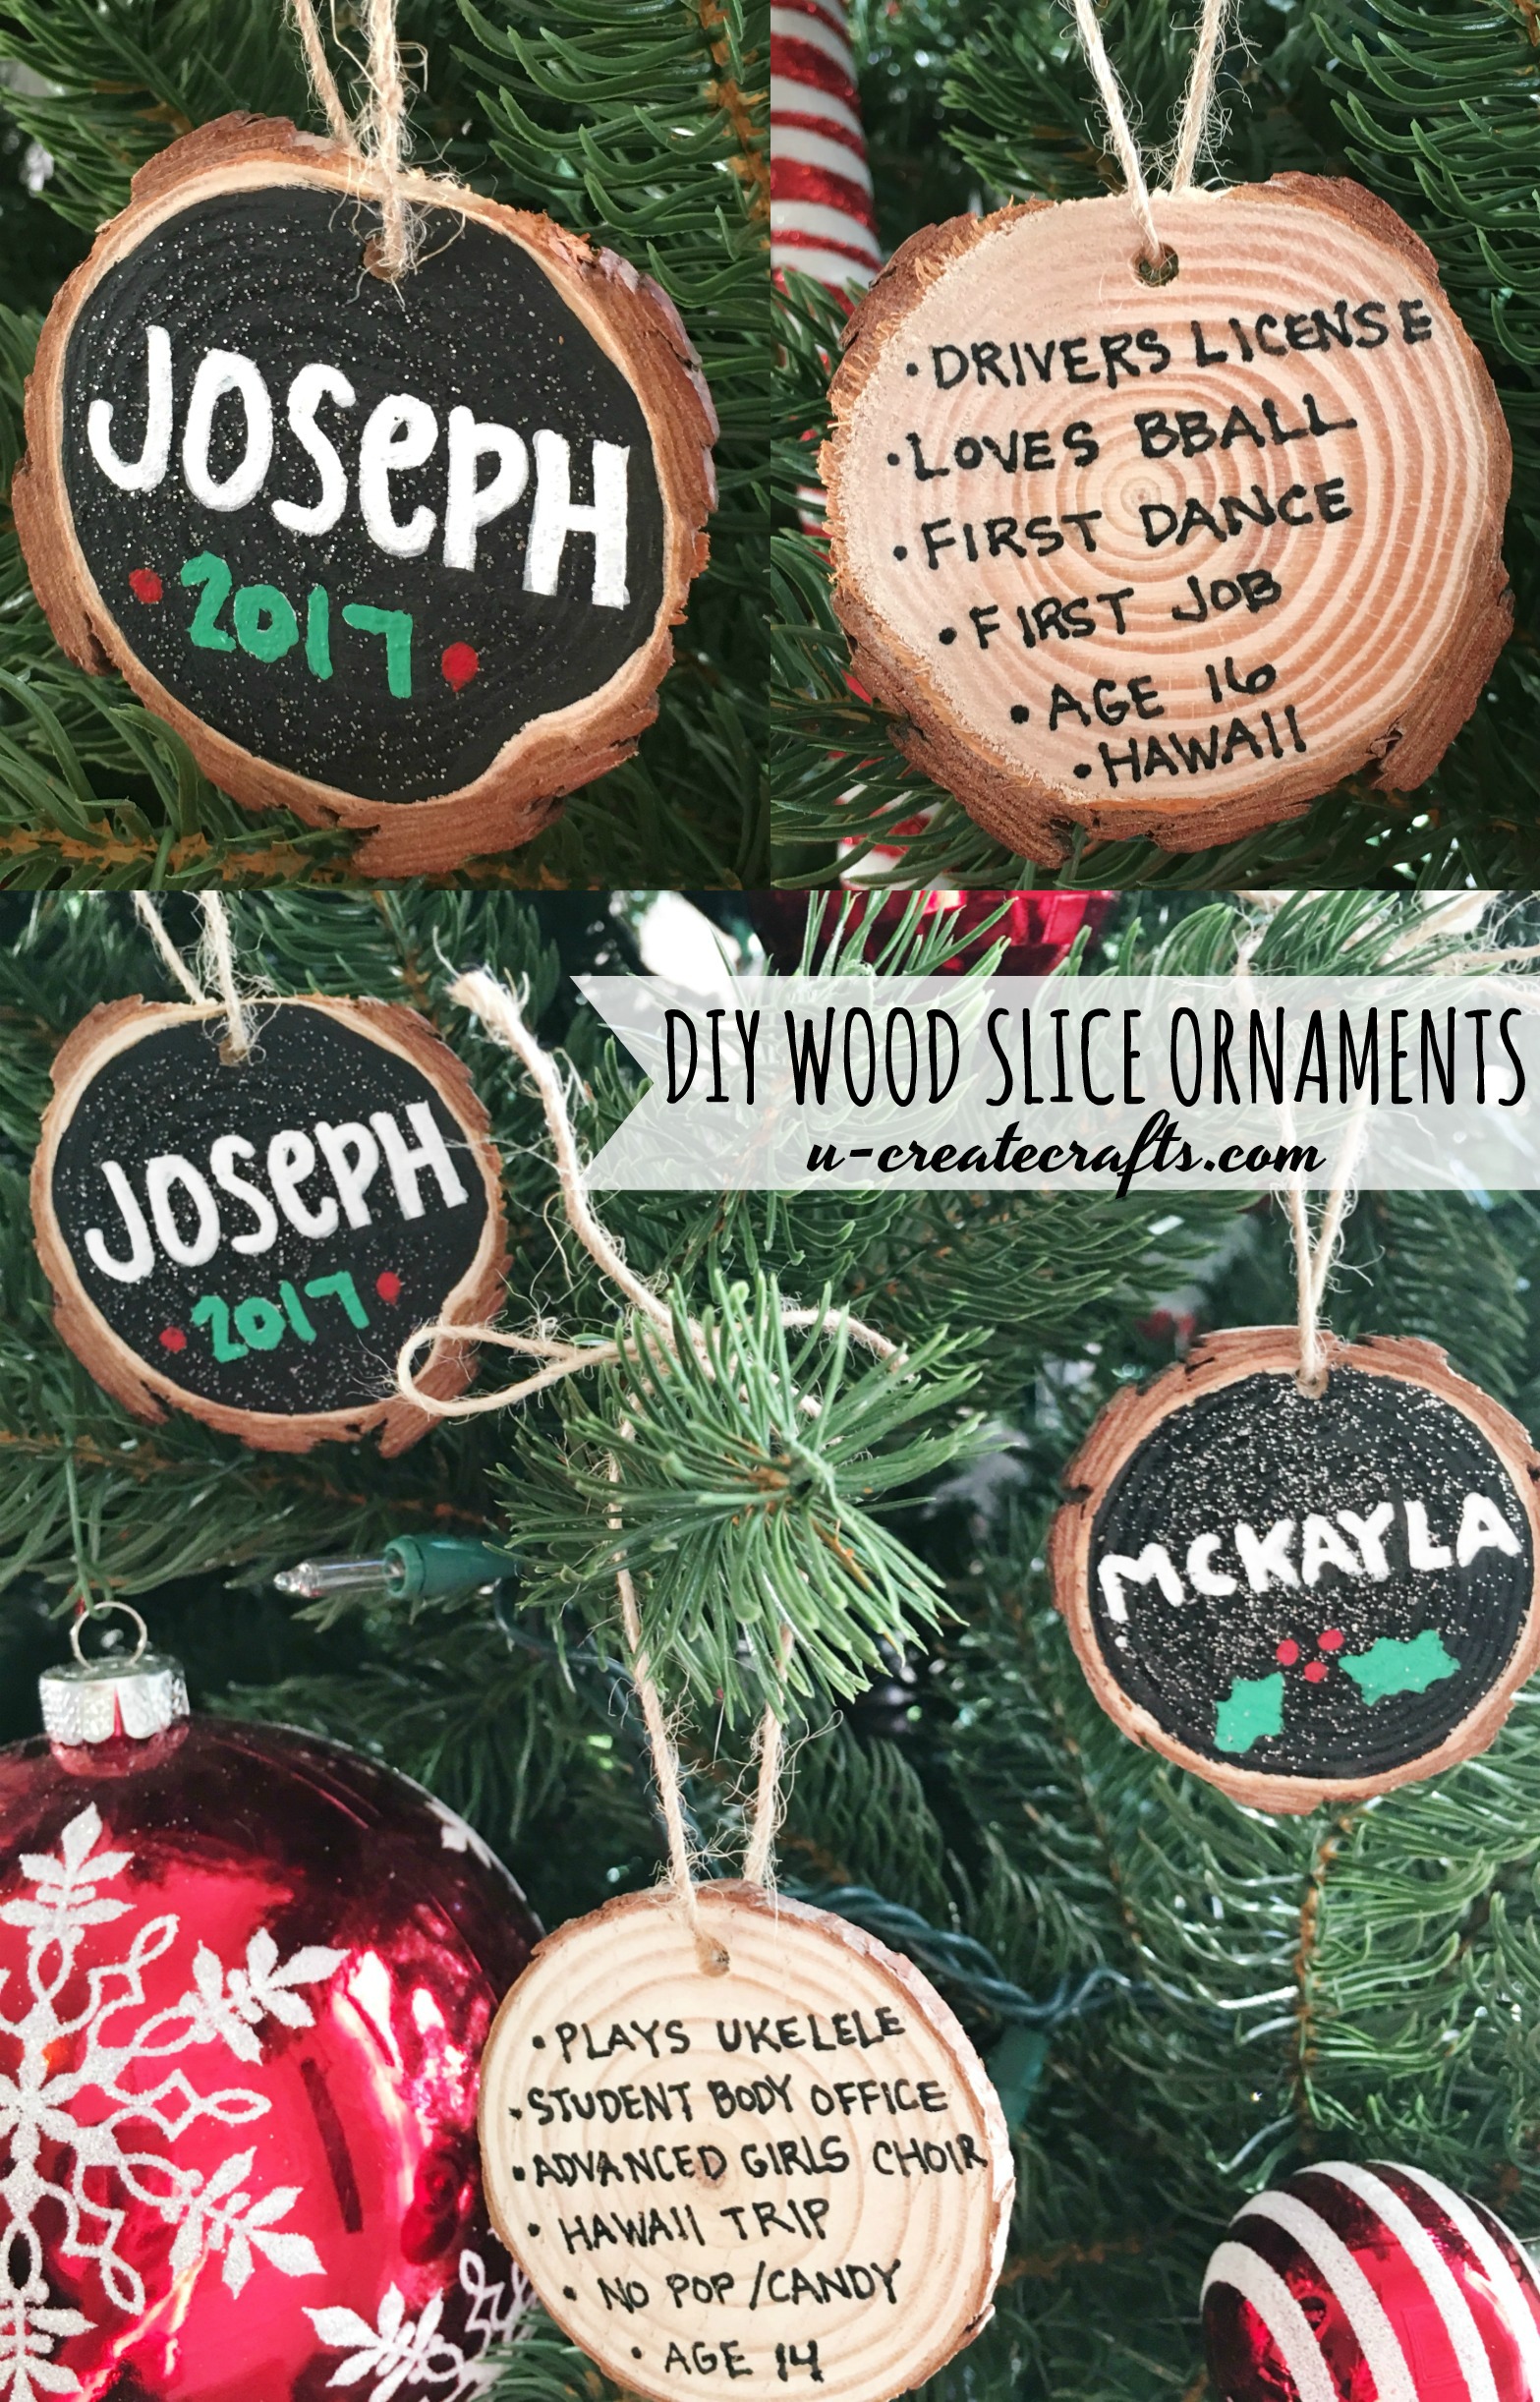
Each year I give my children an ornament that describes them for that year. It’s a fun tradition we’ve had for years and when they leave home someday they will have a collection of ornaments to take with them.
This year I decided to do these wood slice ornaments for Christmas! I went the easy route and bought pre-drilled ornaments that came with twine and added my personal touch. Let me show you how simple they are to create…

DIY WOOD SLICE ORNAMENTS
SUPPLIES
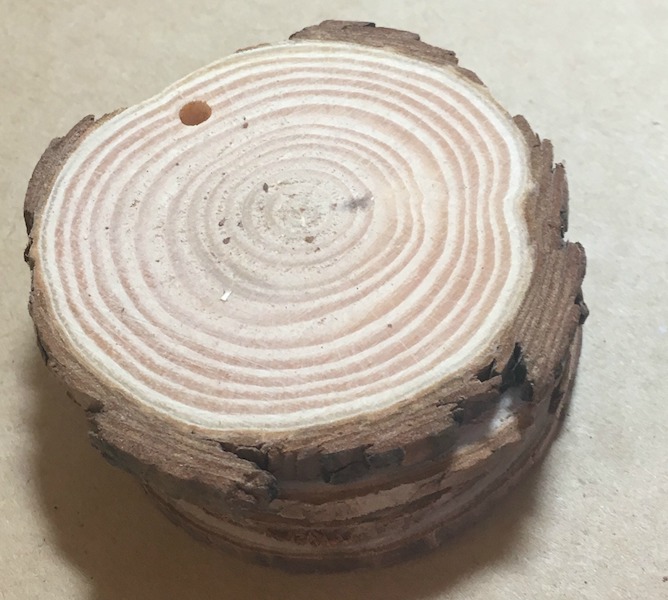
- wood slices (I used these ones that are pre-drilled and come with twine here)
- paint brush
- Testors Acrylic Paint
- Testors Glitter Blast Paint
- twine
- back permanent pen
DIRECTIONS
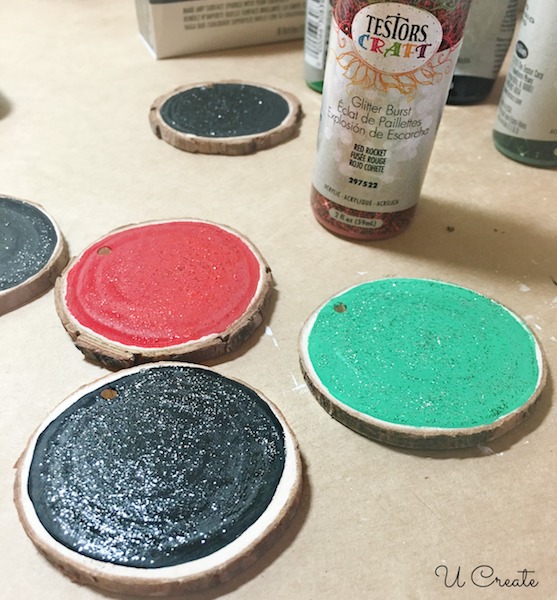
- Paint layer of acrylic paint in color of your choice. Let dry.
- Paint layer of glitter blast paint in coordinating color.
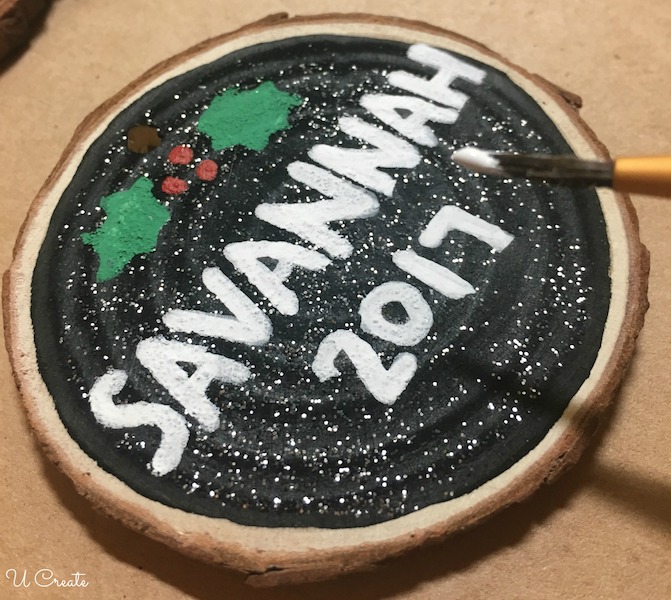
- Use a pencil and draw the name and design you want and the paint using paint pen or small paint brush.
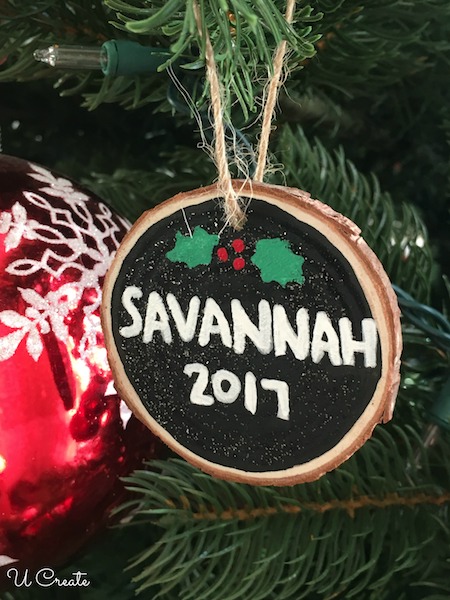
- Add twine and hang on tree!
POST BY: Kari Sweeten

This post is sponsored by Testors. All projects and opinions are mine.


What a simple project. I love that you wrote the notes on the back. Such a great idea.
Thanks for your kind comment. My kids say these are their favorite ornaments. I think we’ll stick to this version in future years 🙂