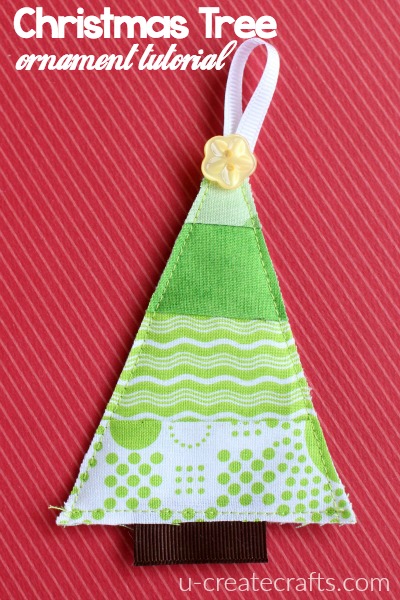
 I am excited to share my Scrappy Christmas Tree ornament with you. By fabric scrap baskets are overflowing so I have been on a huge scrap busting crusade. That’s kind of how I came up with these cute scrappy trees. So, here’s a step-by-step tutorial of how I made them.
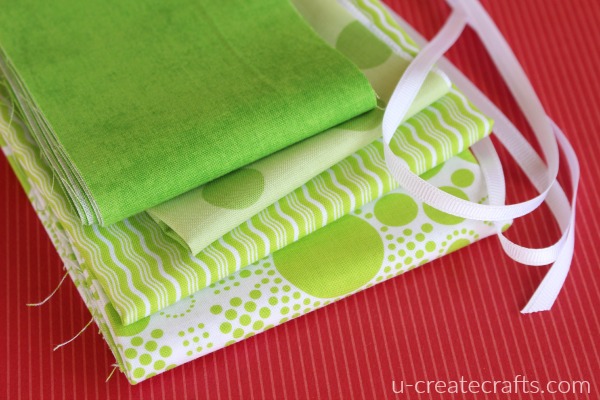 Supplies needed:
- Green fabric scraps (at least 3.5″ x 1″)
- Solid green fabric for the back of the trees (at least 3.5″ x 5″)
- some kind of batting for stability (I used leftover white flannel.)
- small yellow buttons
- 1″ Brown grosgrain ribbon (for the stem)
- 1/4″ white ribbon (for the ornament loop)
- ruler
- pencil
- scissors
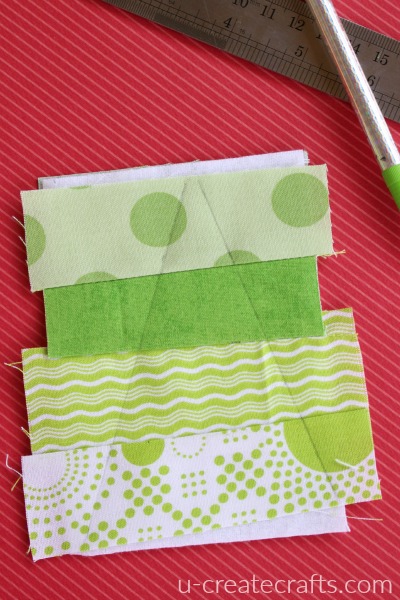
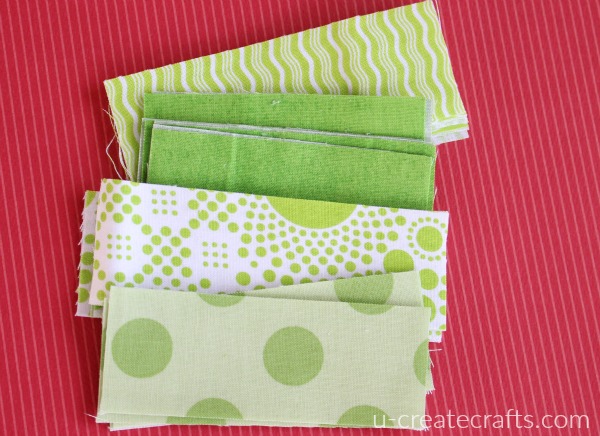 Step #1: Cut fabric
Cut all the green scraps to 3.5″ x 1.5″.
Cut solid green and batting to 3.5 ” x 5″.
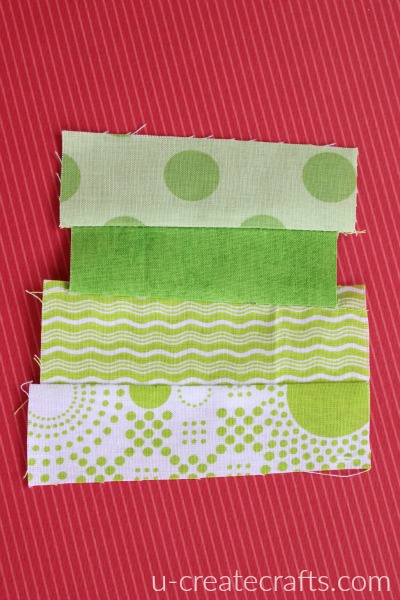 Step #2: Sew the strips together
Sew the green strips together one at a time. You don’t need to worry about straight lines…every seasoned sewist just gasped. I didn’t lay the pieces together perfectly because I want that “wonky” and scrappy look.
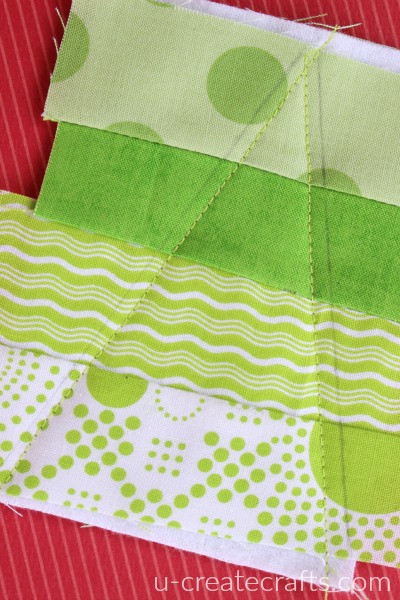
 Step #3: Layer all the pieces
Lay the scrappy strip piece on a piece of flannel. Then add the solid green to the back with right side facing out.
 Step #4: Draw the tree
Grab a ruler and a pencil draw to sides of the triangle tree.
 Step #5: Sew the tree
Sew about 1/8″ inch in from the pencil lines you just drew.
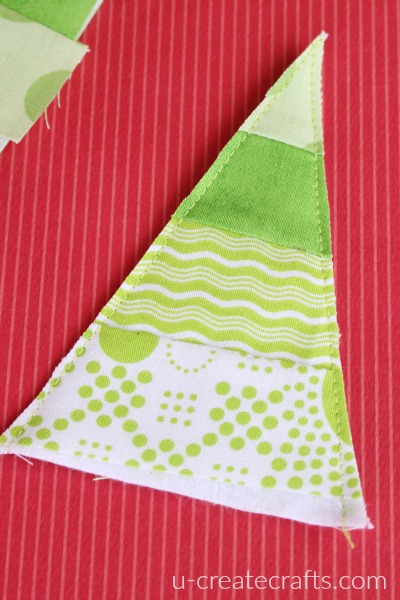 Step #6: Trim the tree (<—did you see what I did there?)
Trim the extra fabric off the tree by cutting on the pencil line. Although you didn’t sew the bottom of the tree, trim off any extra. Basically make a pretty triangle.
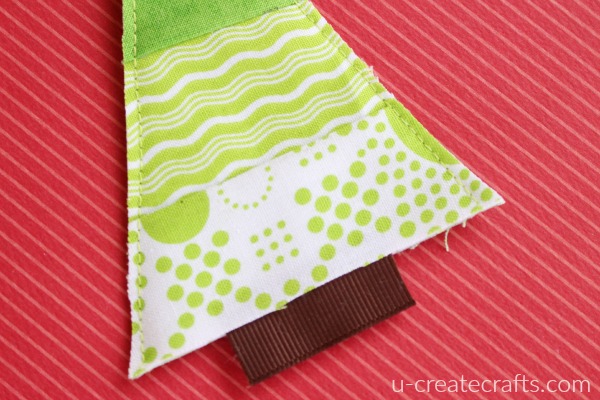 Step #7: Add the trunk
Cut a small piece of brown grosgrain and slip a 1/4″ under the batting at the bottom of the tree. Then sew entire bottom of the tree shut.
 Step #8: Add finishing touches.
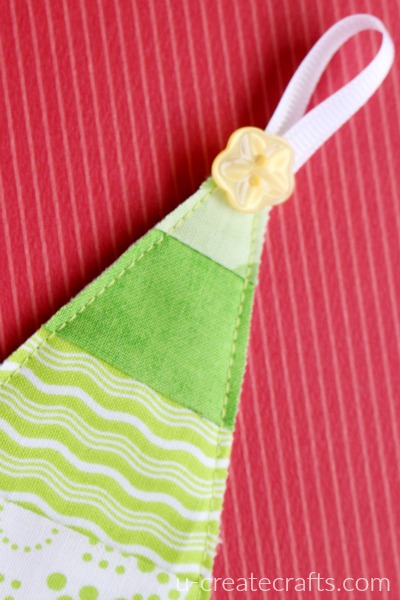
Create a loop with the white ribbon and sew it to the top of the tree in the front.
Glue or hand-sew the little yellow button on top of the ribbon.
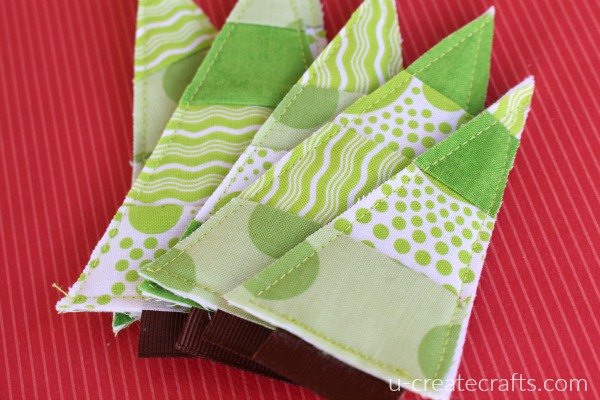
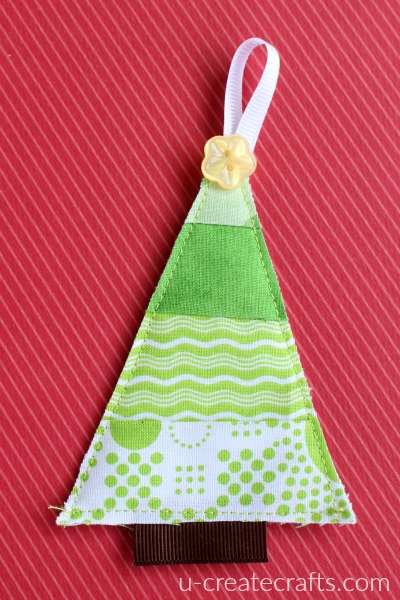 Now you have a darling little fabric scrap Christmas Tree. You can add them to the Christmas tree or use them to decorate presents. You could also string a lot of them together and create a banner or garland. Seriously, endless possibilities.

Come visit U Create for many more sewing and crafting tutorials. We love to see what YOU create using our fun tutorials. When you make these cute little trees, share a picture with us on our Facebook page or tag us on instagram (@ucreateblog).


Leave a Comment