I have had this idea of making a fabric covered canvas for a long time now and finally made the time to make it. This is a great way to perfectly coordinate the nursery décor and add a personal touch.  I am going to show you how I made this canvas for a little boy, but really you can take the concept and do any fun shape for a boy or girl.
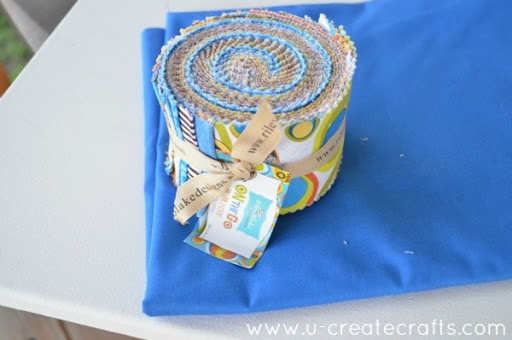 Supply List:
- Old Canvas (or new if you want)
- (9) 2.5 inch strips of fabric (I used a Riley Blake Designs Rolie Polie)
- Clear thread
- Bright Blue fat quarter
- White fat quarter
- Bright Yellow fat quarter
- Digital Cutter with sharp blade
- Other sewing essentials
- Upholstery Staple and staples
Step #1: Sew the Canvas Cover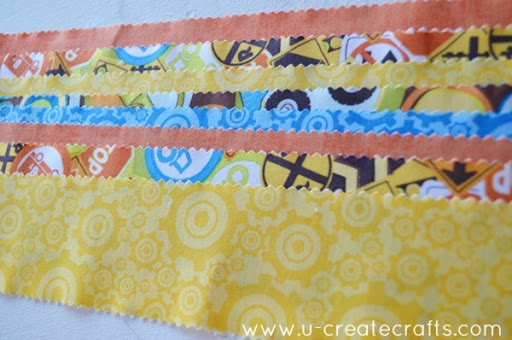 Lay the fabric out in the order you like best. {I swear this is the longest process for me.}
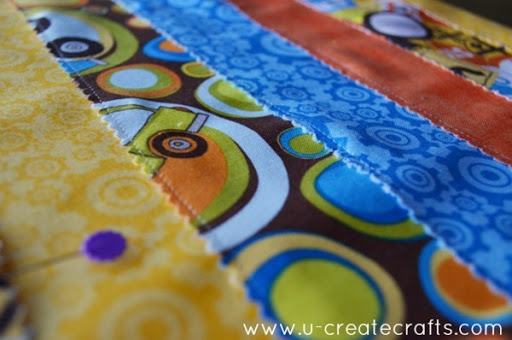 Thread your sewing machine with clear thread and a white bobbin. Sew the strips together by overlapping them about 1/4 inch on top of each other. I sewed all 9 pieces together and ironed it.
Step #2: Applique with Digital Cutting Machine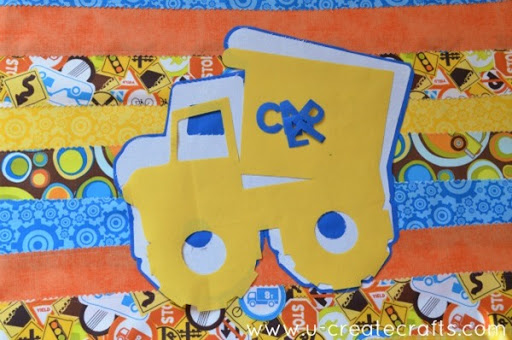 I cut “CALEB” & all three pieces of the truck using my Silhouette; you can do the same thing with a Cricut machine. I used wonder under to stiffen the fabric. Once my pieces were all cut, I took off the wonder under backing on the yellow, white and CALEB.
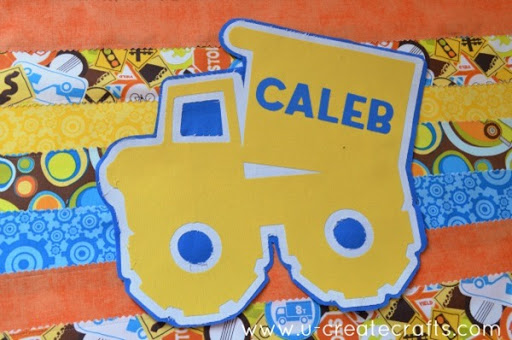 Then I ironed them all together. I left the wonder under on the very back blue piece because I wanted to add some stitching to the truck before I ironed it on.
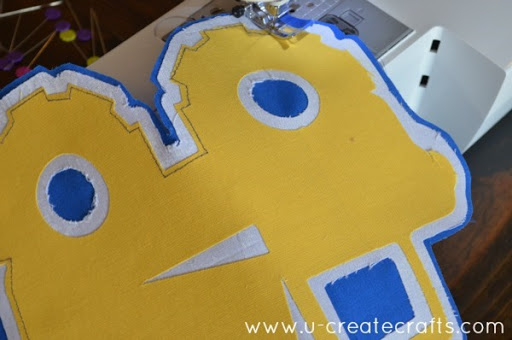 I did a blue straight stitch all around the truck, the windows, and the tires. {NOTE: sewing around the circles of the tires was NOT fun, don’t judge.}
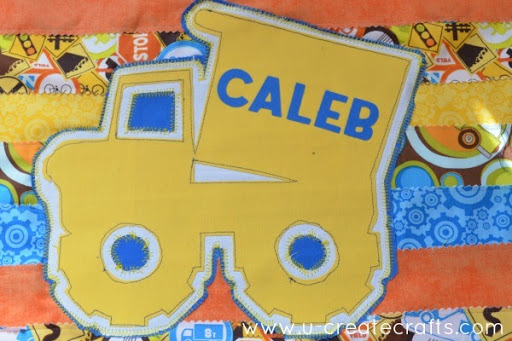 I took the wonder under off the back blue piece and ironed it right in the middle of my sewn strips. Then I did a yellow zigzag stitch around the whole thing. {NOTE: Zigzag stitching the circles is also NOT fun. UGH!}
Step #3: Covering the Canvas
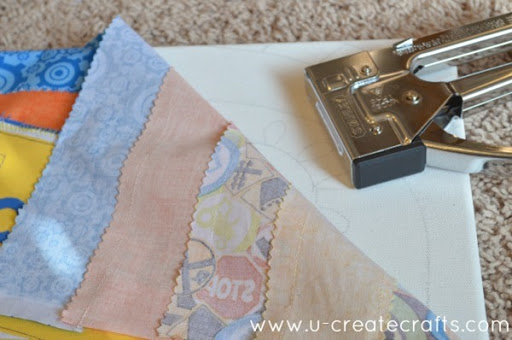 Grab a loaded upholstery stapler and let’s get started covering the canvas.
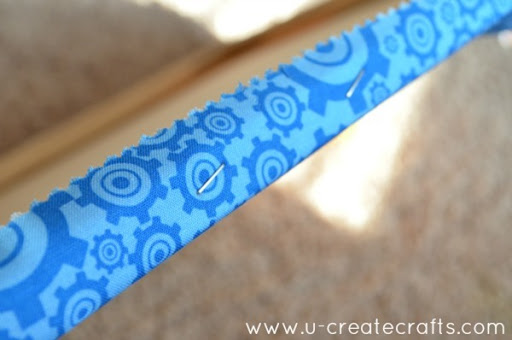 Staple the sides first. Pull the fabric tight as you go.
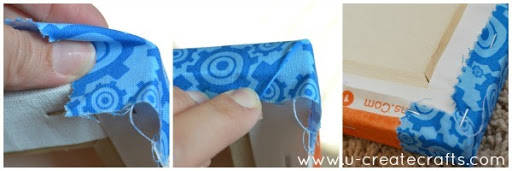 Then cover the corners like the picture above…it’s easier than I make it look. 🙂
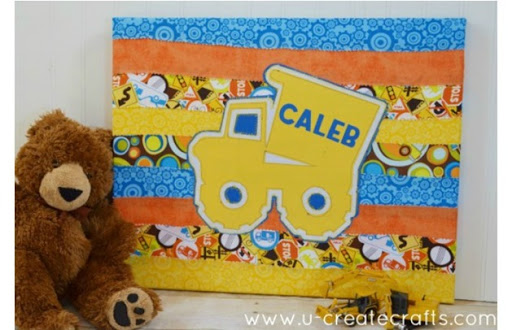 Now you have a personalized one-of-a-kind work of art to enjoy! Fabric covered canvas is so fun. My mind is swirling with ideas to make for my girl’s room.
Post by –

I love fabric covered canvases! This is so lovely with the applique! Awesome!
Have a wonderful day!
xoxo
Thank you. You are sweet!
I want to know if circuit expression will work on fabric? if so, how does it work that way?
Thanks