Hey everyone! My name is Ashley and I blog over at Mommy by day… Crafter by night! I am so excited to be over here today sharing a fun fat quarter project with y’all today!
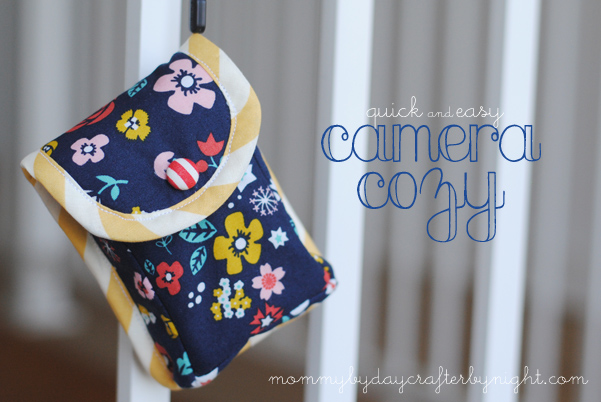
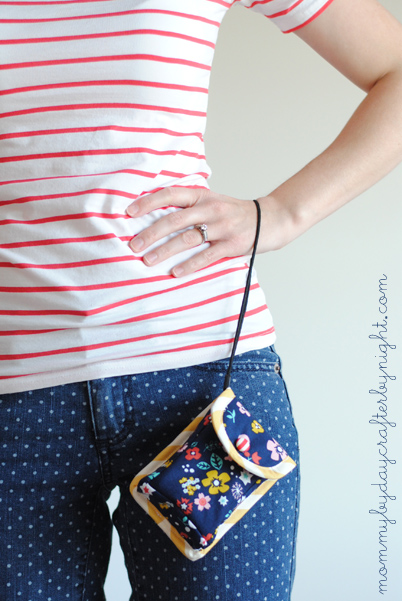
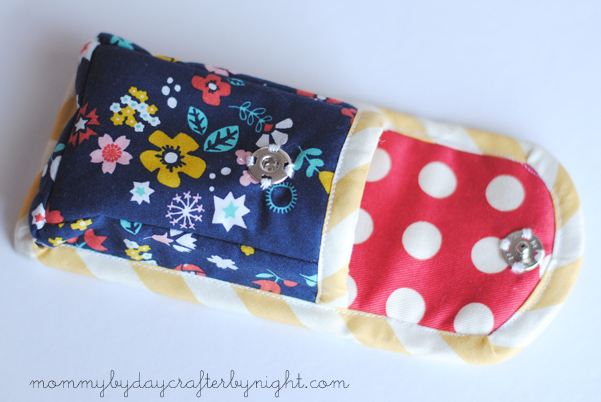
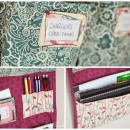
I love working with fat quarters and use them in most of my projects! They are the perfect size cut of fabric to make numerous projects that are on the smaller scale! Today I wanted to share a quick and easy camera cozy that I made for my little point-and-shoot camera that I take everywhere in my purse.
This project is really simple- I made mine in about an hour (but I made my own bias tape so that took up a bit of the time).
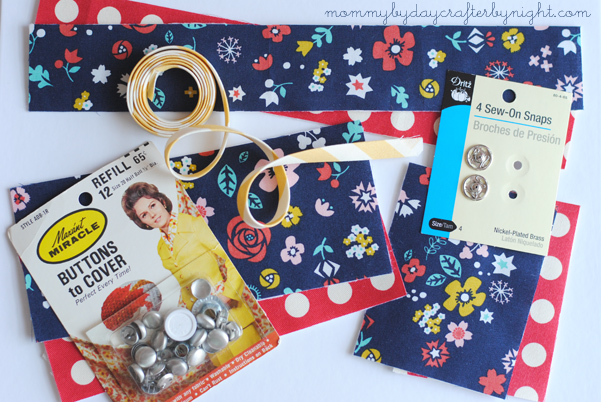
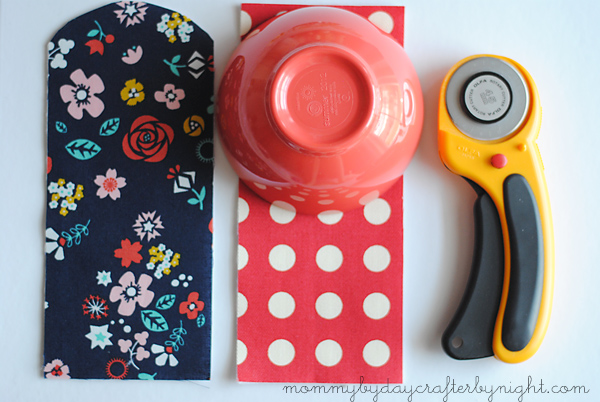
What you will need is:

1-2 fat quarters (depending on if you want your interior fabric to be different that your exterior fabric)
1 yard of 1/2 wide double fold bias tape (store bought or homemade)
fusible fleece
1 large snap (velcro could be used as well)
*Optional: 1 button (I used a 1/2 fabric covered button)
Ok… to start you will need to measure your camera. For the purpose of keeping things clear and understandable- here is a picture of how I got the measurements of my camera and calculated for my pattern.

The width of my camera is 3 3/4 inches.
The height of my camera is 2 1/4 inches.
The depth of my camera is 3/4 inch.
To create my pattern, for the front panel, I made mine 4 1/2 inches by 3 1/4 inches. So to calculate yours, you will take your width measurement and add 3/4 inch and then take your height measurement and add 1 inch.
For the back panel, I made mine 8 inches by 3 1/4 inches. This accounts for the back and also the flap that wraps over to the front and snaps. So to calculate yours, you will take the width measurement and add 4 1/4 inch to it and then take your height measurement and add 1 inch to it. (it will be the same measurement as the height in your front panel.)
For the side panel, I made mine 1 1/2 inches by 12 inches. So to calculate yours, you will will take your depth measurement and add 3/4 inch to it and then you will take the measurements you used in your front panel and add them together and then subtract 1/2 inch. (ex: width+width+height-1/2 inch).
I hope that makes sense! It kind of helps to draw a picture to keep it straight! 🙂
If your camera is pretty close to the size of mine you may not need to change any measurements for your camera cozy. My cozy doesn’t fit like a glove- there is a bit of extra room- so if you want yours smaller or bigger for your camera, just make the necessary adjustments in your measurements.
Step 1: Once you have your measurements, you will need to cut 2 front panels, 2 side panels, and then 2 back panels. In my case I cut one of each in the blue floral fabric and then one of each in the red polka dot for contrast, but like I said, this project can totally be done with one fat quarter.
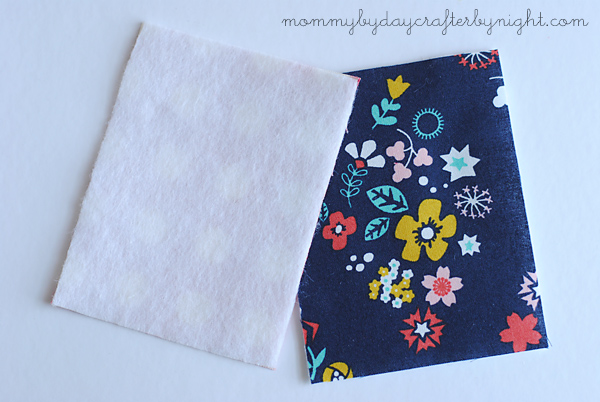
When you have your panels cut out, you will need to apply fusible fleece to each panel you have cut (you should have 6 panels total).
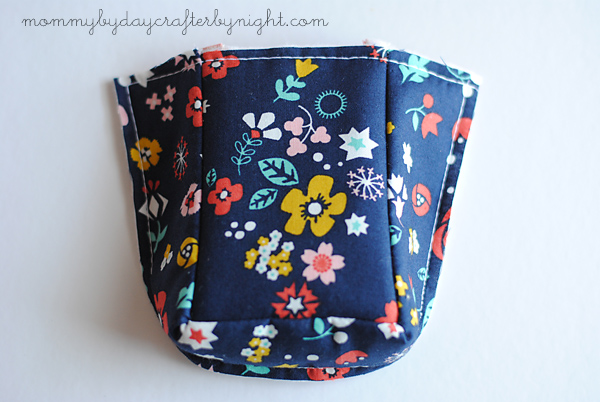
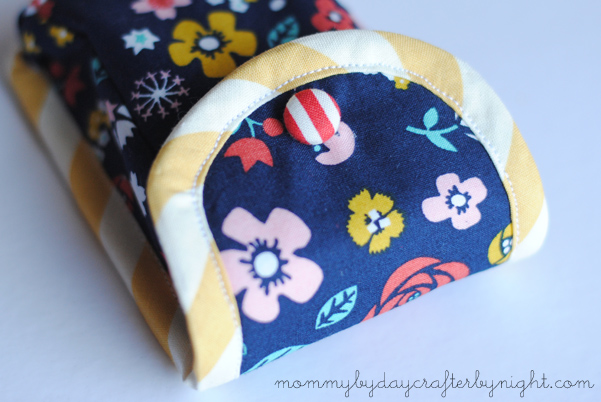
I opted for a rounded flap but you could totally keep it square if you would like. If you want it rounded, use a bowl as a guide and cut the top on both back panels so that they are uniformly round.
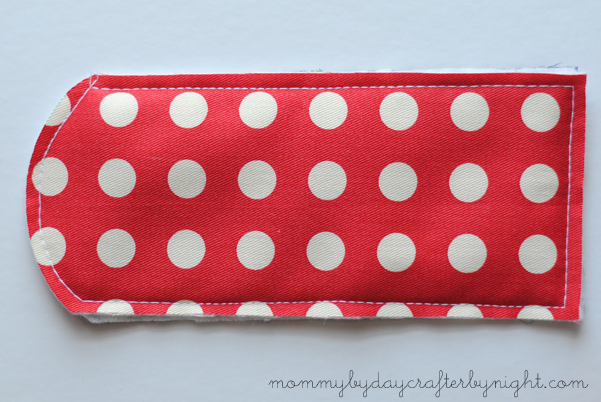
Step 2: Take your two back panels and put them wrong side together and baste them together with a 1/4 inch seam allowance and your machines longest stitch length. Set aside.
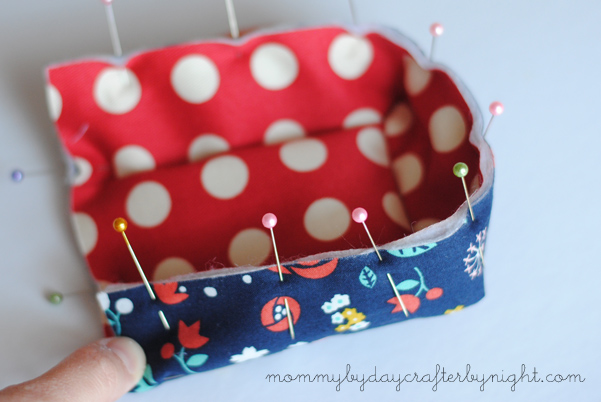
Step 3: Take the interior side panel and front panel and pin them together starting at the top and working the fabric down and around the two bottom corners. Repeat with the exterior side panel and front panel.
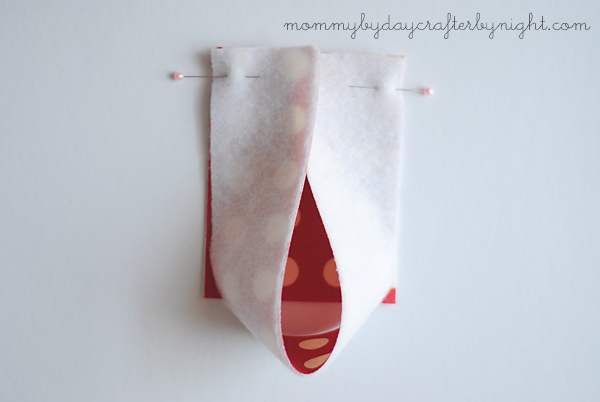
When you are finished they should look like this. Sew along the pins on each panel with a generous 1/4 seam allowance.
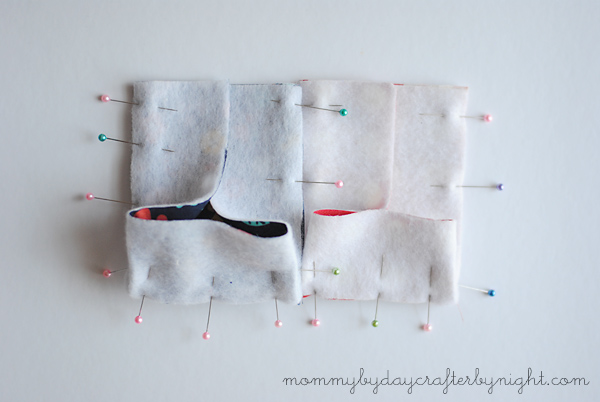
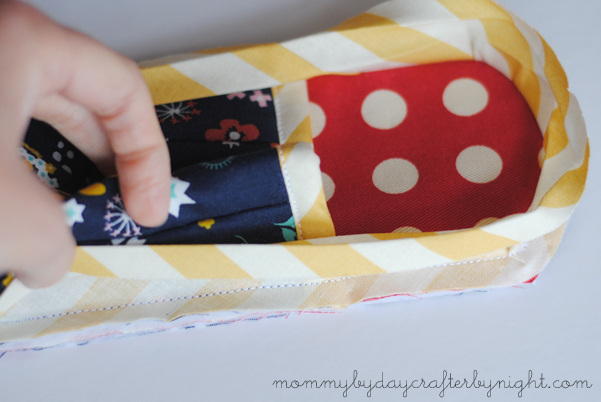
Step 4: Take your inside panel and put it into your outside panel and line up the raw edges and pin in place. I didn’t choose to trim the seam allowances after sewing in step 3- just to give it that extra padding, but I did have to kinda cram the lining in to get them to match up, so do whatever works best for your needs.
Step 5: Set your stitch length to the longest your machine has and baste along the top, sides, and bottom of the case with a 1/4 inch seam allowance.
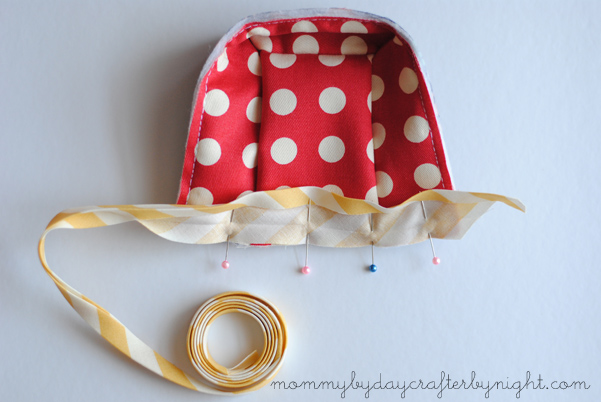
Step 6: Apply bias tape to the top of the case by pinning it to the interior and sewing and then folding it over to the exterior and sewing in place. If you need a good tutorial on how to apply bias tape- here is a fabulous one!
Step 7: Pin the front of the case onto the back panel. Baste with a 1/4 inch seam allowance.

Step 8: Apply bias tape to the front of the case, joining your ends of tape at the base of the case.
Step 9: Fold bias tape over to the back and stitch. Be sure to be extra tidy when stitching because your stitches will be visible on the front of the case.

Step 10: Sew on your large snap for the closure.
Step 11: Sew your button to the front of the flap.
That’s it! Easy Peasy right?!?
Thanks so much for having me Becky, Kari, and readers!!
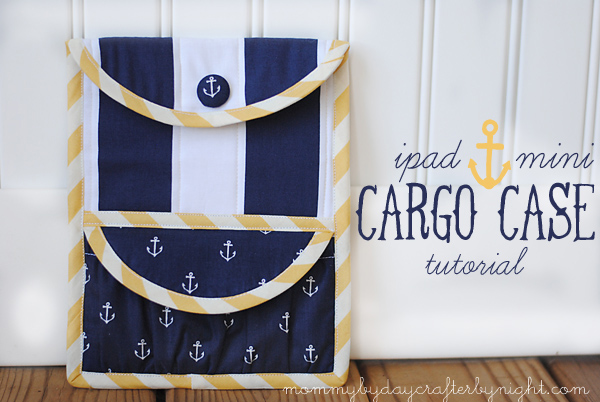
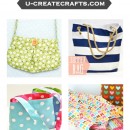
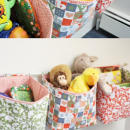
Be sure to stop by my blog and check out my TUTORIALS page to find more fat quarter projects like my
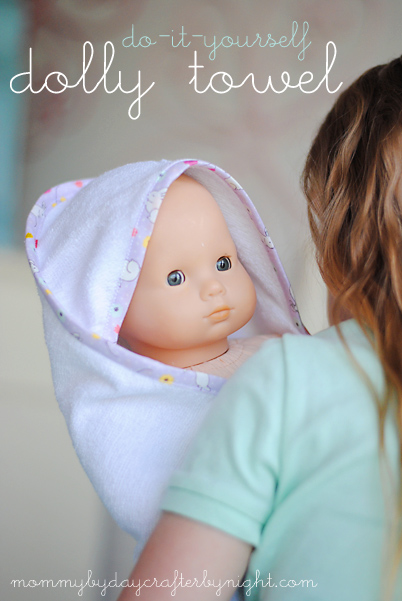
or my DIY Dolly Towel.
xoxo, Ashley

This is so pretty! Love the fabric. The sewing is spot on. Just love it! Pinning…
I have the iPhone 12 Pro so I made it wider. I also used one scrap of pre quilted fabric and a button. Thanks for the inspiration.