U Create

It's a good day to create!

  • pinterest
  • facebook
  • instagram
  • twitter
  • rss
  • crafts
    • crochet/knit
    • jewelry
    • kids crafts
    • paper crafts
    • sewing
      • bags
      • boys-clothing
      • girls-clothing
      • women-clothing
      • pillows
      • quilts
  • home decor
    • bathroom
    • build it
    • frames
    • kids
    • kitchen
    • office
  • recipes
    • desserts
    • dinner
    • snacks
    • soups
  • parties
    • baby shower
    • birthday
    • games
    • gift wrapping
    • party decor
    • party favors
  • printables
  • holidays
    • Christmas
    • Easter
    • Father’s Day
    • Halloween
    • July 4th
    • Mother’s Day
    • New Years
    • St. Patrick’s Day
    • Thanksgiving
    • Valentine’s Day
  • gifts
    • baby
    • electronics
    • graduation
    • teacher gifts
  • About
  • Be My Guest
  • Advertise
  • Contact
  • pinterest
  • facebook
  • instagram
  • twitter
  • rss

5 Dec

Christmas Headband Tutorial

 Hey U-Creaters! I’m Terra and I blog over at mama says sew. I’m here to share the tutorial and pattern for this pretty Christmas headband.
Christmas Headband Tutorial by Mama Says Sew
I made it for Christmas, but you could easily switch up the colors to make it for any time of the year. I used several different felt flowers, and you could easily switch the number and size of the flowers to make your own custom design.
Christmas Headband Tutorial by Mama Says Sew
First, go here to download the free PDF pattern.
Note: I have a die cut machine that I used for the spiral flowers. I just drew something similar for the pattern, so it won’t be exactly the same.
You’ll also need:

Felt {I love wool blend-it has a great texture, but it’s more economical than 100% wool felt. I get mine here.}
Glue Gun + Glue Sticks
Skinny Elastic, Fold-Over Elastic, or similar
Button{s}, optional
Cut out your spiral flowers and roll them up, starting at the outside edge. Secure with glue.
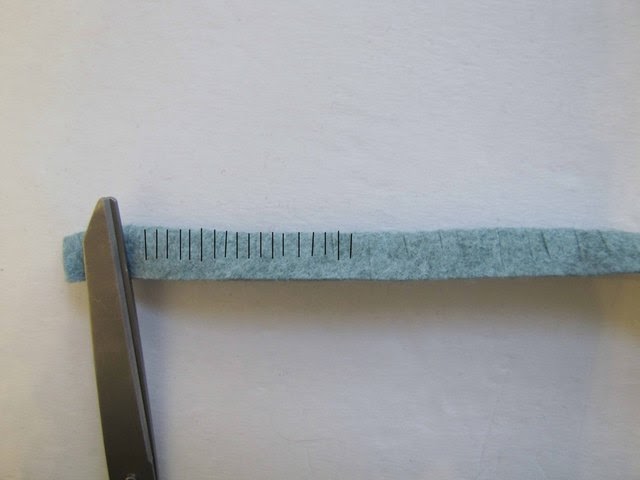
Cut a strip of felt approximately 12 inches by 1 inch.
Fold in half and snip on the folded side. You need to snip the whole length of the felt strip. I just got tired of drawing the lines.
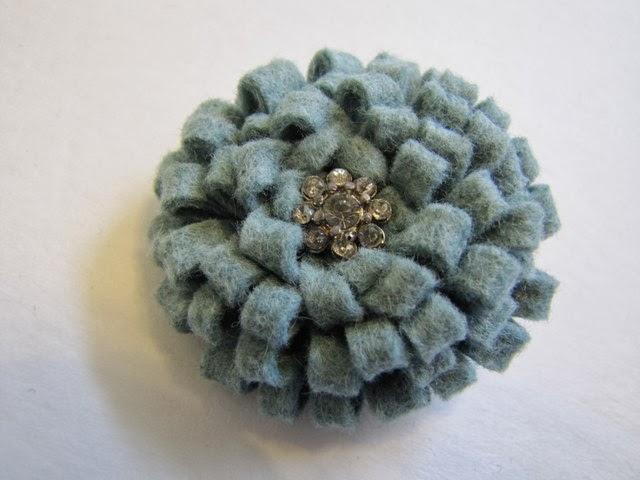
Roll it up, securing with glue as you go.
Separate the felt and add a button in the middle.
For the last flower, cut out 8 circles, plus another one to use as the base.
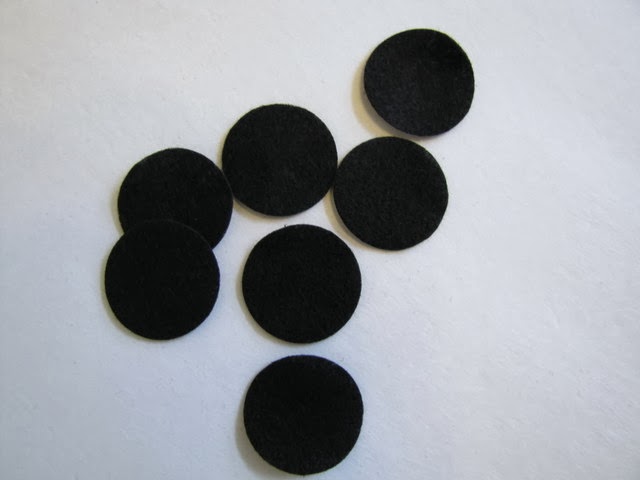
Then fold each circle into fourths, and secure it with glue. Then glue all 8 circles to the base.
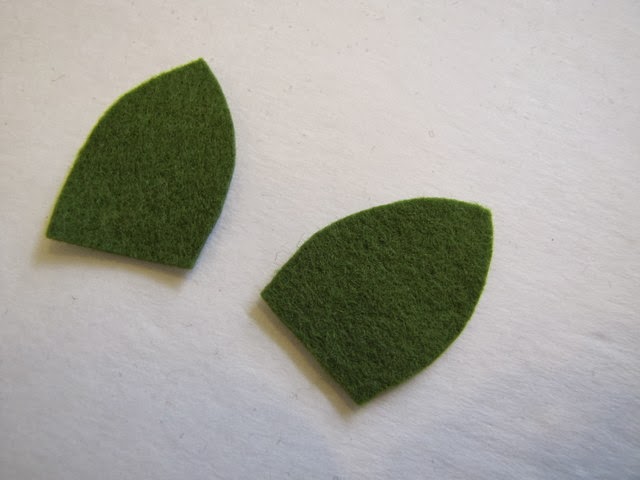
Cut out your leaves.
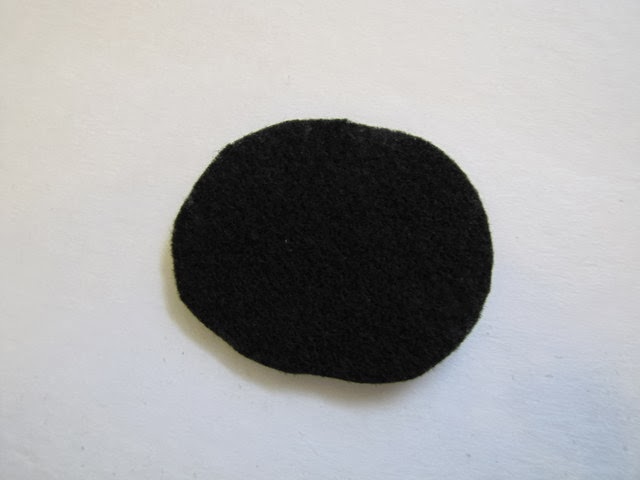
Cut out an oval of felt to use as a base. You don’t need to be precise. If it’s too big, you can trim it later.
Arrange everything how you want it and secure to the base. You want to really squish everything on there, so the base doesn’t show in between flowers.
DIY Christmas Headband by Mama Says Sew
Flip it over and glue the skinny elastic to the back. Make sure the elastic doesn’t twist.
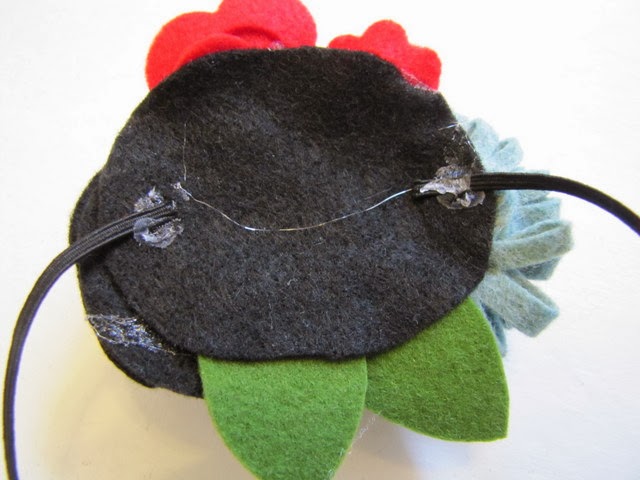
Cut out another oval of felt and glue it to the back to help secure the elastic and hide the messy glue.
DIY Christmas Headband by Mama Says Sew
And here’s the finished headband. Isn’t it pretty?
DIY Christmas Headband by Mama Says Sew
You can come visit me at mama says sew for more tutorials and the occasional free sewing pattern. Thanks for having me on U-Create today Kari!

You may also like these

Gold Dipped Feather Ornament TutorialFaux Chalkboard Ornament Tutorial by Lolly JaneDIY Faux Chalkboard OrnamentsDIY Ribbon Christmas Card Display Frame25 Advent Calendar Christmas Book Ideas by U Create25 Advent Calendar Christmas BooksRic Rac Flower Tutorial
Previous Post: DIY Tablet Case by Inspiring Creations
Next Post: M&M Christmas Poem

Comments

  1. Zoe Cayetano says

    December 5, 2013 at 6:55 PM

    Adorable! This is such a fun project

    xoxo Zoe
    http://thatszoe.blogspot.com

    reply to this comment >
  2. Megan says

    December 5, 2013 at 9:21 PM

    Where do you find skinny elastic like that? I would love bright colors too.

    reply to this comment >
  3. Jenny Romaine says

    December 5, 2013 at 7:30 PM

    So pretty! Great tutorial too. It is easy to follow!

    reply to this comment >
  4. drgaddy says

    December 5, 2013 at 11:46 PM

    which die cut did you use for the spiral flower?

    reply to this comment >
  5. drgaddy says

    December 5, 2013 at 11:46 PM

    which die cut did you use for the spiral flower?

    reply to this comment >
  6. Jen @ tatertotsandjello.com says

    December 6, 2013 at 7:43 AM

    Super adorable. I pinned!

    xoxo

    reply to this comment >
  7. Desiree @ The 36th AVENUE says

    December 6, 2013 at 12:49 AM

    Super cute… I am pinning 🙂

    reply to this comment >
  8. Lil' Luna says

    December 6, 2013 at 2:54 PM

    So pretty! Pinning!!

    reply to this comment >
  9. Mique (as in Mickey) says

    December 7, 2013 at 4:09 PM

    Adorable! I love this so much!!

    reply to this comment >

Leave a Comment Cancel reply

Your email address will not be published. Required fields are marked *

Popular Posts

Peppermint Pretzel Recipe

Peppermint Bark Pretzels Recipe

Easy Mini Stocking Tutorial

Simple Mini Stocking Tutorial

Handprint Snowman Tutorial by eighteen25

Handprint Snowman Ornament Tutorial

10 Ugly Christmas Sweater Tutorials

DIY Ugly Christmas Sweater Ideas

DIY Kid Friendly Nativity Set

DIY Nativity Stocking Holders

10 DIY Wood Slice Ornaments

  • pinterest
  • facebook
  • instagram
  • twitter
  • rss
Back to Top

Copyright © 2019 U-Create • All Rights Reserved • Site Design by Emily White Designs