
Hi, my name is Rachel. I blog over at Adventures of a DIY Mom. I have a passion for creating and I love to try new things. I love sharing my latest projects, whether it be sewing, making crafts or jewelry, baking, or building things.
Early in the summer, I went into a little boutique store in our small town. I’m the kind of person that does not spend money in boutiques. I go in looking for ideas. And this time I found the cutest little skirt that I knew I had to try and make myself. I hurried out to the truck and quickly drew a little sketch so I wouldn’t forget. It’s a good thing too, because I didn’t end up having time to make them until the kids went back to school.
So let’s get on with the tutorial.

Here’s what you need:
Fabric: The amount of fabric you need will depend on the size of skirt your making, but just to give you an idea, I bought three yards of fabric and made a skirt for both my 4 year old and 6 year old.
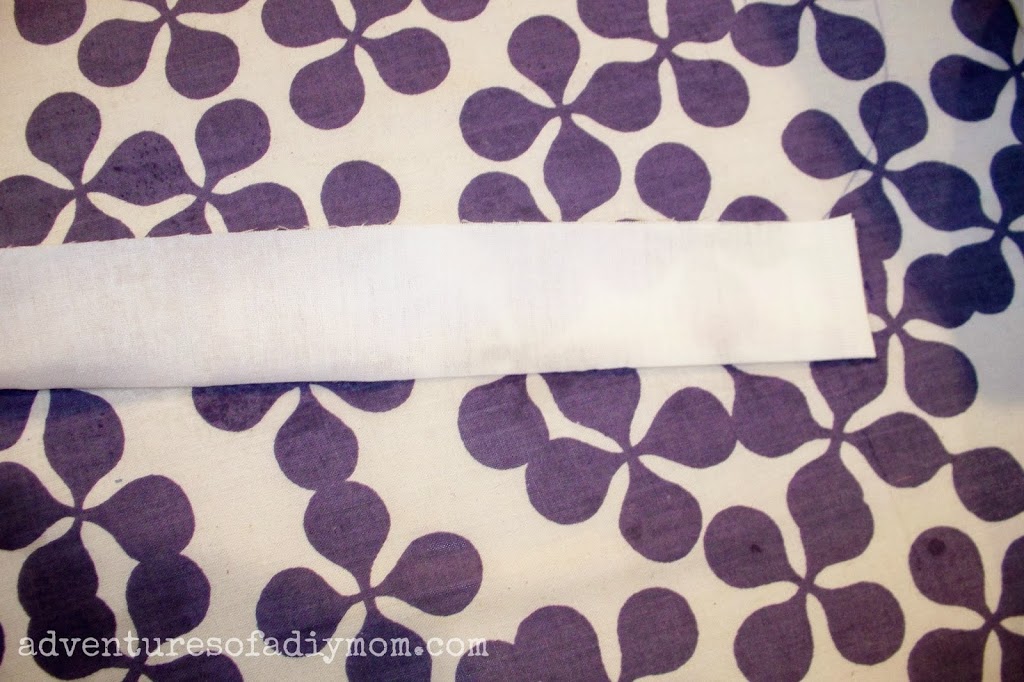
Coordinating fabric: I used muslin for the ruffle and waistband. I just used what I had, I’m sure a yard would be plenty.
4 Buttons
Thread
Sewing machine
Basic sewing supplies
The skirt is made using a variation of the circle skirt. So first we need to make a pattern. Begin my measuring your daughter’s waist. Then add 1 inch. Divide that number by pi {3.14}. That will give you the diameter of the circle. Then divide by 2.
For example: My daughter’s waists are both 22 1/2″.
(22.5 + 1) / 3.14 = 7.48
7.48 / 2 = 3.74″ We’ll call this our waist number.
For ease in measuring I just rounded that number up to 3.75 or 3 3/4″
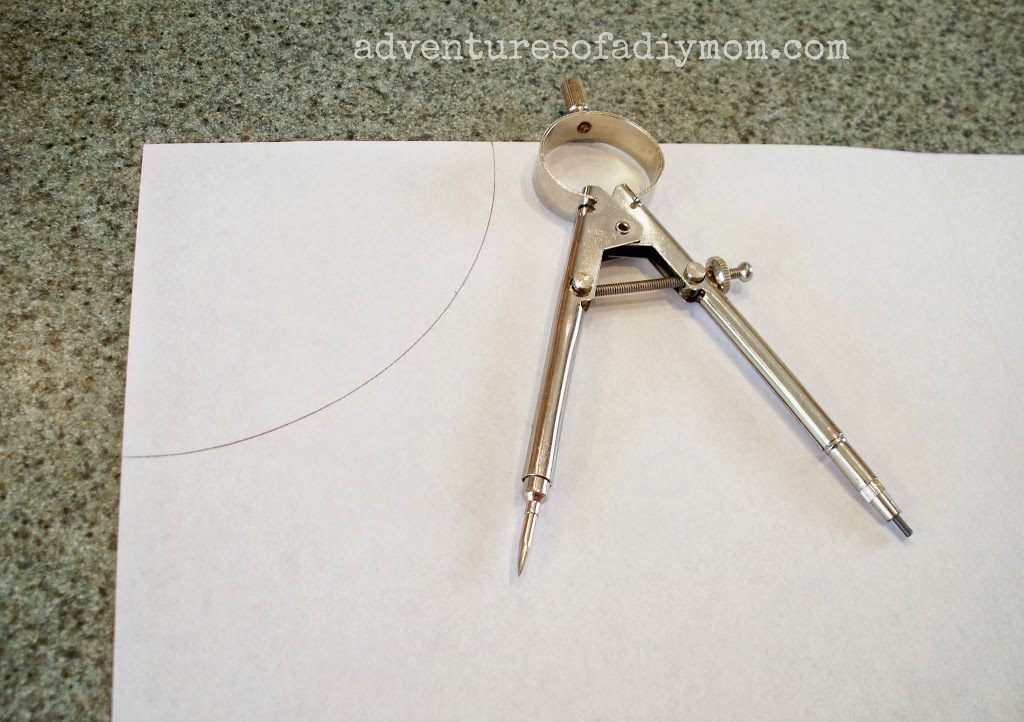
With one point of a protractor in the corner, and the length set to your number draw quarter circle on your paper.
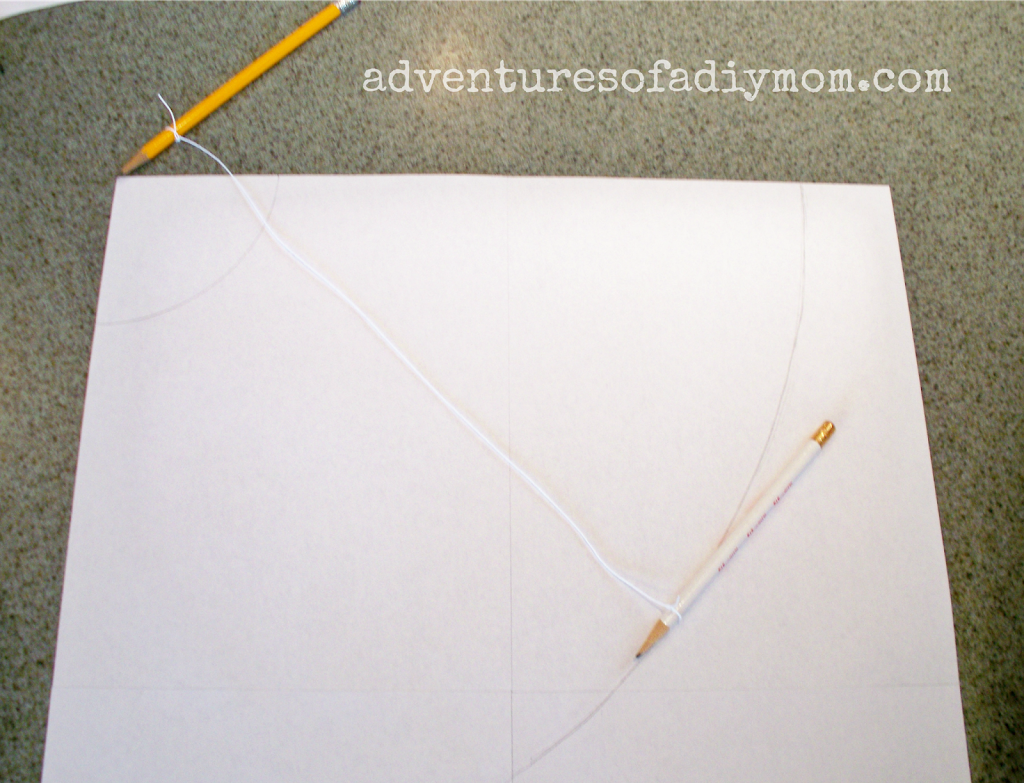
Now we need to figure out the length of the pattern. Measure how long you want the skirt to be on your daughter. I like it just past the knee. Take the length measurement and subtract 1″ and add your waist number. {subracting 1″ adjusts for the the ruffle and also the seam allowance}
For example: I wanted one of the skirts to be 13 inches long.
13 – 1 + 3.75 = 15.75″ Using this number make another quarter circle on your paper.
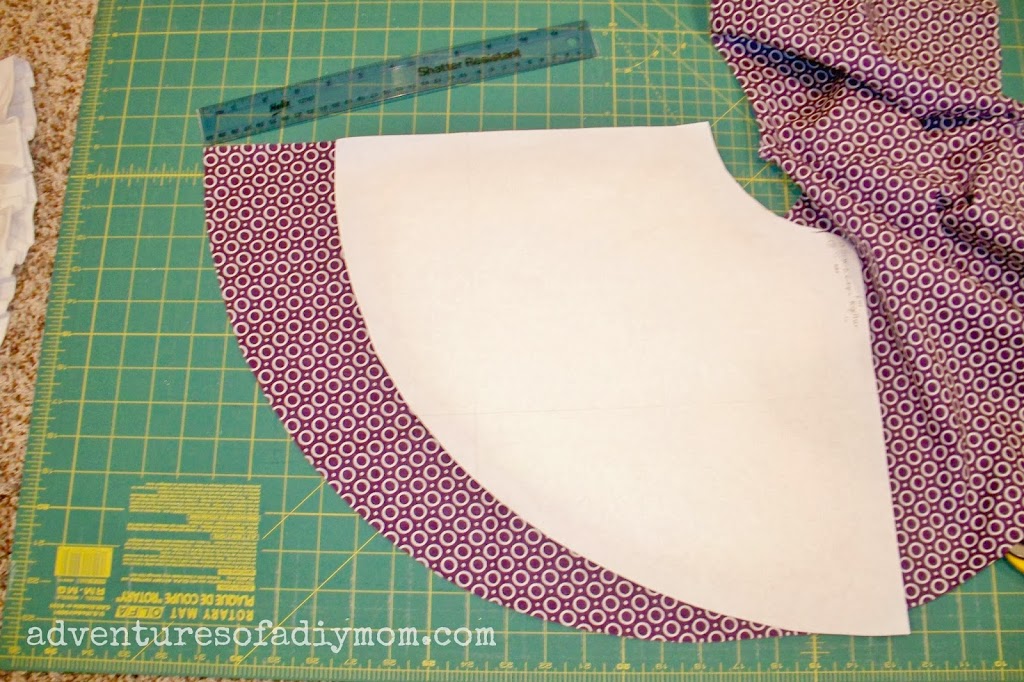
My protractor was not even close to being long enough so I just tied two pencils together with string. It took a bit of adjusting to get it the right length. I just taped together four pieces of paper to make it big enough. Or you could use newspaper or wrapping paper. Cut this out and now you have your pattern.
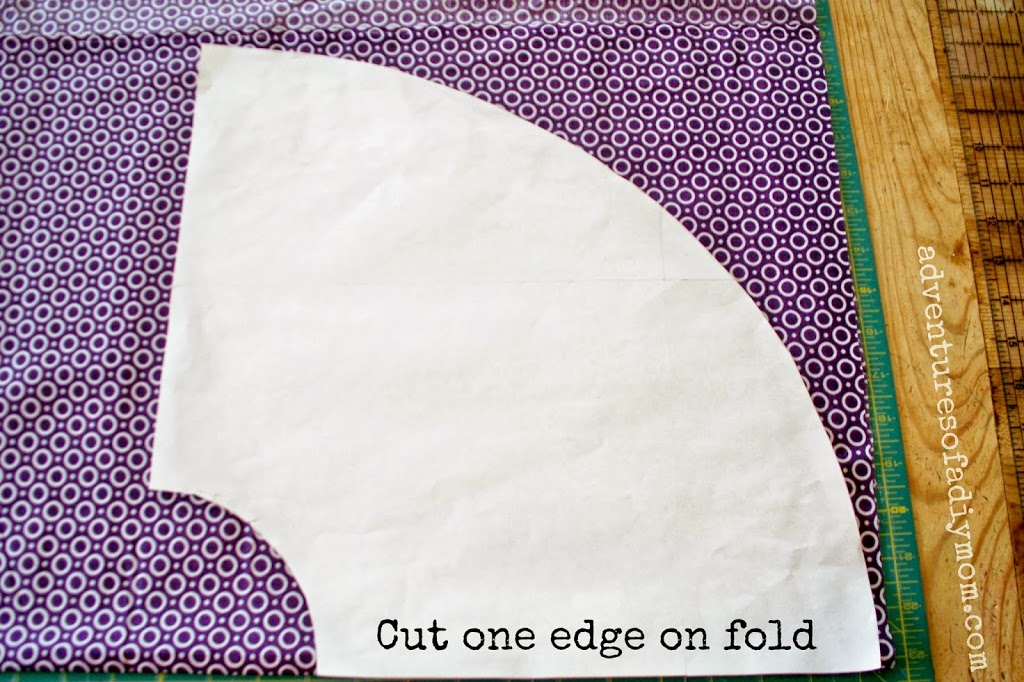
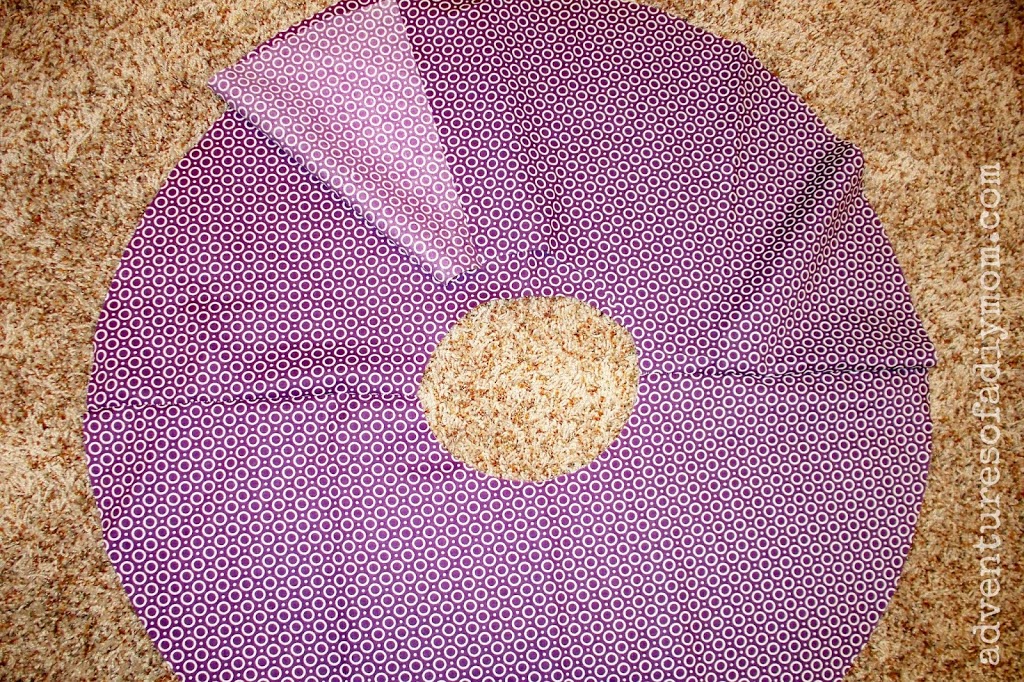
Now let’s cut out our fabric. You will be cutting on the fold on one side of your pattern. You need to cut out three pieces.
Next sew two pieces together along the straight edge right sides together. Then sew on your third piece along the straight edge. I used a serger, but you can just sew it and then zig zag or use pinking shears to prevent fraying.
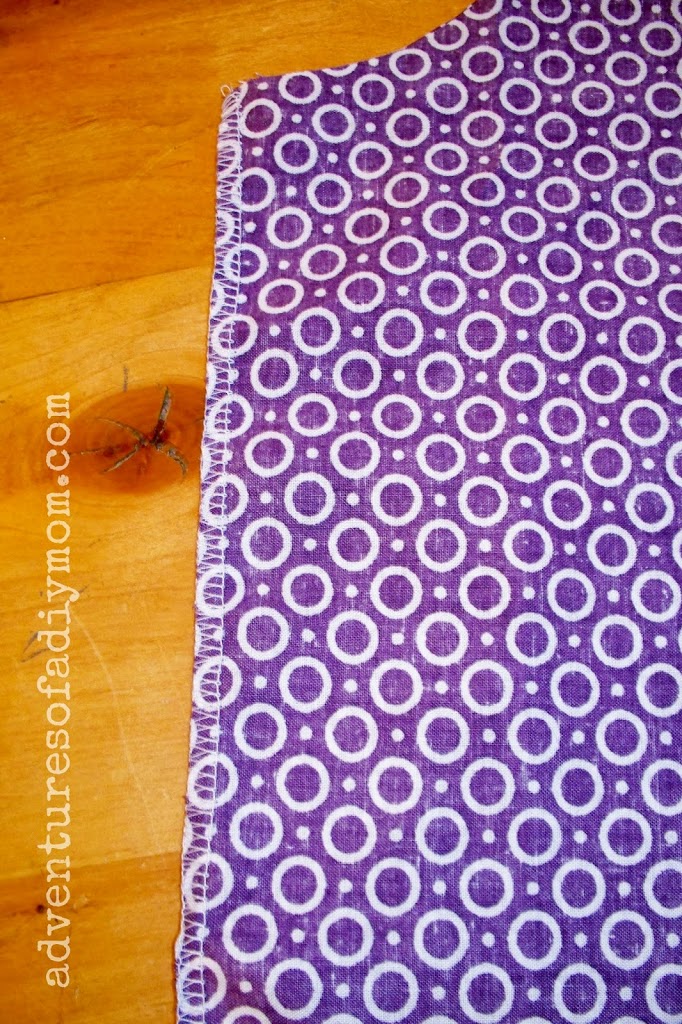
You will end up with one circle. One half of the circle will be overlapped.
 The second skirt I did 4 inches from the top of the skirt. If I did it again, I might find the middle and cut from there.
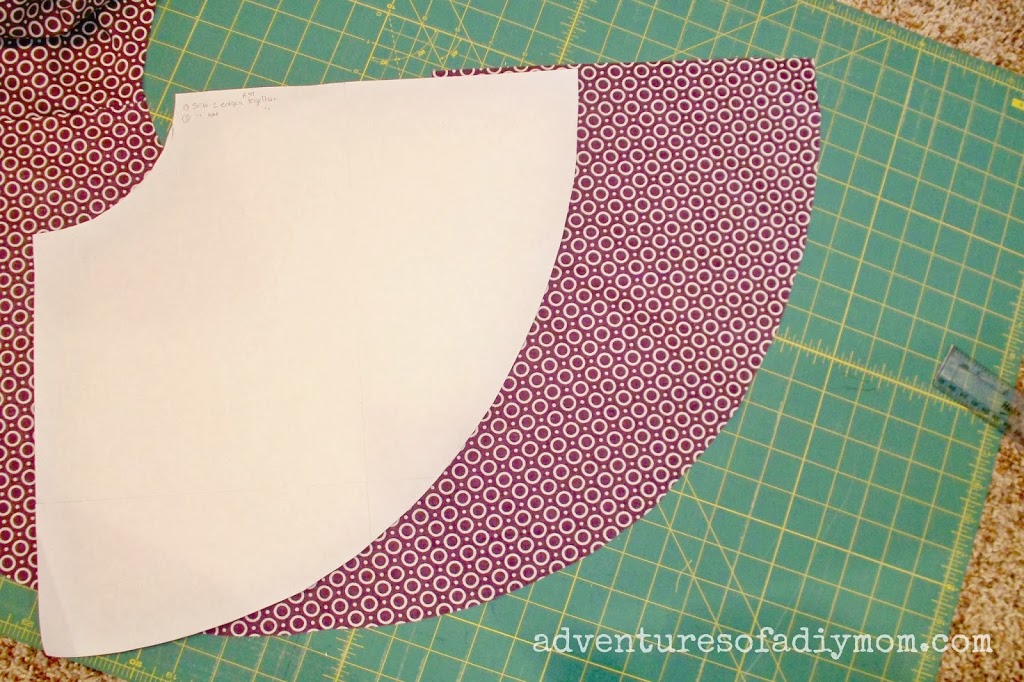
The picture on the left is cutting 4″ from the bottom. The picture on the right is cutting 4″ from the top. You decide how you like it.

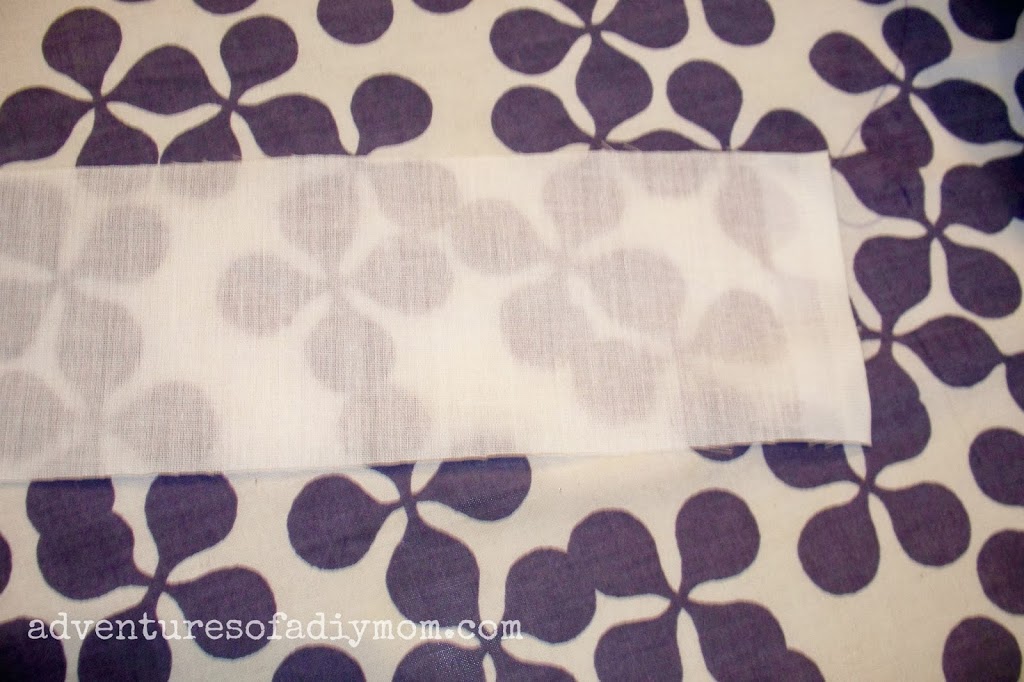
Iron your ruffle in half lenthwise.
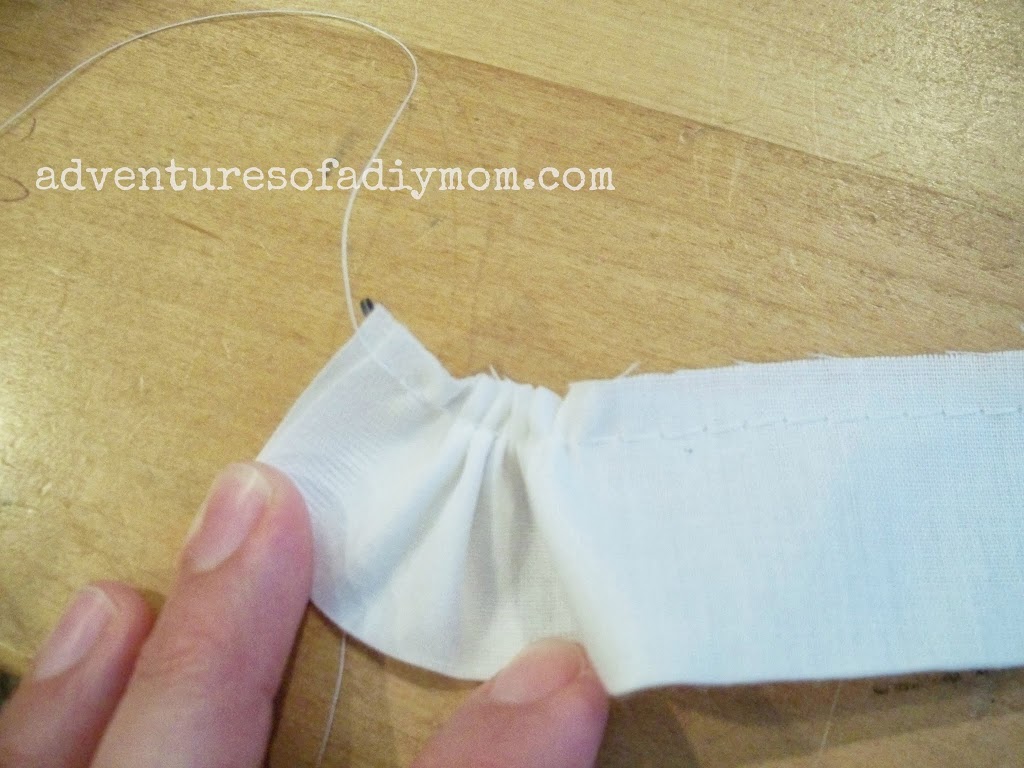
Next baste along the open edge. Basting is using the longest stitch on your machine.

Now begin gathering, by pulling on one string. The fabric will begin to bunch up. Keep pulling on the string and sliding the fabric along the string until it is all gathered. This will seem to take forEVER.
Pull from one side about half way. Then pull from the other side for the other half. If you pull one way the entire way then your string will come out and the end of it will come un-stitched. {Speaking from experience}
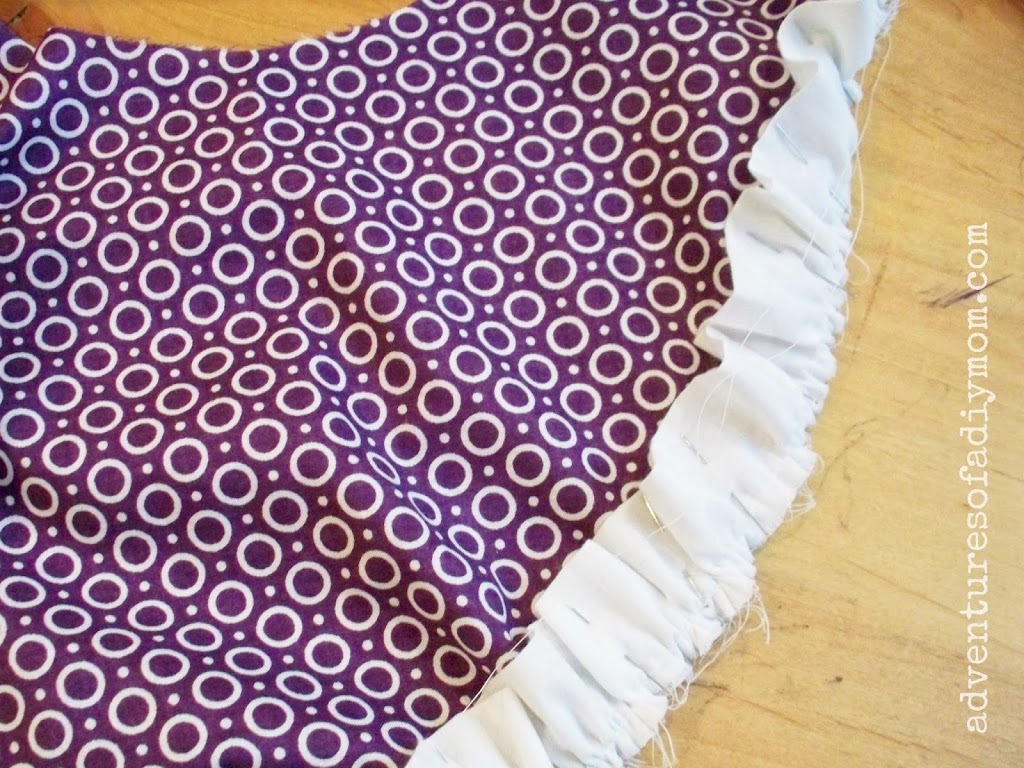
It will also help if you mark with pins each third of your fabric. Then when you pin it on the skirt in the next step you will be able to do it evenly.
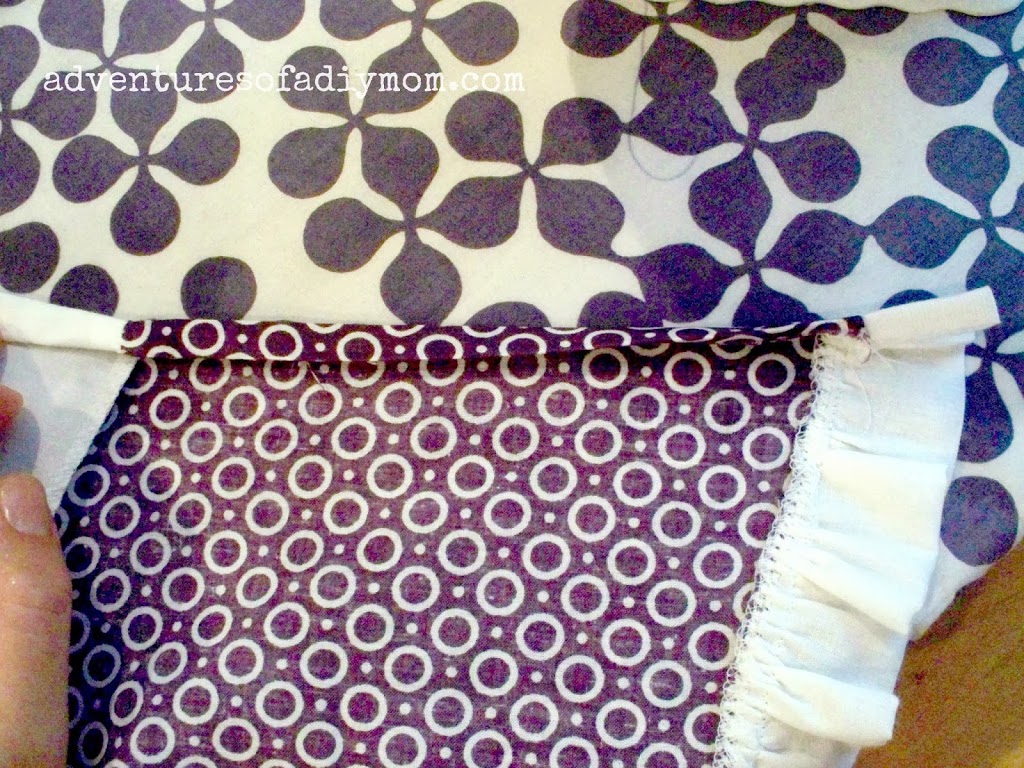
Now attach it to your skirt with pins. You want the raw edges of the skirt and the raw edges of the ruffle pinned together. You will need to adjust your ruffles so they are fairly uniform throughout. Sew in place, then serge, zig zag stitch or use pinking shears to help with fraying. Then press the ruffle down.
Now for the waistband. For this, use your daughter’s actual waist measurement and add 3 inches. The width of the waistband is 5″.
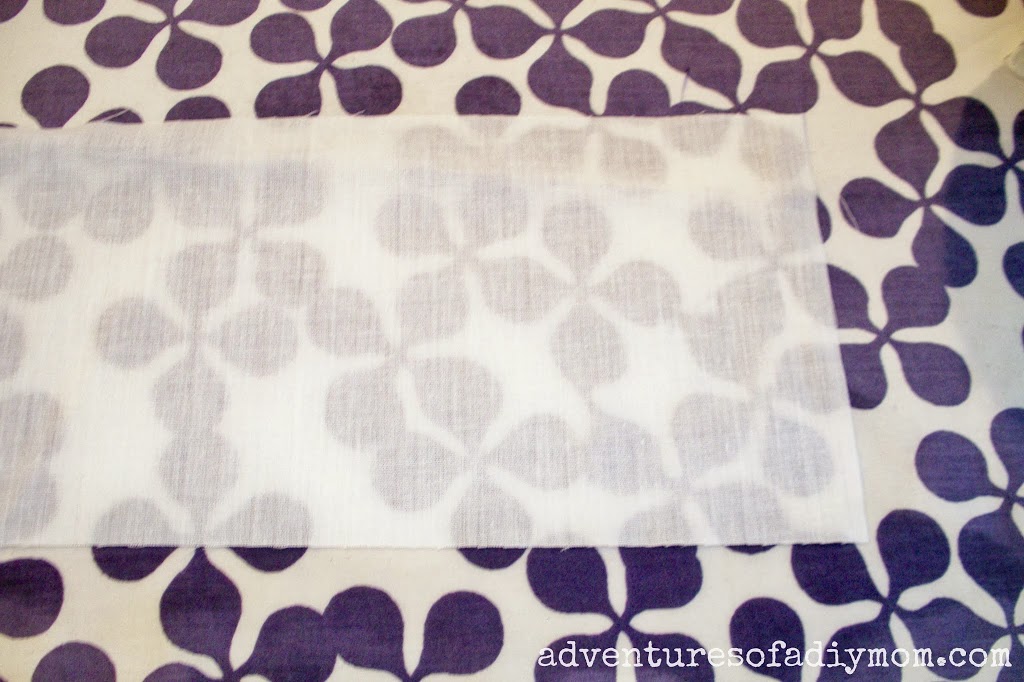
Fold in half lengthwise and press.
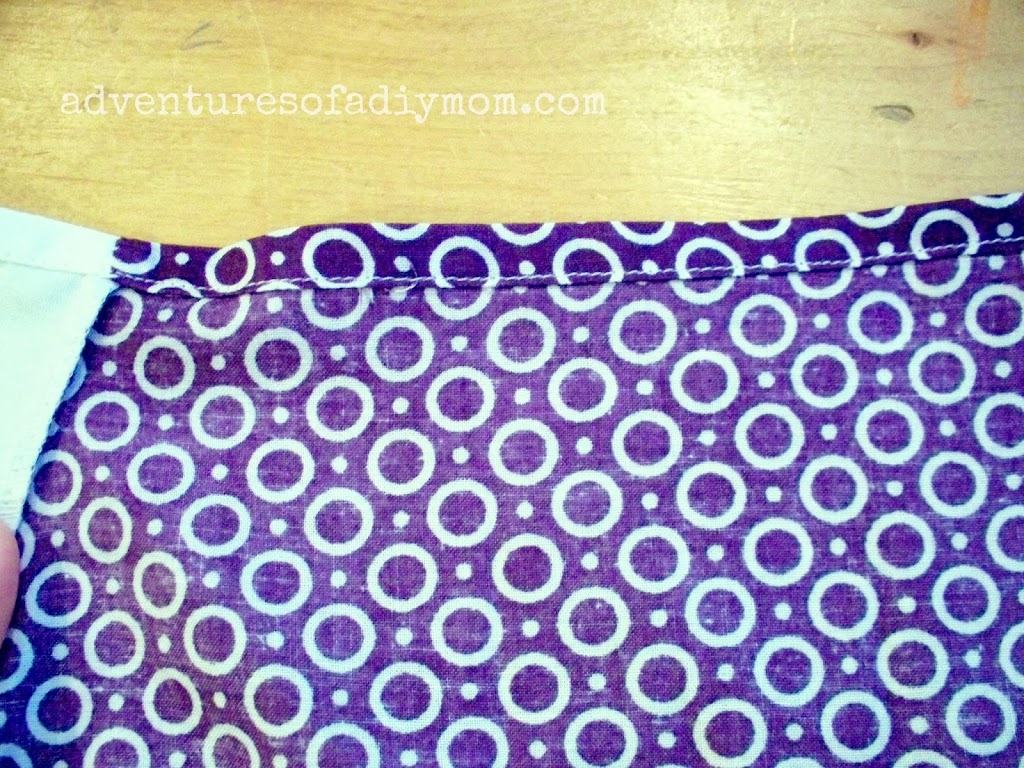
Now sew it to the top of the skirt, keeping raw edges together. If your waistband ends up a bit to long just cut it to length.

Now to finish off the sides of the skirt, fold over fabric 1/4 inch and press.

Fold over 1/4 inch more and press again.
Stitch in place. Repeat for other side.
To add the buttons, I started by adding the button holes on the front layer of the waistband. I did the outside buttonholes real close to the side seams and then measured 2 1/2″ in and added another set of buttons. Then I placed the skirts on my girls, using pins to keep them on. I marked where to add the buttons. Now just sew the buttons in place.

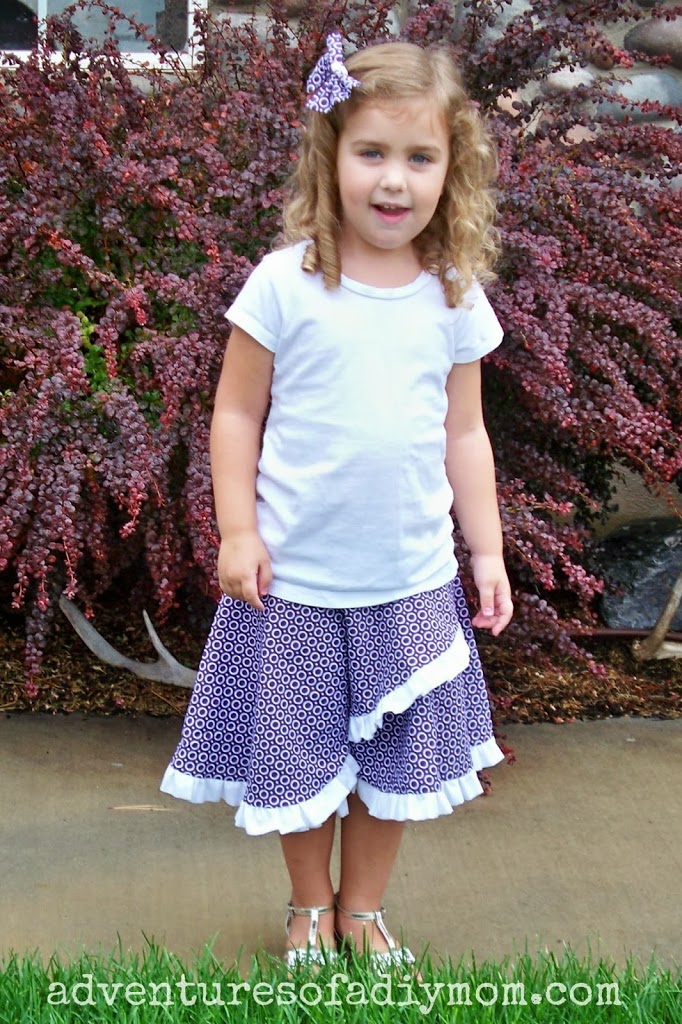
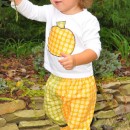
Here’s the final product. The skirts turned out almost as cute as my girls 🙂


Check out Rachel’s other amazing tutorials like this DIY Chalkboard Beadboard Menu, Christmas Charm Advent Calendar, DIY Sashay Scarf and MORE!
Oh, and you won’t want to miss her Etsy shop Bits of Sparkle and Lace!


AMAZING!! Girls!! and the skirts!!
So cute! Nice work:)
i have a question- we have made 3 semi circles- which meaans at the waist we have 1.5 times the waist size- how will it be enough to take the exact waist measurement for the waist band ccloth? will we not be running short of the waist band cloth??? please clarify!
Can you please specify what are the three pieces necessary to make the skirt? do i need to cut one full circle and cut down one side and the ruffle will be the 3rd piece? Do i need to cut out a two half circles and sew them together as my first two pieces then sew a quarter circle to those pieces?
Hi,
Great idea! I followed your directions and the pencil idea with the string was the best! Just wanted to let you know that tool is a compass not a protractor . I taught Math 🙂