
Here’s the full tutorial of how to make your own….
However if you don’t have the time, tools, or inclination, I do have them for sale in my Etsy shop: Bits of Sparkle and Lace.

 This allows the frame to be set on any surface. If you are using it as a recipe card holder it’s convenient because the recipe is upright as opposed to sitting flat on the counter. You can check it easily with a quick glance.
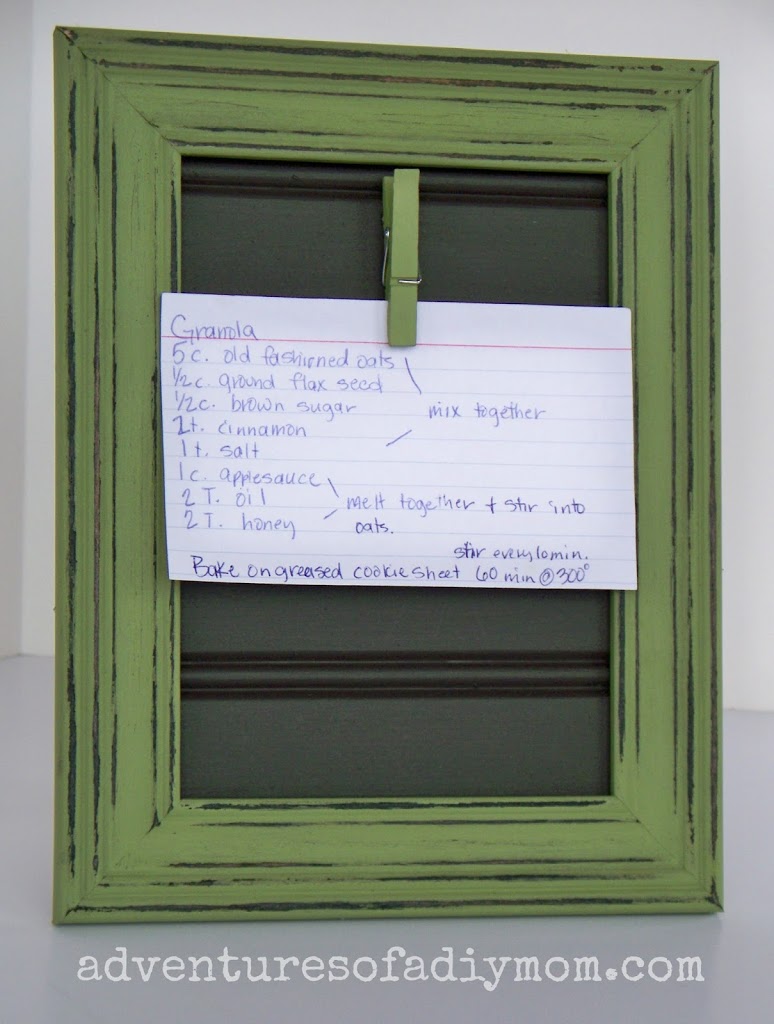
You will need:
5 X 7 frame {preferably black}
bead board {just a couple small scraps will do}
clothespin
sandpaper
large paint stick
small hinge
twine
paint
E6000 glue
wood glue
saw
drill
staple gun
1/4″ staples 
Let’s start by cutting our wood.
You will probably need two pieces. It will vary depending on the type of beadboard and the frame you are using. I measured across the frame and then cut the wood to fit. I did have to cut a tiny bit off the bottom piece of beadboard as well to make it fit. The above picture shows what it should look like from the back and the front.
 I wanted it to match my Menu board, so I used the same colors as I did for that. The beadboard is painted with a brown chalkboard paint. The frame and clothespin {taken apart} are painted Light Houser Green. {Chalkboard paint is not necessary at all, I will probably not ever use it as a chalkboard. But I wanted it to match, so I used the same colors as I did for that.} I always do three coats of paint.

Now it’s time to sand off some of that paint on the frame. This is where it gets it’s character.
Just grab some sandpaper and rub it along the frame. Take off as much or as little paint as you like. This is where it’s nice to have a black frame to begin with. If you use a frame that is not black to begin with, you will want to paint a few coats of black paint on before painting your chosen color. Now it’s time to glue the bead board to the frame. I always do a dry fit one last time before adding the glue. Just add a little bit of wood glue along the frame as picture above.
 Place your beadboard in the frame and fold down the metal clips.
 Now turn your frame over. You will probably have a little glue squeezing out in a few places. It is very important that you clean it off while it is still wet. Just grab a damp paper towel and it will wipe right off.
If you want to hang this on the wall, just add a sawtooth hanger to the back and you’re done.
But I wanted my frame to stand on it’s own. So I had to think of a way to make that happen. I found a paint stick in the garage, cut it to 8 1/2″ and sanded down any wording that was on it. I drilled a hole in the center of one end. Then I added the paint stick to the frame using a small hinge. I found that the wood in this frame was VERY hard. I ended up pre-drilling two small holes to get the screws in. They went into the paint stick wood a lot easier.
 Now staple a piece of twine to the bottom of the frame.
 Then insert the twine into the hole and tie a knot.
The last step is to put your clothespin back together and attach it to the beadboard. I used E6000 glue. You could use hot glue, but it isn’t as strong. There you have it. How will you use your frame?


Leave a Comment