Hi, I’m Emily from WhipperBerry.
I am so thrilled (and slightly intimidated) to be a creative guest here today!
Thank you, Kari, for inviting me.
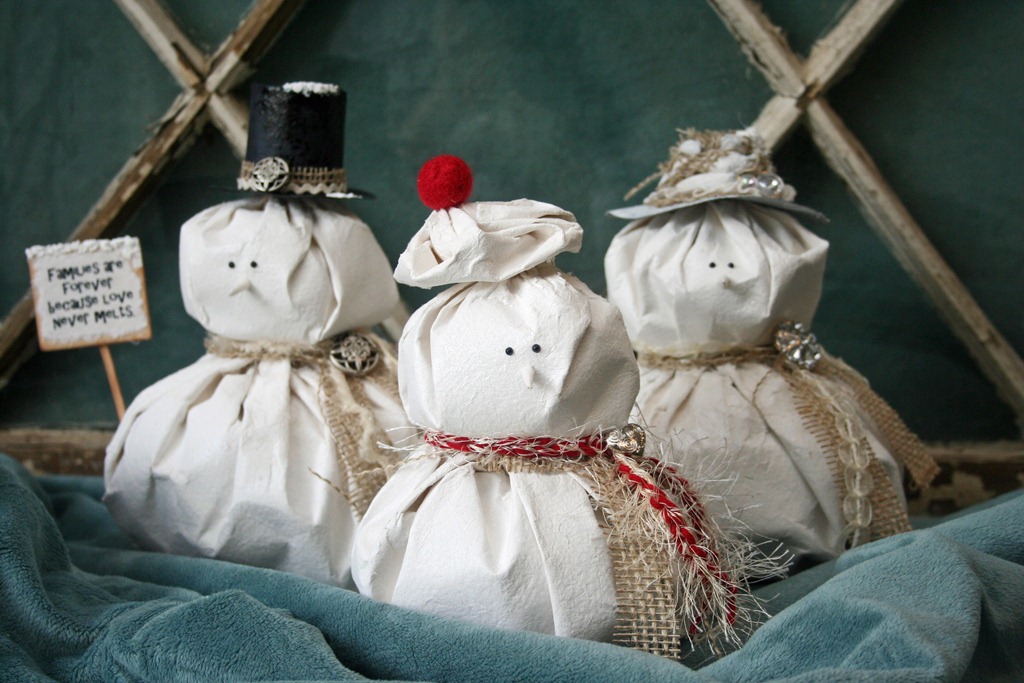
I love fabric snowmen, but as some of you may know, I don’t sew! So the challenge became how to make a faux-fabric snowman out of paper. Ta da! And here we go.
Faux-Fabric Paper Snowman Tutorial
Supply list:
- Heavyweight white paper* in large sheets
- Water and spray bottle
- Rubber bands
- Hot glue gun
- Packing paper or white newsprint
Optional accessories—such as:
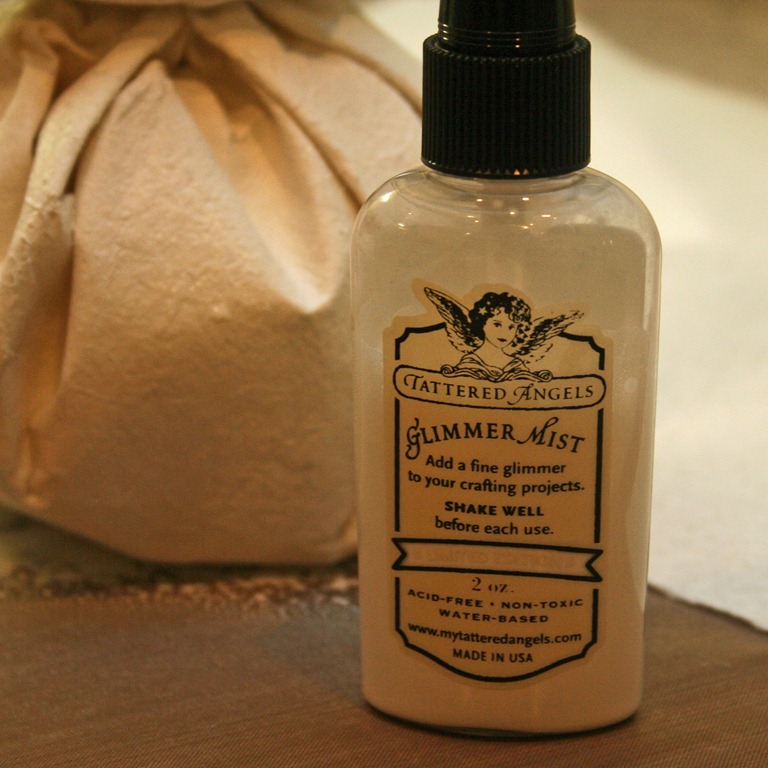
- Tattered Angels Glimmer Mist
- Burlap, ribbon, or fabric
- Buttons or brooches
- Wood pieces
- Embossing powder and heat gun
*I used 180 gsm handmade paper, in 22”x30” sheets, made out of cotton, silk, and agro waste (such as sugarcane waste, bark fibers, or jute waste), from Under the Sun—but any heavyweight, fibrous paper will do.
Instructions:
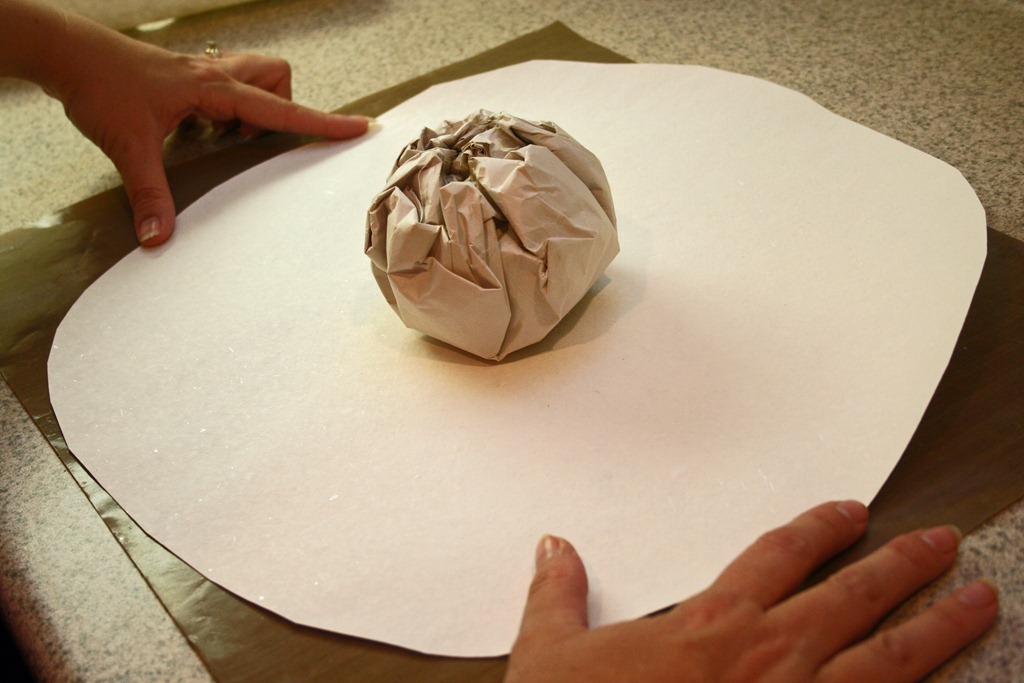
Cut a circle from the white paper approx. 20 in. diameter (for larger snowmen; 15 in. for smaller ones.)
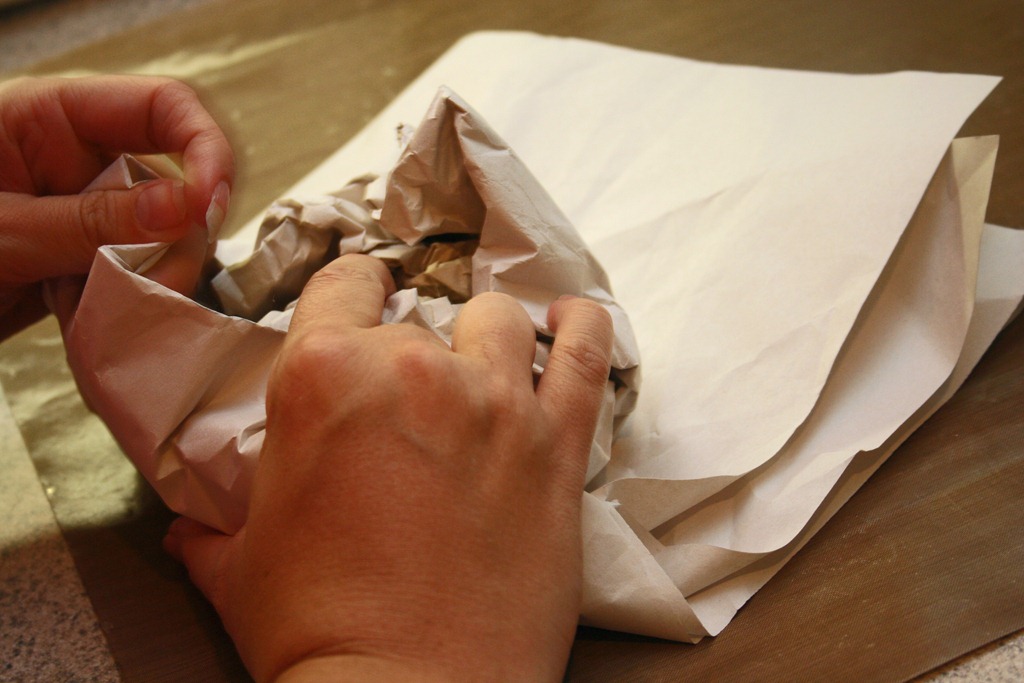
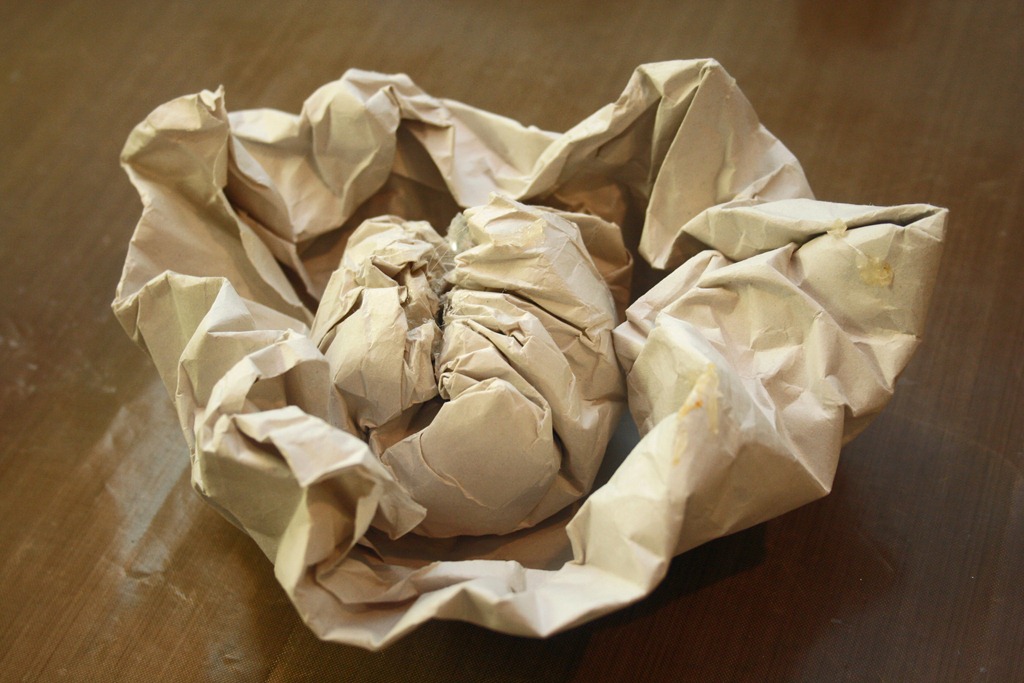
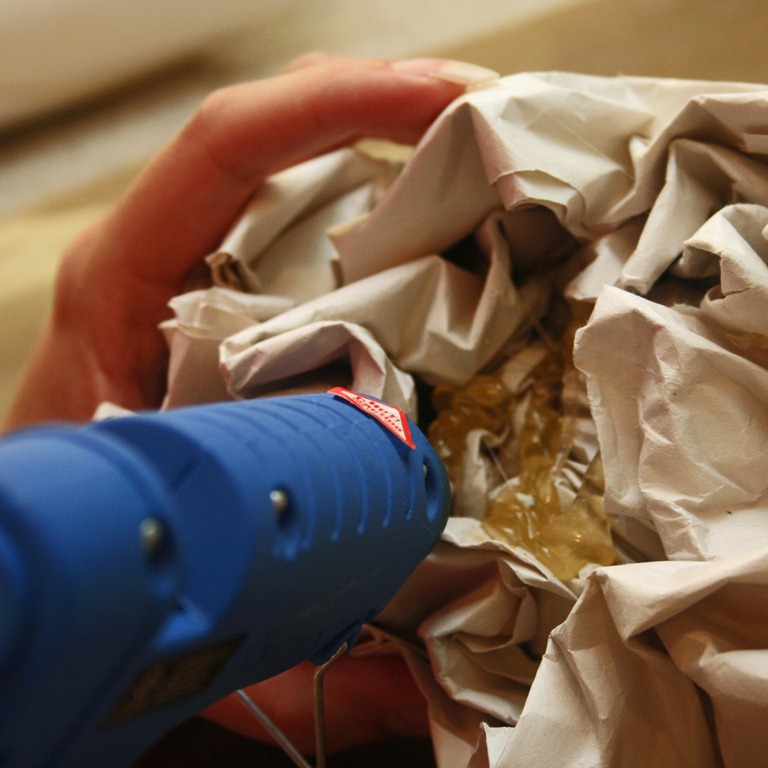
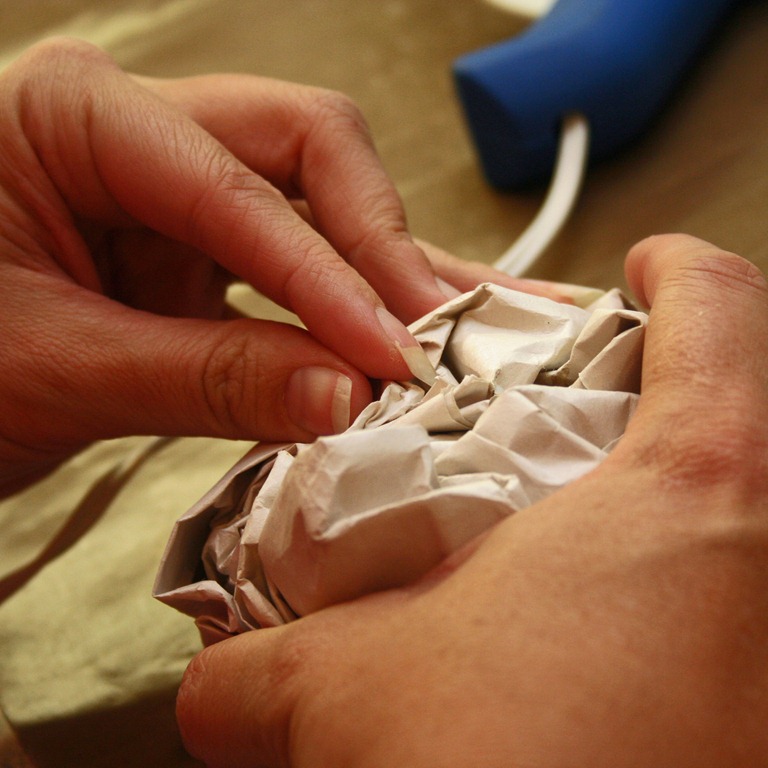
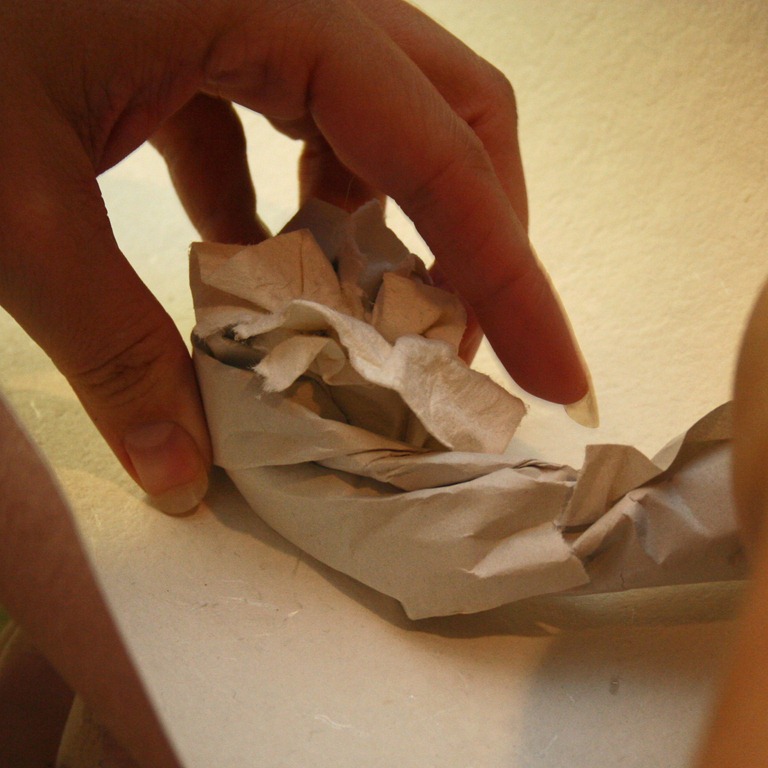
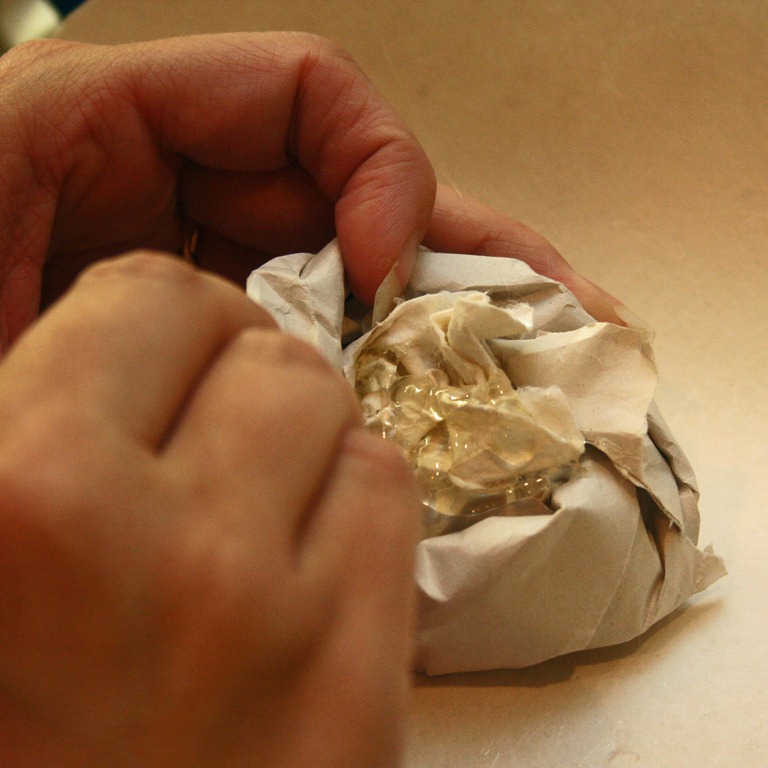
Roll sheets of packing paper towards the center until you have a balled circle. Secure with hot glue.
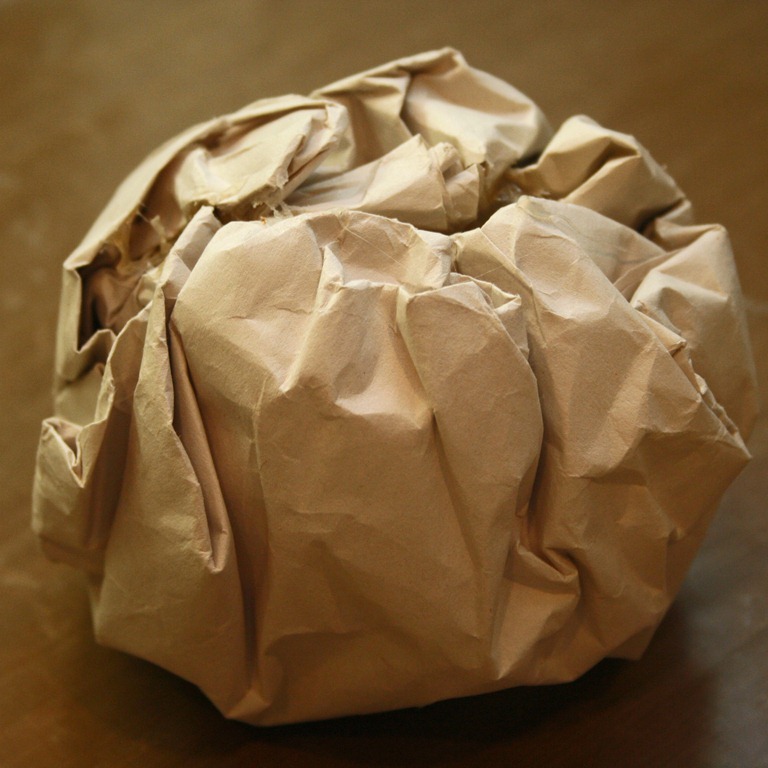
Add layers until you have formed a ball, approx. 5 – 6 in. diameter (3 – 4 in. for smaller snowmen).
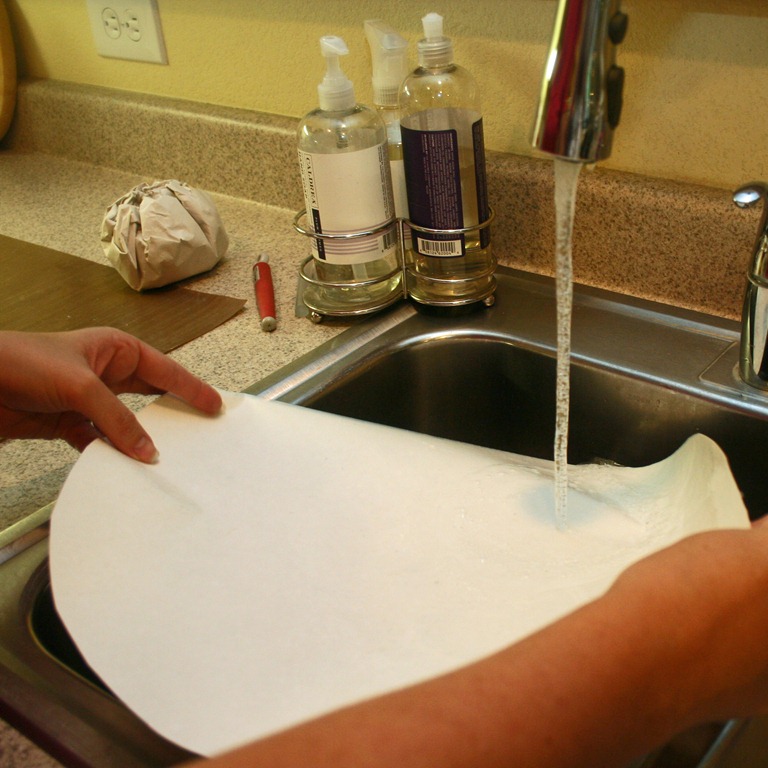
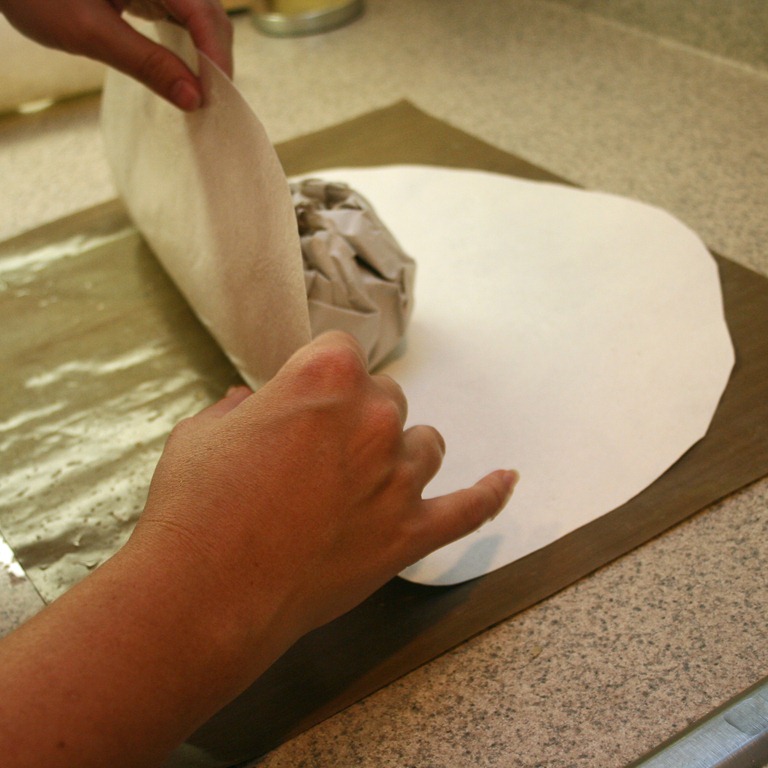
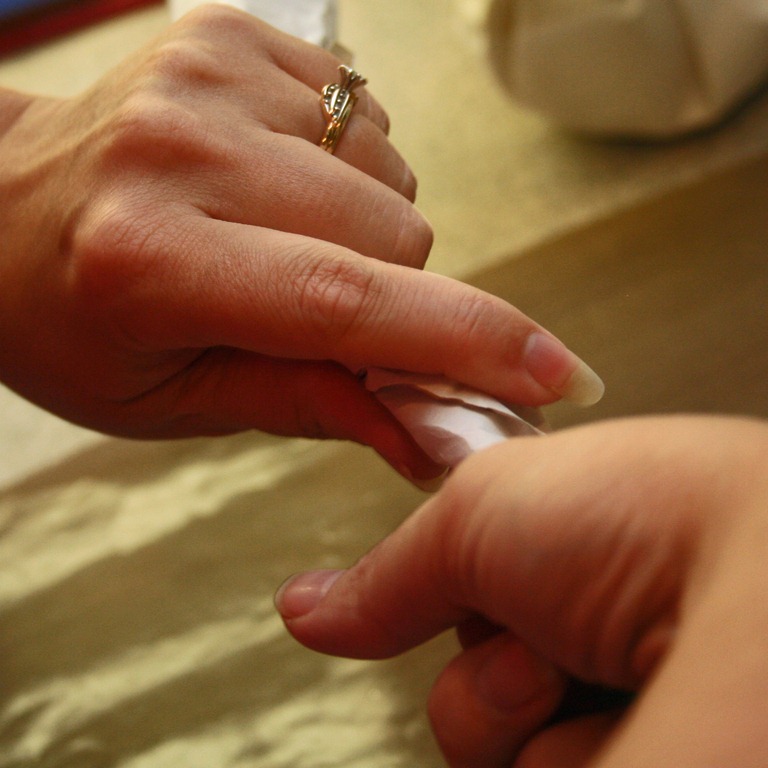
Now comes the fun part! Take your white paper circle and run it under your tap. Yes, you read me correctly. Get that paper wet! Wet the top and bottom thoroughly.
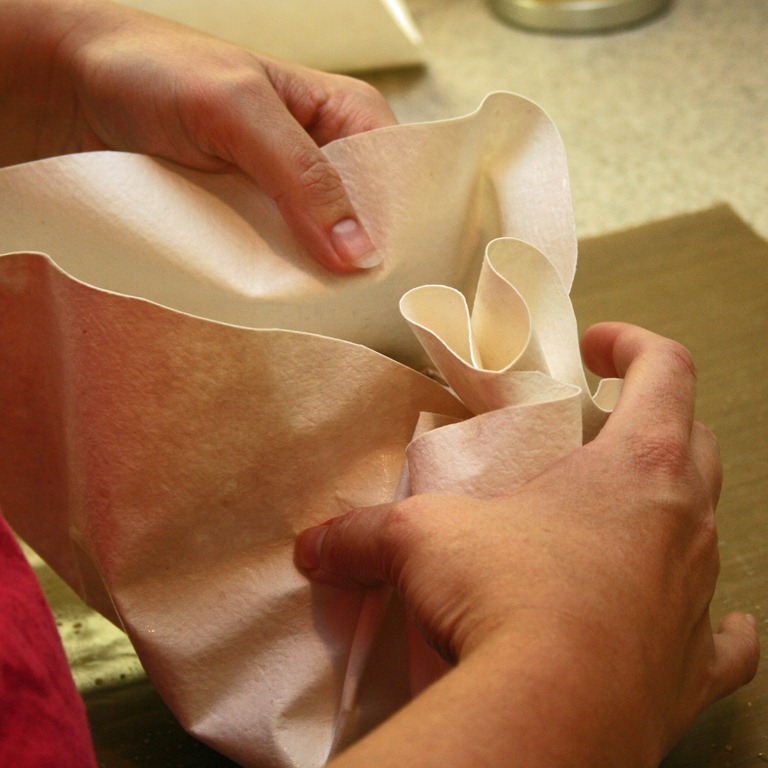
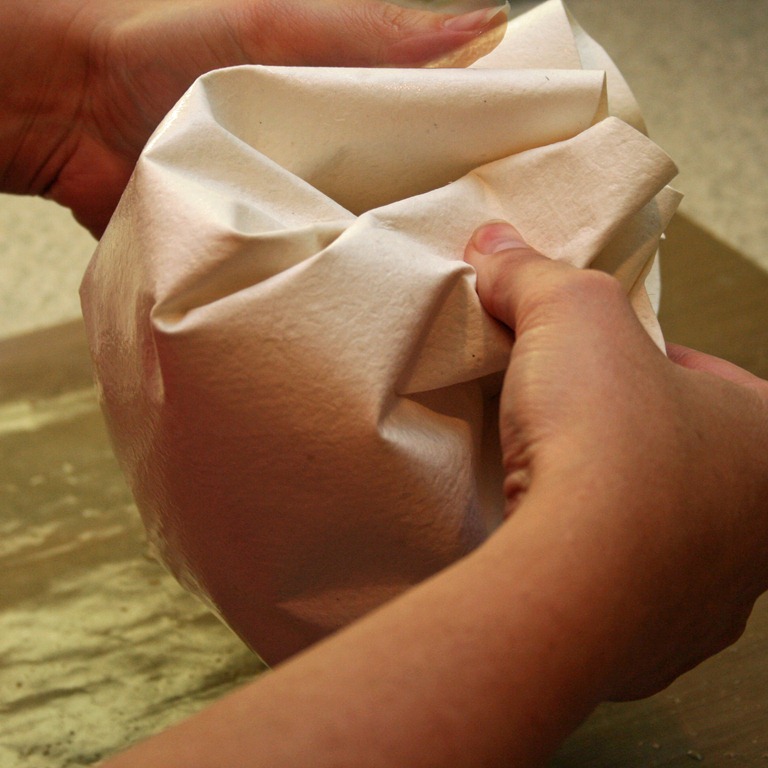
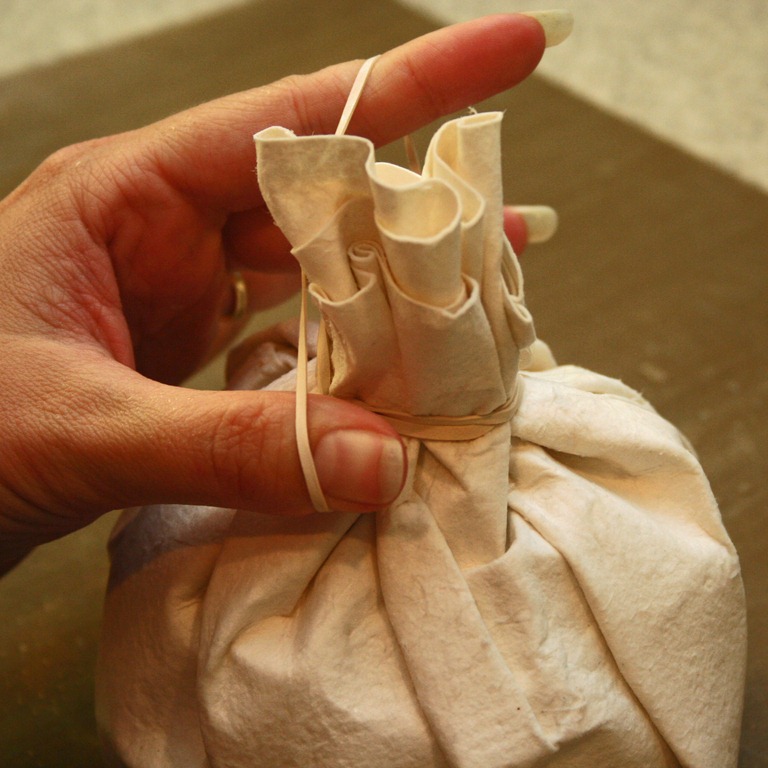
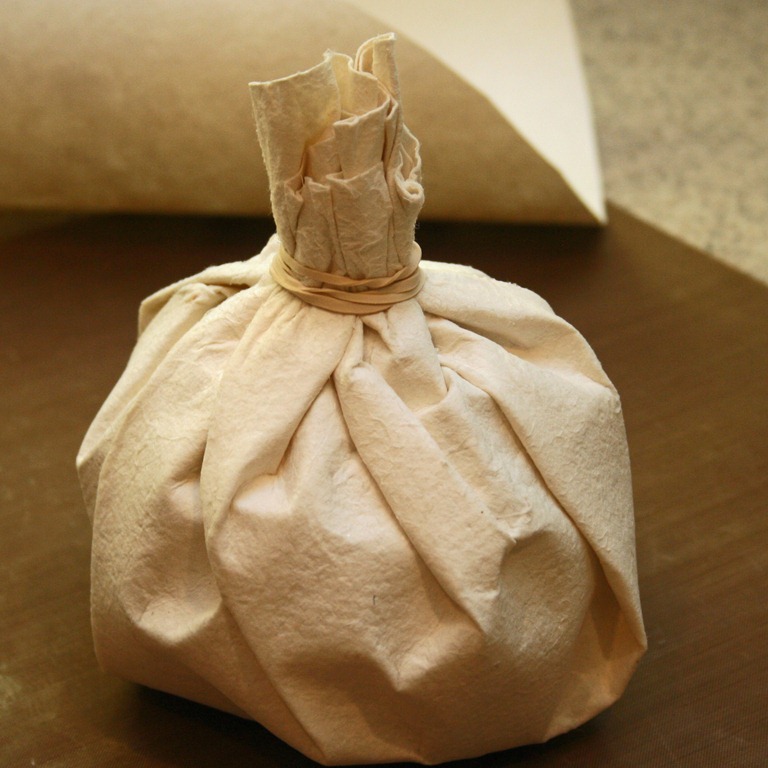
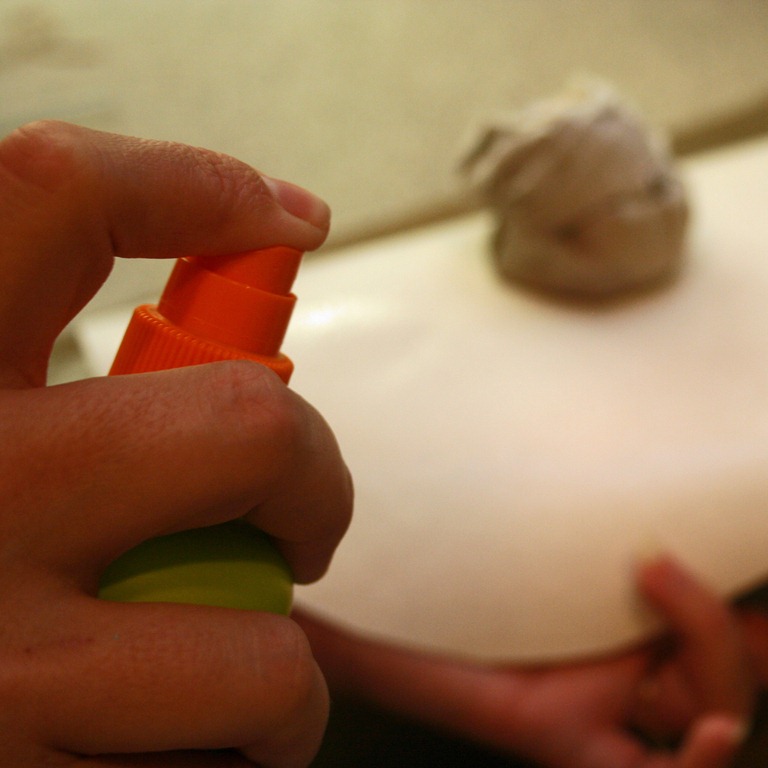
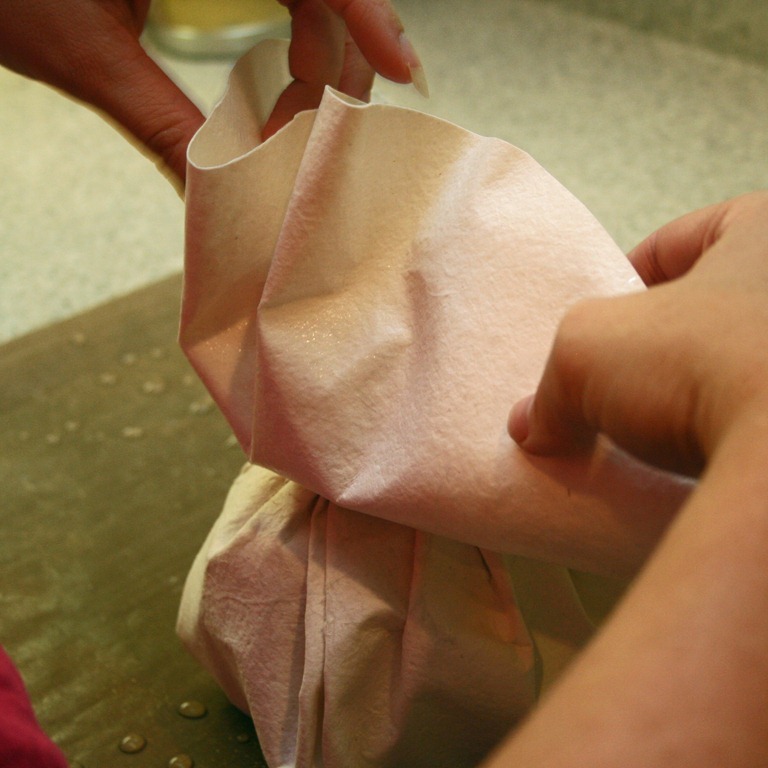
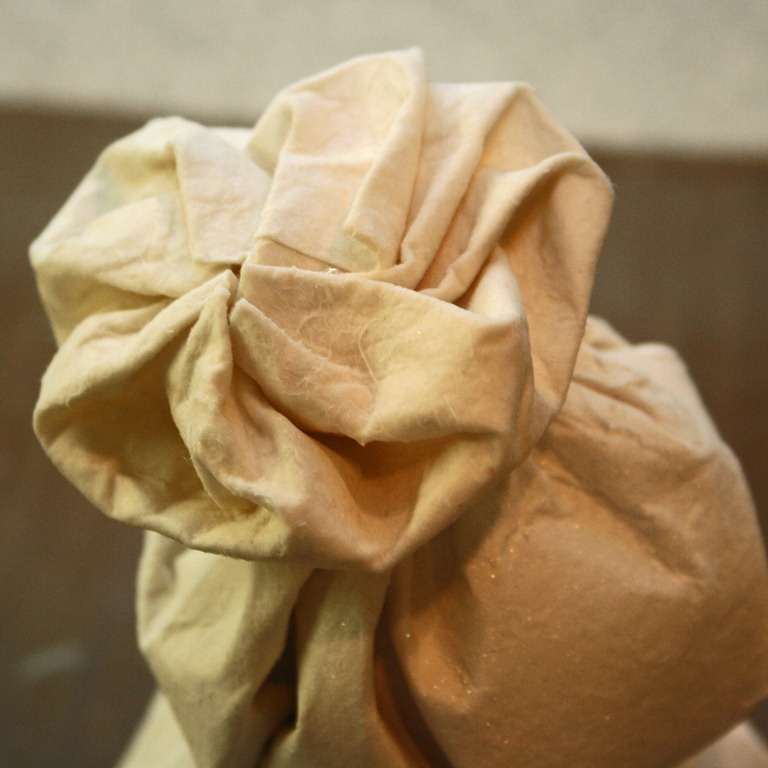
This is when you need to work quickly, because as soon as your paper gets wet the clock is ticking to get it into position before it tears, pills, or just becomes unworkable. Set your packing-paper ball in the center of the wet paper and start gathering the paper up to the top. If the paper is too stiff, spray it with a spray bottle. If you work it too much, it will look like crumpled paper, and we are going for more of a gathered fabric look, so be quick!
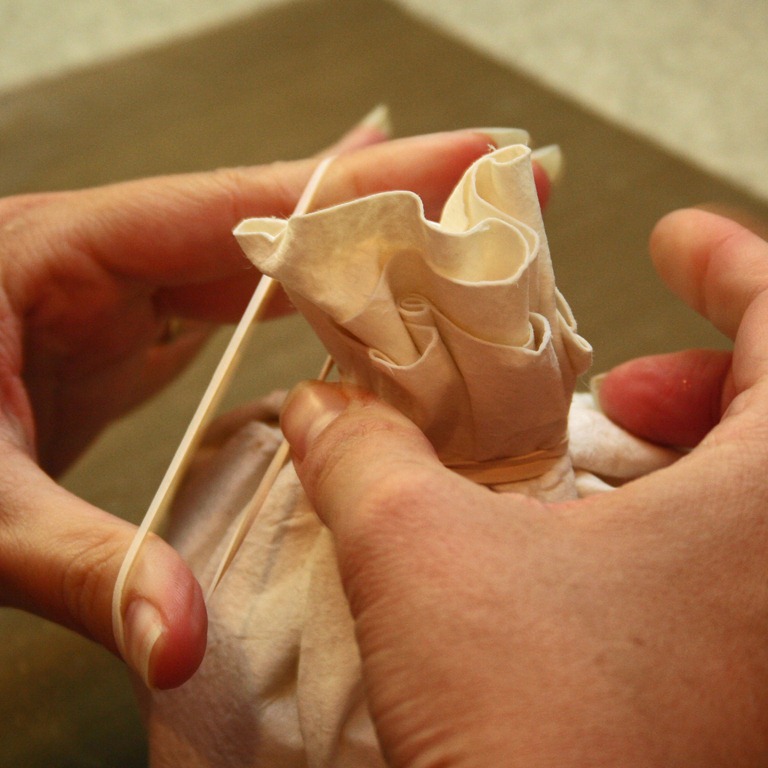
Once you have it gathered at the top, and it looks the way you want it to, secure the top tightly with a rubber band.
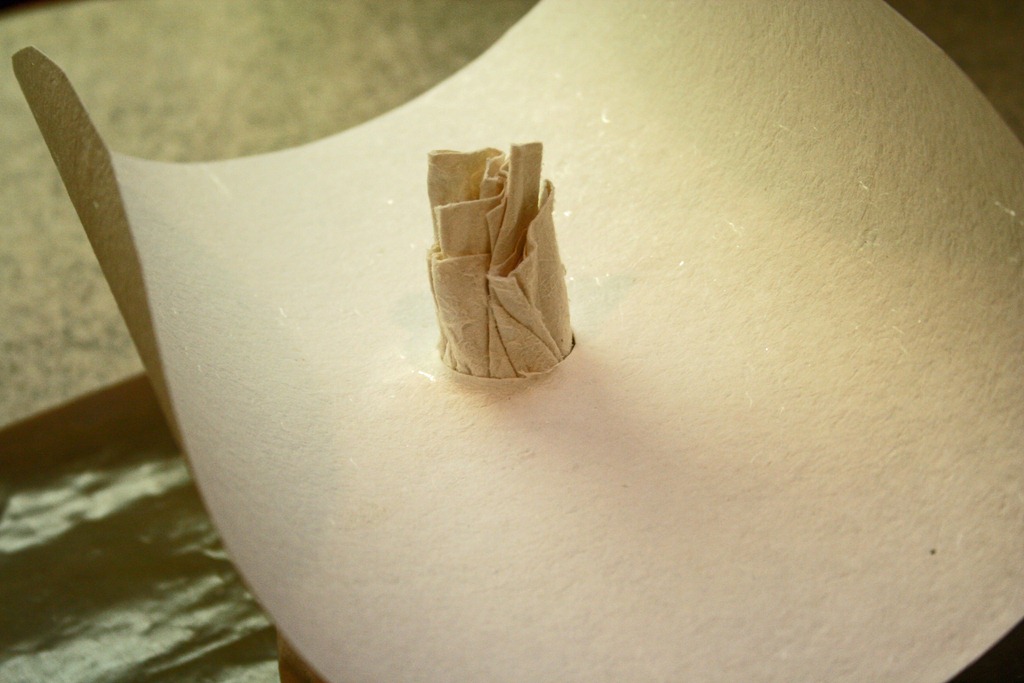
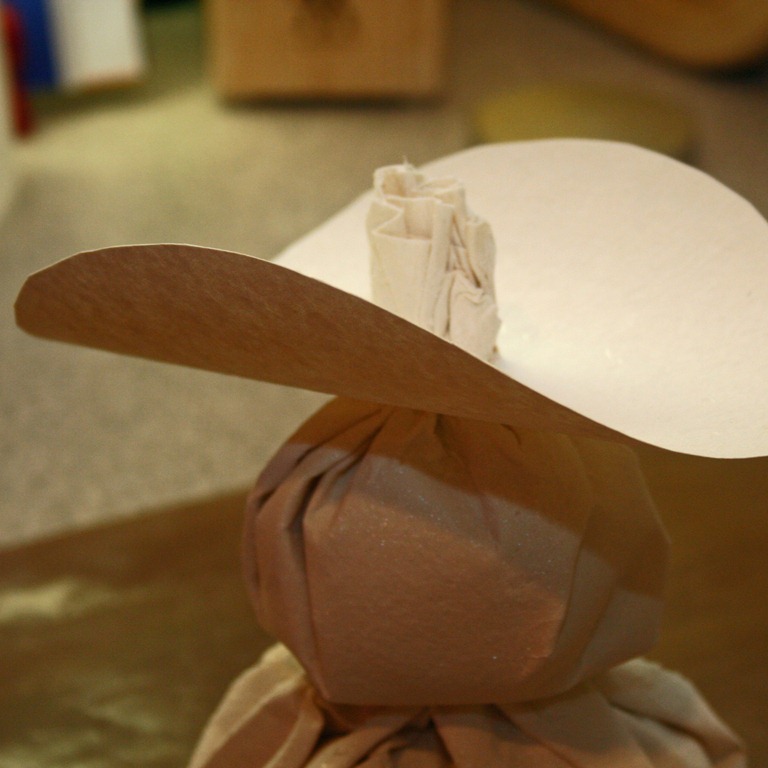
Now, cut another paper circle out of your heavy white paper approx. 12 in. diameter (for larger snowmen; 9 in. for smaller ones). Cut a small circle (approx. 1 inch) out of the center of the paper. Cut the hole to fit snuggly over the top of the gathered paper ball. Cut it smaller at first, gradually increasing the size as needed, so as not to become too big.
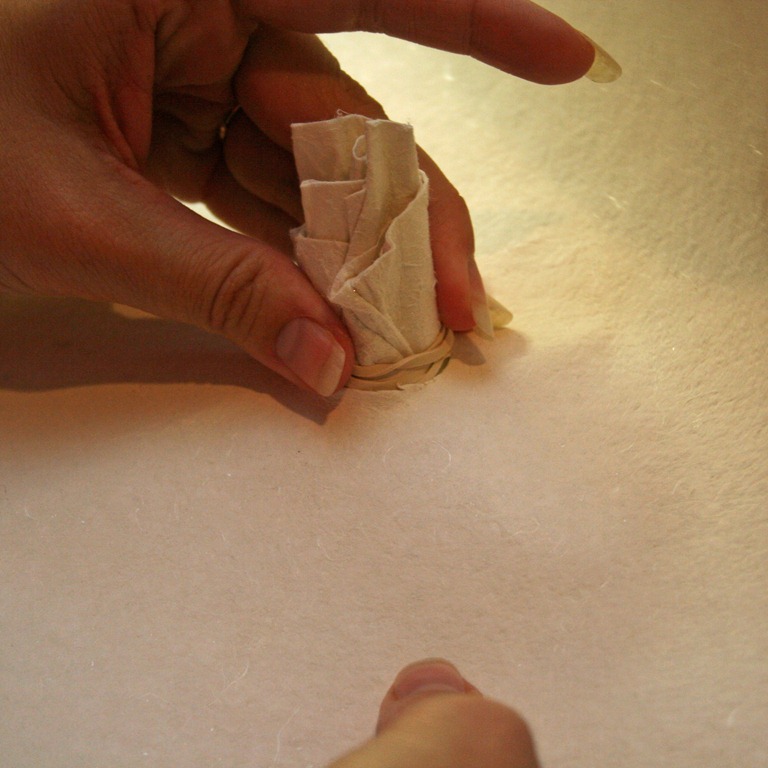
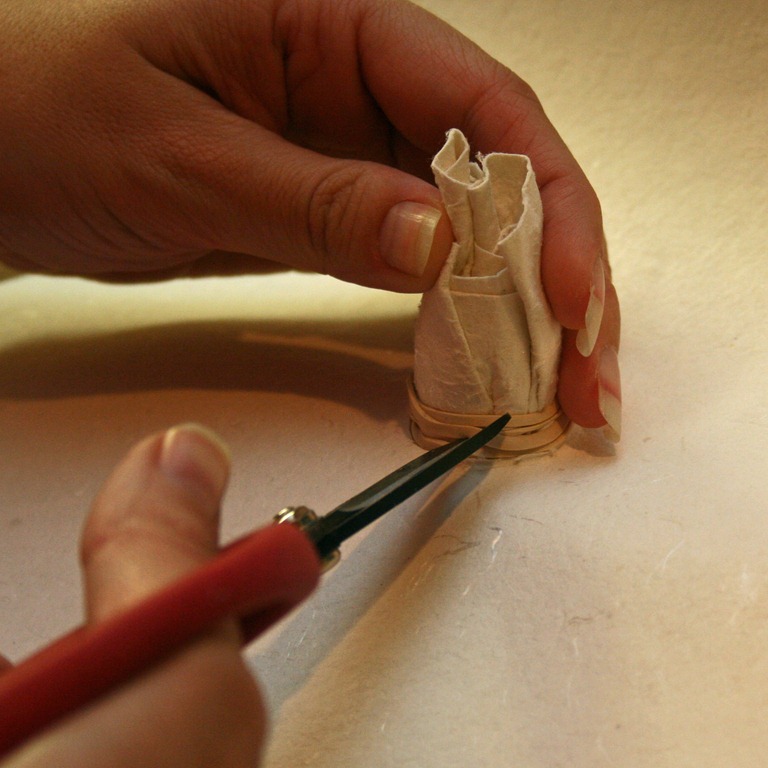
Once the hole fits snuggly over the secure rubber band, push the paper down as far as it will go. Use a pair of sharp scissors to snip the rubber band without cutting the paper. Remove the rubber band carefully. This should cause the wet paper to expand and hold the new circle in place.
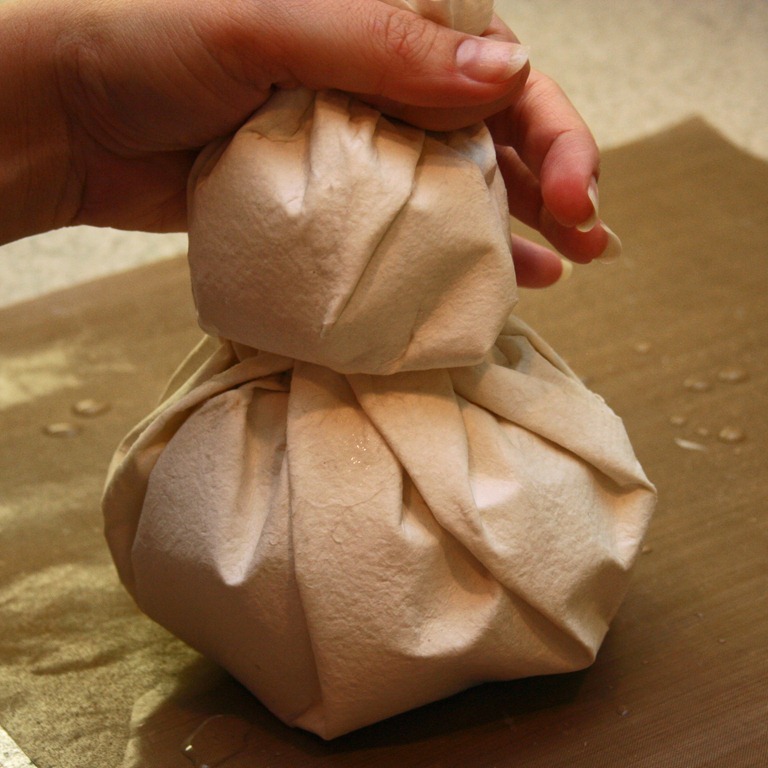
Roll and twist another piece of newsprint or packing paper, and wind it around the paper sticking out of the hole. Secure it with hot glue. Try to shape an even form ball of about 2.5 – 3 in. diameter.
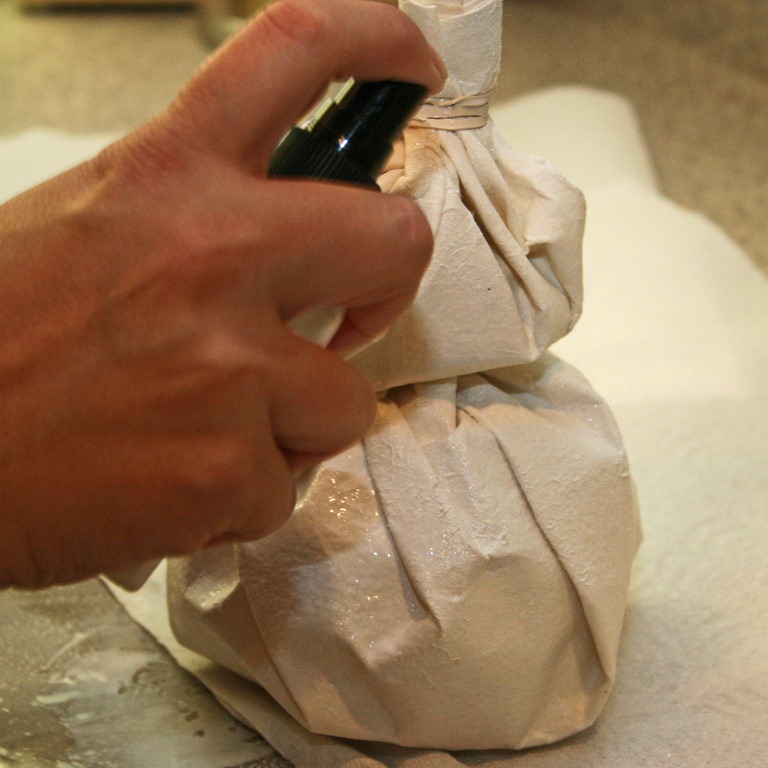
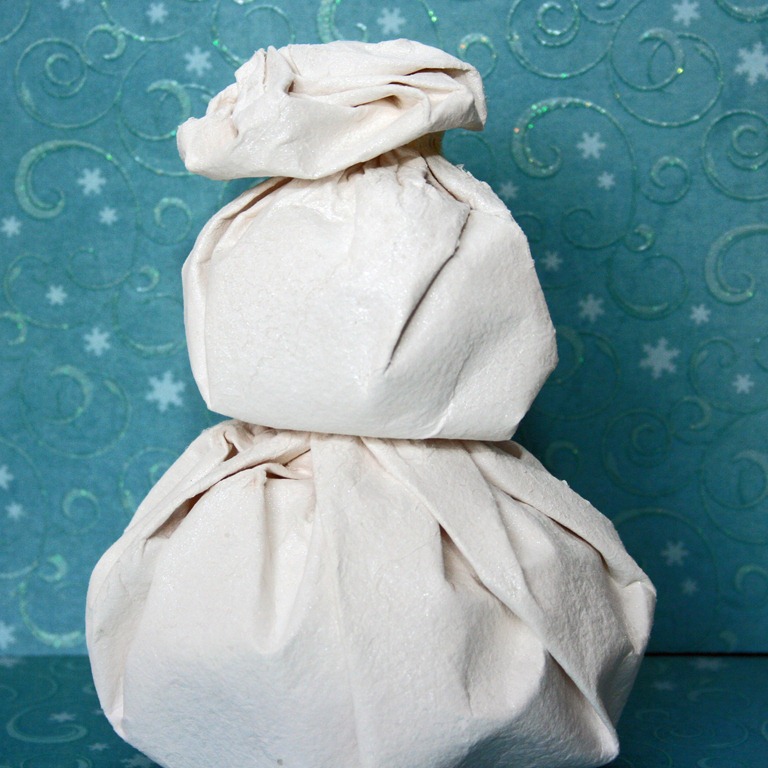
Using your spray bottle, wet the white paper circle that is now secured underneath the ball. Wet both sides, and start gathering it at the top the way you did the bottom ball. Again, remember to work quickly. When completely gathered on the top, secure it with a rubber band.
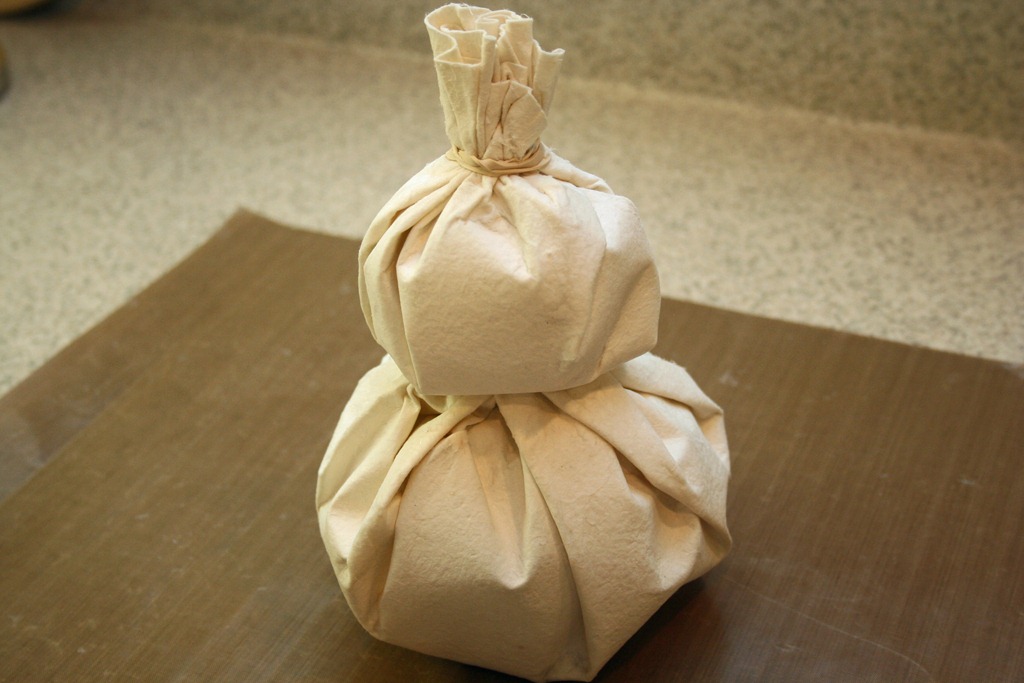
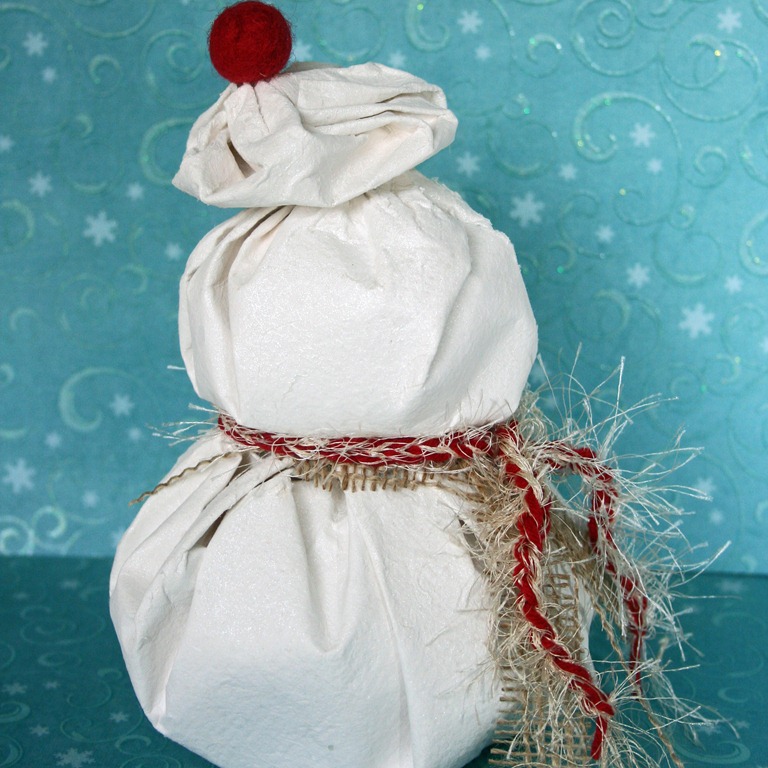
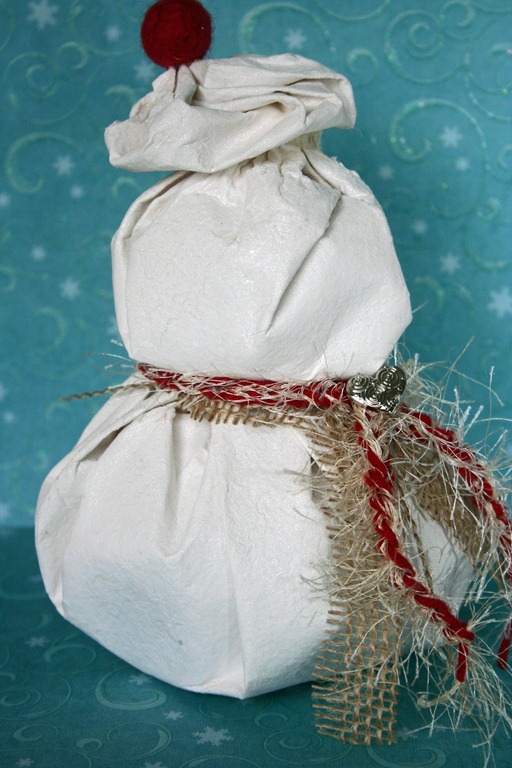
This is the basic snowman—now use your imagination to make it your own! I sprayed mine at this point with marshmallow glimmer mist so it would have a shimmered frosty look.
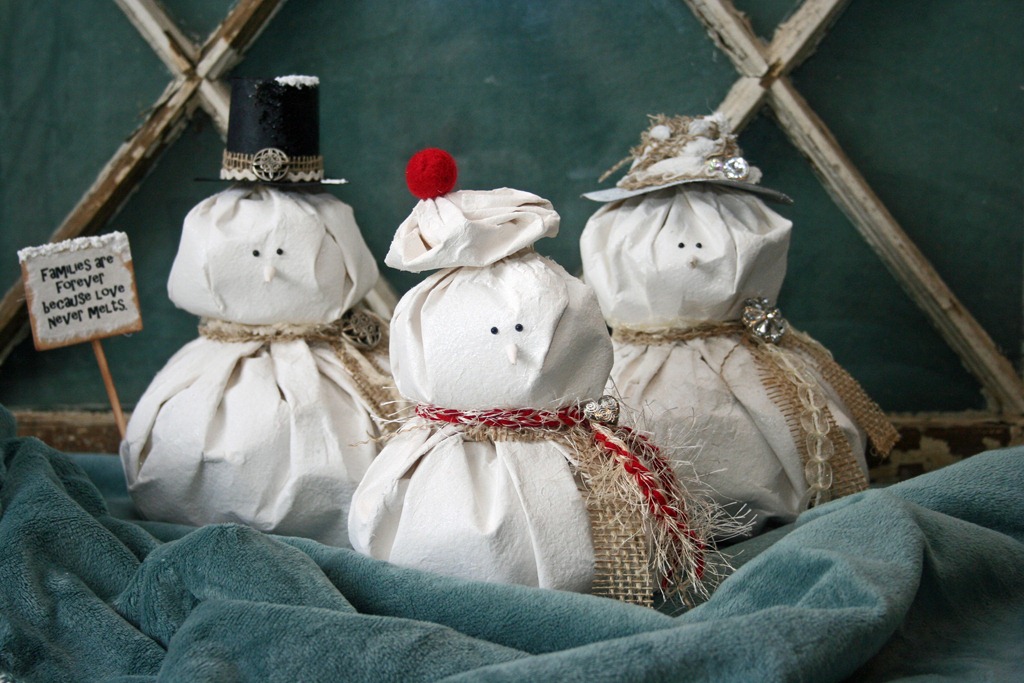
I made a top hat for the dad, a wide-brim church hat for the mom, and a cute beret-like snow-hat for the daughter.
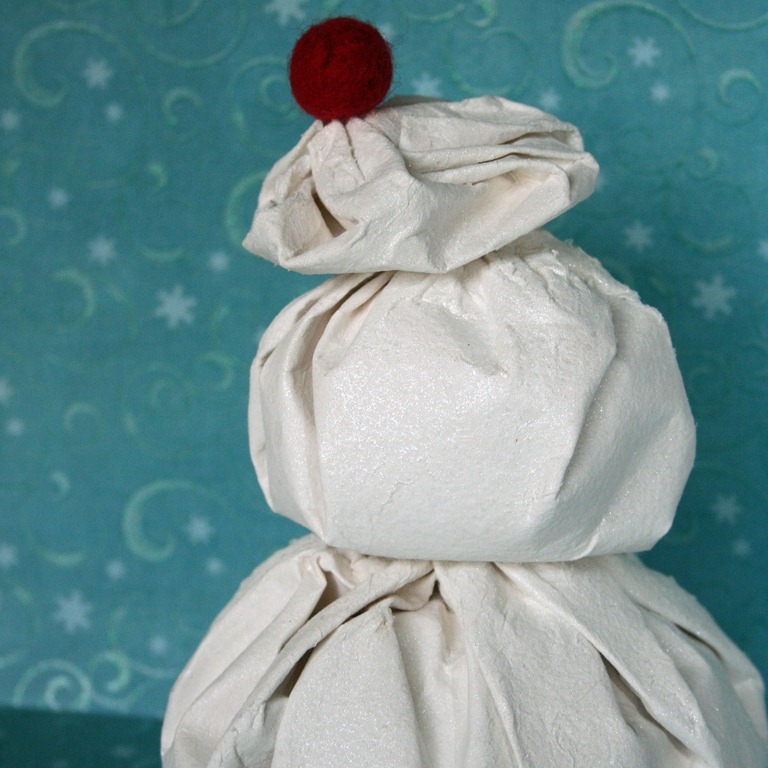
For the daughter’s beret, I made it much the same way I did the head. I cut a circle out of paper approx. 4.5 in., and cut a hole in the middle to fit over the gathered paper. after removing the rubber band, I wet the paper and gathered and twisted it in the center while laying it flat like a beret. I added a wool ball to the top that Heather made using Whitney’s tutorial. For the top hat and wide brim hat, I cut a circle the size I wanted for the brim, and then cut the hole in the center. After making sure the fit was right, I sprayed the brim with silver sugar glimmer mist, and then coated it with embossing powder and set it with my heat tool. I then put in in place atop the head, and cut the rubber band. I then built the rest of the hat right on the head.
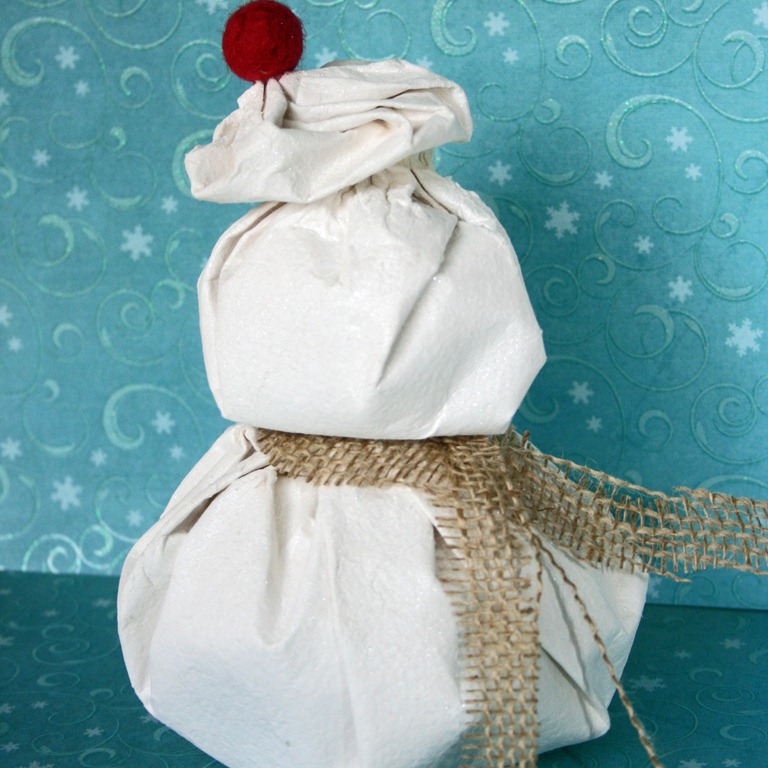
Embellish your snowmen with accessories of your choice. I used burlap, fibers, and buttons (as well as a cute little scarf crocheted out of yarn by Heather).
For the dad’s sign, I used Woodsies from Michael’s—and I sanded and inked the edges with distress ink. I printed the words on my computer, and tore the edges before gluing it onto the sign.
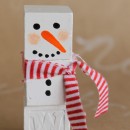
I dabbed Snow-Tex on the top of the sign, and on the hats, to look like melting snow. I rolled paper for their noses, and used little black embellishments for their coal eyes. Have fun, and decorate them to match your style and décor!
I hope you have fun making your paper snowman family. Thanks for letting me share. Ciao!




Very cute and so creative!!
That is EXTREMELY clever & the snow-people are darling. You WON me over – gotta try this! THANK YOU!
Just adorable! I hate to sew. I know how but I deny it to keep from having to do it! LOL This is MY kind of craft! – Karen
those are so stinkin’ cute!!! I have to post the link on the reCREATE.org facebook page – we are so making those at our holiday craft time!!! Thanks!!
These are absolutely adorable! They’d be perfect to make with my girls and great for winter decor (and not just Christmas!)
cute!
perfect for Christmas at tropical countries
now I could make a snowman without snow 😀