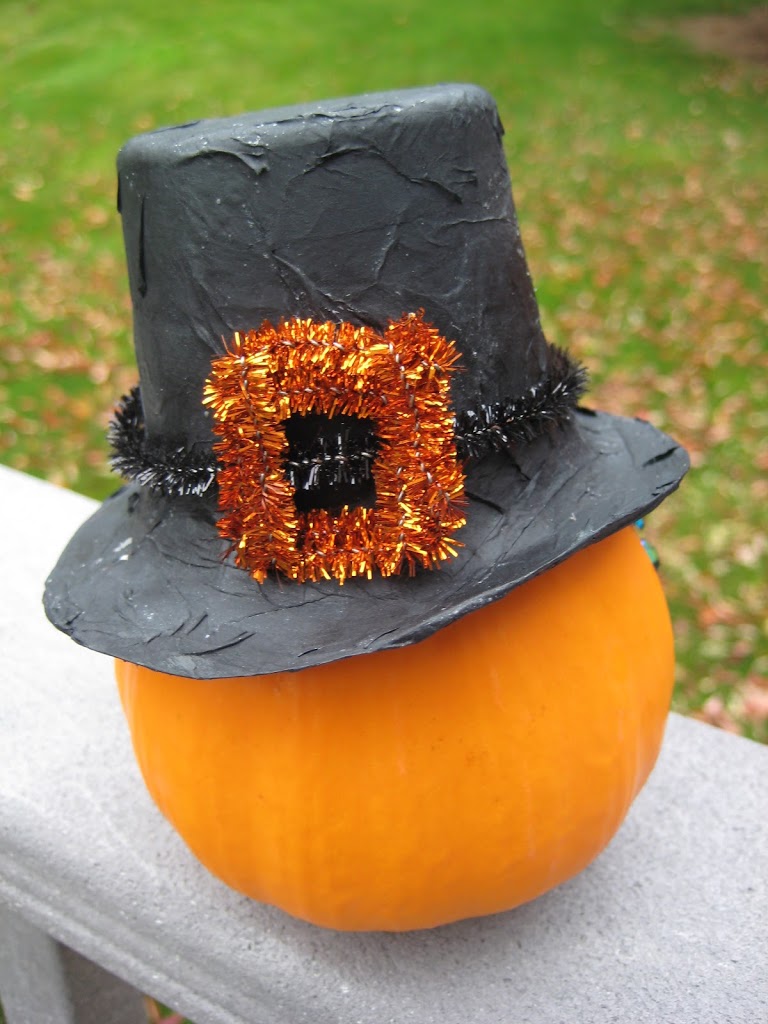
Create a mini pilgram hat using this tutorial! It’s a great little craft to get you and your kiddos in the Thanksgiving mood. Have fun crafting with your kids!
Mini Pilgrim Hat
Kids 7+ should be able to do this craft with minimal assistance. Younger kiddos will need some help from an adult.*
Supplies:
Snack Cup or Yogurt Container (we used a Jello Snack Cup)
Larger Container that is approx. an inch wider than the opening of your snack container
Glue or Mod Podge
Paint Brush to apply glue
Paper Plate or Card Stock
Black Tissue Paper
Gold Chenille Stem (Pipe Cleaner)
Black Ribbon or Chenille Stem for hat band
Scissors
Pencil
Wax Paper to work on
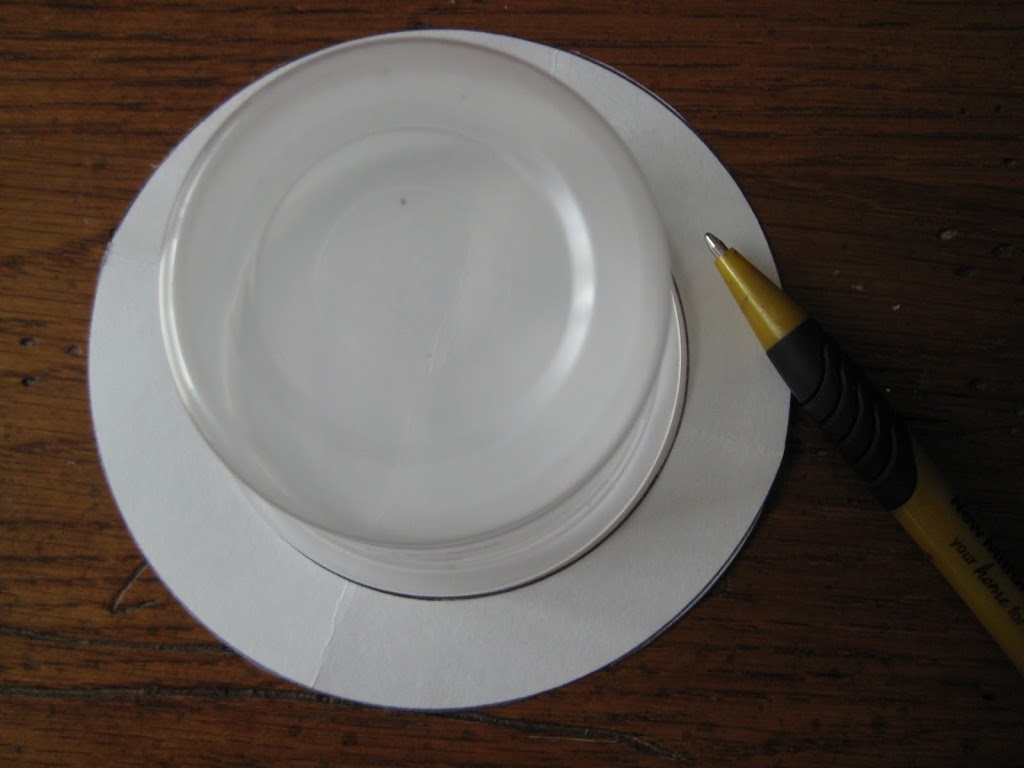
Place the mouth of a larger container on the center of a paper plate and trace.
Center a smaller container (snack cup) in a circle and trace.
Cut out a larger circle.
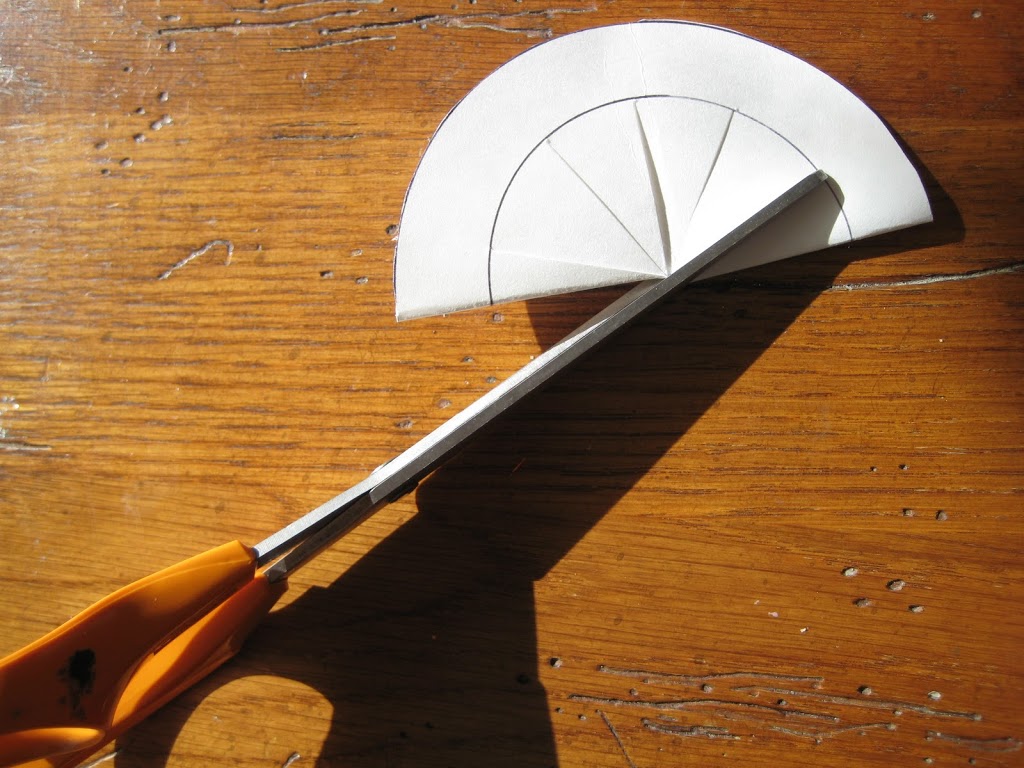
Fold the circle in half to cut tabs from the center to a smaller circle line.

Fold up tabs at smaller circle lines. Trim to a manageable length.
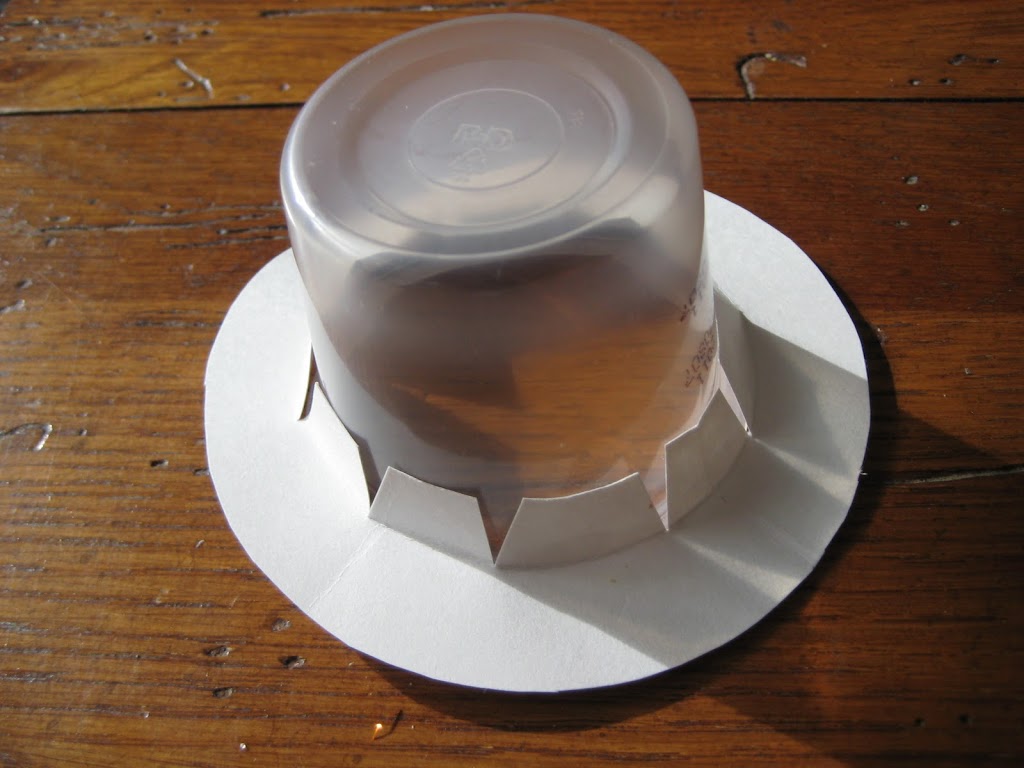
Brush glue outside the edge of the snack cup.
Place upside down on wax paper or a work surface
Place brim onto snack cup. Push tabs into the glue.
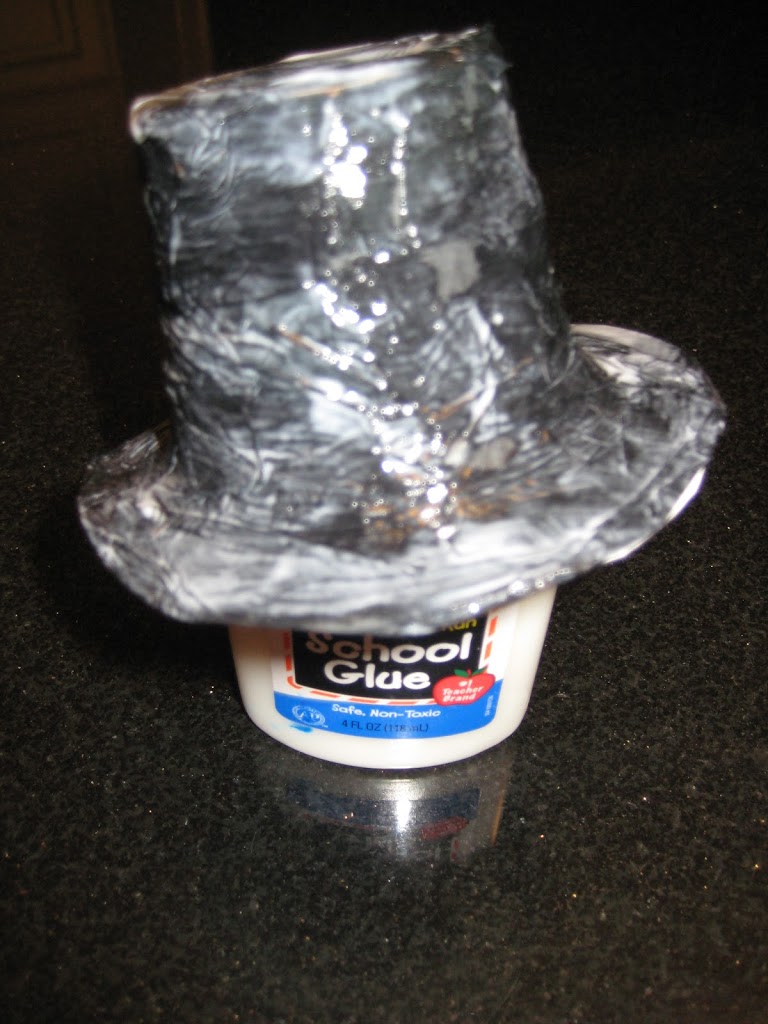
Cut or rip tissue into small pieces.**
Decoupage tissue onto hat (paint on glue, apply tissue, and paint over tissue with a thin layer of glue.)
Let dry.
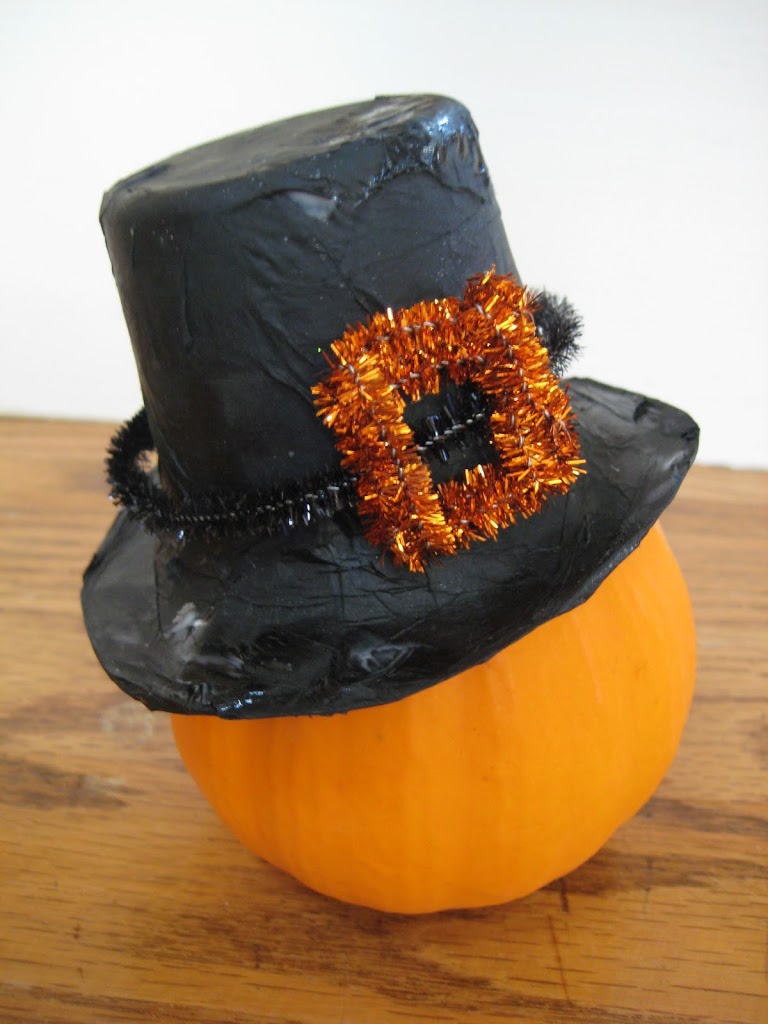
Create a buckle by bending a chenille stem into a square repeating the square shape until the stem runs out. This creates a thicker buckle.
Glue on ribbon or chenille stem hat band.
Glue on buckle.
*Parents of younger children can assemble the brim and then let the child decorate the hat.
**You can replace glue and tissue with black Acrylic Paint.
Check out http://4crazykings.blogspot.com for more craft ideas!


Very cute! I love the 4 Crazy Kings blog – so full of cute craft ideas for kids!
Thanks for the opportunity, Elizabeth! Ucreate with Kids is a great resource. Love It!
PS Thanks, MaryAnne 🙂