Hello UCreate Readers! I’m so excited to be here today! I’ve been a fan of Kari’s for a few years now and have had the honor of guest blogging here before. I’m so glad to be back with you today.
My name is Melissa Mortenson and I write the Polkadot Chair Blog. It’s named after a chair in my craft room. I love to make all kinds of crafts from scrapbooking and sewing to cooking. You can find a list of my tutorials here.
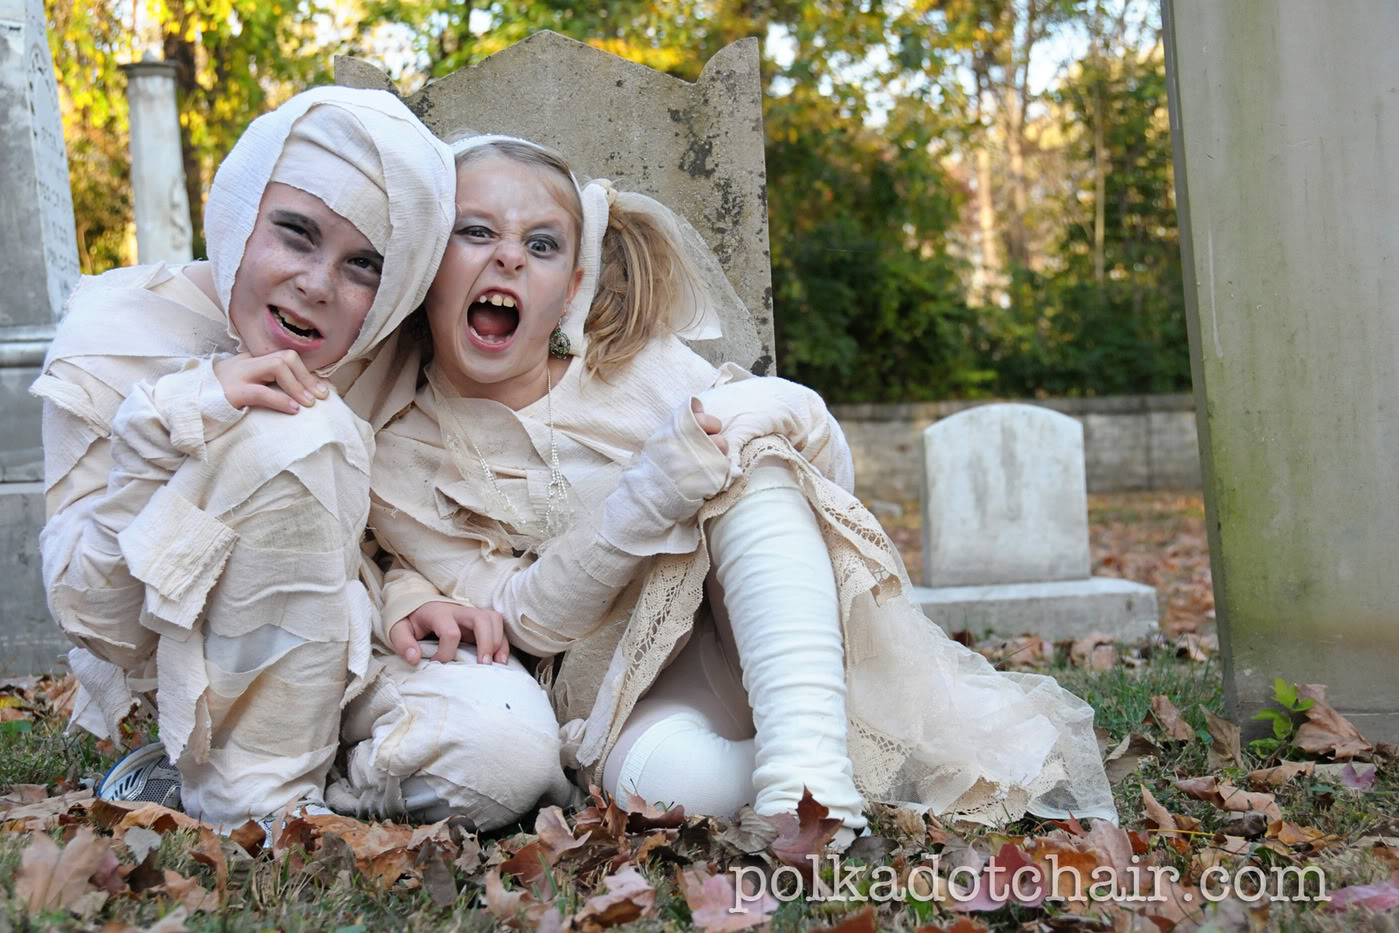
Today I’m going to share with you how I made these Mummy costumes for my twins last year!
Trust me they only look complicated- they are super simple!
Ever since I had twins I’ve been trying to get them to “match” for Halloween! We’ve done Pebbles & BamBam, Winnie the Pooh & Piglet, the Incredible’s, Prince & Princess, and 50’s costumes. The older they get the harder it is for me to “convince” them to match! You can see some of their other costumes here.

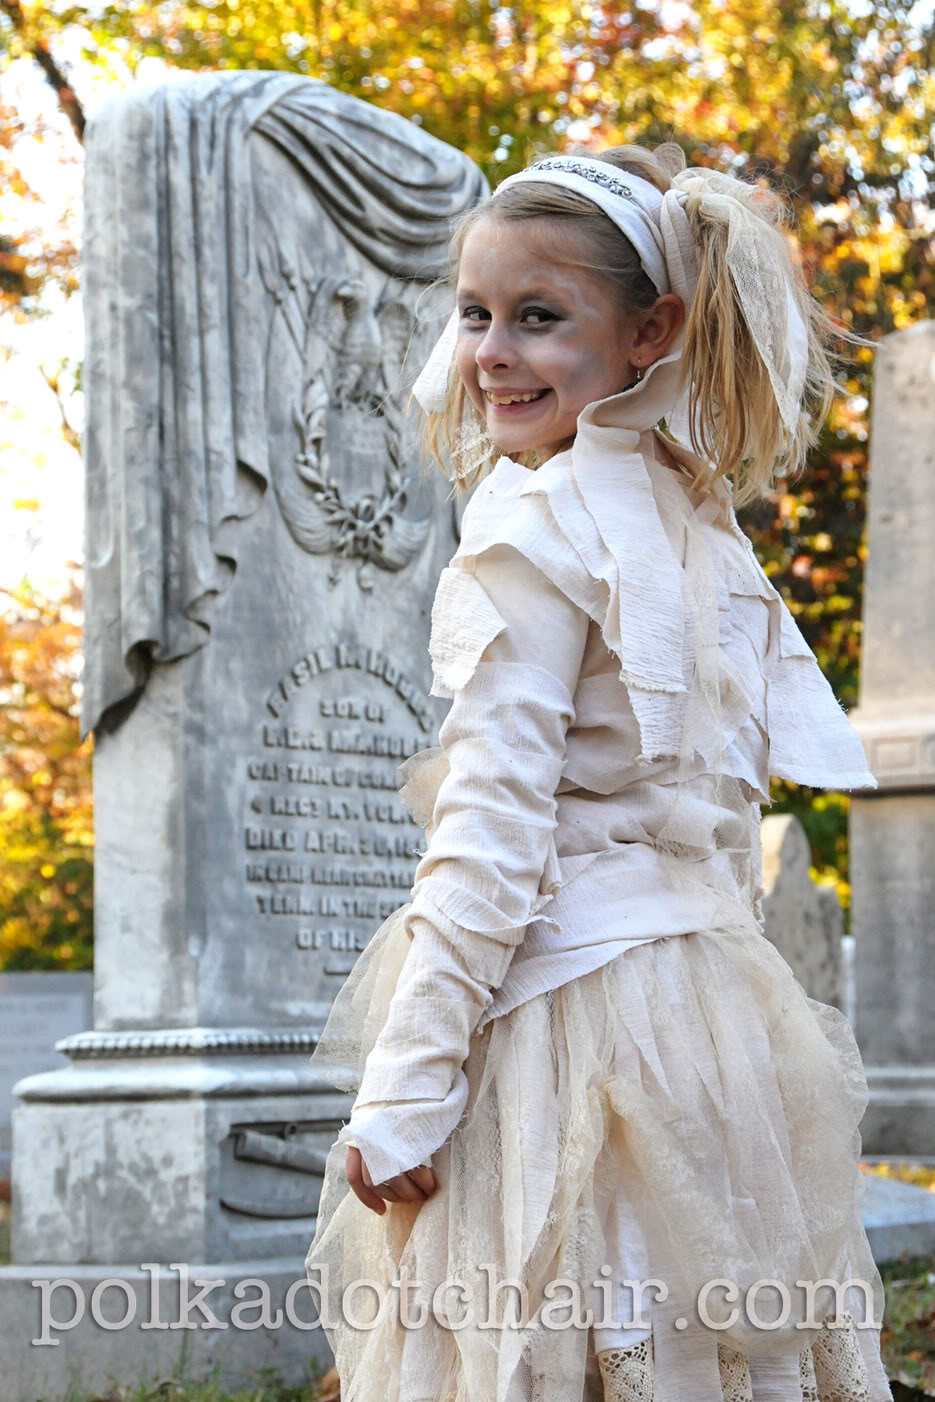
Last year my son wanted to be a Mummy and after some “coaxing” my daughter and I agreed that there WAS such a thing as a Mummy Princess— (note the tiara on her head).

Thus the Mummy Prince & Princess costumes were born.
To make them your going to need a few things:
White Long Sleeved T-Shirts
Gray sweat pants – turn them inside out and use the lining – it’s white (if you can find white sweatpants get those, but I could not find white)
Tea for dyeing
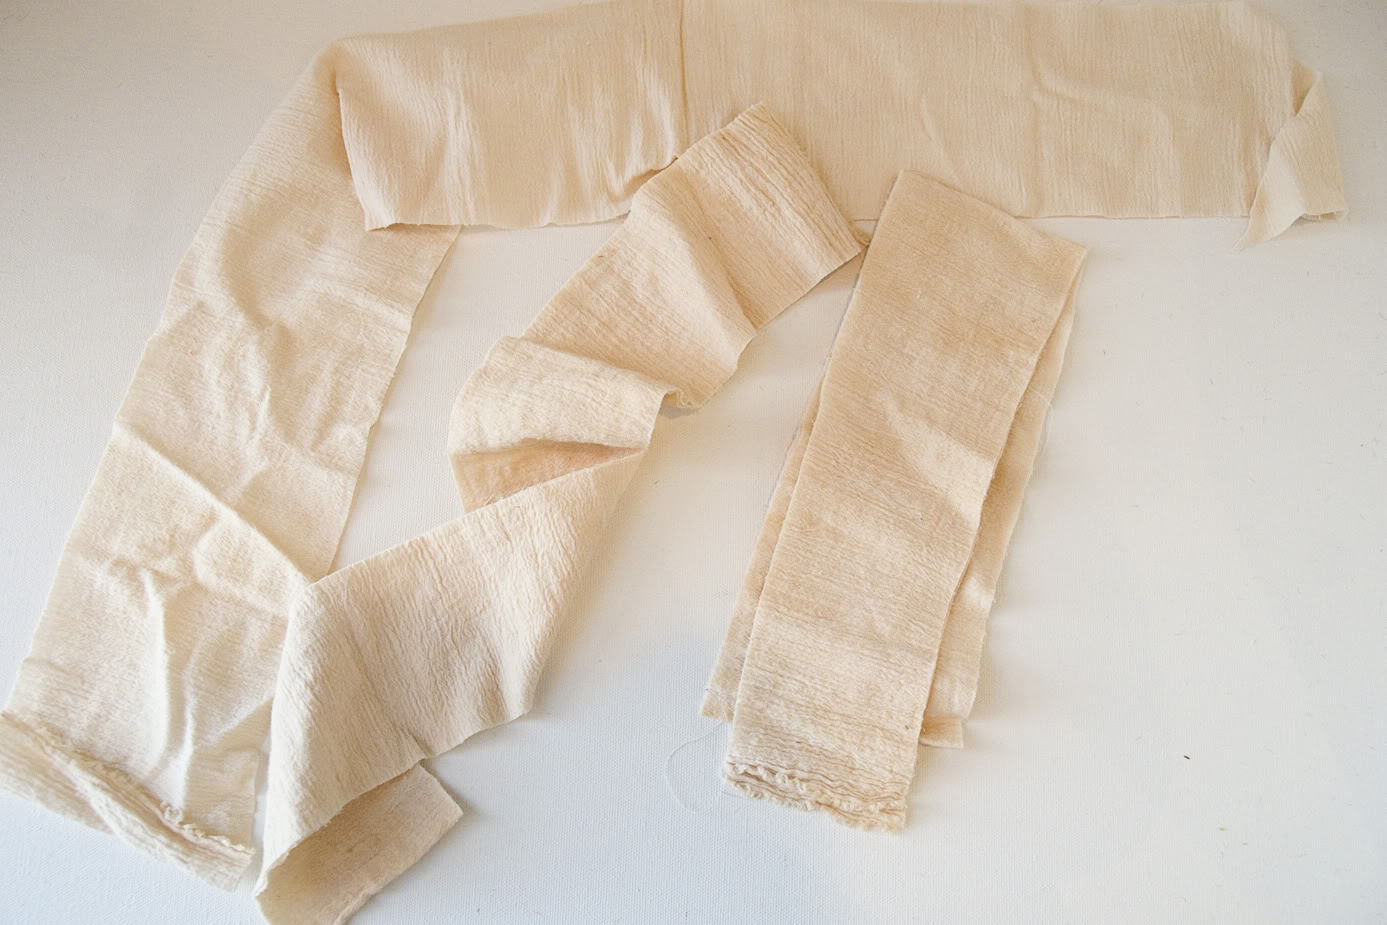
White Cotton Fabric about 1 yd per costume (not including skirt- you need 1/2 yd for that) I used a stretch cotton fabric from Joann’s that had a slight crinkle texture. Don’t bother with cheesecloth- it’s too thin and hard to work with. You could use Muslin- just don’t use any polyester fabrics (they won’t hold the dye).
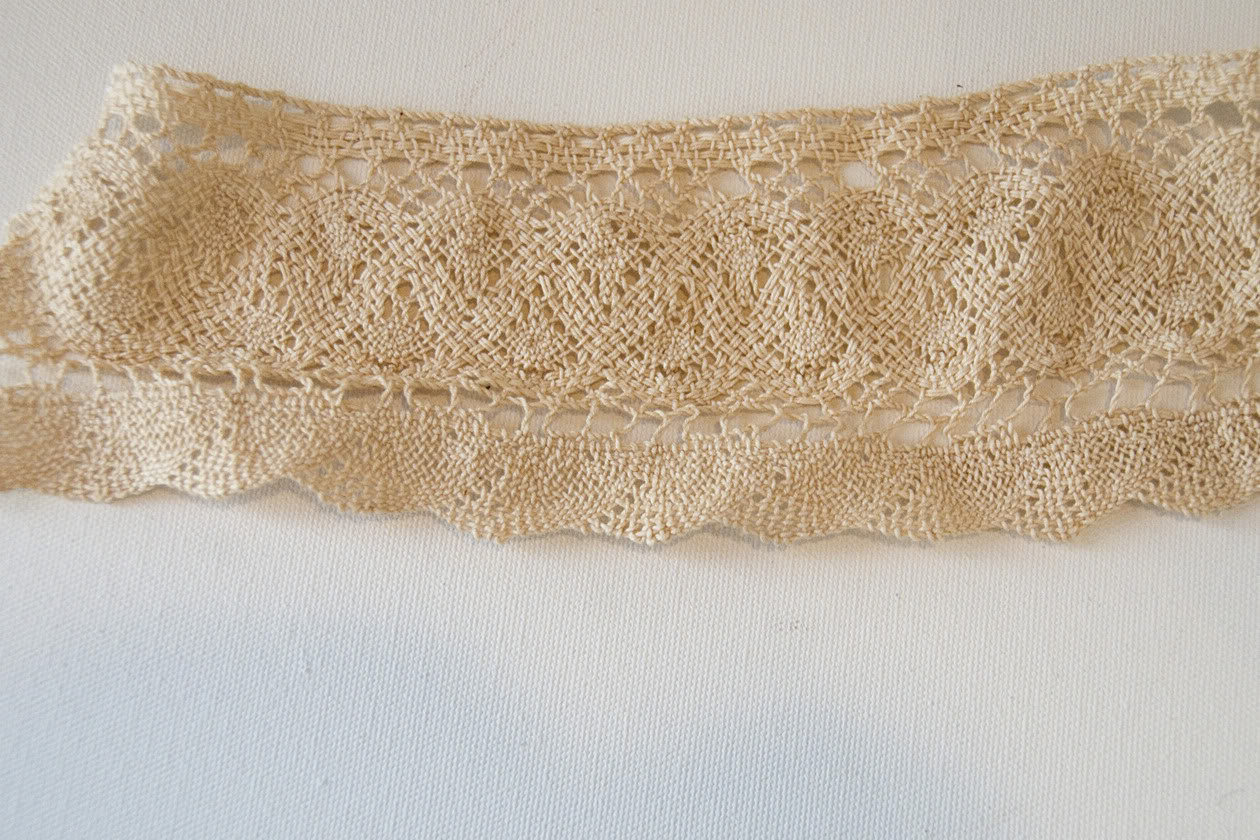
Cotton Lace
Off White Tulle
Elastic
Needle & Thread
The first thing you need to do is to Tea Dye EVERYTHING that is white. Don’t bother dyeing tulle, it doesn’t stick… Dye all of your t-shirts, sweat pants, fabric, lace.
After your fabric has dried, start cutting up your yardage into strips. Vary your strips from 2″ – 4″… just RANDOM… don’t think about it too much just chop it up.
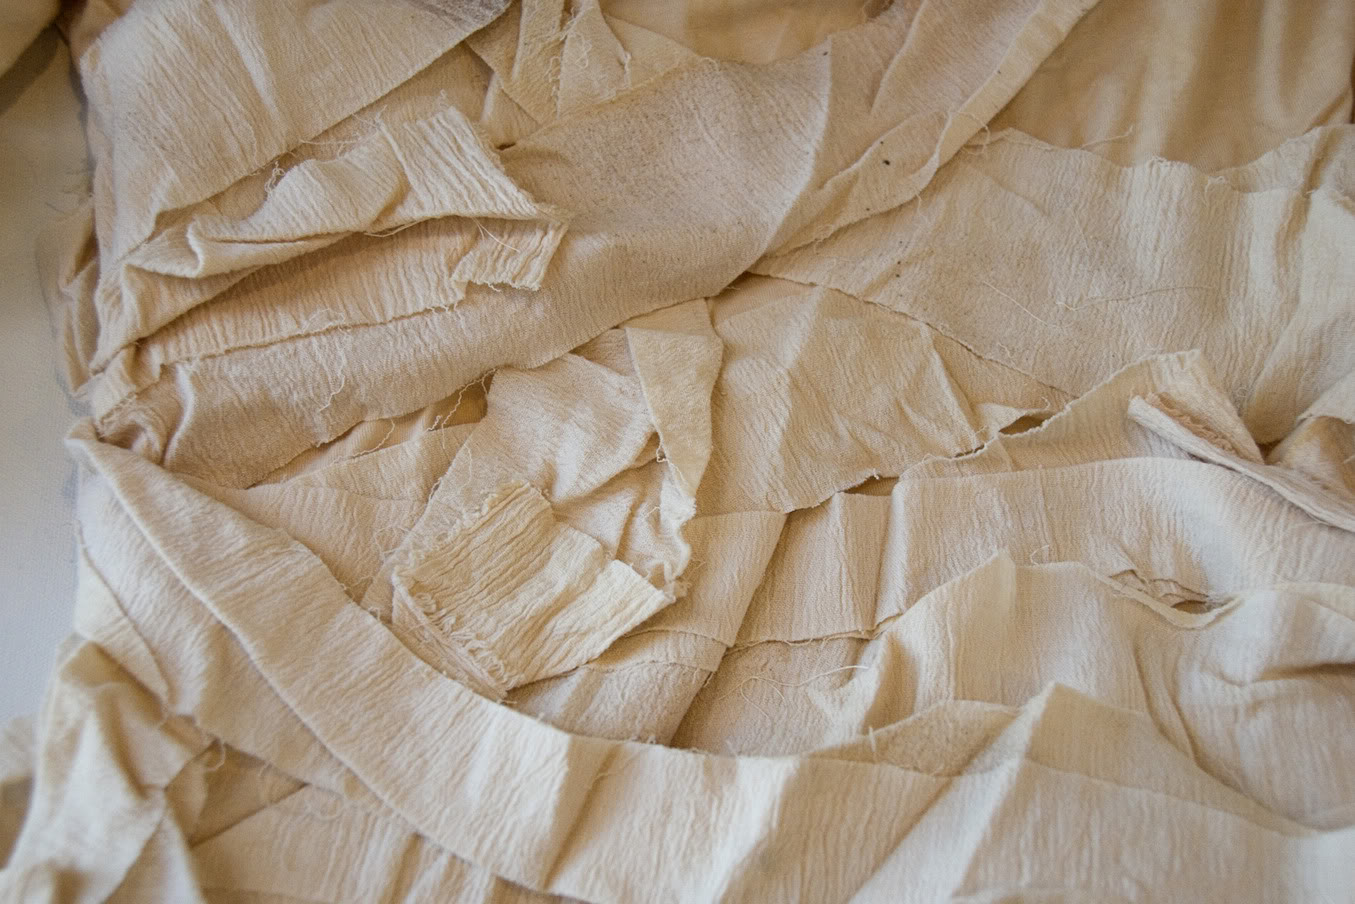
Make your shirts first- don’t look at that photo and panic- it’s really easy… Start laying out your strips of fabric on top of your t-shirt- Just random crazy patterns. Lay one strip at a time and pin it in place. Make sure to wrap some of the strips around from the front of the shirt to the back.
The crazier and sloppier it looks the better- it’s a Mummy after all!
Next- you are going to hand stitch down the pieces-

Just use cream thread and a tack stitch- add a tack stitch everywhere you had a pin. For extra reinforcement- you are going to stitch with your machine ON TOP of the strips/tshirt- catching all the layers (this will keep the strips from falling down when the kids walk around)

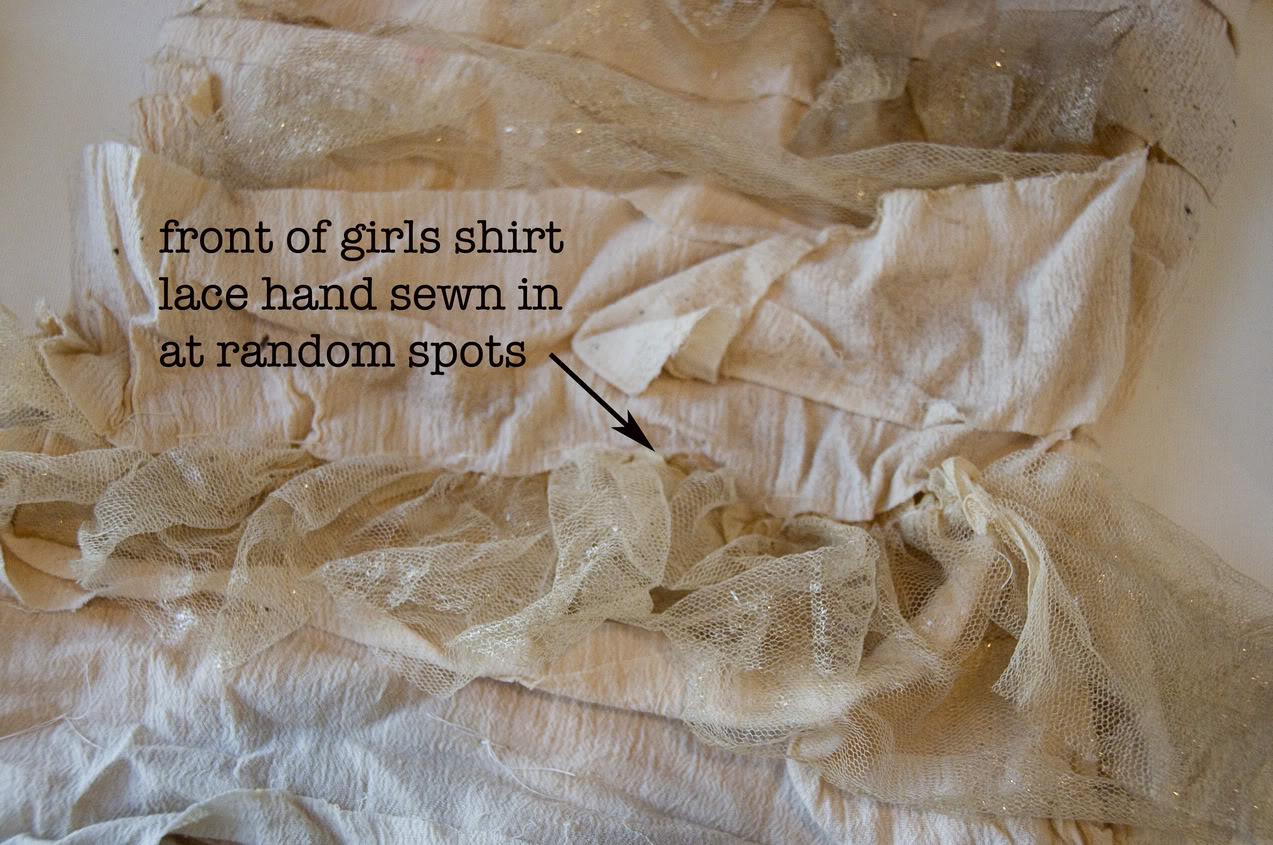
For the girls t-shirt- gather up some lace or tulle and hand stitch it into the t-shirt in a few spots.
That’s it for the t-shirts- I’d recommend helping your kids get dressed in them as you don’t want to tangle the strips as they take it on and off.
Next the pants: Using the gray sweat pants turned inside out (so that the white is showing) you are going to do almost the same thing as you did to the shirt, with a couple of exceptions. First- if there is elastic in the cuff- cut it out.
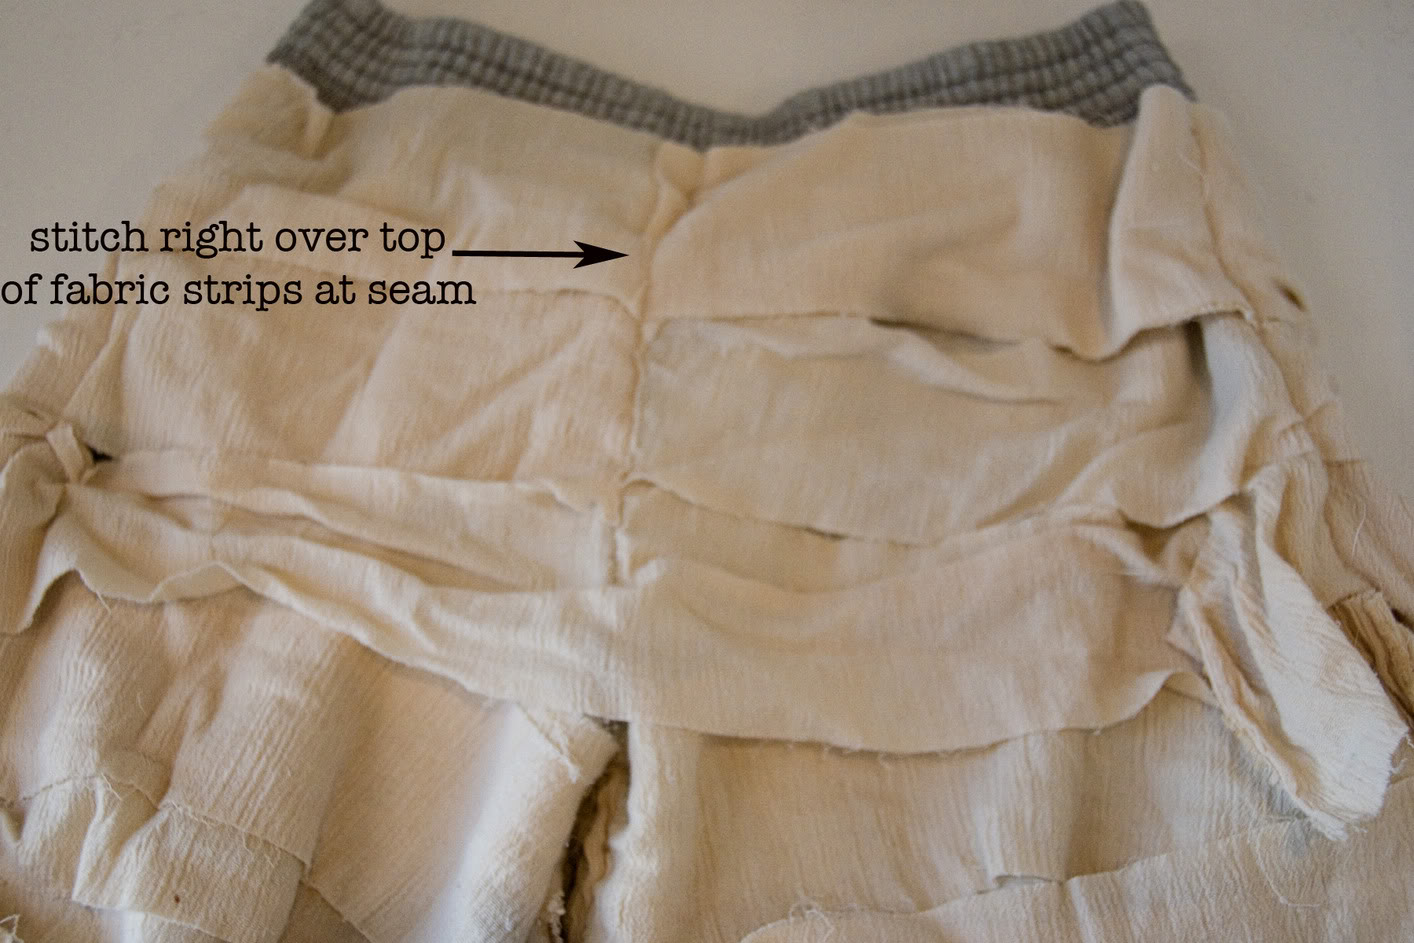
Next- cut the inseam of the pants, so they will open up. Now start laying down the strips of fabric- at the legs start at the cut seam (the inseam) and wrap it around front to back and end in the inseam- pin it place. For the top of the pants- just lay the strips over the pants- Then you are going to stitch right on top of the pants at the top- in the front and in the back.
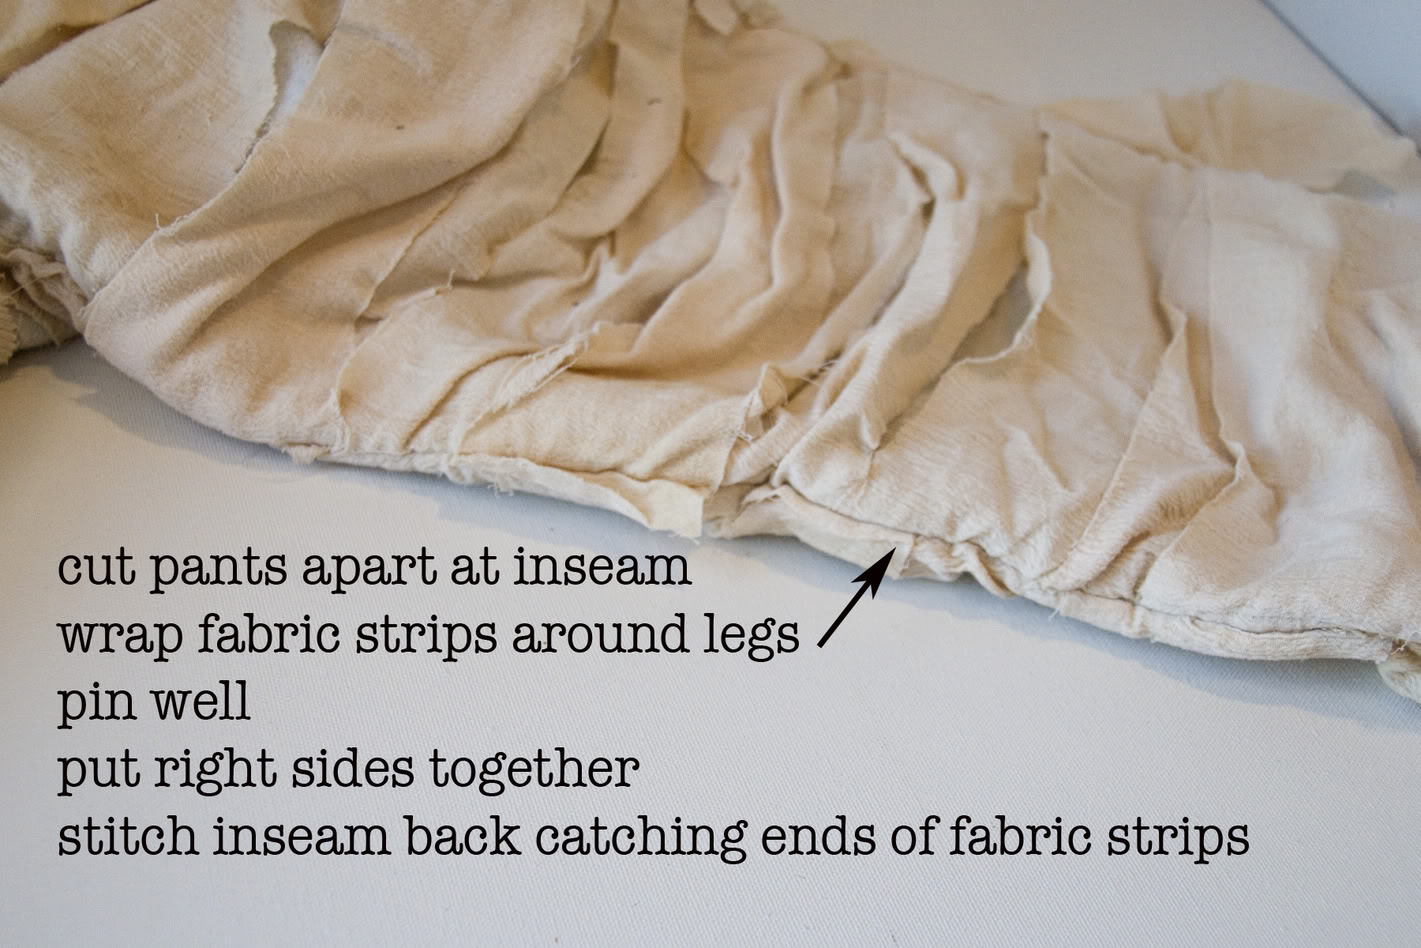
After all of the strips are laid out on the pants- sew the inseam closed- you’ll have right sides (in this case the right side is the side with the strips on it) together- This will catch the ends of the strips into the seam. That’s it for the pants.
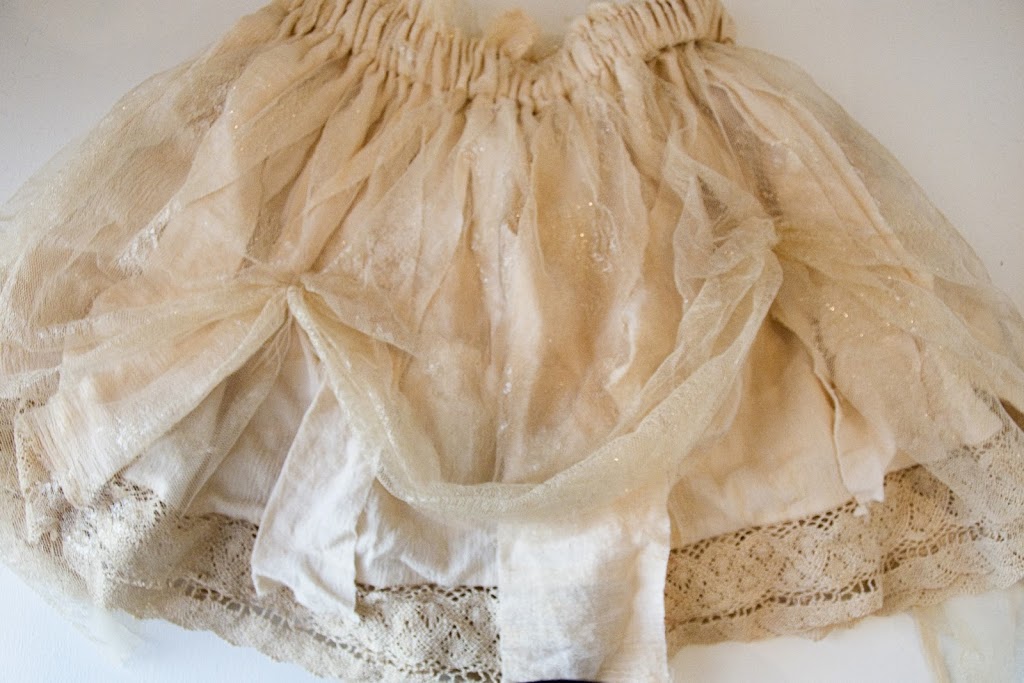
Okay for the skirt- you’ll need a basic skirt tutorial to start- you can use this one of mine- just eliminate the waistband.
You will have 3 layers to your skirt.
The top (layer 1) will be Tulle
Layer 2 will be strips of fabric and
Layer 3 will be the skirt (made from the same fabric that you cut the strips out of)

Just make your skirt “sandwich” and stitch all the layers together, fold over the top about 1″ and make a casing then insert elastic cut to the right size. I hand stitched some “pickups” into the tulle skirt- just so you could see the underneath.
A few other things: For the head pieces, I just used extra strips of fabric and tied them in my daughters hair. I used some scrapbook spray ink on the entire costume when it was done to “age” it a bit more. My daughter wore cream leg warmers and tights under her costume.
That’s it & Happy Sewing!
This is such a FUN tutorial for a Costume! What an awesome mummy idea! This would be great for a zombie one too! 🙂
Melissa, these are amazing! I really love the lace and tulle on the girl version…thanks so much for being a guest!!
my dd already wanted to be a mummy, so this tut was perfect for me–only now she wants to by a Mummy Princess LOL! Oh well, at least I convinced her brother to be a mummy as well as I thought your kiddos looked so cute together and I already bought 3 yrs of muslin
Just stopping by to let you know that I have featured your project on Fun Family Crafts today! You can see it here
http://funfamilycrafts.com/mummy-costumes/
If you have other kid friendly crafts, I’d love it if you would submit them 🙂 If you would like to display a featured button on your site, you can grab one from the right side bar of your post above.
These are great!Thx so much fior the the tute, have just been out to get some off white tulle and crepe bandages!
It’s getting close to Halloween Season and I still have no idea what I want to dress up to my younger brother as I’ve been looking at a bunch of different Halloween Costumes. Thanks for sharing this one. I’ve got an idea what I want to dressed up for my younger brother.
Thank you! My daughter wanted a Monster High type mummy costume and this fit the bill. The skirt is so cute, it completely sold her on it!
adorbs!!!!!