Hi Ucreate friends! I’m Kate from see kate sew.

I blog about making clothes, sewing toys and lots more! I fill my creative void by surrounding myself with zippers, spools of thread and stacks of fabric! I’m so happy to be here, thanks for inviting me Kari!
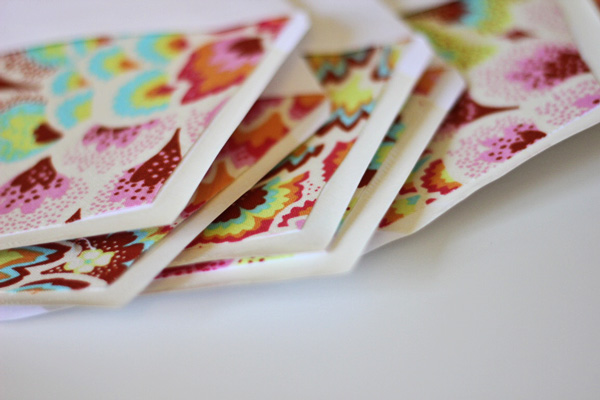
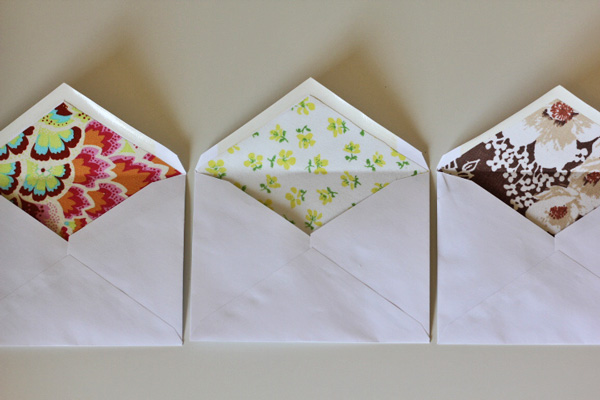
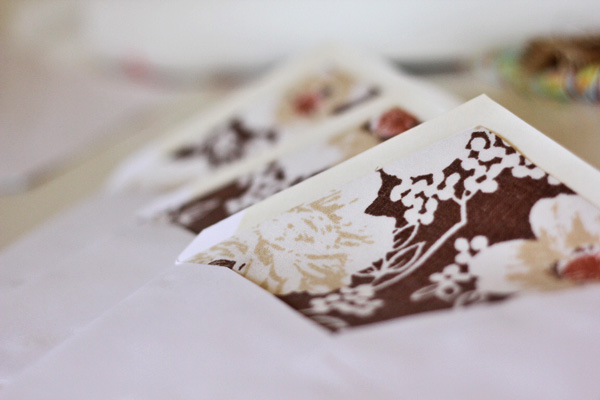
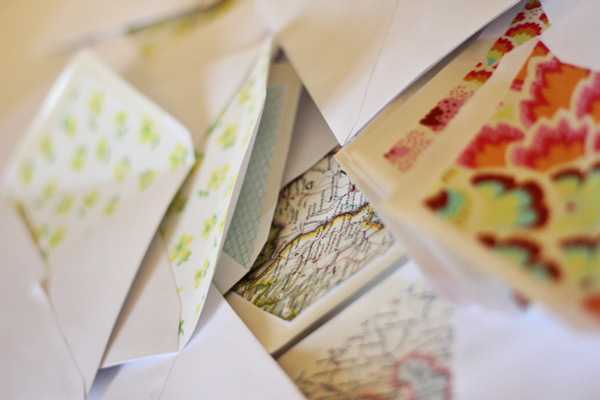
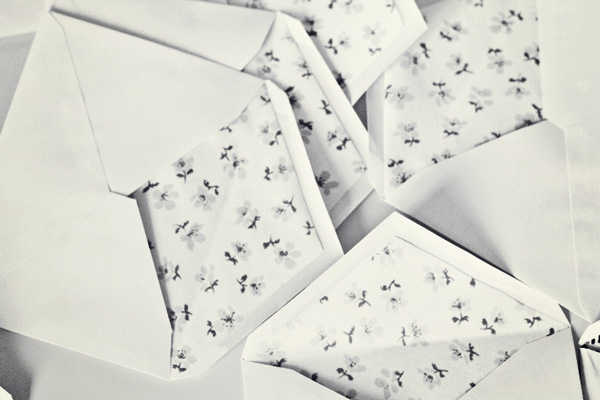
I have a big scrap pile and I wanted to use up at least a little of it. So today I’m showing you how I used fabric scraps to line standard invitation envelopes. A plain boring envelope is suddenly exciting! After I was finished, I thought it would be fun to use some of my paper stash also!
I’m thinking I will line my Christmas card envelopes this year for a little pop of fun. Maybe a green damask print? How cute would they be for writing letters to friends, birth announcements or party invitations! I think I might be more likely to write letters with a fun envelope to send it in!
Let’s get started!
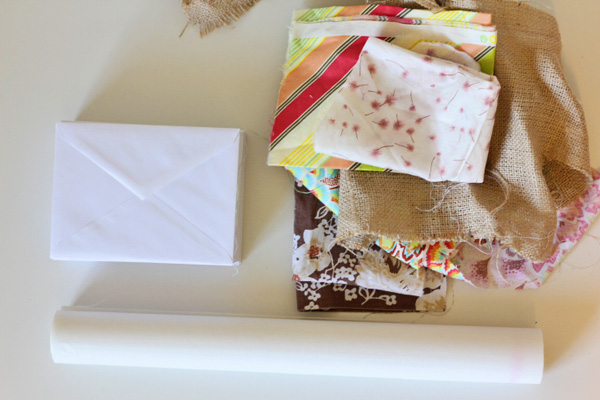
Materials:
invitation envelopes,
4 3/4″ by 6 1/2″ fabric or paper
heat n’ bond adhesive paper (fabric version)
glue stick (paper version)
printable template
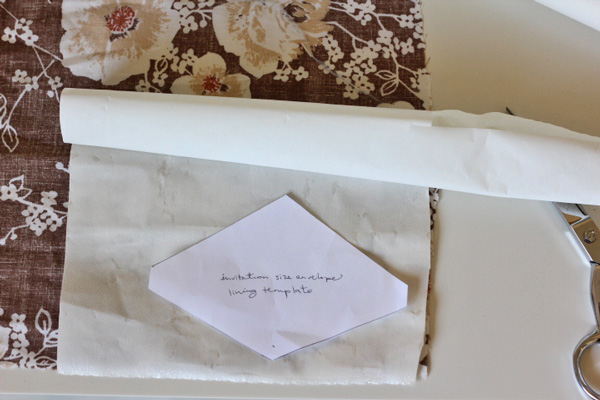
fabric version: First, print off your template and cut it out. Cut out a piece of heat n’ bond and a piece of fabric big enough for the template.
Now iron the glue side of you heat n’ bond to the back of your fabric.
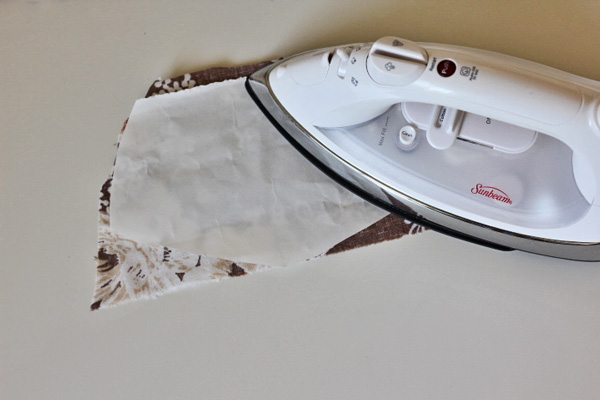
Let it cool and peel off the white backing.

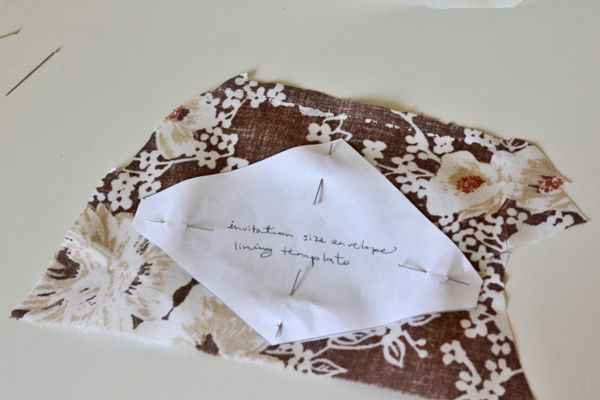
Pin your template to your fabric and cut it out!
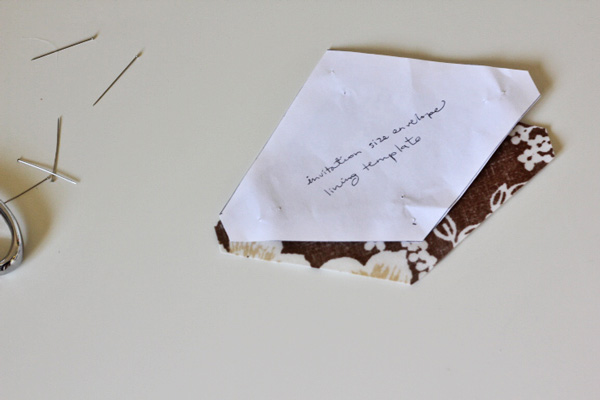
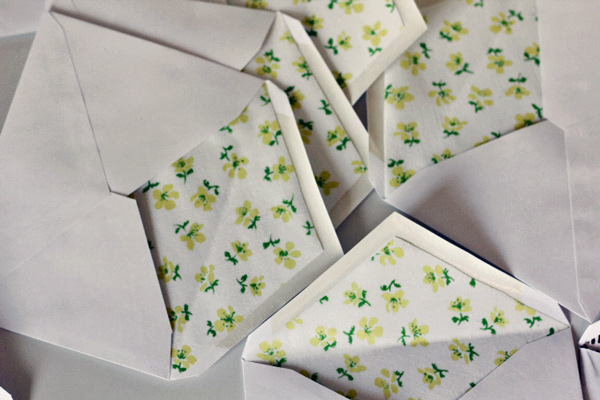
Slip your fabric into the envelope with the heat n’ bond side down. Line it up with the glue on the edges of the envelope. This template will leave room for the glue so you can still close the envelope.
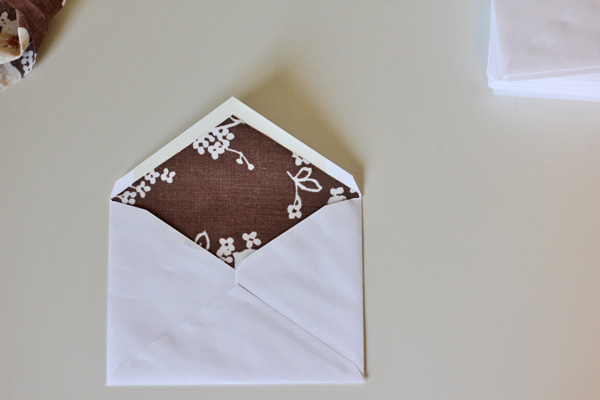
Use your iron again to adhere the fabric to the inside of the envelope. Make sure not to iron over the envelope’s glue, it might melt!

If you want it to be easier to close, crease your envelope while it is still warm.
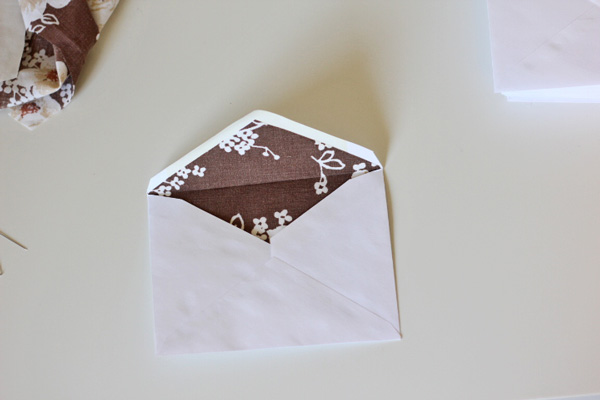
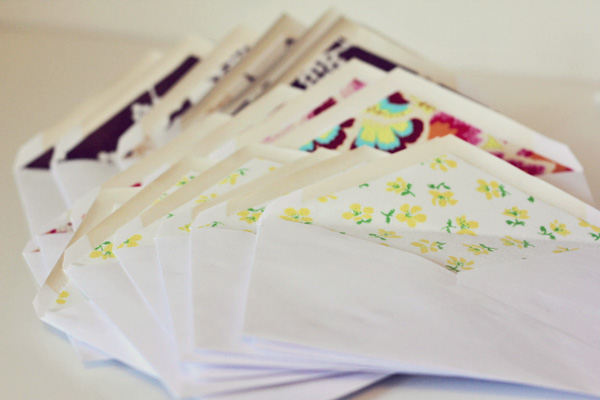
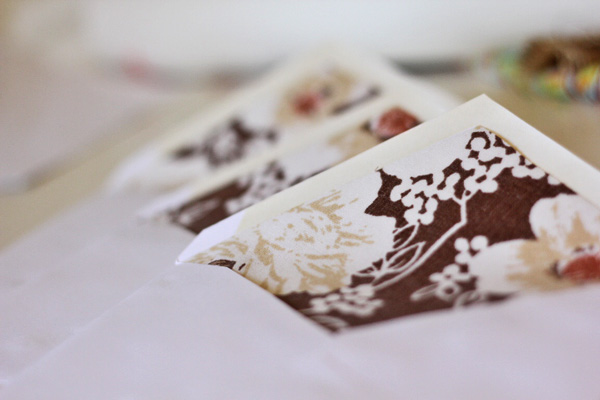
And you’re done!
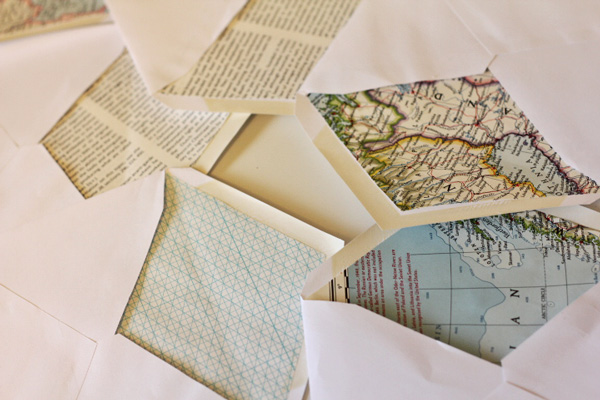
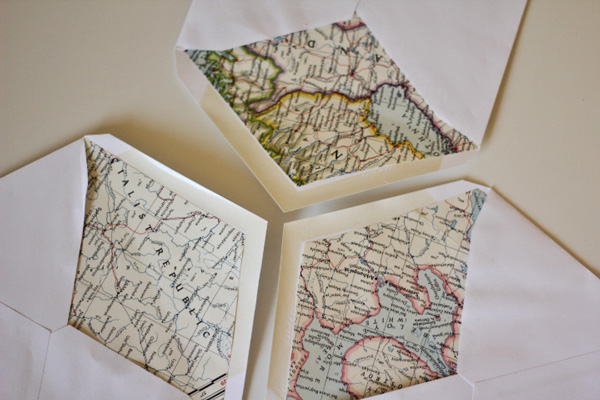
paper version: For the paper version, skip the heat n’ bond and just use a glue stick! Try it with old maps, graph paper or book pages!
That’s it! You’re done!
What will you use them for? If you want to get extra crafty you can make your own envelopes, too! Check out my envelopes tutorial and template.
Thanks for having me Kari!!
Be sure to check out my blog for more fabric and paper ideas!


Those are seriously the cutest ever. I love them! AND her blog.
Oh, I love these! I really might write more letters….
So cute and quick and easy is always good.
What a really, really nice idea!! Great way to use up fabric scraps!
Jo-Anna
love these so much! great way to use up scraps in and EASY way. 🙂 love that.
Well now….this is a cute idea. A nice quick project.
Such a fabulous idea! Love!
Such a cute idea to use fabric!!!
I bet it is hard for them to open and that is part of the fun!
I love this! I was toying around with the idea of using liners to dress up my wedding invitations and think this is perfect for what I need! Thanks!
I have a bunch of card envelopes from my fiance’s old job and we were brainstorming ways to spice them us so we could use them for our Save The Dates. I love the pictures on this post! I have thought about lining them and was definitely leaning towards paper, but the fabric ones are great. I think you’ve helped me make up my mind 🙂