U Create

It's a good day to create!

  • pinterest
  • facebook
  • instagram
  • twitter
  • rss
  • crafts
    • crochet/knit
    • jewelry
    • kids crafts
    • paper crafts
    • sewing
      • bags
      • boys-clothing
      • girls-clothing
      • women-clothing
      • pillows
      • quilts
  • home decor
    • bathroom
    • build it
    • frames
    • kids
    • kitchen
    • office
  • recipes
    • desserts
    • dinner
    • snacks
    • soups
  • parties
    • baby shower
    • birthday
    • games
    • gift wrapping
    • party decor
    • party favors
  • printables
  • holidays
    • Christmas
    • Easter
    • Father’s Day
    • Halloween
    • July 4th
    • Mother’s Day
    • New Years
    • St. Patrick’s Day
    • Thanksgiving
    • Valentine’s Day
  • gifts
    • baby
    • electronics
    • graduation
    • teacher gifts
  • About
  • Be My Guest
  • Advertise
  • Contact
  • pinterest
  • facebook
  • instagram
  • twitter
  • rss

28 Oct

Halloween I Spy Bag Tutorial


My kids love these I SPY activities!  I have made them for a couple of holidays.  There favorite is the Christmas ornament one I made for Christmas.  Recently we were walking through the craft store and my kids spotted some Halloween buttons.  They asked if I could make them “I SPY bags” for Halloween.  Well, I love EVERYTHING Halloween and I couldn’t resist those cute kids of mine. 
 

Supply List:
– Halloween Fabric (1 fat quarter)
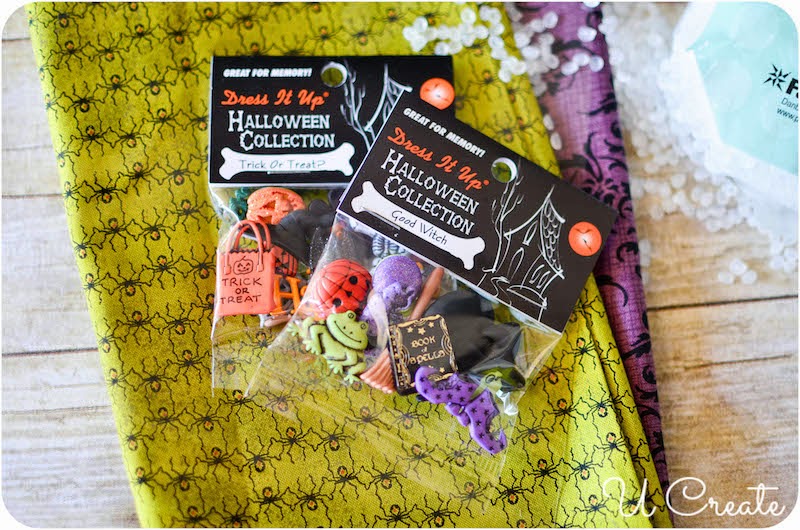
– a dozen or more awesome buttons
– 1 cup of Poly Pellets or bean bag filler (like this)
– 10″ squared clear vinyl “fabric” (like this)
– matching thread and other sewing essentials (machine, scissors, cutting mat)


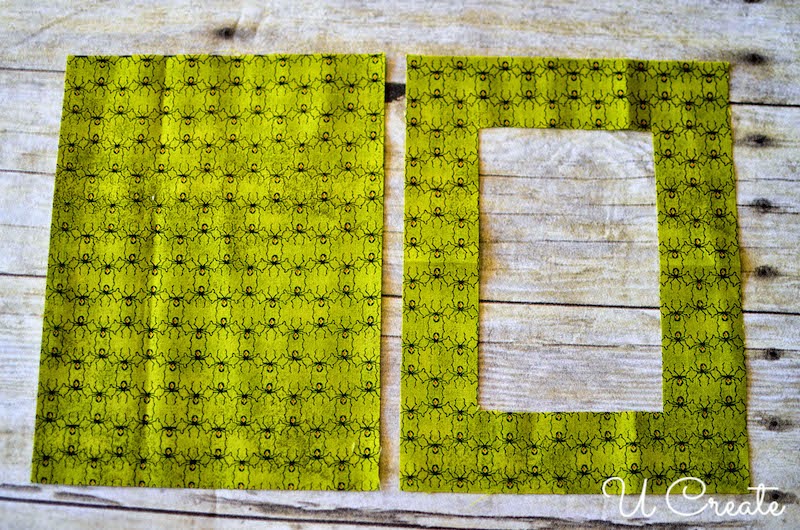
Step 1 – Cut your fabric.
Cut two 5×7 inch fabric pieces from your fat quarter.
From one piece of the Halloween fabric pieces, cut a 3.5″ x 4.5″ rectangle out of the middle. 
Cut one 4 x 5 inch rectangle of Clear Acrylic and a 3 x 4 inch piece.

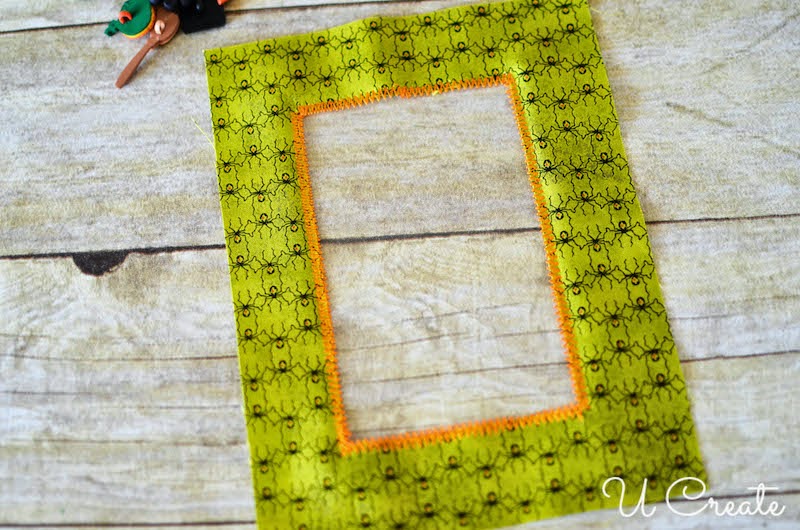
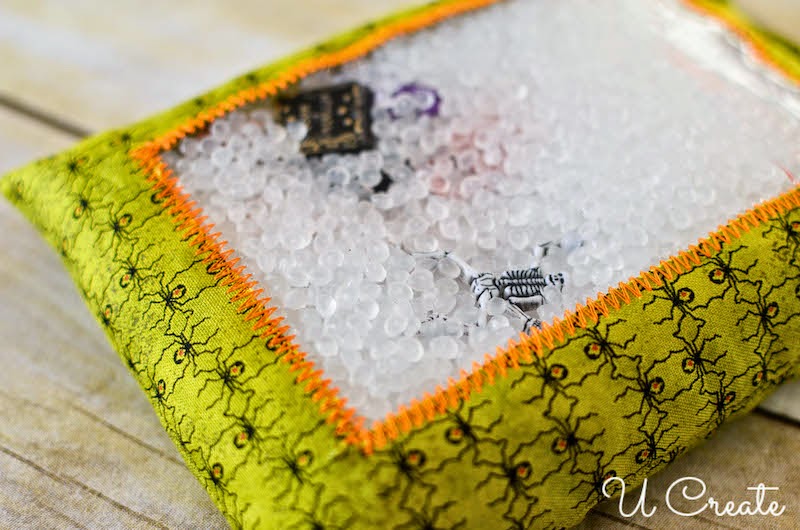
Step 2: Sew the larger acrylic piece into the rectangle of the Halloween fabric.  Use a zigzag stitch and sew over the entire border twice…you don’t want any of those pellet beads coming out.

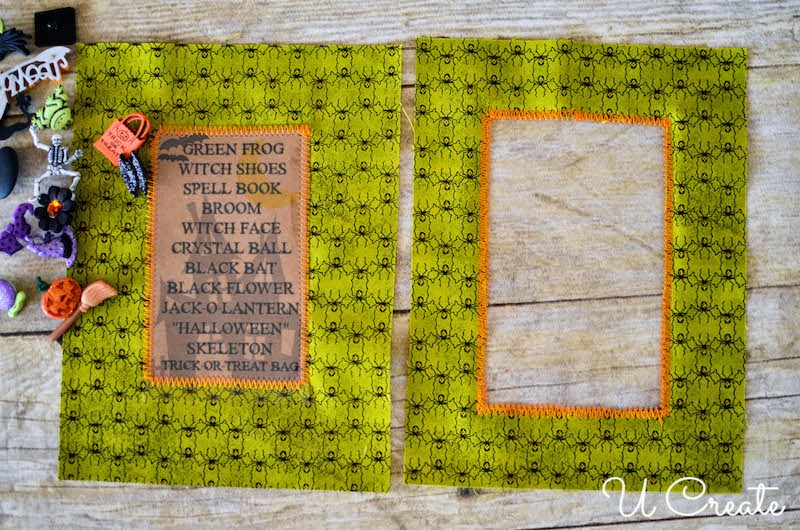
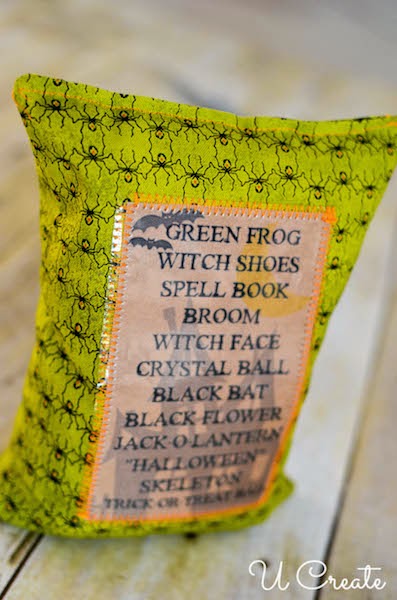
Step 3: Decide what buttons you want in the bag and make a list.  I made this list in picmonkey.com and printed it on Kraft colored paper.

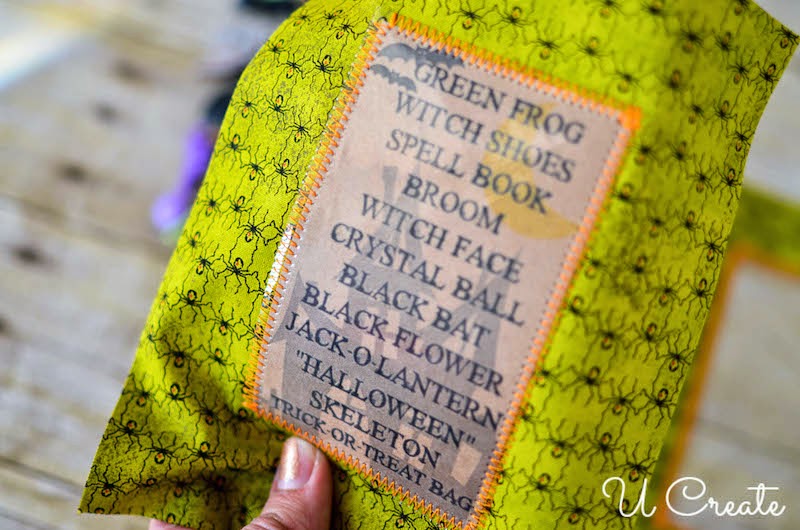
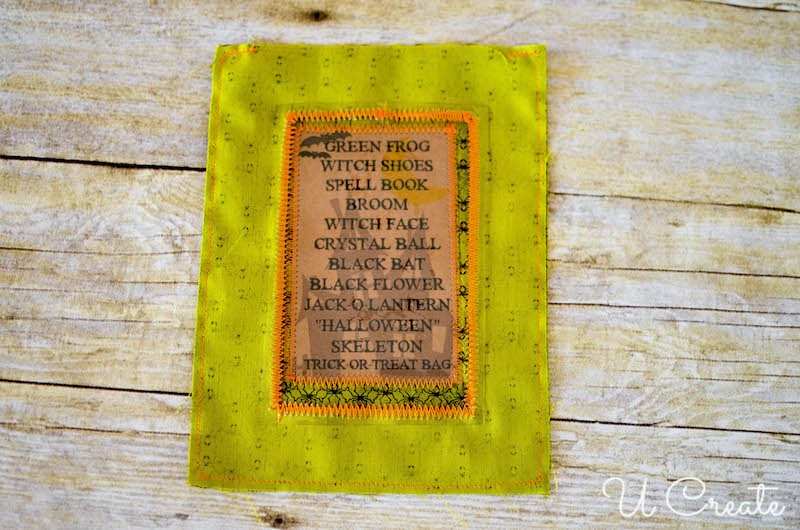
Step 4: Lay the printed list in the middle of the back fabric and sew the smaller piece of clear acrylic on top of it.  Again, use a zigzag stitch around it.

Step 5: Lay the two finished pieces right-sides-together and pin together.  Using 1/2 inch seam allowance, sew around three sides and leave the top piece open. Make sure to back stitch where you start and stop sewing.

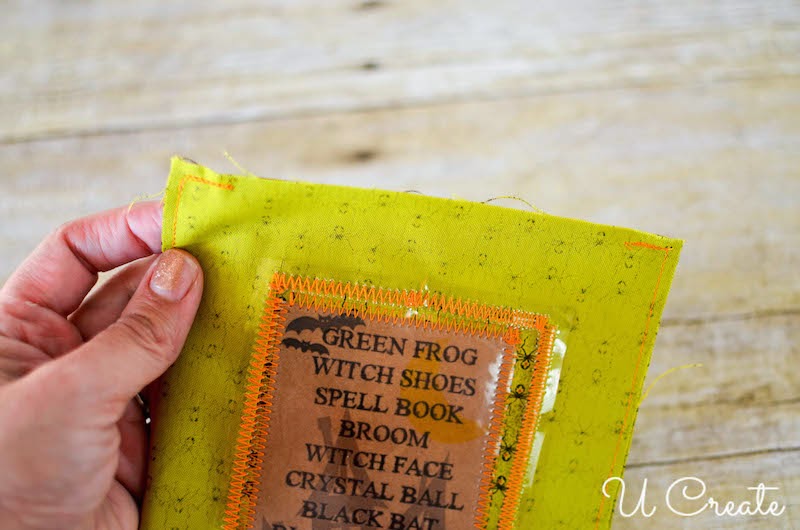
I start at one corner on top and sew all the way around, stopping at the other corner.

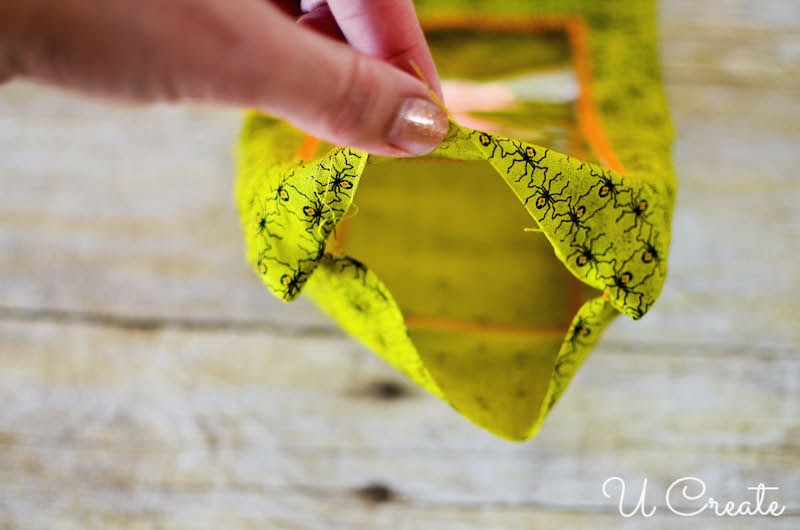
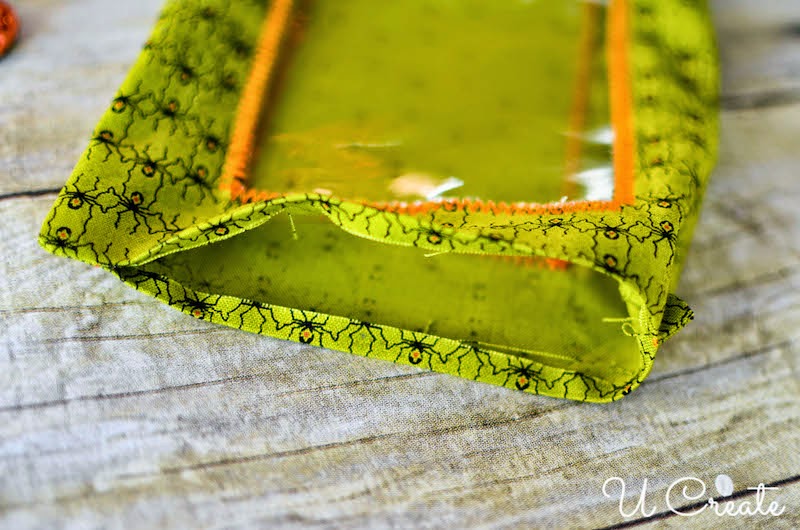
Step 6: Turn the top edges under 1/2″ and press with a hot iron…make sure to steer clear of the acrylic (it will melt).

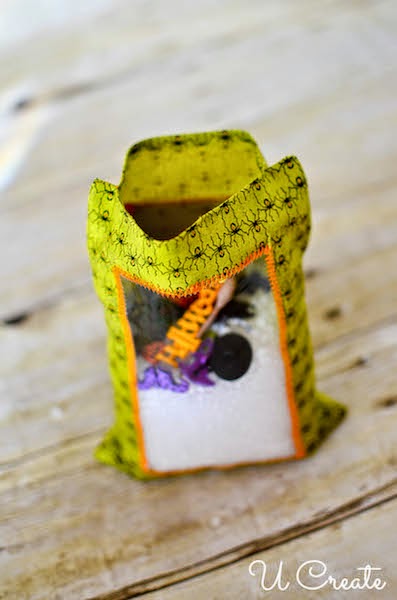
Step 7: Dump a cup of Poly Pellet inside the bag.  Add the buttons and close the top.  You can hand stitch the top or close it up with pins and sew it together.  I sewed the top because I am not a fan of hand stitching…I’m not to good at that. 

Give it to the little ones and watch it occupy them for quite some time.  
These I SPY bags make great gifts for the holidays. They are great quiet toys for church, other quiet events.

You may also like these

Thanksgiving Scattegories Free Printable Games - u-createcrafts.comThanksgiving Scattergories PrintablesHalloween Minute To Win It GamesHalloween Perler Bead Patterns for KidsHalloween Perler Bead PatternsFree Halloween Adult Coloring Pages at U CreateFree Halloween Adult Coloring PagesFaux Stitched Pumpkins with 4 free template designs!DIY Paint Stitched Pumpkins
Previous Post: How to Make Your Own Fabric Paint
Next Post: Peacock Christmas Tree – Michaels Dream Tree Challenge

Comments

  1. CREATIVE KHADIJA says

    October 28, 2014 at 9:08 AM

    So fun! thanks for the how-to & idea 🙂

    reply to this comment >

Leave a Comment Cancel reply

Your email address will not be published. Required fields are marked *

Popular Posts

DIY Quilt Block Coasters

DIY Quilt Block Coasters

DIY Mason Jar Vase

DIY Mother’s Day Mason Jars

All About Mother and Grandma Free Printable

Free Stitchable Bunny Pattern at U Create - great project for the kids!

Free Stitchable Easter Bunny

Easter Perler Bead Patterns for Kids - great for stitching patterns, too!

Free Easter Perler Bead Patterns

18 Ways to Decorate Easter Eggs

  • pinterest
  • facebook
  • instagram
  • twitter
  • rss
 
Privacy Policy
Back to Top

Copyright © 2022 U-Create • All Rights Reserved • Site Design by Emily White Designs