Hi! I’m Nike from Choose To THRIVE and I’m thrilled to be guest blogging on UCreate with Kids!
Why?
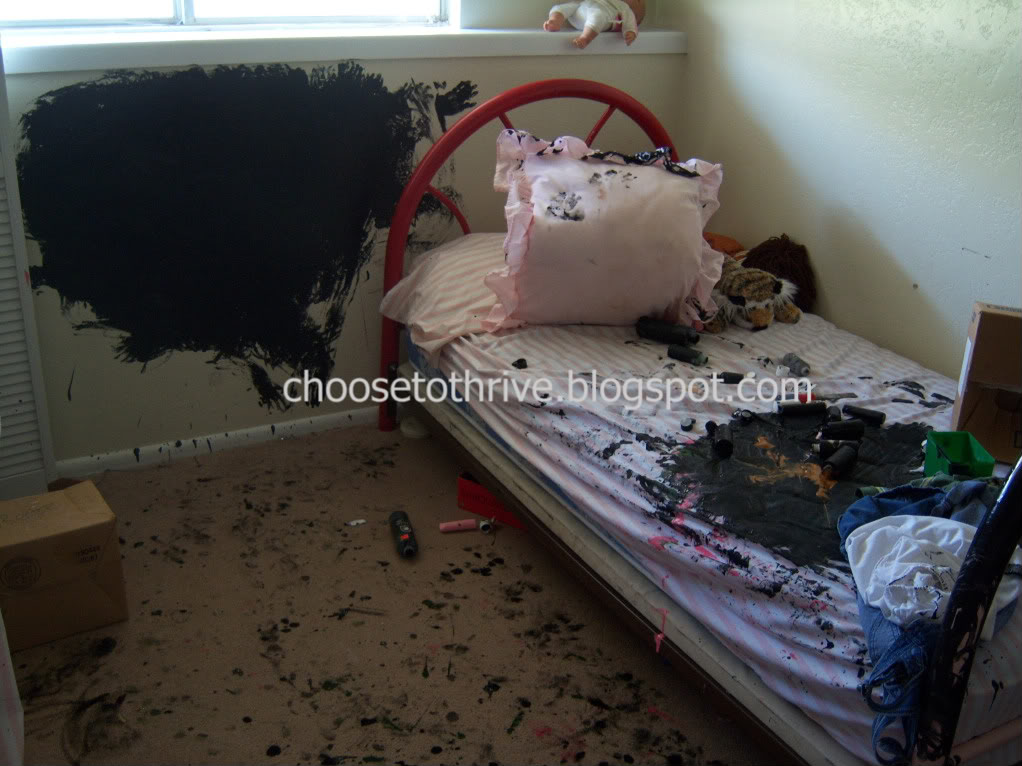
Because I’m a momma with six kids under age nine … and I love to craft … and so do they … and I’m all for great blogs where ridiculously talented women share fun ideas for us mommas to keep our kids busy so they won’t get bored and do this:
I’m also a Momma determined to thrive despite two layoffs, a crummy economy and our household budget being slashed by half. I started my blog as a way to share my self-imposed challenge to craft, sew and remodel our snazzy 1979 split level house using only what I have on hand: no money, no shopping, no problem. And so I trade, barter, get creative, get crazy and choose to thrive.
Hope you’ll stop by soon!
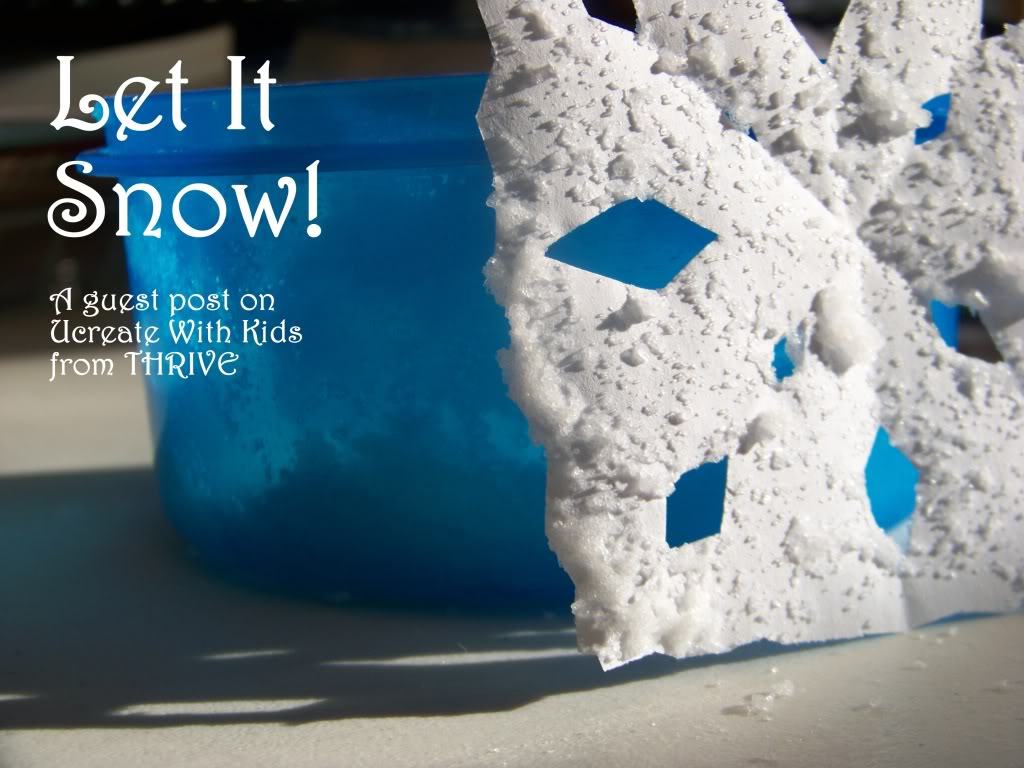
Today’s flat-out-free project?
An art class staple gets a wintery upgrade courtesy of two pantry staples.
Want to make your own?
For this project you’ll need:
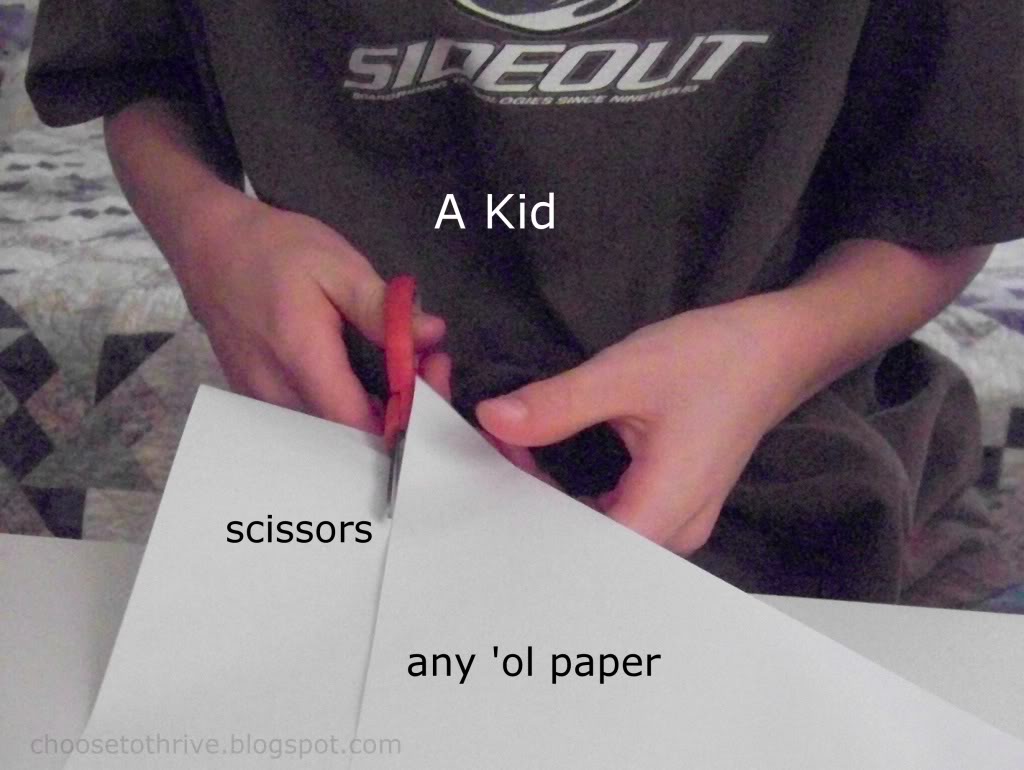
… and …
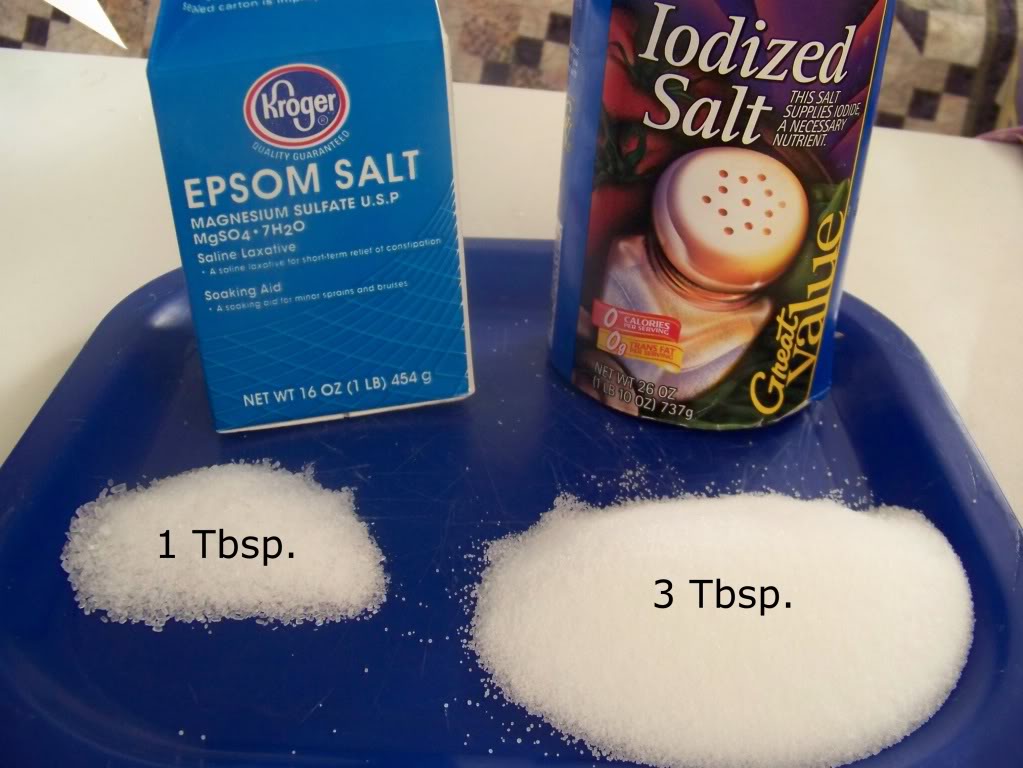
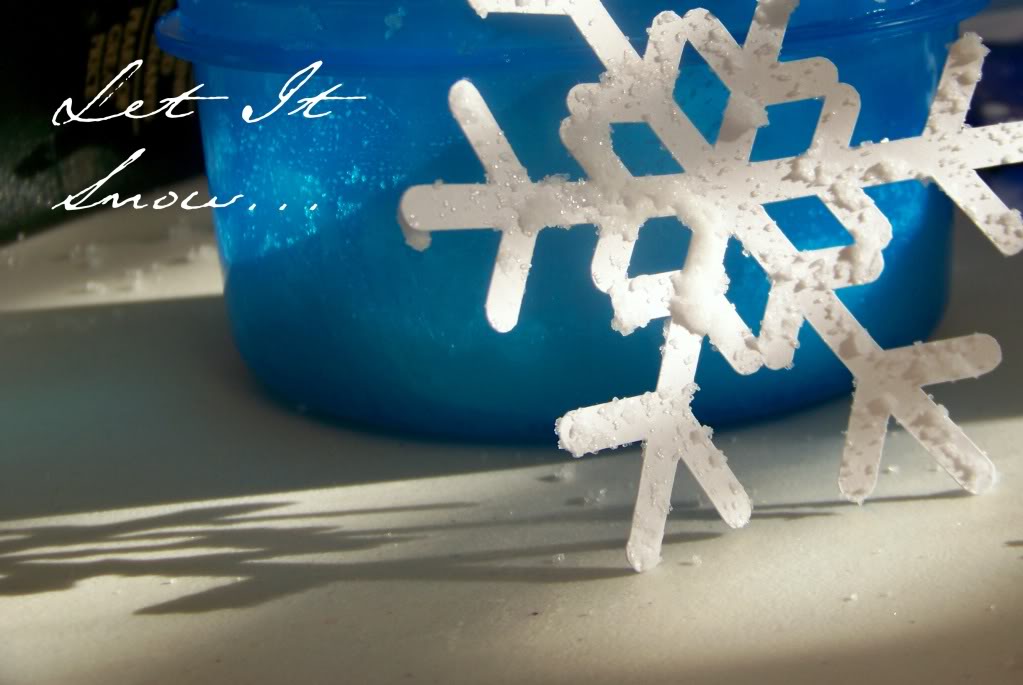
This homemade mix is the perfect combination of regular salt for sparkle and Epsom salt for “puff” and texture.
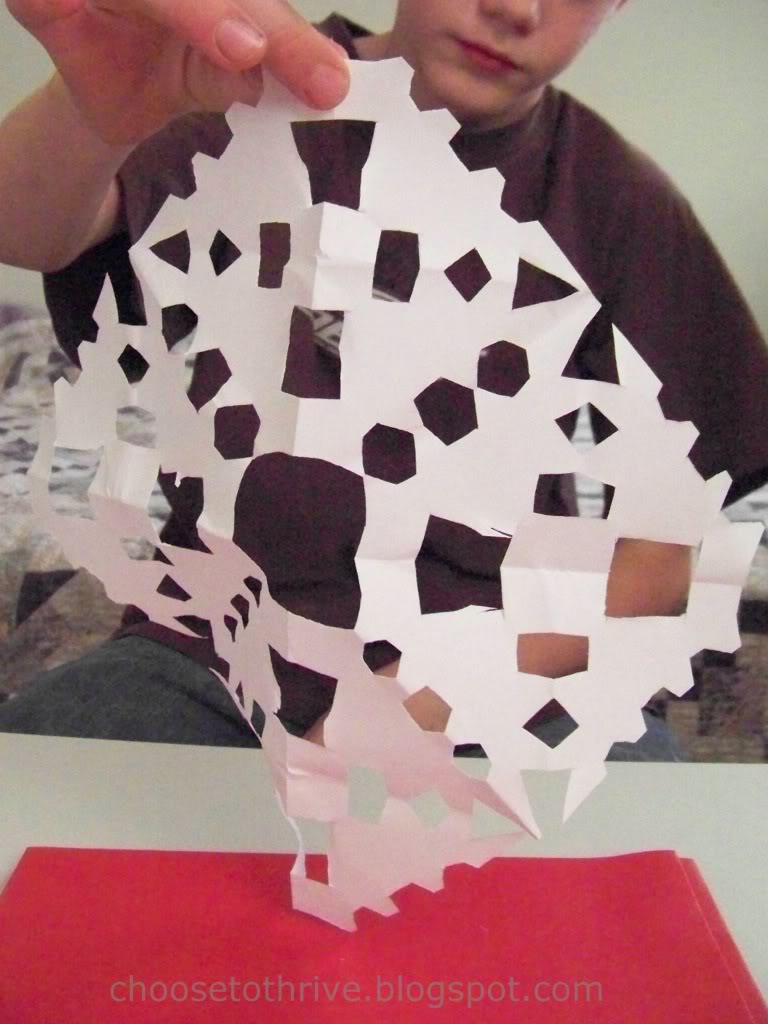
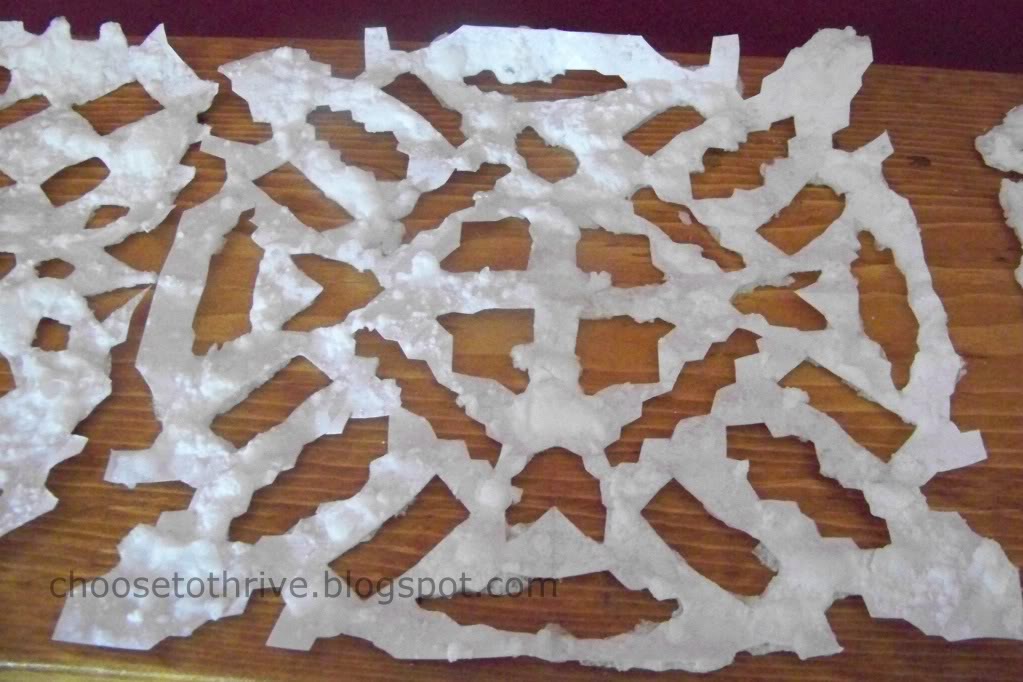
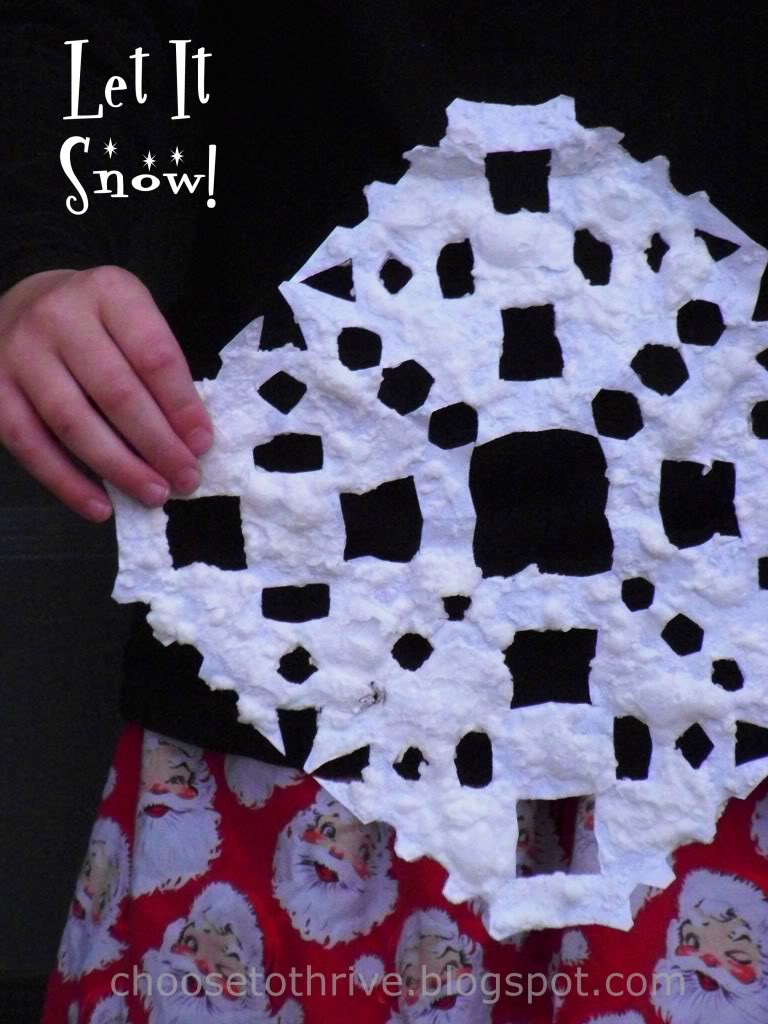
First step: Make Snowflakes!
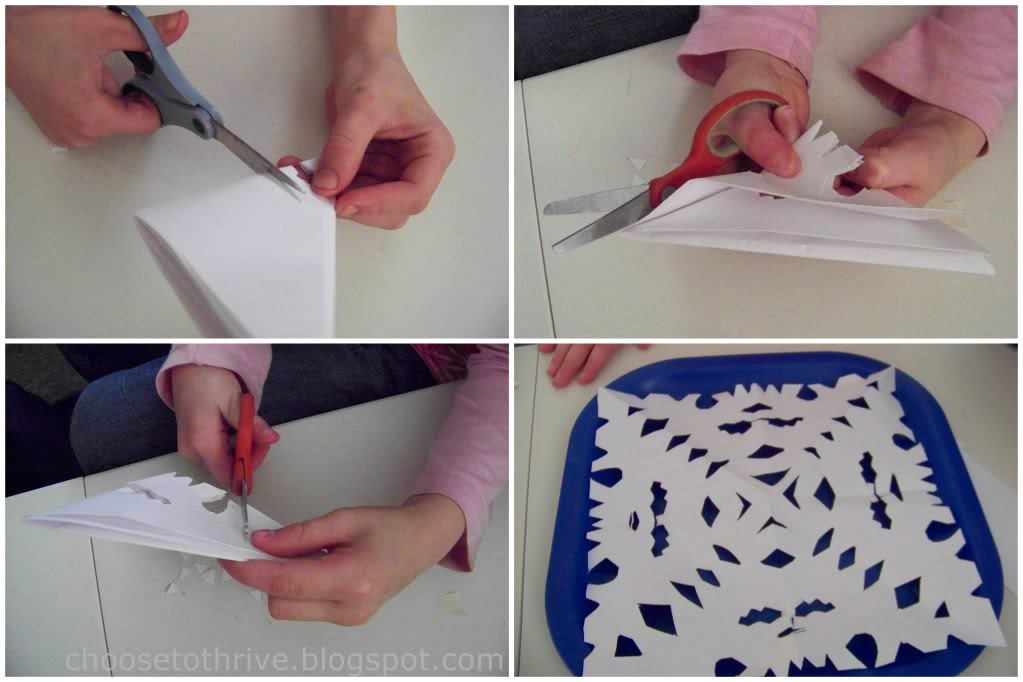
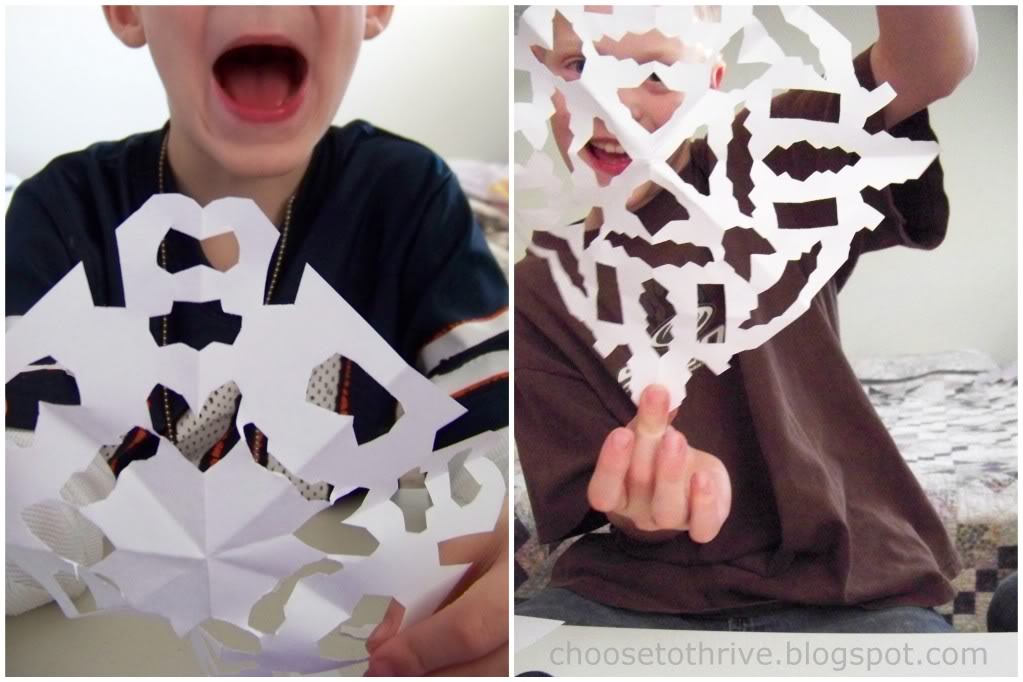
Quick, fun and simple. Guaranteed to get even the grumpiest kids into the holiday spirit in two seconds flat.
Step Two: Decorate!
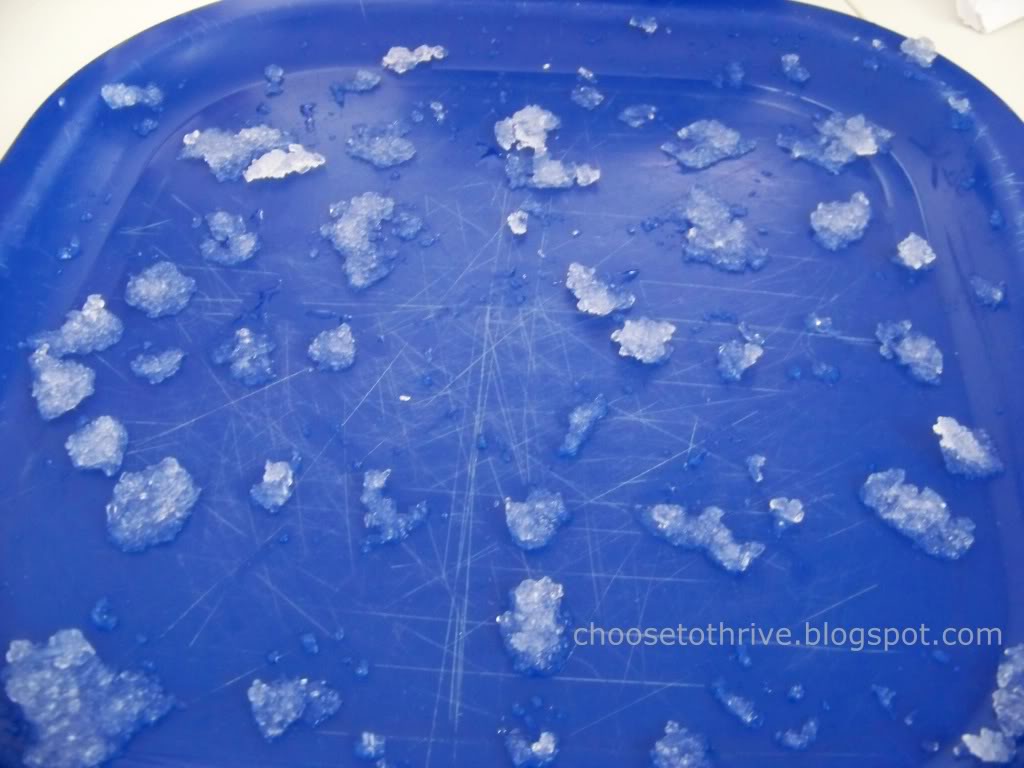
For the sparkle, mix Epsom and regular salts together with just enough hot water to make a thick, slightly damp paste like this:
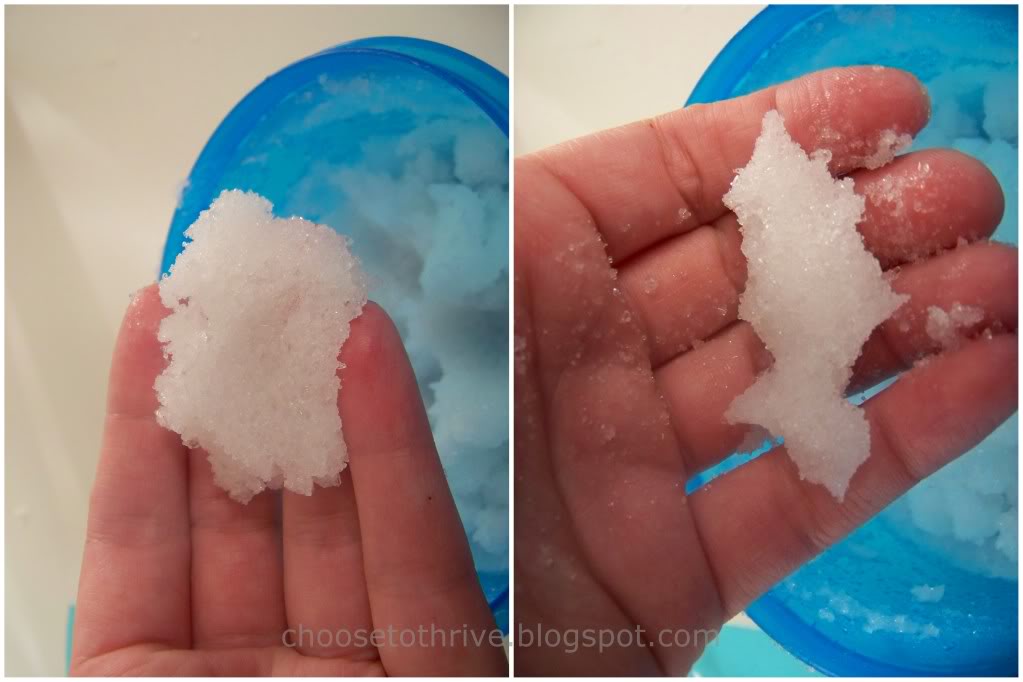
If the mix is too dry, it won’t spread well and stick to the paper. If it’s too wet, the snowflake will get soaked and take forever to dry.
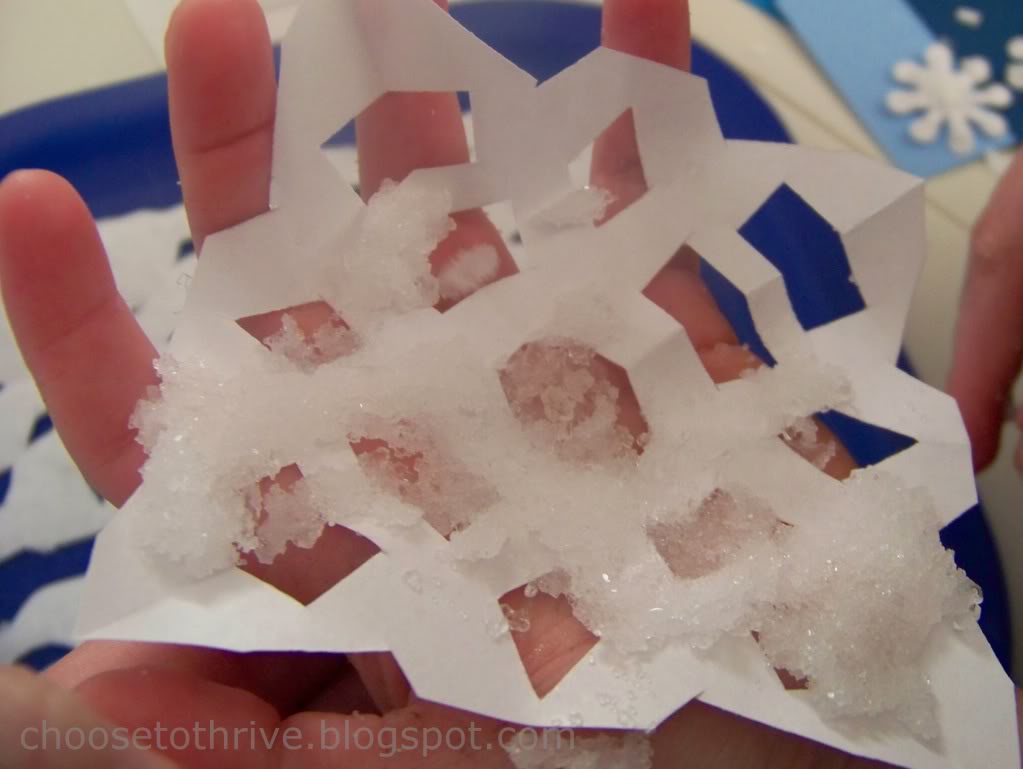
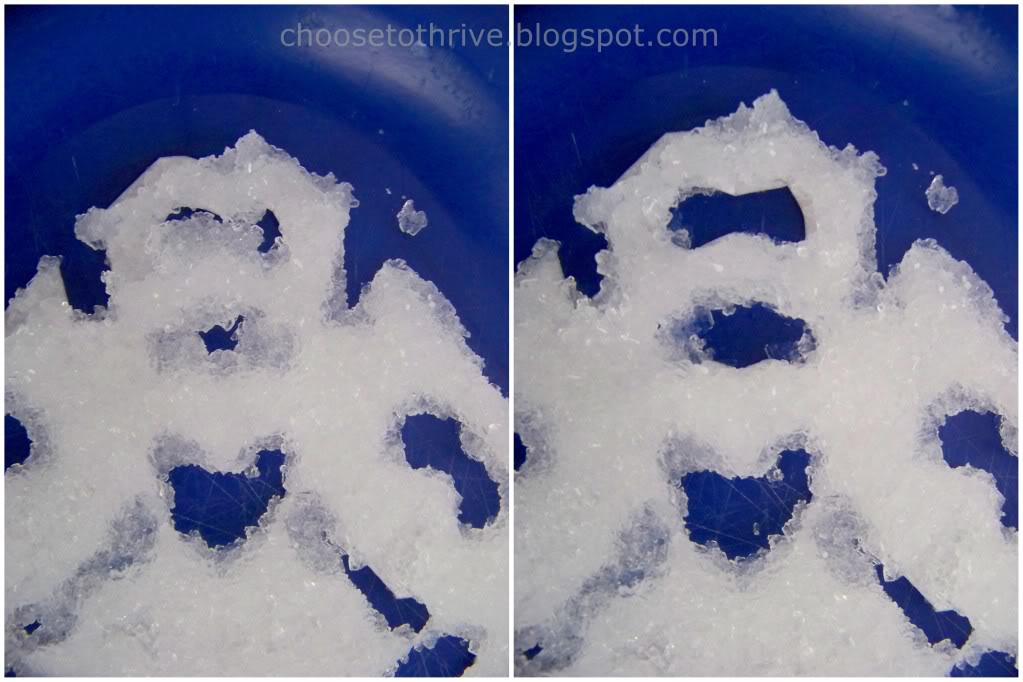
To coat the snowflakes, get your fingers in there and schmeer on a thin, even coat of the salt right in the palm of your hand …
… or on a plate for larger snowflakes …
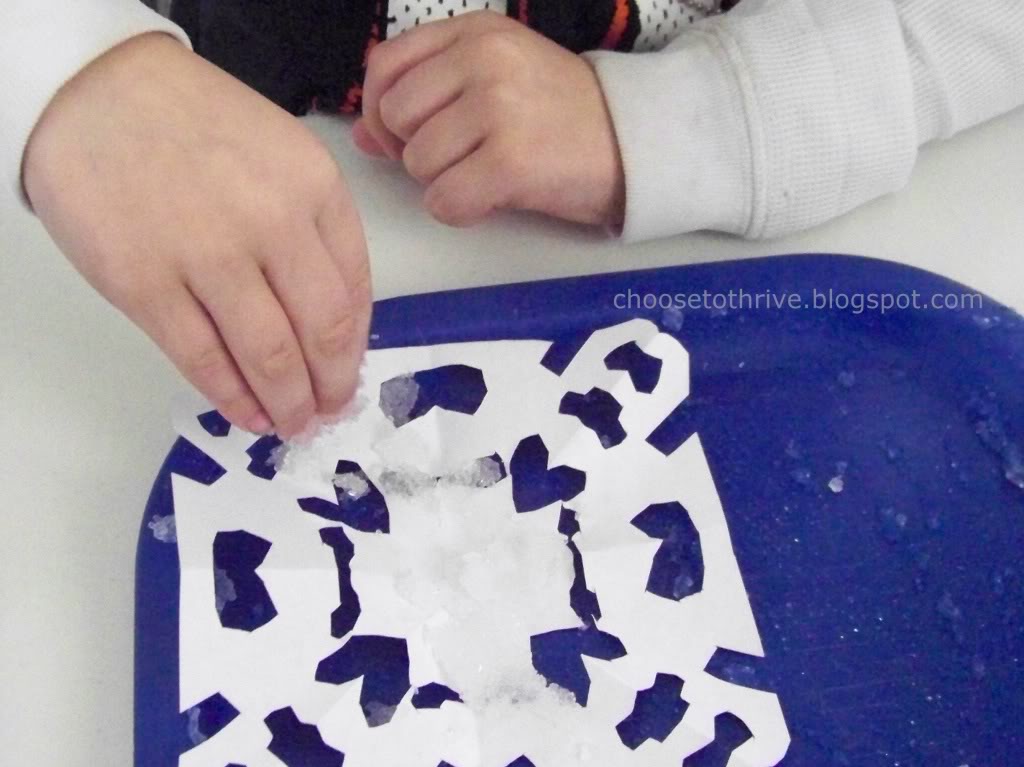
… gently removing any extra mix with a toothpick or paper clip so that those fun cut-outs are visible (or slightly more visible).
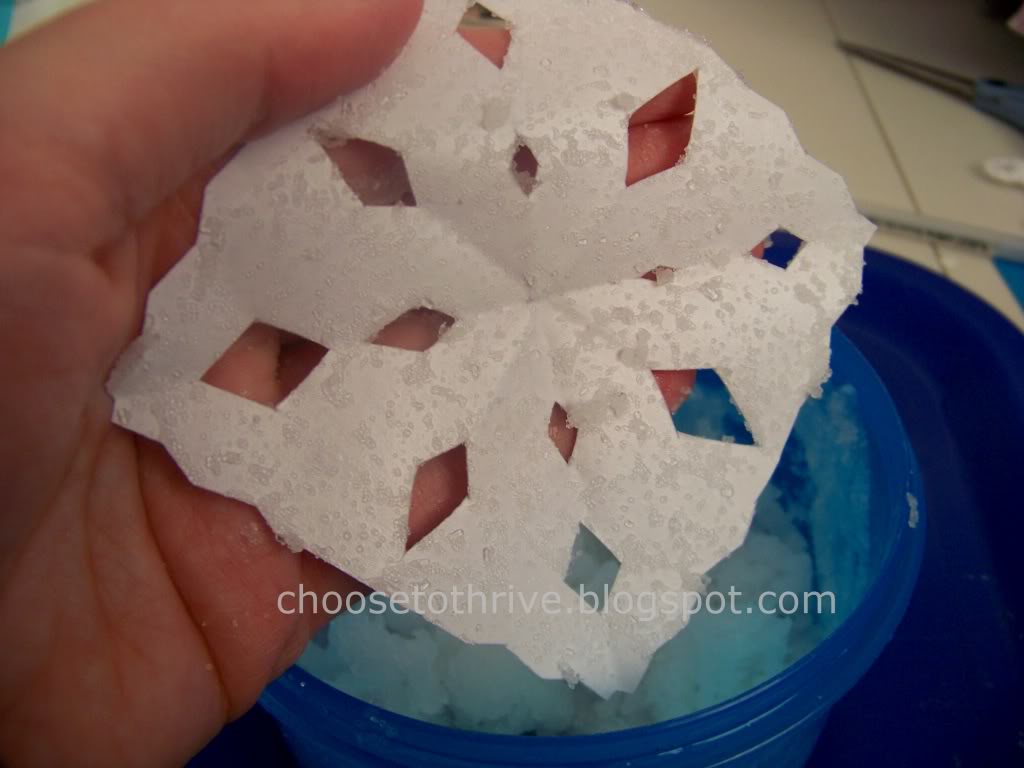
Step Three: Cook!
Carefully lay snowflakes on a dry plate and microwave for 20 seconds for small shapes and 45 –60 seconds for larger styles. Cook heavily coated snowflakes up to 1 1/2 minutes in 20 second bursts.
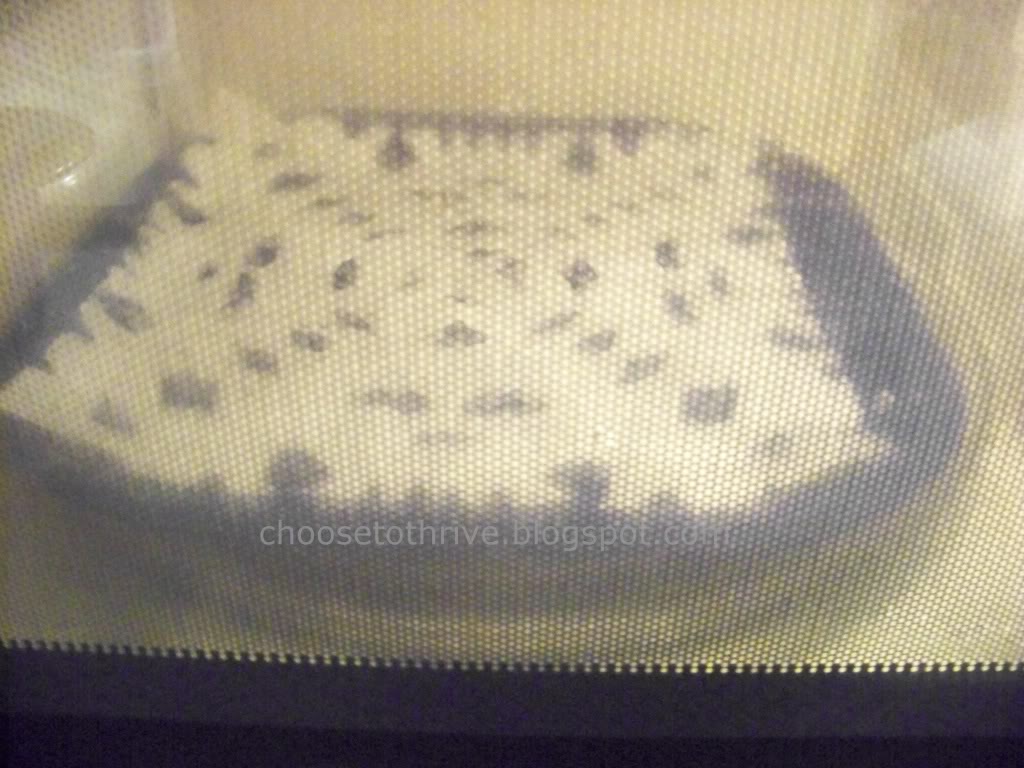
Remove from plate immediately and let dry on a flat surface for an hour before hanging or gluing on projects.
Then lather, rinse, repeat …
stopping as necessary for snacks, naps or groovin’ to Jingle Bell Rock instead of cleaning up. Ha!

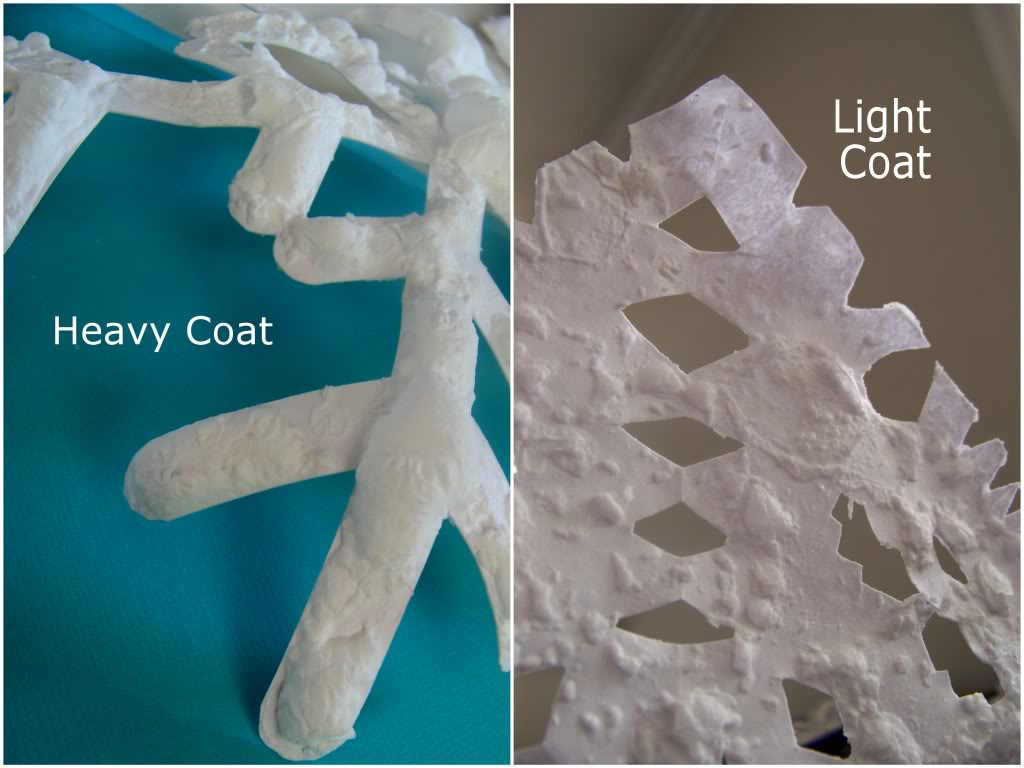
And just in case you have older boys like I do who think sparkle snowflakes are a bit too girly, you can change the look in a snap with a little tweak to the mix:
Epsom salt only + hot water = matte finish, puffy snowflakes
which are much, much cooler … apparently.
And a heavy vs. light coating of salt on the snowflake creates two completely different looks …
… perfect for trimming the Christmas tree or sharing on homemade cards …
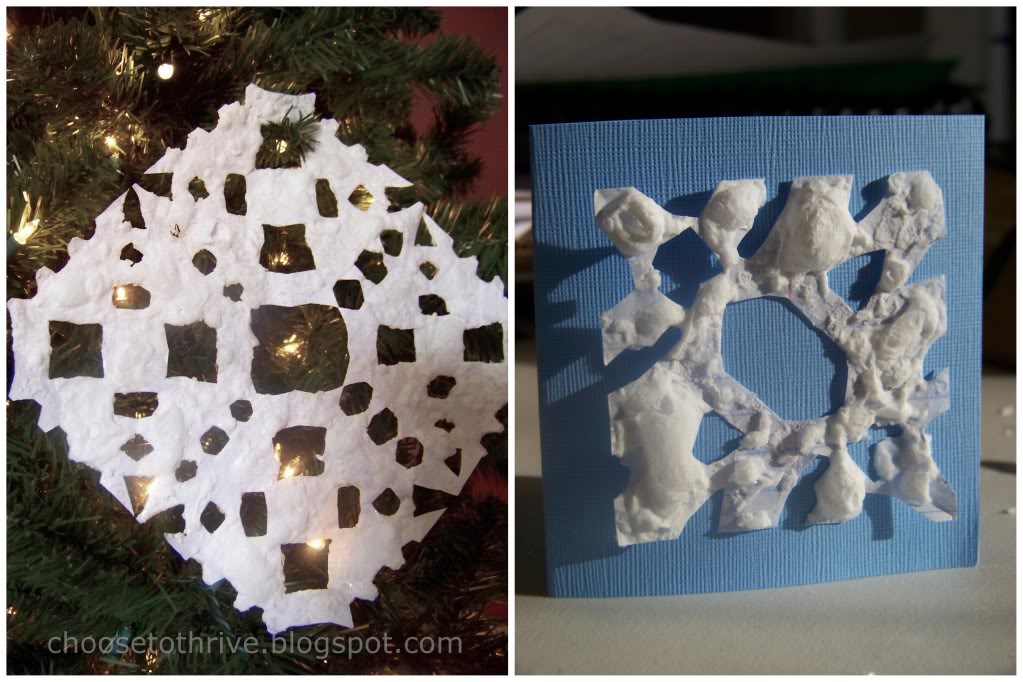
… or gift tags … or bulletin board art … or frig show-offs. You name it.
And one last thing:
Us mommas can rock this, too, with a little grown up flair, some mad cutting skills or maybe a little bit of cheating.
I love my Silhouette!
How cute would this look on a plate of cookies or cards for neighbor gifts?
Let the fun begin … and let it snow!
***************************************************
A few THRIVE tips to save you some headaches along the way:
1) Wipe salt crystals off the back of the snowflake before cooking or you’ll wind up with big, puffy crystals on the back, too–not a big deal if the snowflakes are being hung up, but a deal-breaker for gluing on cards and tags.
2) Smaller snowflakes were easier to coat, cook and display than the larger ones.
3) Yes, you can use a brush to apply the salt mix. However, it was much, much easier to use fingers. Both foam and bristle brushes were a bit awkward.
4) Don’t let the left-behind mix go to waste after transferring the coated snowflake to the microwave:
Just scoop up the remaining mix and add it back to the bowl for the next one.
***************************************************
Wishing you and your family a magical holiday season!


What a fabulous idea! We do a snowflake theme in our kitchen and this will be perfect for our windows. The girls will love doing these together! Thanks!
Just made these with my and my daycare kiddos (2 five year old boys, and 2 two year old girls). Fantastic! Salt was EVERYWHERE, mind you, but they turned out great!
Just letting you know I linked to this post in my Snowflake Unit Study http://www.zujava.com/snowflake-study
Such a fun thing to make with the kids in the winter!! Nike your creativity always amazes me!
Thank you…I have been looking for a way to make snow. I can’t wait to try it!!!