
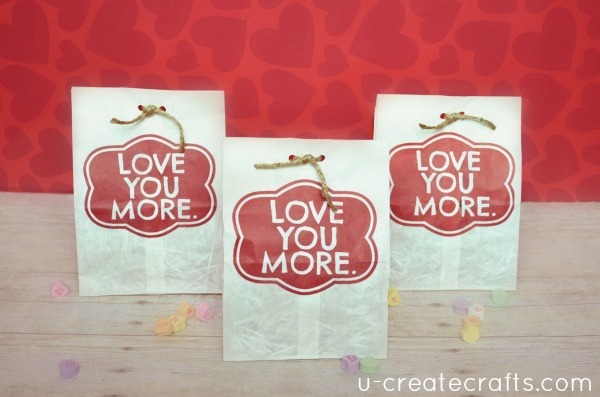
So, I totally taught myself how to print on a paper bag and I LOVE doing it. This is such a simple and quick way to create a fun personalized gift bag. I am using these for Valentine Gifts for me kids. I choose the saying “Love You More” because that is what I always say to them. You could create ones with your child’s name for their lunch. Make one for hubby, too…
Supplies:
White Lunch Bags
Computer/printer
Bag filler (I used Foil Shreddings)
Twine
Hole punch
Plenty of candy!

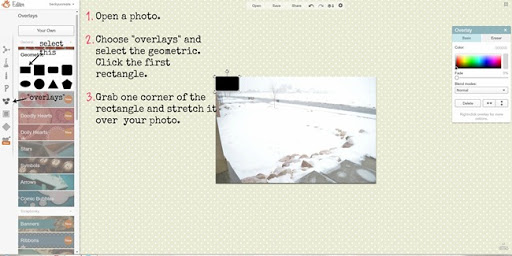
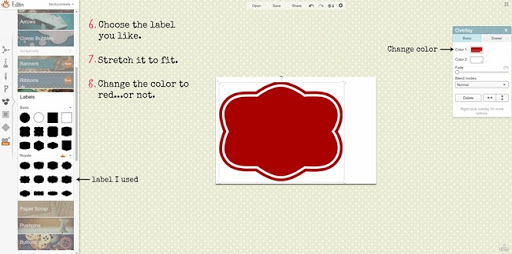
Instructions to use Picmonkey.com to create a label:


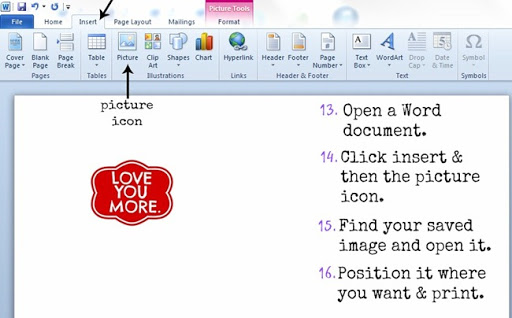
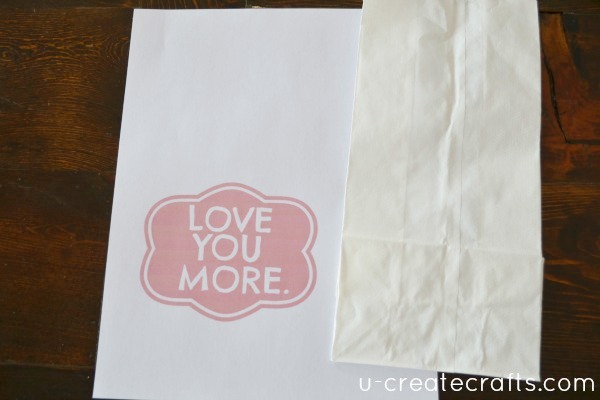
Print your label on a lunch sack:
Decide where you want the image. I moved the image around and printed a page or two until I liked where it ended up.
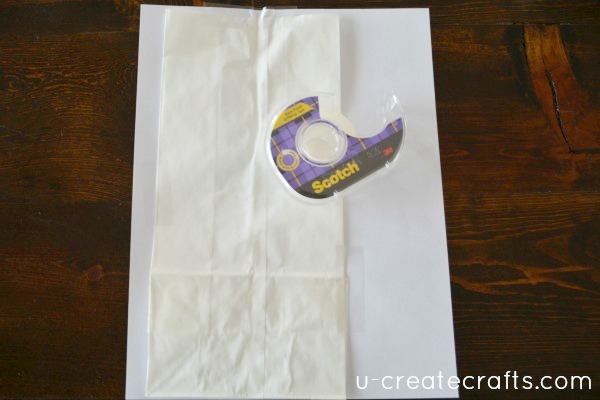
Once you are happy with the position, print a final time and tape the lunch bag where you want the label.
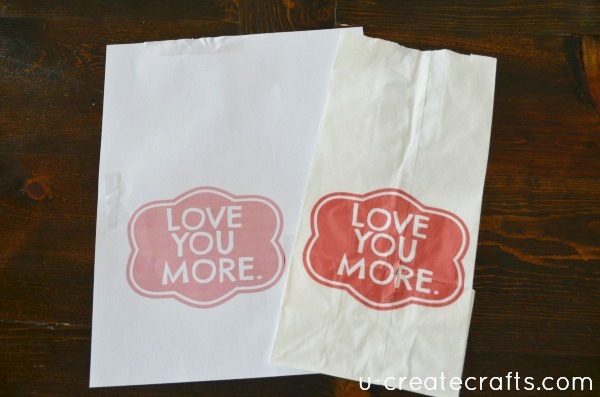
Change the print settings to the “best quality” and feed the paper (with the bag) into your printer. Carefully take the tape off and you have a perfectly printed bag.
 Fill the bags with treasures and fold the top down. Pop two holes in the top.
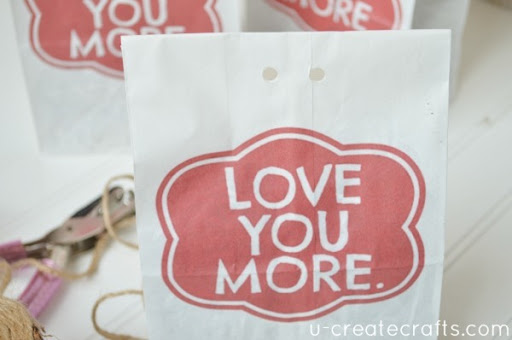
Tie some twine in a knot and you have a darling VALENTINE GIFT BAG!

I would love to see what creations you make with this technique of printing on a lunch sack. Send them my way: becky@u-createcrafts.com


Becky, I love these! Love how you can personalize gift bags any way you’d like with this technique.
I am glad you like it.
Great idea and lovely gift bags x
Thanks so much.
I love how you personalize your gift bags! Your printing technique is really nice… Thanks for sharing this lovely idea Becky!
Thanks, Beckie. It’s a fun way to make any gift personal.
I’ve wanted to try this type of thing but I’m worried it will jam up the printer. Do you ever have that problem? If your printer a laser jet? Do you think that matters?