Do you remember my Flea Market Challenge Post?
Well, today I’m thrilled to show you the final result of my jewelry armoire makeover using Valspar chalky finish paint!
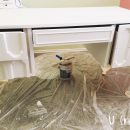
Here’s the BEFORE photo…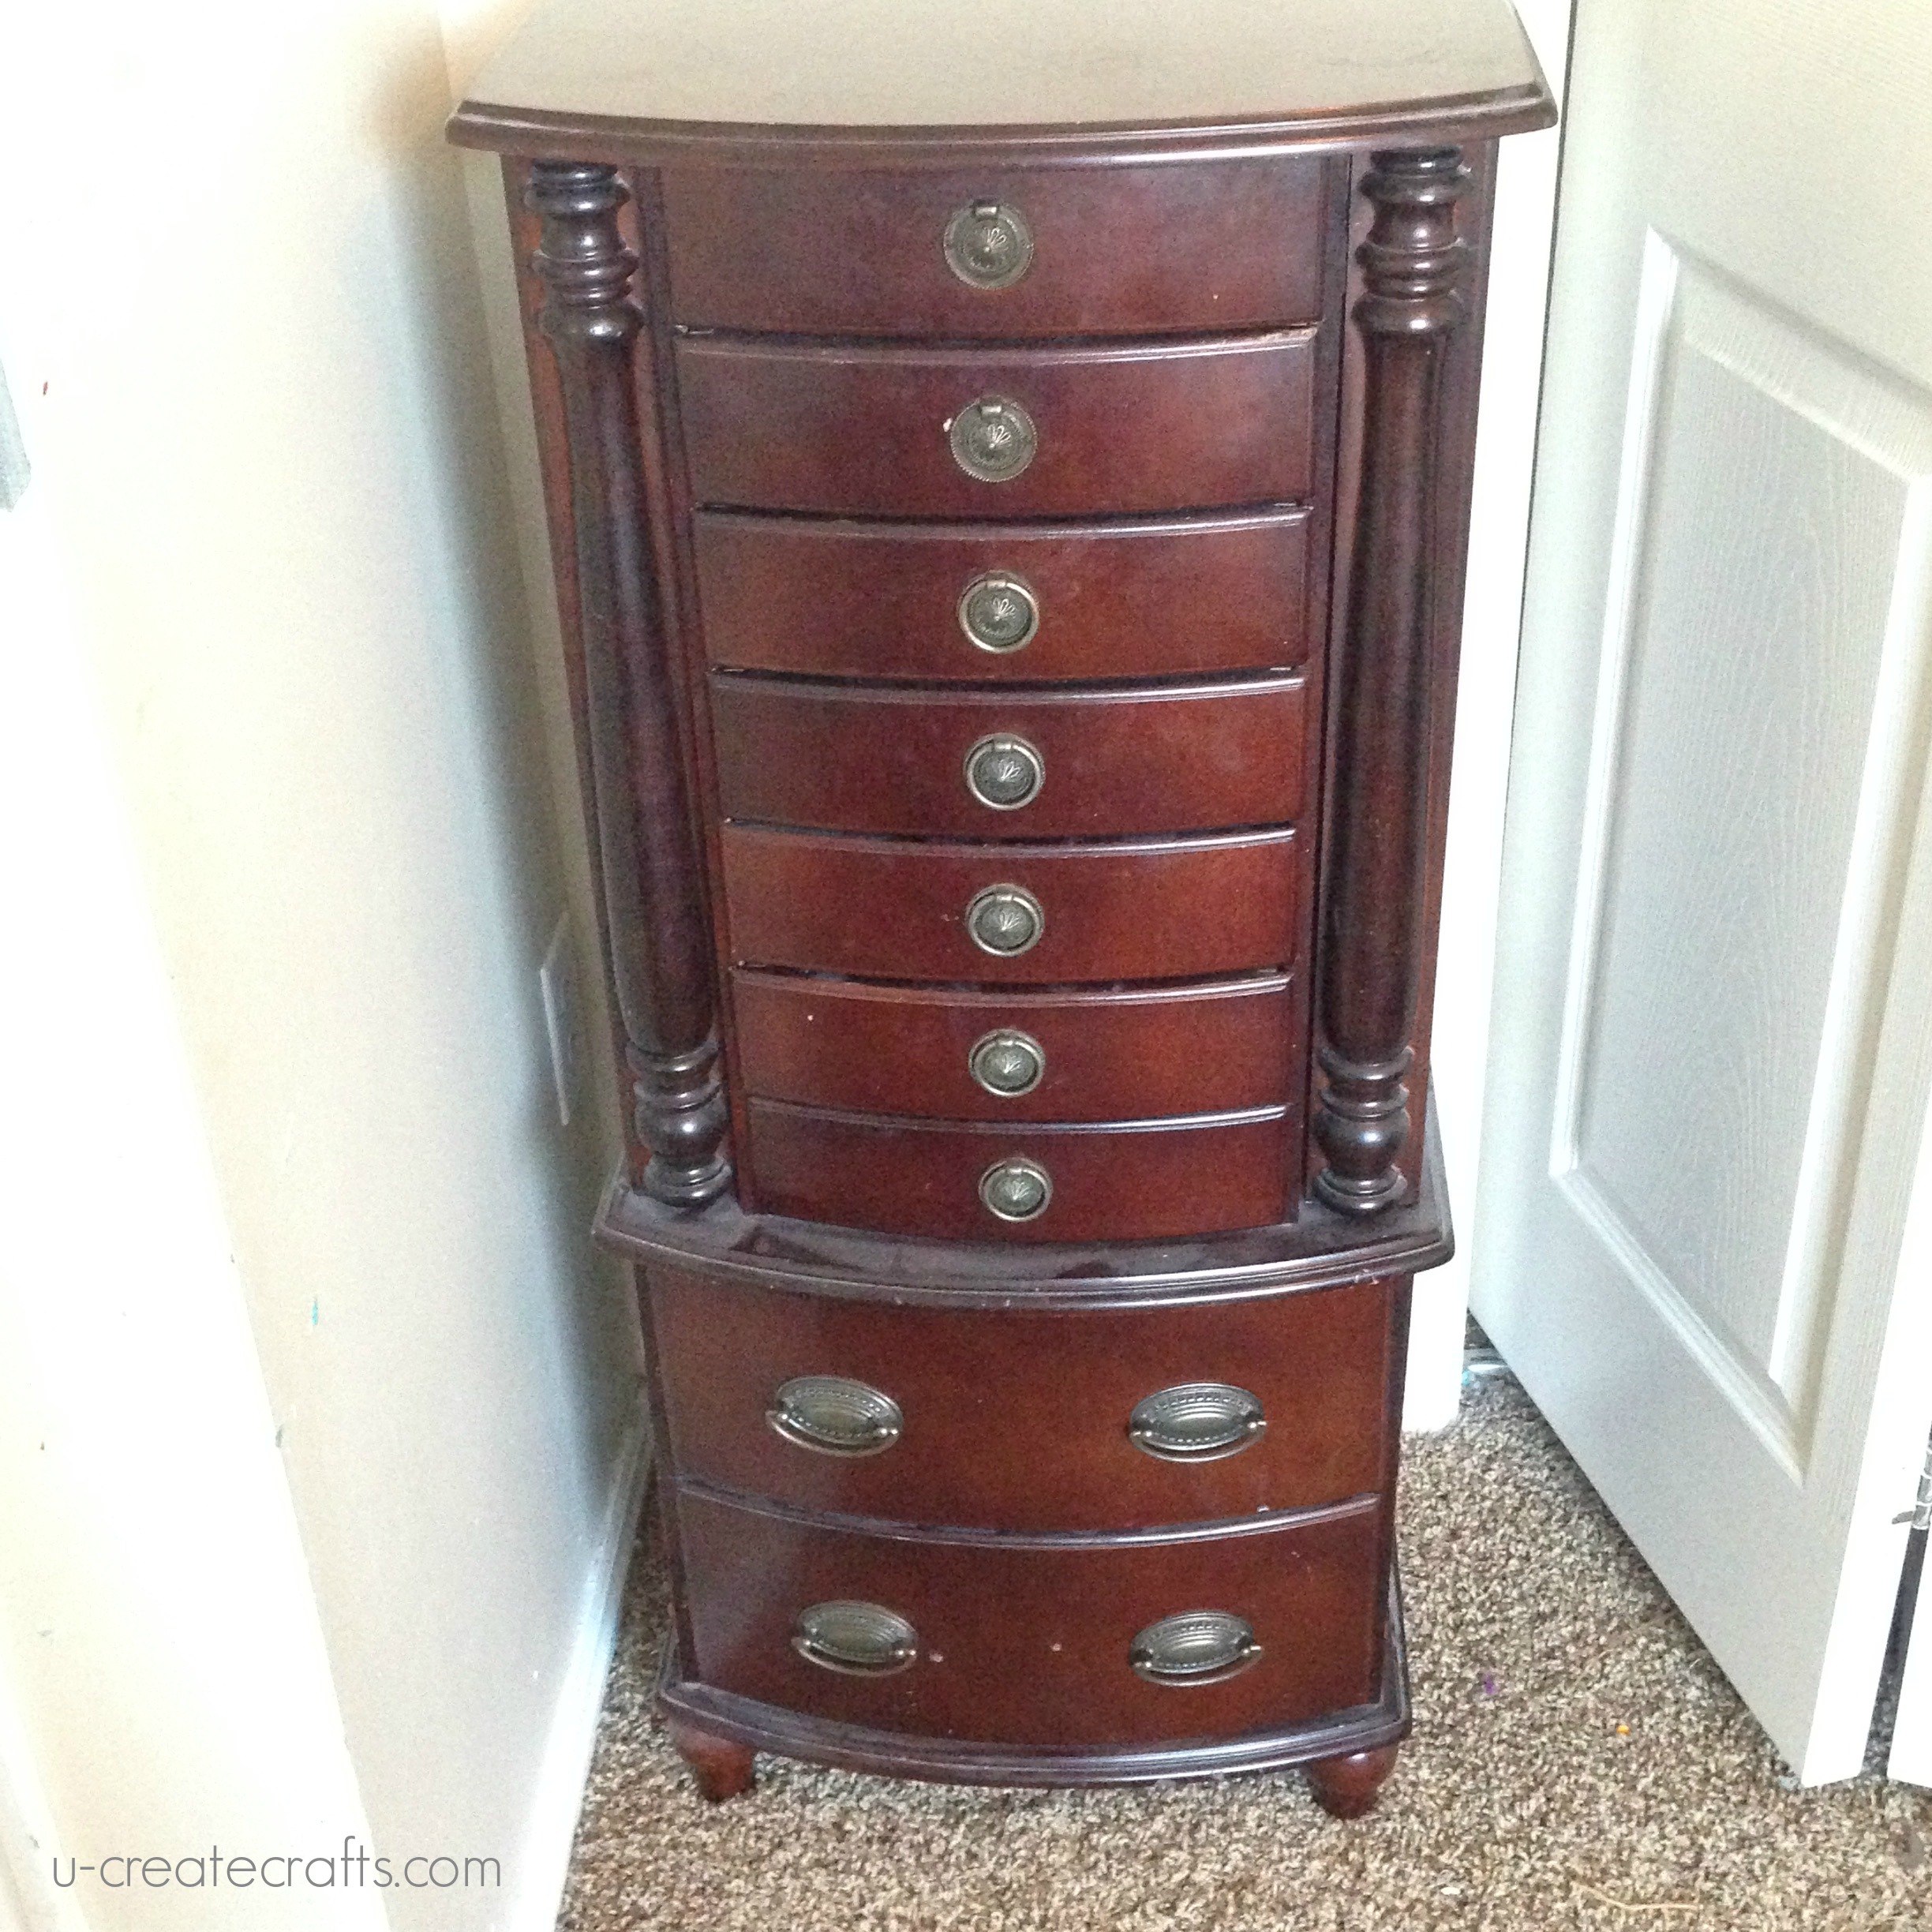
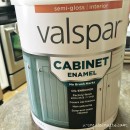
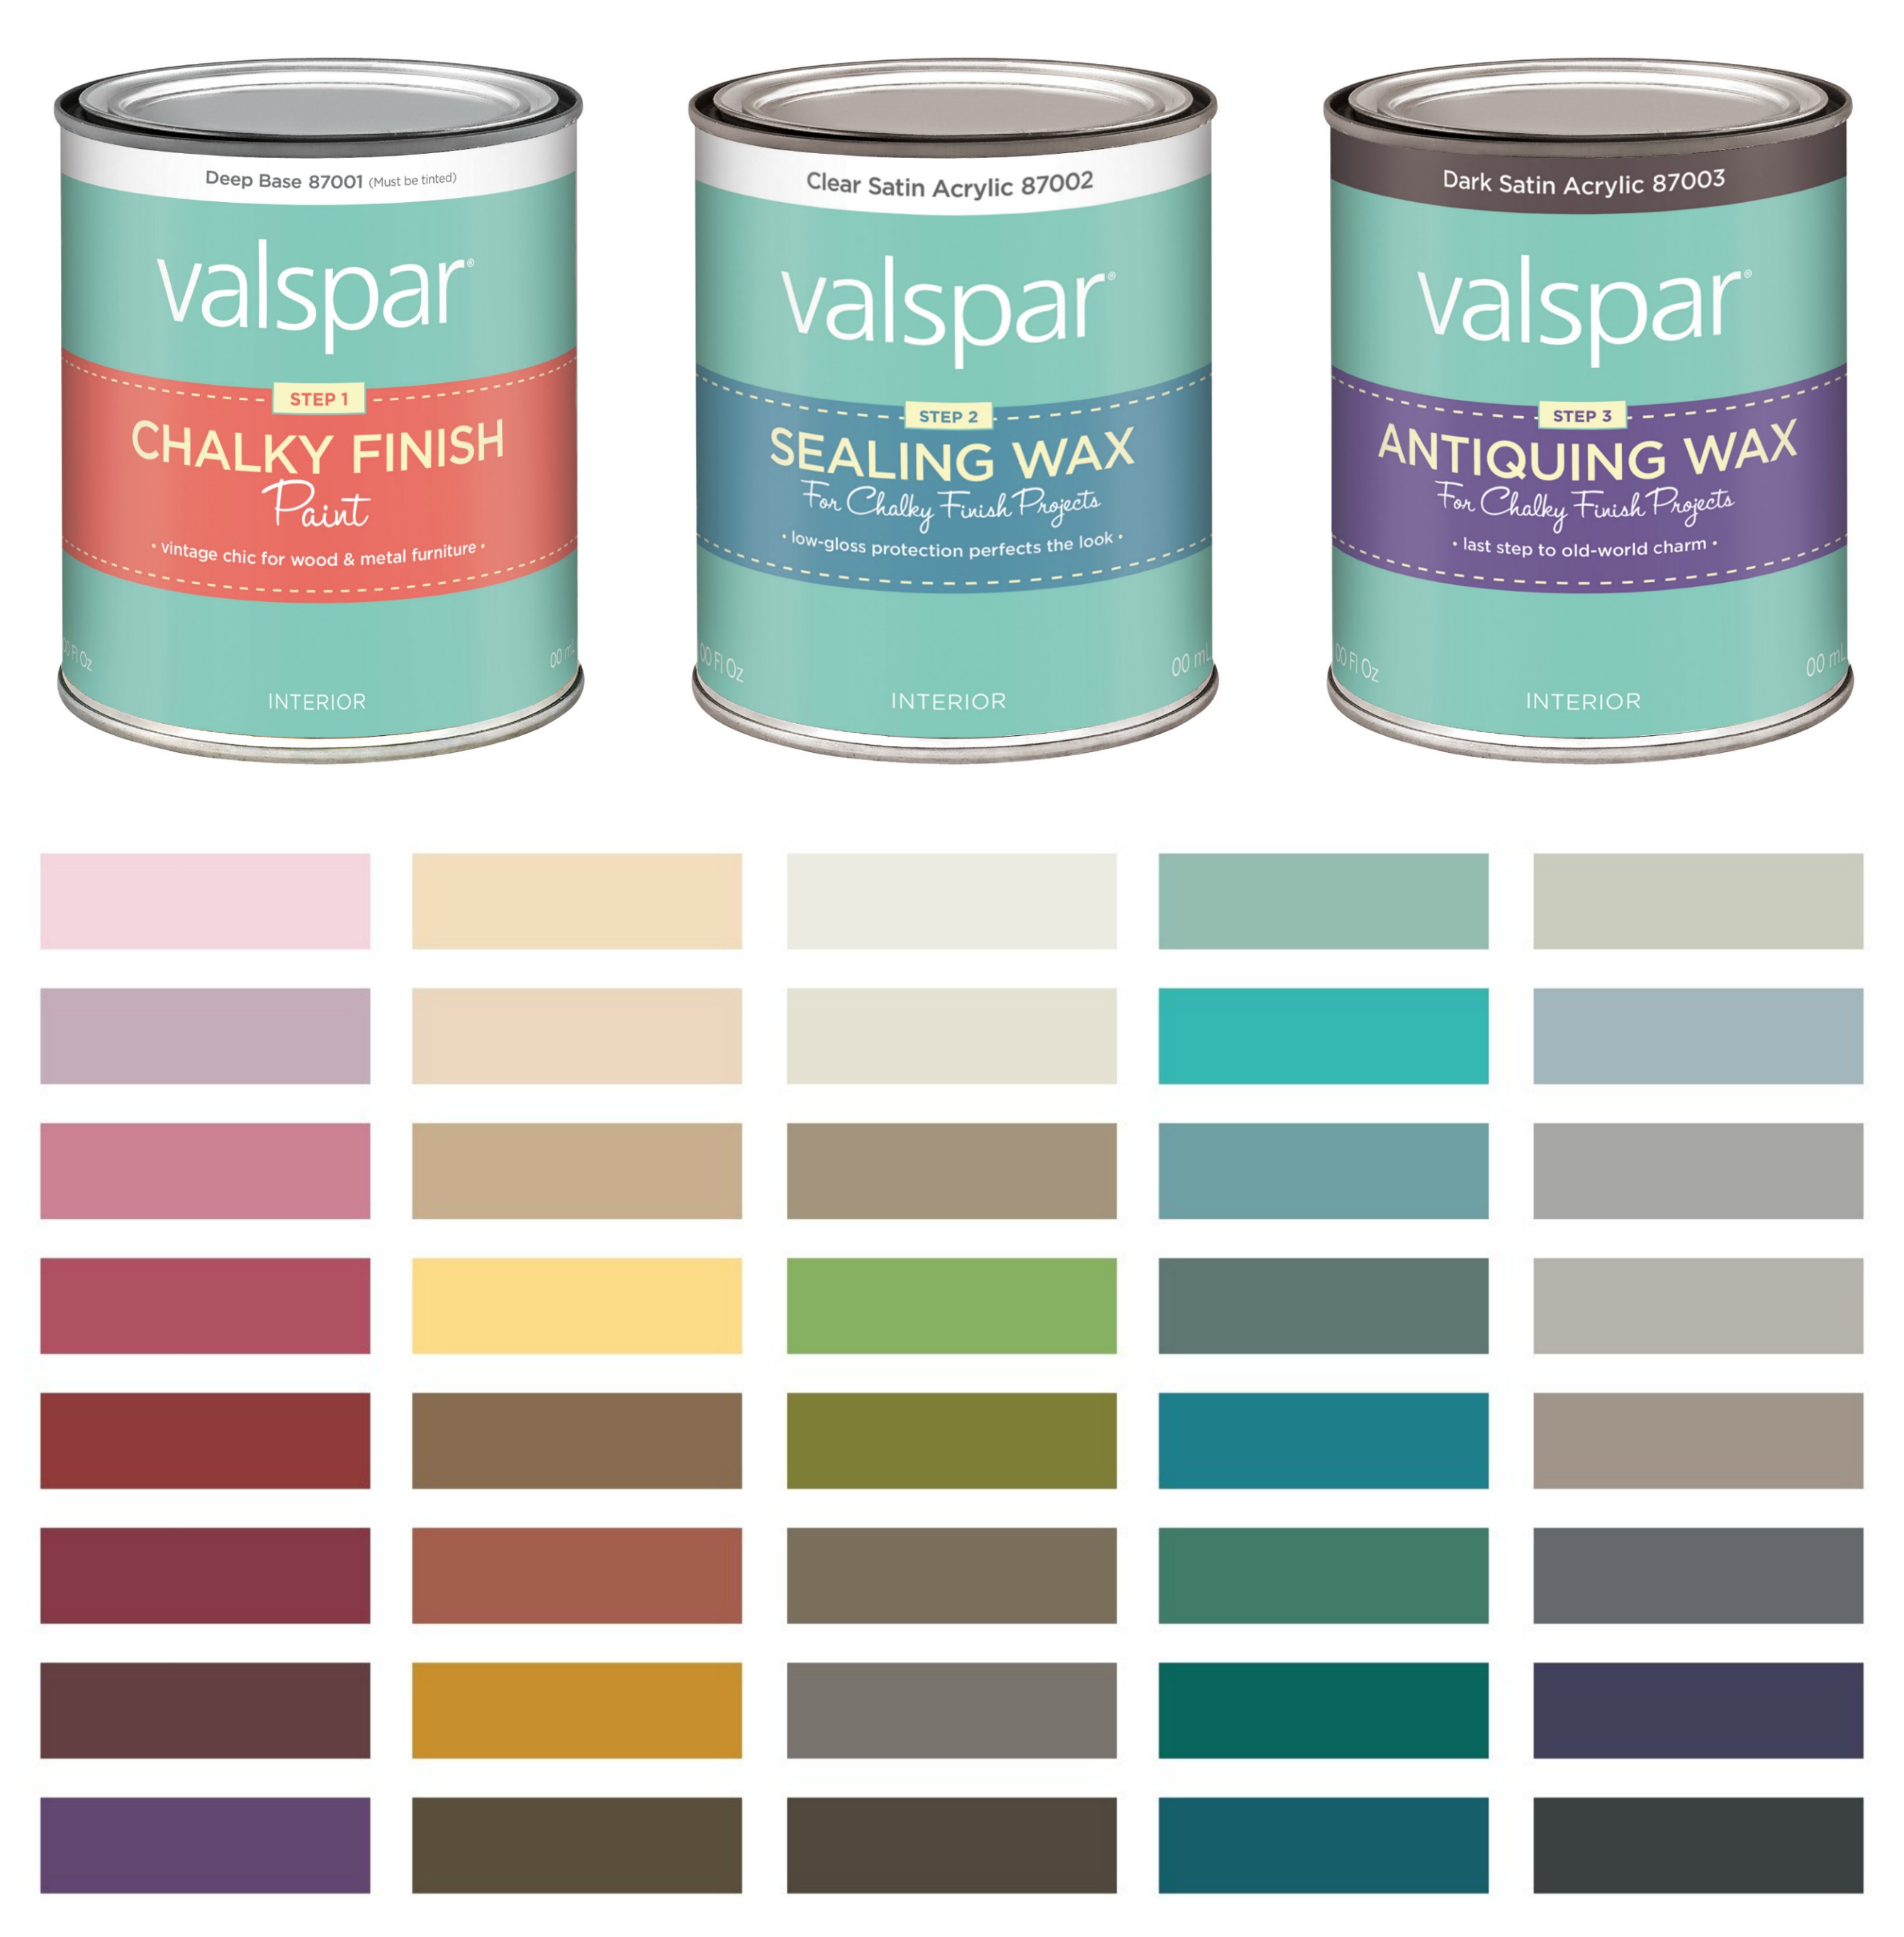 Valspar chalky finish paint is available in 40 beautiful, tintable colors at Lowe’s. The hard part is choosing from so many amazing colors. I decided to go with the Trousseau Blue with a lightly, distressed finish.
You can choose from the following finishes:
- Ultra Matte: Apply chalky finish paint only.
- Satin: Apply chalky finish paint and then Clear Sealing Wax
- Distressed: Apply chalky finish paint, sand to distress, and then apply Clear Sealing Wax
- Antique: Apply chalky finish paint, then Clear Sealing Wax, and finish with a coat of Dark Antiquing Wax
Here are the simple steps I used:
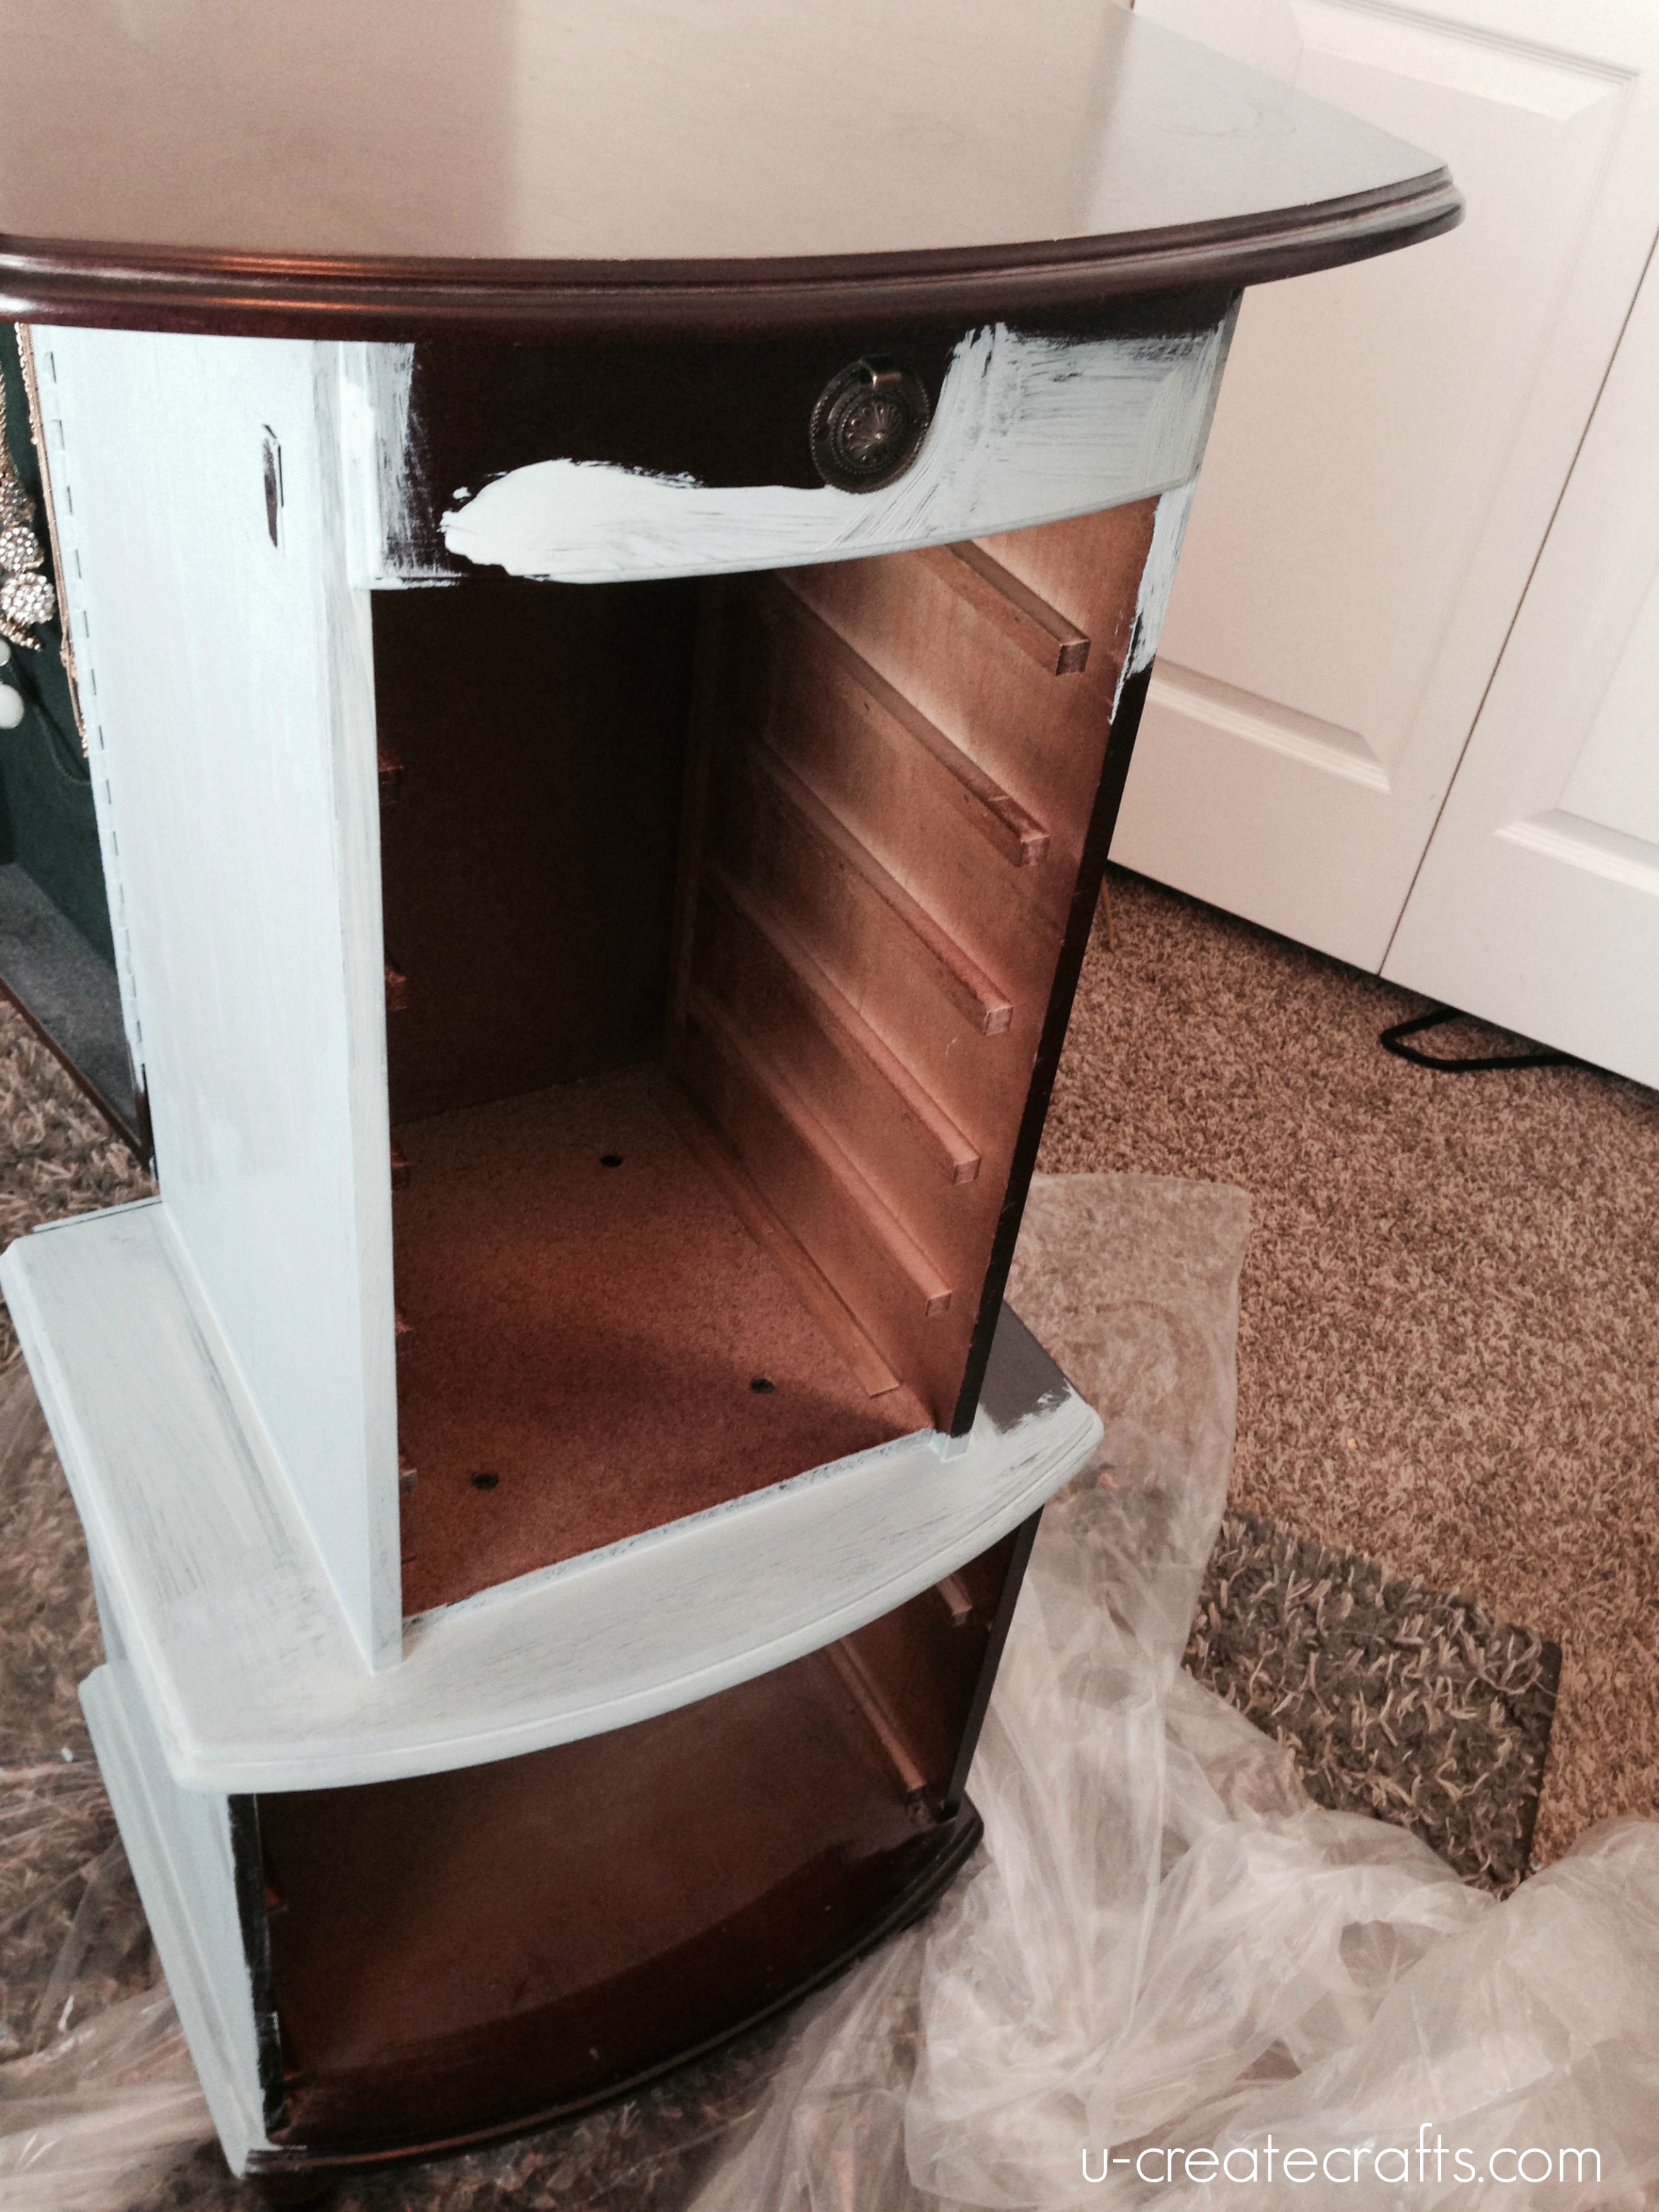
1. Make sure furniture is clean.
2. Paint first coat of chalky finish paint in Trousseau Blue with a medium paint brush. Please follow directions on the Valspar chalky finish paint website. Make sure to dry completely for 8-12 hours.
3. Repeat step two with a second coat. Apply additional coats until you’ve reached your desired effect.
4. Distress edges lightly with sandpaper. Wipe off the armoire with a clean cloth.
5. Brush on Valspar Clear Sealing Wax in small sections, using a clean rag to gently and quickly wipe away excess wax. Let dry completely.
6. Add/Replace hardware.
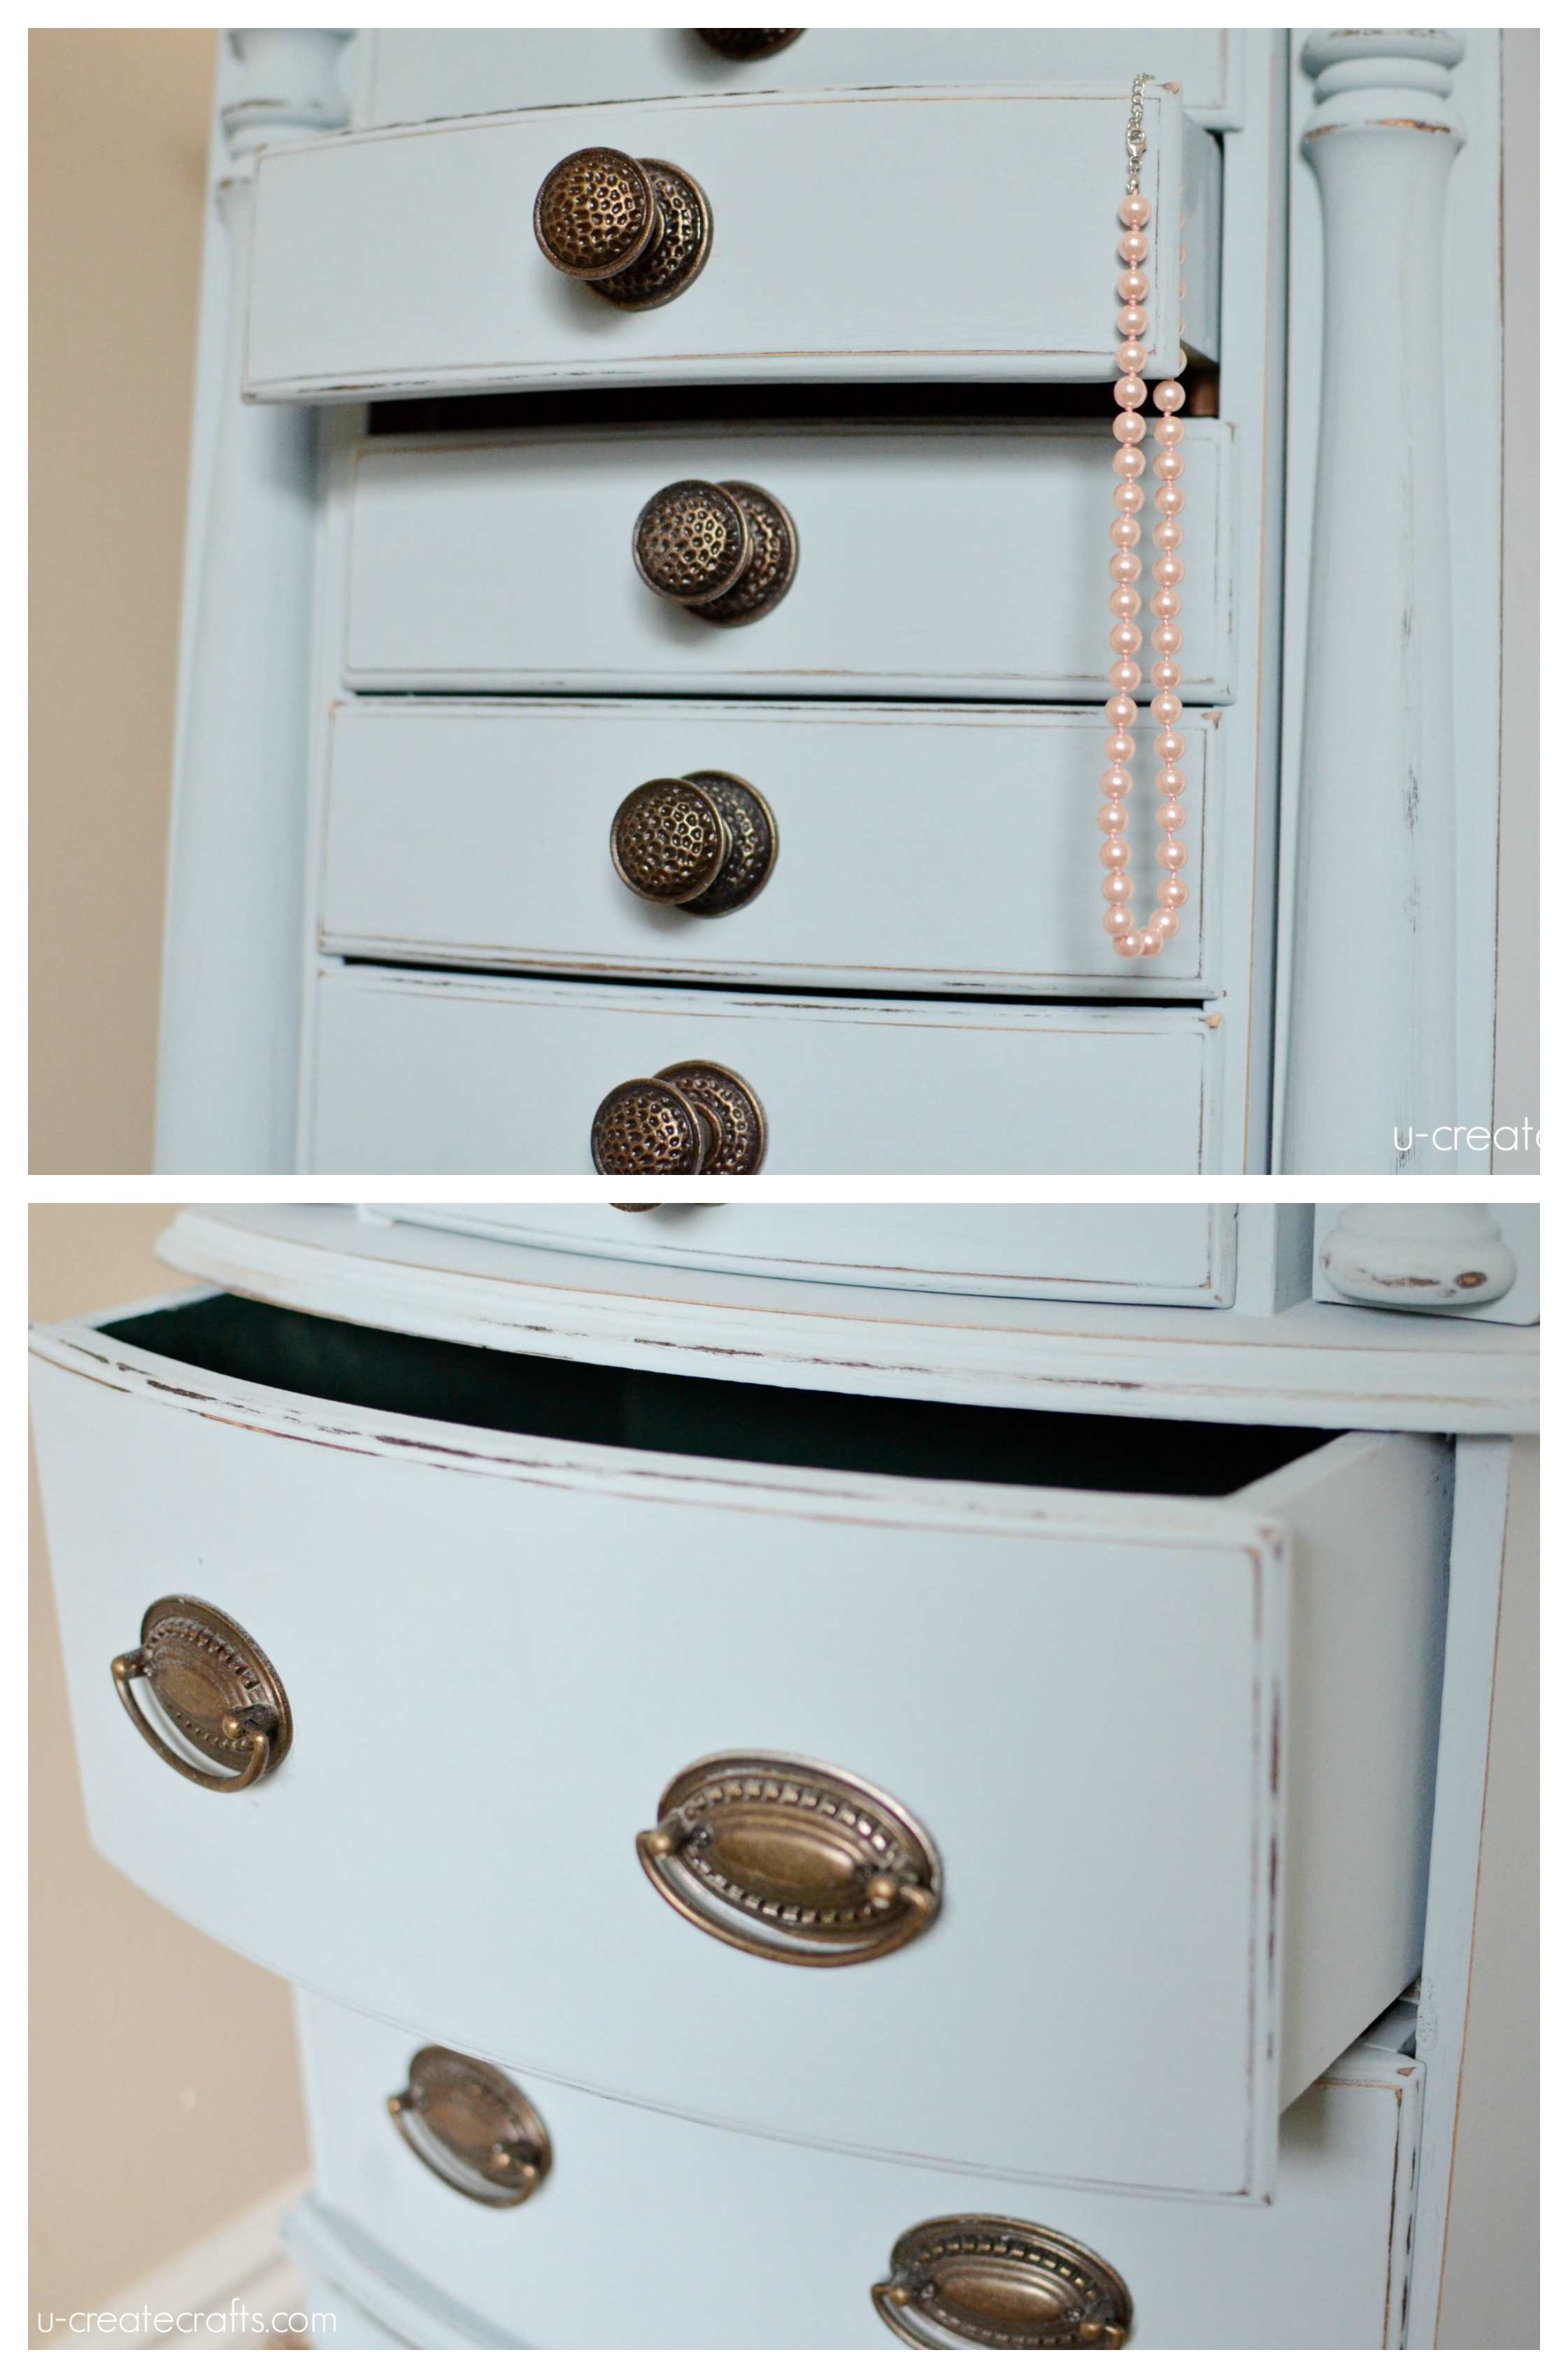
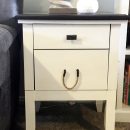
Now for the exciting part! The AFTER photos…

Keep in mind that I didn’t prime or sand this piece one single bit! Easy right?!
I kept the original hardware on the bottom two drawers, and found the knobs for the smaller drawers on sale at Hobby Lobby.
I’m crazy about the result and now I’m looking around my house thinking “what I can paint next?” with Valspar chalky finish paint!
![]()
POST BY:

This post is sponsored by Valspar. All projects and opinions are mine.

I have been curious about the Valspar chalk paint. I read that you need to sand with it but your project came out beautifully. Have you used any other brands of chalk paint in the past?
Hi Meredith,
I’ve used many chalk paints, actually. You can find my dresser makeover on the blog using Annie Sloan paint (which is great, too), but I really love the quality of Valspar and I know some people sand before painting, but I didn’t and LOVE how it turned out. I feel like this paint also gives a more professional look than AS paint – the wax is wonderful!
I want a gray color with another color accent. what brand & colors should use its for a small roll top desk. need step by step please & thanks
Your makeover is gorgeous! I love the color you picked 😀
Thanks so much Amy! I love this paint!
I have to try this…I used to refinish jewelry boxes including adding suede to the inside drawers and cabinets. I love this look! The color is perfection, just what I’m looking for. Thanks for sharing this idea!