It’s time for my favorite type of sewing: BACK TO SCHOOL! Last summer I began a project called 100 Skirts in 100 Days and I loved everything about it. Inspired by Simple Simon and Co.’s SKIRTING THE ISSUE project, I made 100 skirts in 100 days for local foster girls and refugees. The great thing about making all these skirts is not only the experience I get with sewing and reading patterns, but sharing the joy of service with my children. My son stands at the ironing board pressing seams open, my youngest daughter pulls out the pins and they all take turns picking a fun stitch to hem each skirt. Last year was such a great experience, I decided to do the 100 Skirts project again this summer. The only difference this time is I am going to make women’s skirts as well. Although I know that I would sacrifice anything for my kids, there is no reason mom’s shouldn’t have something new and “handmade with love” just for them, right?
Today I am sharing a Jelly Roll Skirt tutorial with you. It’s darling and easy to create. 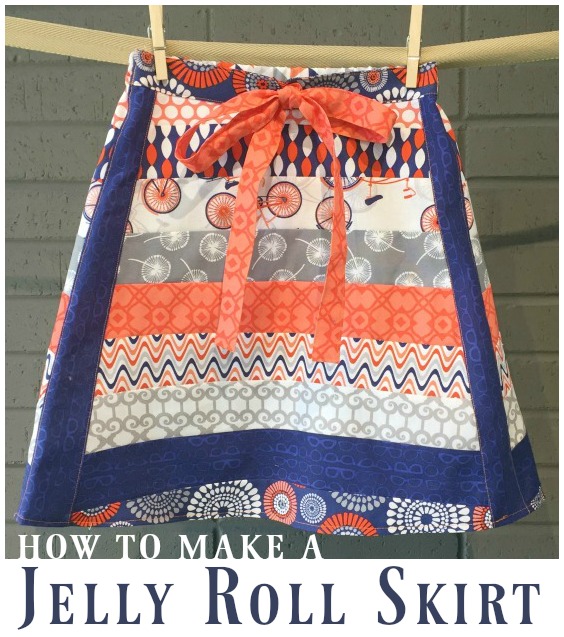 So…I have a minor obsession with digging through thrift store sewing patterns. Not only are they less than a dollar, but I consider it a challenge to create a modern look from an old pattern. Check out my latest thrift store find:
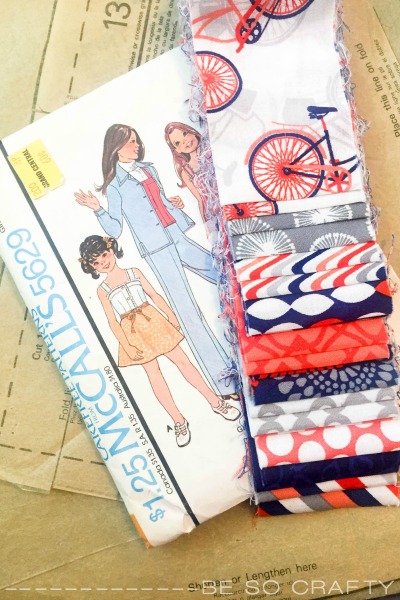 I am not sure what year this pattern was created or used, but I am guessing late 70’s. Also, check out the original price of this pattern: $1.25!!
With this new-to-me sewing pattern in hand, I grabbed a fabric roll from Michael’s and set off to create a modern skirt from a vintage pattern. Because these rolls of fabric are often called Jelly Rolls, I decided the name of this skirt should be the “Jelly Roll Skirt”.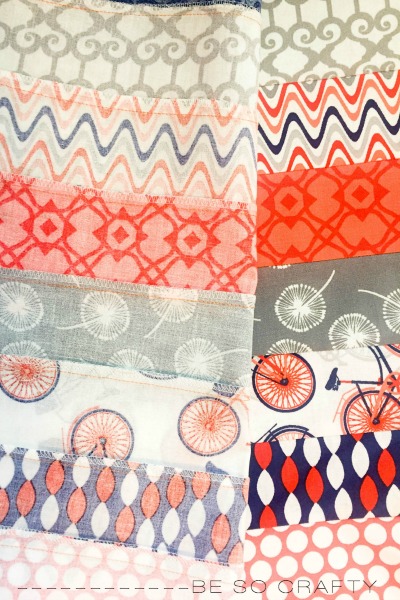 Step #1: Connect the Fabric Strips.
I unrolled the fabric strips and began configuring them so no similar colors touched. Because the edges of the fabric are raw, they will fray like crazy if you don’t “finish” them. To finish a raw edge I use my serger. If you don’t have a serger you still have a couple of great options: (1) you can zig zag stitch the long edges of the fabric strips or (2) you can take pinking shears are get the same effect.
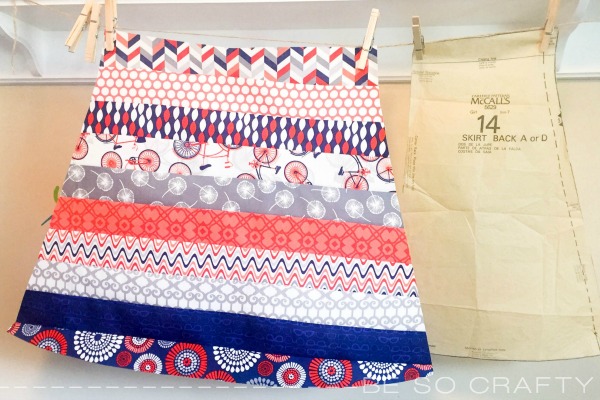
Step #2: Make sure the cut pattern fits your sewn strips.
To ensure I have sewn enough strips together, I continually lay the pattern on top of the sewn strips and when I think it’s just right I cut the pattern out. So I have the perfect amount of fabric strips sewn for the back of the skirt, but the front was lacking a bit. 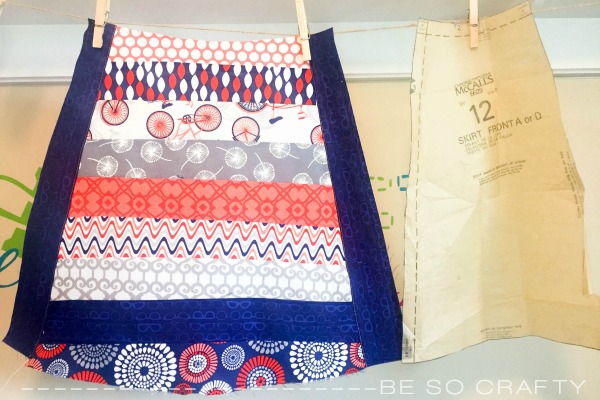 For added character (and to make the finished front piece wider), I added 2 strips going down the sides of the front piece. I then took two extra 2.5″ strips and created the waist casing per pattern instructions. Next, I created a faux drawstring look by sewing one of the fabric strips into a bow.
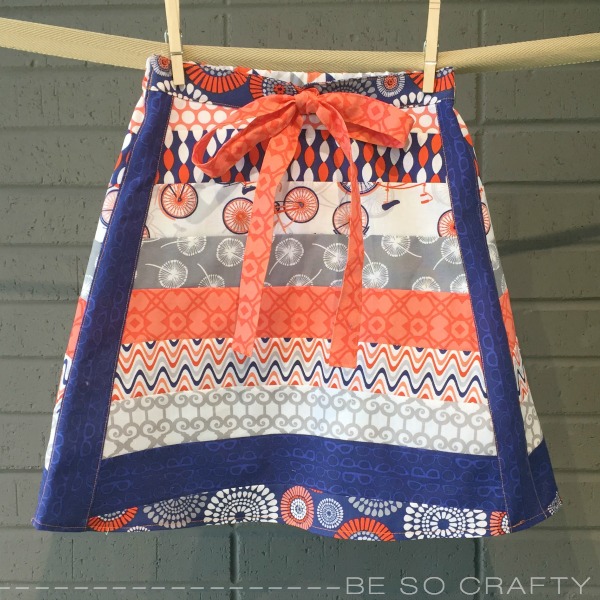 This was such a fun skirt to make. Most the time these sewing ideas in my head are ONLY good in my head, but I am thrilled with the way this Jelly Roll Skirt turned out.
 Join me and in making skirts and making a difference. Please feel free to make any style, any size, and any color of skirts you’d like and consider donating them to your local shelters, foster care, neighbors in need, etc. If you don’t know where to donate, you can always send them to Simple Simon and Co. and they will get them to those girls who need them. All the information can be found on their website under Skirting the Issue or click the button above.
Post by: Becky Vandenberg at Be So Crafty


How cute! I don’t have any jelly rolls, but I might have to buy one. I’m not a skirt wearer, but shorts would be cute. Since it would take a bit more fabric, maybe use a matching fat quarter for the back? This is just darling!
As someone who started buying patterns in the mid 60s (patterns were $1 or less), that pattern looks more early 70s than late. Hems were longer and designs were softer and more curvy in the late 70s, getting into disco. That boxy jacket looks late 60s into early 70s. At least that’s what I remember… but then I’m really old so I might not be remembering right! LOL