Hello all! It’s Sarah here from Thrifty Decor Chick! I am honored to be guest posting on Ucreate today! Kari asked me to share a craft project with you, and I just couldn’t resist sharing one of my all time favorite projects, which is also one of the easiest and cheapest I’ve done.
I have a serious obsession with Ballard Designs decor, but more often than I should probably admit, I find I can recreate their items on my own for a fraction of the price:
 I saw this one months ago, and I had the supplies I would need to recreate it for a loooong time. I mean, a LONG time. I kept hesitating because of my new found fear of mod podge. I was sceered.
It bubbles up EVERY time I use it. It drives me batty. I bought a fun new tool to keep it from happening with this project, but in the end, I decided to just go with my trusty spray adhesive and it worked great!
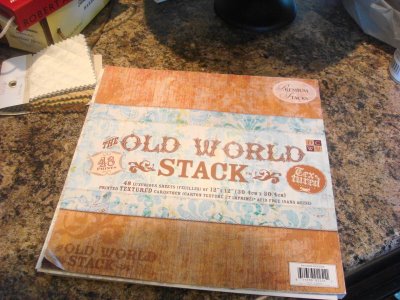
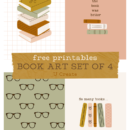
This project is SOOOO easy and will take you about an hour to do. You’ll need 12×12 paper — I got this large book on sale awhile back for $9. But this would be even cheaper if you just bought the paper in singles:
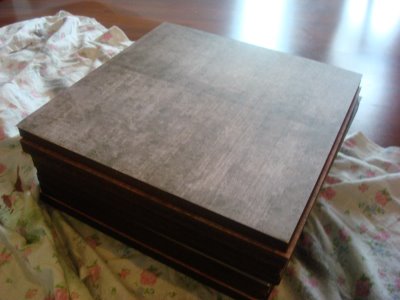
I had a ten foot MDF board cut down into one foot pieces at Lowe’s:
 And used a brown spray paint to spray the sides and the edges:
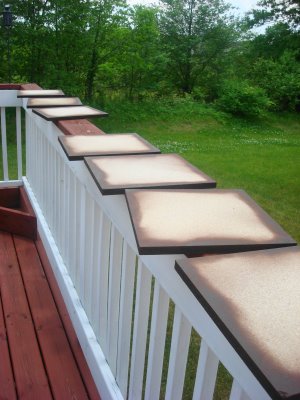 Then spray adhesived (my made up word) the crap outta them — the back of the paper and the front of the board. I let them both set up for about a minute, then just placed the paper on each board:
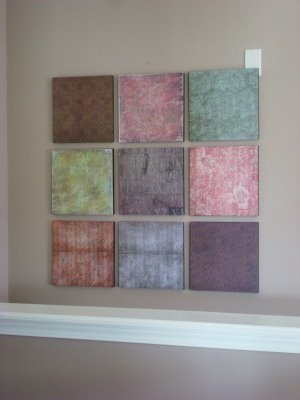
 I love it! I bought trim to do the edges like Ballard, but in the end decided they didn’t need it:
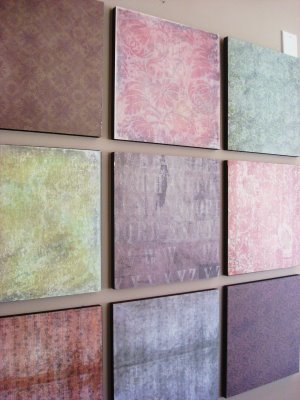 I’ve seen this done on other blogs, and I think most people use canvases. I was being cheap — all the wood for this was less than $10. Total with the wood, paper and spray paint, this cost less than $25. The Ballard version is $200!:
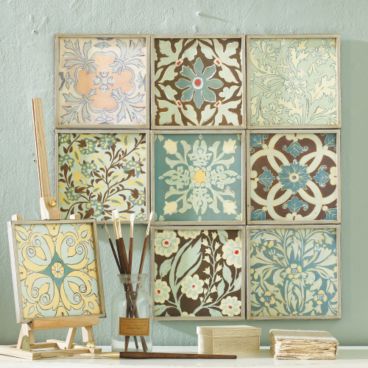 My version for $25:
 I LOVE when I can save $175. 😉
 Thanks for having me Kari! For more of my thrifty decorating and crafts, come visit me at my place, Thrifty Decor Chick.
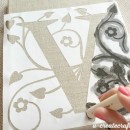


Love it!
Just added it to my project folder!
Boy that thing is filling up!
It looks great!
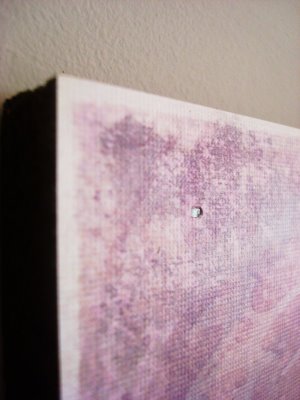
Such a great knock off! Love the texture you can see on the close-up photo!
I have been a fan of Thrifty Decor Chick since I’ve started blogging!! Sarah, it’s so fun to have you on Ucreate. Thank you!
that is such a great idea! I ‘m gonna have to make me some now. Thanks. I am also a follower of your blog Thrifty Decor Chick. It was fun to see you over here too. P.S. did Lowes actually cut the wood for you?
Love these! Great idea to scrap lift. Now I have a great idea to use up my left over scrapbook & card making paper. Thanks for sharing!!
That is so cute!
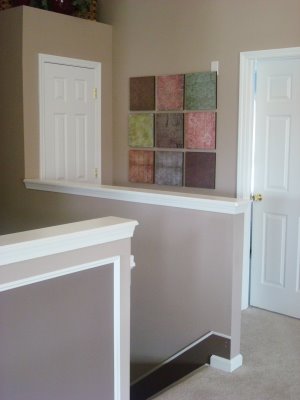
Sarah I made these right after you blogged about them on your blog! I absolutly LOOOOVVVVEEEE it. I have it in my bedroom…it has its own little wall. It fits there sooooo perfect! Once again I love your blog and I love this blog…Always getting great ideas and saving money!
Fantastic craft idea!!! Super cool to save so much! 🙂
I think I’m going to give this a shot this weekend–I have the perfect spot at my house! If I do it, I’ll be sure to post and share!
Love it!
I posted a EASY and SIMPLE way to decorate up a pumpkin!
I think some of your readers may love it! Check it out!
BTW, LOVE your blog! Get lots of great ideas from here!
I adore Sarah! So talented and SO sweet!
Love it! Will definately try this!
This is great, now I need to find 1×1 boards.
I went to Lowe’s just as she said and asked them for a 10 ft MDF board cut into 1 ft pieces and they did it – no problem.
I just found your blog!! I came across it by chance then remembered that we had ‘talked’ before:)
You left a comment on my blog…. not sure if I told you but you asked if you could add mine to yours! Please know that would be wonderful! I would like to add you to mine as well! So many GREAT ideas!!
Shelley, the cake lady
I LOVE THIS IDEA! You are a brilliant Thrifty Decor Chick.
So cute! I might have to totally try this!!!
Dani
craftrookie.blogspot.com
Whew! I’m glad Sarah got over her fear of the Podge. 😀
This rocks!
these are great. how did you get the textured worn look on the scrapbook paper?
Wow, looks great
I love this! I love the idea of using the MDF board instead of canvases. Thanks for sharing it with us!