
Hello Ucreate Readers!
Do you love everything DIY? We do, too! And today we’re thrilled to be able to share a fun and easy little tutorial with you in celebration of launching our brand-new web show, The DIY Dish!
Pin cushions are all the rage right now! There are so many unique ways to embellish and share your creativity! Pin cushions are also a great collector item or gift to give.
In episode 1 of the DIY Dish, we shared how to make the official DIY Dish Double-Layer Pin Cushion. While that was a lot of fun, we knew that adding unique straight pins would be a real novelty and so in Episode 2, we taught how to make decorative straight pins with none other than “Shrinky Dink” plastic!
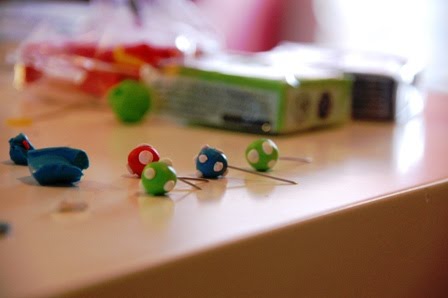
In today’s tutorial though, we’re going to share with you another very simple, yet chic way to decorate those straight pins. And that is with polymer clay! Truly the possibilities are endless when using this medium…
Ready to begin? Here’s what you’ll need…
straight pins
oven-baked polymer clay in a variety of colors
That was easy, right?
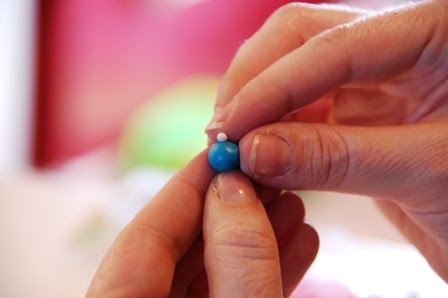
1. Tear off a small piece of colored polymer clay.
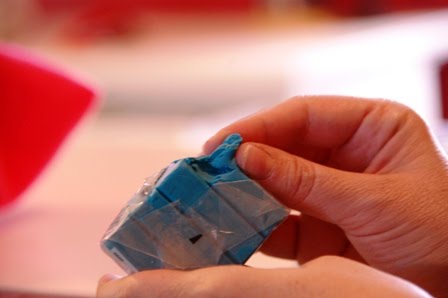
2. Gently roll the clay into any shape you would like. We chose a simple, round ball. Set aside.
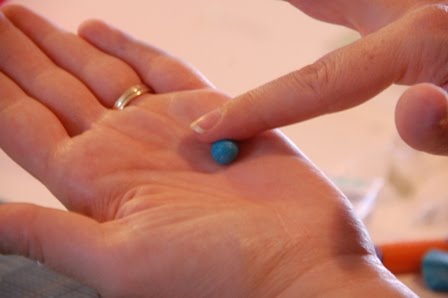
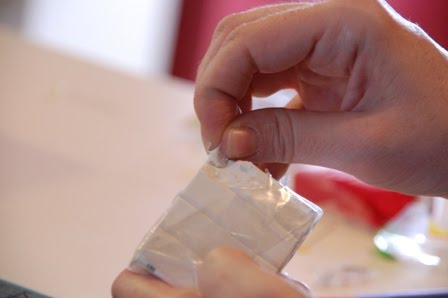
3. Take a 2nd color of clay and tear off a very small amount of clay.
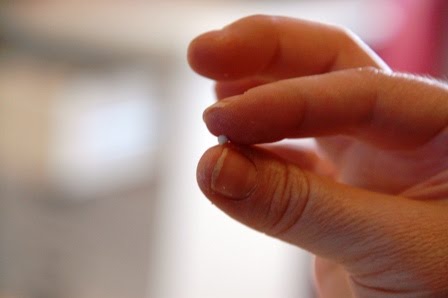
4. Gently roll the clay between your fingers to form a very small ball. Repeat this process several times as these small balls will be added to the larger piece to become “polka-dots.”
5. Adhere the polka dots to the main piece of clay by pressing the pieces of clay with slight pressure.
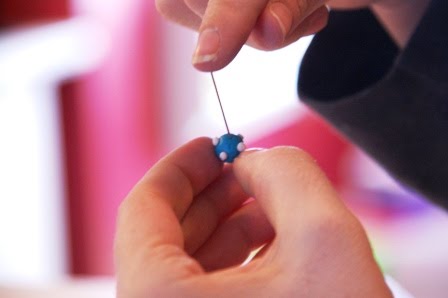
6. Poke the straight pin through the center of the clay pinhead.
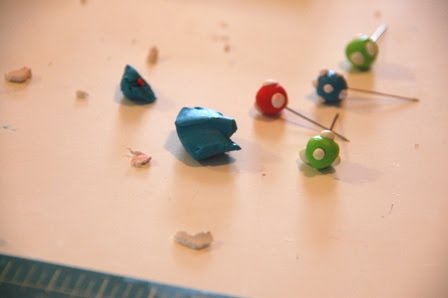
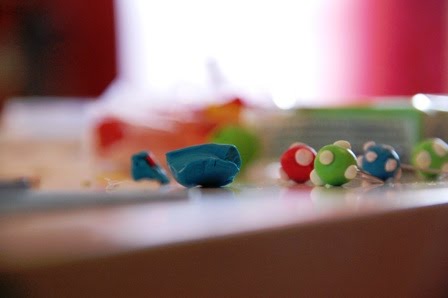
7. Repeat this process until you have the desired amount of decorative straight pins in front of you.
8. Place on a cookie sheet in oven and bake according to the instructions on the polymer clay package. Remove from oven and allow to cool.
And that’s it!
Let your creativity soar with this project! And we’d love to see YOUR pictures and see what YOU do!
Thank you Kari for giving us this opportunity to share with your wonderfully creative audience! We hope you’ve had fun with this tutorial and we’d love for you to come by our site and say “Hi!”

-Kris and Kim


Cute idea…there is so much you can do with polymer..not sure I would have thought of this one.
These are soooo cute! I immediately was reminded of Smurfs and Mario! Love them. Thanks for the wonderful idea.
Darling!!! tfs the fab tutorial!
These are great! Fun project.
These are way too cute! I need to get some polymer right now!
Thank you for the tutorial!
I love these so SO much! i’m buying fimo the next time I’m out. awesome!
OMGosh! These are so teriffically wonderful 🙂 Thanks for posting this – Have a great weekend!
muy lindos, te felicito.
Kim, Kris,
I luv luv it, I’ve not played w/clay just not enough hours in the day for all the crafting I want to do..
TFS
Maggie
http://cuttlebugchallenge.blogspot.com
Hi, I like your blog soo much,
I am from Brazil, I love craft…
http://agulhaetricot.com
http://agulhaetricot.blogspot.com
Very cute idea! Way more fun that regular sewing pins!
I have a couple of suggestions that will ensure the clay is strong. First of all, try and use a strong clay like Premo or Fimo. Sculpey III may be too brittle if you’re going to use these pins often.
Second, condition your clay well before using. This means mix it well by kneading and rolling it in your hands. This re-distributes the plasticizers and binders in the clay and makes it stronger.
Last make sure to bake for long enough to cure the clay well. Most people tend to under bake their pieces.
Your pins are adorable and would make an excellent gift!
Thanks for the helpful tips Cindy!
I was thinking of doing this for push pins as well to make them bigger and use them instead of buying expensive hooks or knobs to hang things on.
Sooo very cute. I would love to whip up a few (hundred) of these!
Always love seeing what you are up to. Also, thanks for the quilt link! 🙂