U Create

It's a good day to create!

  • pinterest
  • facebook
  • instagram
  • twitter
  • rss
  • crafts
    • crochet/knit
    • jewelry
    • kids crafts
    • paper crafts
    • sewing
      • bags
      • boys-clothing
      • girls-clothing
      • women-clothing
      • pillows
      • quilts
  • home decor
    • bathroom
    • build it
    • frames
    • kids
    • kitchen
    • office
  • recipes
    • desserts
    • dinner
    • snacks
    • soups
  • parties
    • baby shower
    • birthday
    • games
    • gift wrapping
    • party decor
    • party favors
  • printables
  • holidays
    • Christmas
    • Easter
    • Father’s Day
    • Halloween
    • July 4th
    • Mother’s Day
    • New Years
    • St. Patrick’s Day
    • Thanksgiving
    • Valentine’s Day
  • gifts
    • baby
    • electronics
    • graduation
    • teacher gifts
  • About
  • Be My Guest
  • Advertise
  • Contact
  • pinterest
  • facebook
  • instagram
  • twitter
  • rss

25 Feb

Flower Pillow Tutorial

OK, would it be appropriate for me to tell you that I almost wet myself when Kari responded to my email and said she’d like to feature one of my ideas? No? Well then, I’ll leave it at “I was really super duper extraordinarily excited”. 😉
UCreate? Are you kidding me?
I’m Charlie (pink…not blue), and I started my blog Attempting Aloha last October after purchasing our first home here on Oahu. I know you’re a little jealous that it’s 80 degrees and lovely today, and we’re heading to the beach this weekend, but can we still be friends? 😉  Anyway, I’m a crazy crafter and DIY’er with a ginormous “honey-can’t-do” list (the hubs is in residency right now, so we rarely see him), so I’m learning to get it done myself! But I’m trying to relax a bit and learning to live the Aloha life.
 
Today I’m going to show you how to make a Full Flower Pillow.  I made the one pictured above as a tester with some cheap fabric, so I could eventually chop up my wedding dress and make this one for one of my three girlies (I’ll be making two different styles of pillows for the other two girls with more of my dress later on):

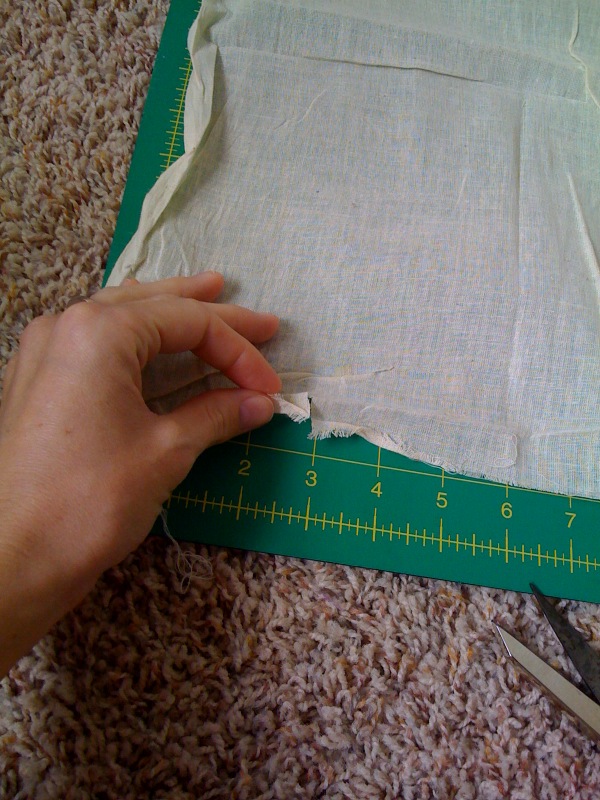
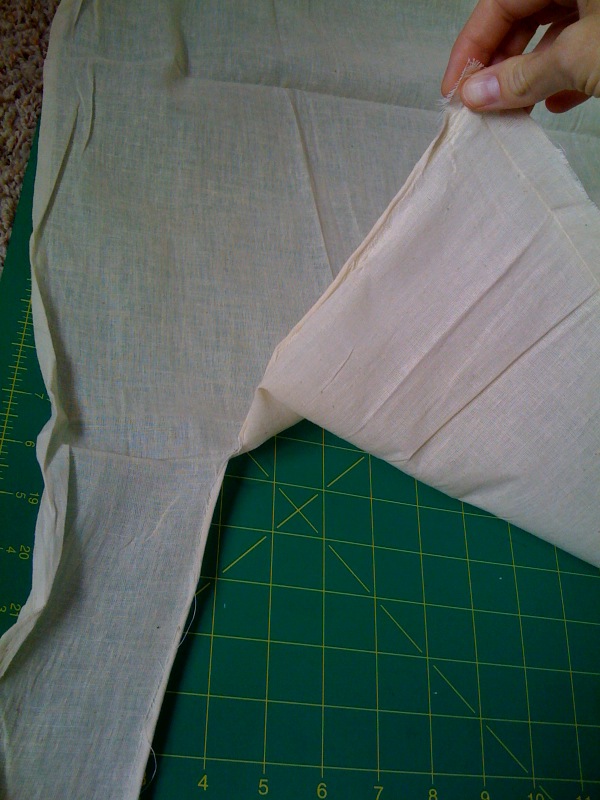
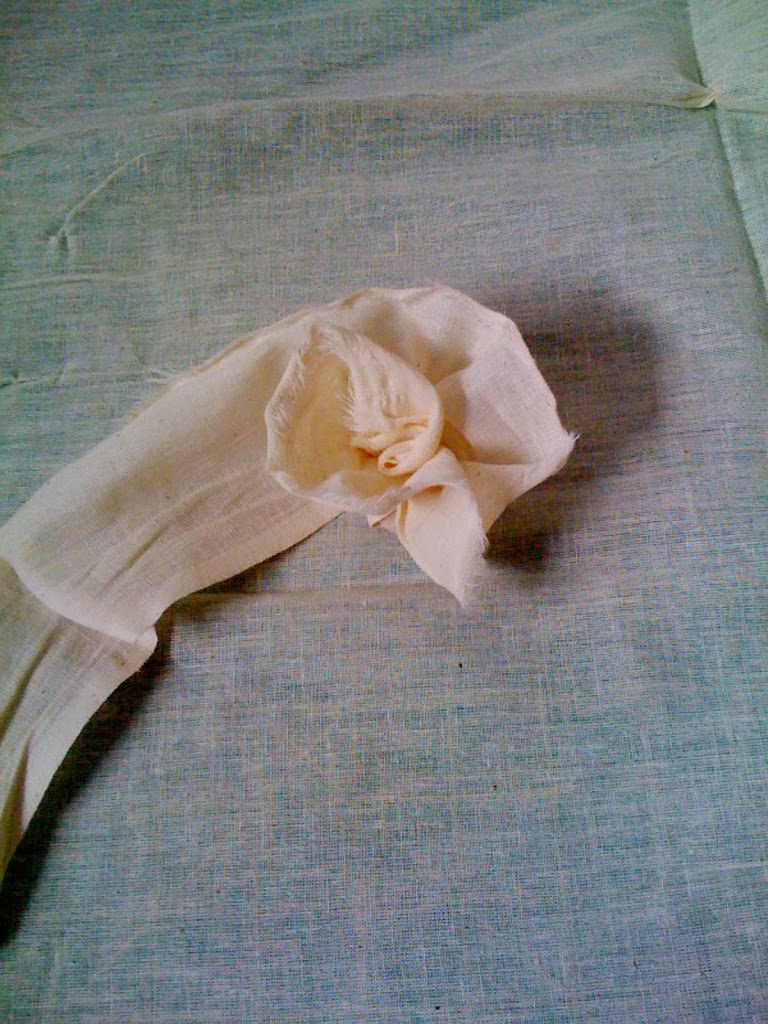
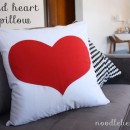
This tutorial will be featuring the first pillow, though. Here’s what you’ll need to make an 17″ square pillow: * 1  yard of fabric – at least 45″ width * 17″ square pillow form * Sewing needle and thread * Sewing machine for pillow form * Scissors *Chick flick Optional: * Button or other embellishment for center Step 1)  Cut out the pieces for your pillow form. I used a tutorial from Brooke from All Things Thrifty to make my pillow form. For our 17″ pillows, we will need one 18″x18″ piece and two 18″x12.5″ pieces. Step 2) Tear your strips of fabric for the flower. I did mine up the 36″ side, and if you’ve never torn fabric, it’s typically easy depending on the fabric you’ve chosen (the satin fabric I had on my wedding dress pillow was MUCH too strong to tear, so I had to cut that one and then fray the edges by taking out strings from the edge).  For regular cotton fabrics, cut a small snip at 3″, and just go ahead and rip straight up the fabric! I ended up with 6 strips were 3″x36″.

Snip
Rip!
Step 3) Start your rosette bud. Fold the end of one of your strips of fabric and then strat rolling it up as you bunch the fabric slightly to give it more fullness. Once you have a good start, hand stitch the bottom a few times to secure it.
Step 4) Attach the rosette bud to the center of your 18″x18″ piece.

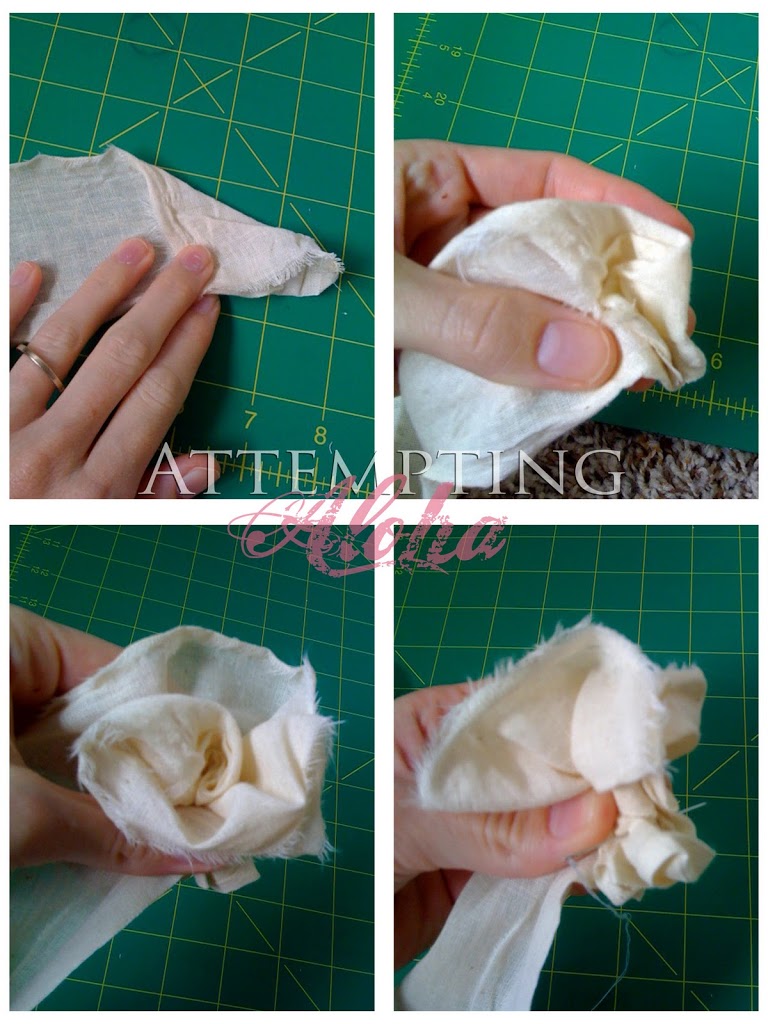
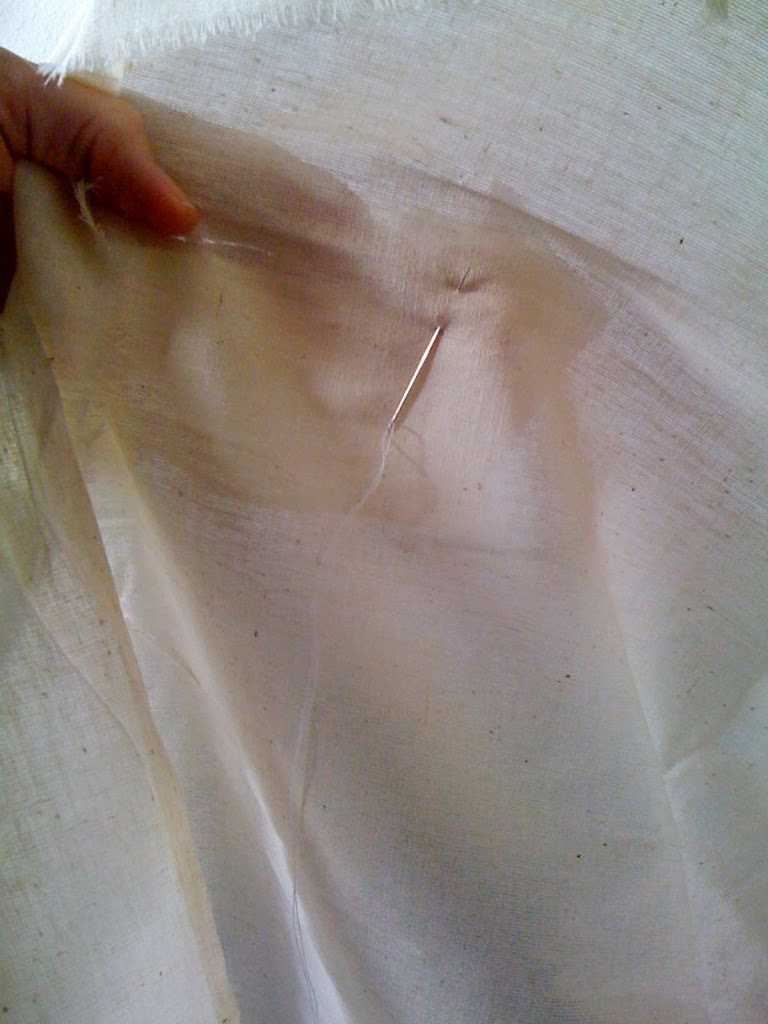
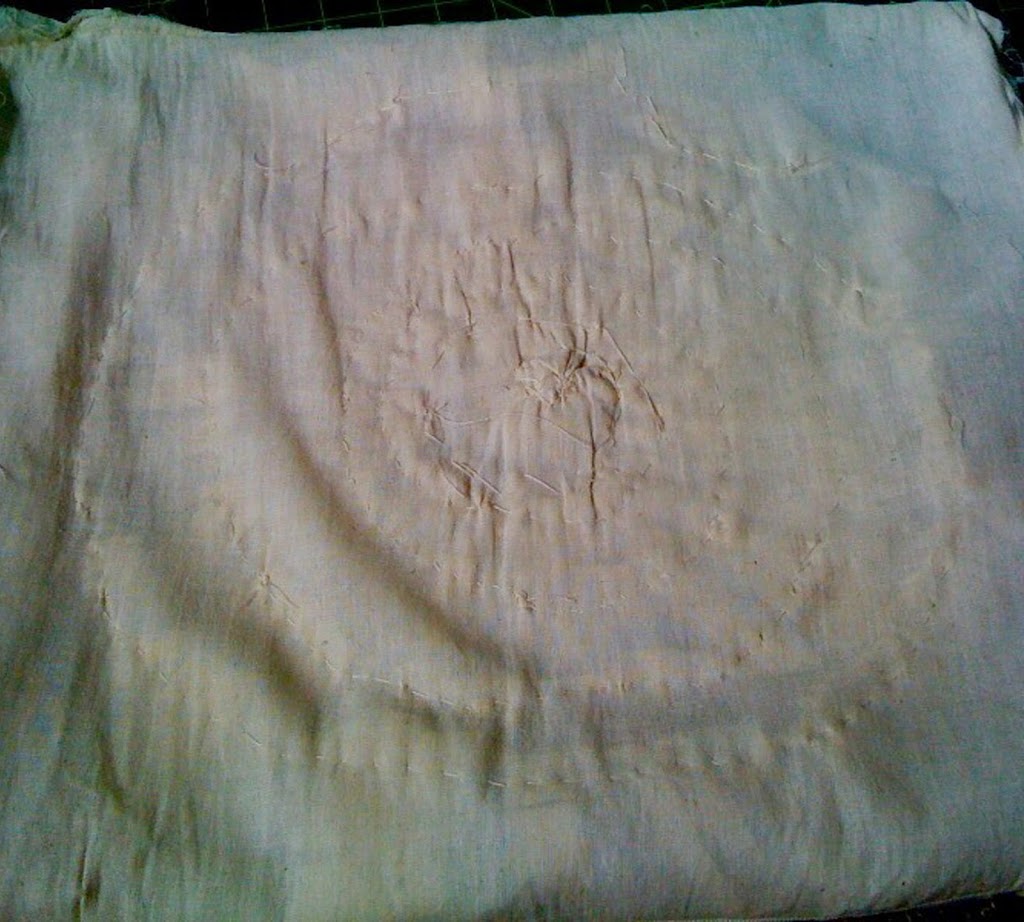
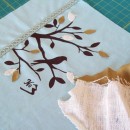
I hold on to the rosette and the fabric and flip it over to stitch it with my right hand. Here’s a pic of the reverse side:

Step 5) Start stitching the rest of the flower. If you want to be precise, you can take a pencil and draw a spiral pattern on the reverse, so you can follow that while stitching. I think flowers are naturally imperfect, so I just kind of wing it (I’m a fly-by-the-seat-of-my-pants kinda gal anyway). My rows are about 1″-1.5″ apart. Just scrunch/bunch as you go!.

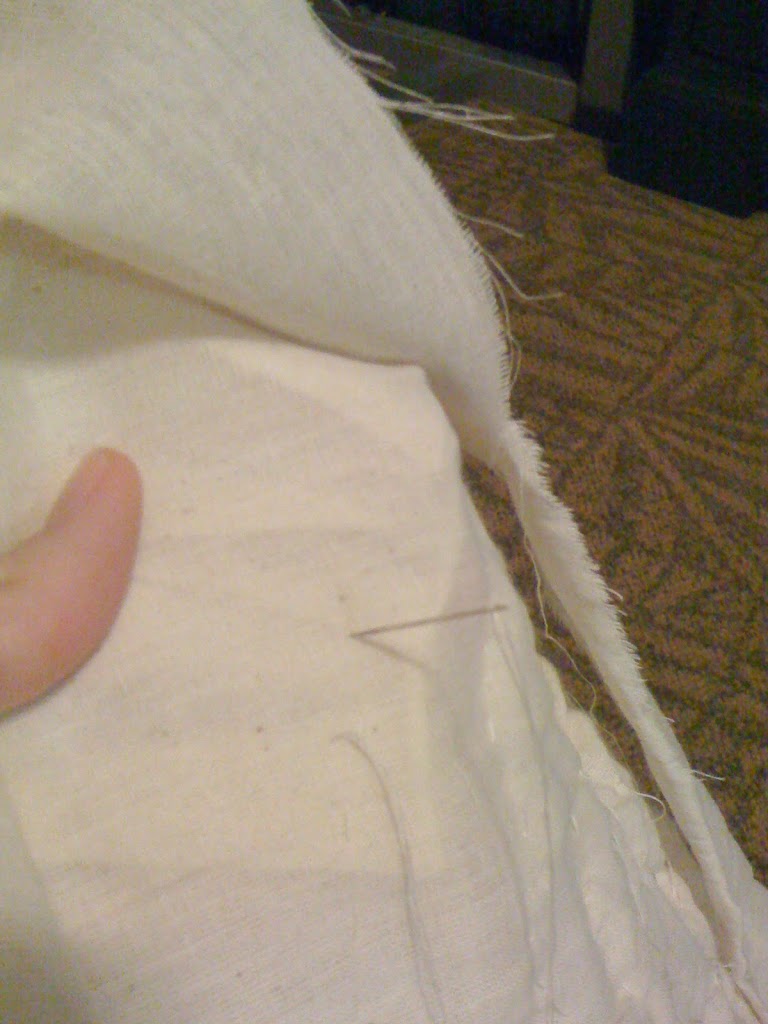
Mine looked quite messy from the back once finished:

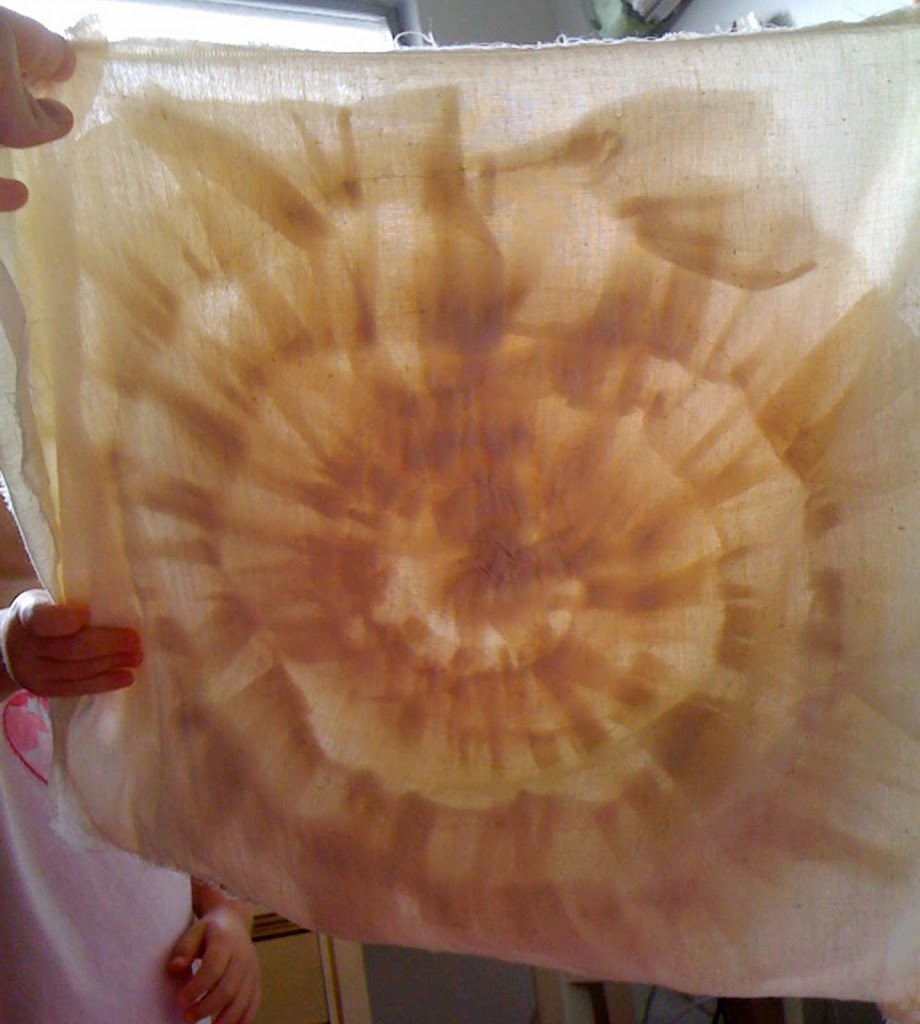
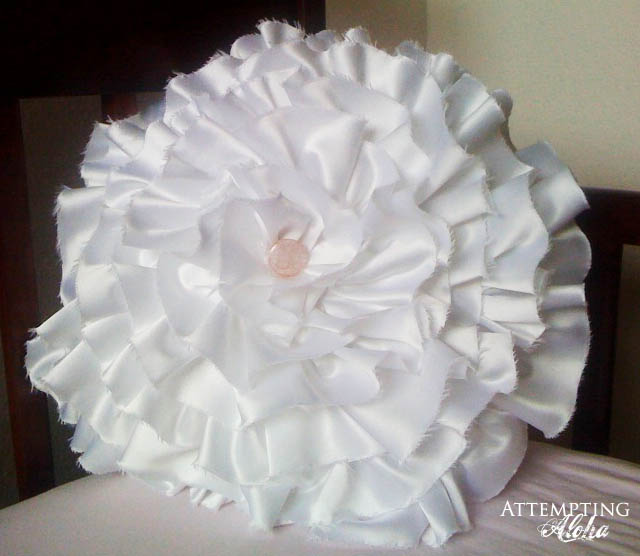
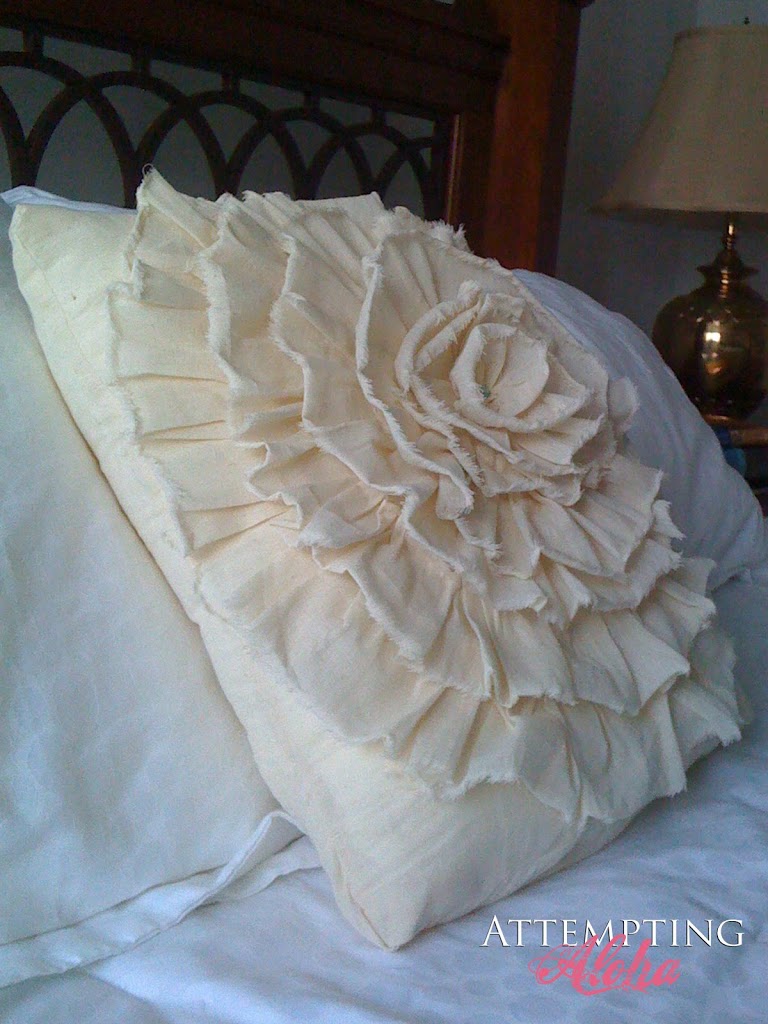
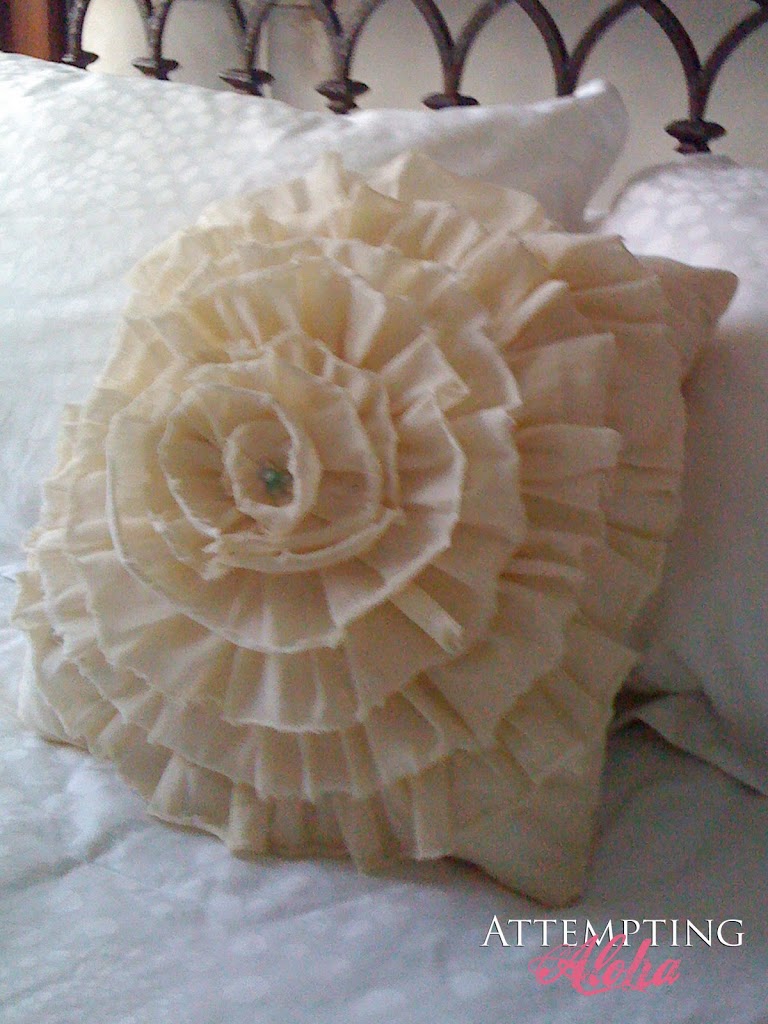
But no worries…she’s just lovely on the front! Step 6) Add your center embellishment. I used three small buttons for this one.

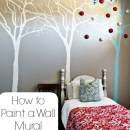
Step 7) Use Brooke’s tutorial to finish the rest of the pillow, and BE SURE to tuck in your flower edges when you’re sewing, so you don’t accidentally sew the “petal” into your seam! Since my flower was a slightly imperfect, my pillow ended up being more of a rectangle than a square. I stitched up the side of my pillow form and cut the excess right off. Not bad for a tester project! I thought she might want to live in the master bedroom with our wrought iron headboard:

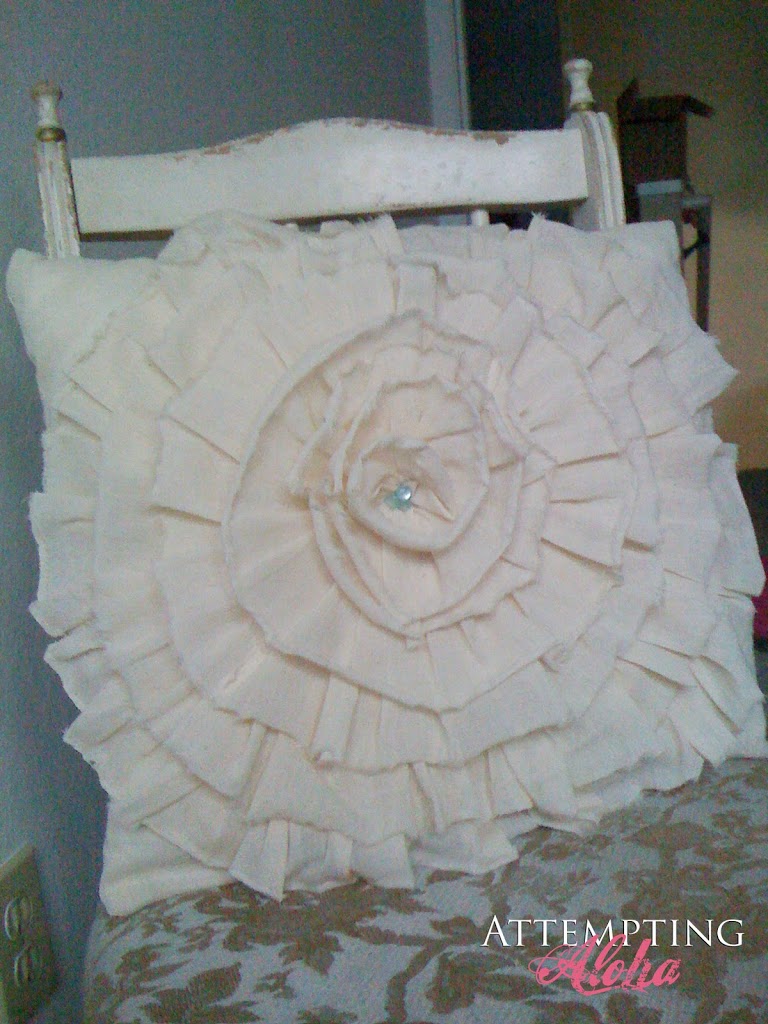
But she asked if she could chill in my Mom Cave, so I let her stay in there instead. 😉

Thanks for spending a few minutes with me (or an hour or so if you’re making your own!). And a ginormous MAHALO to Kari for letting me spend the day here on her blog. She’s a supah star. If you’re freezing your buns off and need to spend a day in Hawaii, you now know where to find me! Stop by Attempting Aloha and soak up some sunshine!! Aloha, Charlie

You may also like these

Dry Erase Sticky Note Calendar TutorialDIY Wall PocketsDIY Clothespin Picture FrameThe Piano ProjectThe Piano ProjectDIY Watercolor Succulents by Dana Martin - includes free templates!DIY Watercolor Succulents
Previous Post: Magic Math Owl Tutorial
Next Post: Stenciled Cardigan Tutorial

Comments

  1. Rachael says

    February 25, 2011 at 1:49 PM

    Using your wedding dress!! What an awesome idea!! I always hate the idea of having mine hanging in the closet for years, inevitably just going to waste. These pillows are a perfect idea for repurposing and enjoying those wedding day memories! 🙂

    reply to this comment >
  2. Chelsea {twotwentyone} says

    February 25, 2011 at 2:00 PM

    As a person who is getting married this summer {120 days to go, omg, I’m going to vomit}, I absolutely LOVE this idea! Even if I do have a daughter {fingers crossed} I doubt she’ll want to wear my dress, although I think it’s quite fabulous myself. 🙂 What a wonderful way to share and showcase your wedding dress!

    reply to this comment >
  3. Lori says

    February 25, 2011 at 2:41 PM

    Chopping up your wedding dress? Oh, I could never do it! Beautiful pillow though!

    reply to this comment >
  4. Tabitha says

    February 25, 2011 at 2:51 PM

    I love, love, love this! I’ve been wanting to attempt this for a while now and might just work up the courage. Not with my wedding dress, though. I don’t think I’d ever have that much courage. lol Thanks for sharing your gorgeous pillow tutorial.

    reply to this comment >
  5. Kimberly says

    February 25, 2011 at 6:12 PM

    I love it! You are very daring to chop up your wedding dress, but I’m a wuss. I think I’ll stick with the linen pillow, and this is filed under my “must make for baby girl’s room” file!

    reply to this comment >
  6. clements_diane says

    February 25, 2011 at 7:15 PM

    Wow, this is great. What a great gift for your girls. I can’t even sew a button on but maybe can find someone who could do this! Thanks for sharing.

    reply to this comment >
  7. Christine:) says

    February 25, 2011 at 5:24 PM

    Amazing…and she writes so well, and so comfortably, like she’s just talking with us. I love it. Beautiful pillow!
    Love,
    C:)

    reply to this comment >
  8. Lesley K Yates says

    February 25, 2011 at 10:08 PM

    Super cute!!! I love this pillow!! I’m totally doing this!!

    reply to this comment >
  9. Krista says

    February 27, 2011 at 1:57 AM

    Great tutorial! I’m going to try this (in a much smaller scale) to decorate a onesie for my daughter!

    reply to this comment >
  10. Tiff says

    February 27, 2011 at 10:41 AM

    Great tutorial! Thanks so much! I will have to use a different fabric though…. my wedding dress was baby blue! X

    reply to this comment >

Leave a Comment Cancel reply

Your email address will not be published. Required fields are marked *

Recipe Rating


Popular Posts

New Year's Eve Minute to Win It games by U Create

New Year’s Eve Minute To Win It Games

Free Printable "Color Your Own" Christmas Banner

Merry Christmas Coloring Banner

Free Pattern: Fall Turkey by U Create

Fall Turkey Printable

Free Printable Pumpkin Games

Halloween Printable: Bugs and Kisses

Halloween Minute To Win It Games

  • pinterest
  • facebook
  • instagram
  • twitter
  • rss
 
Privacy Policy
Back to Top

Copyright © 2023 U-Create • All Rights Reserved • Site Design by Emily White Designs