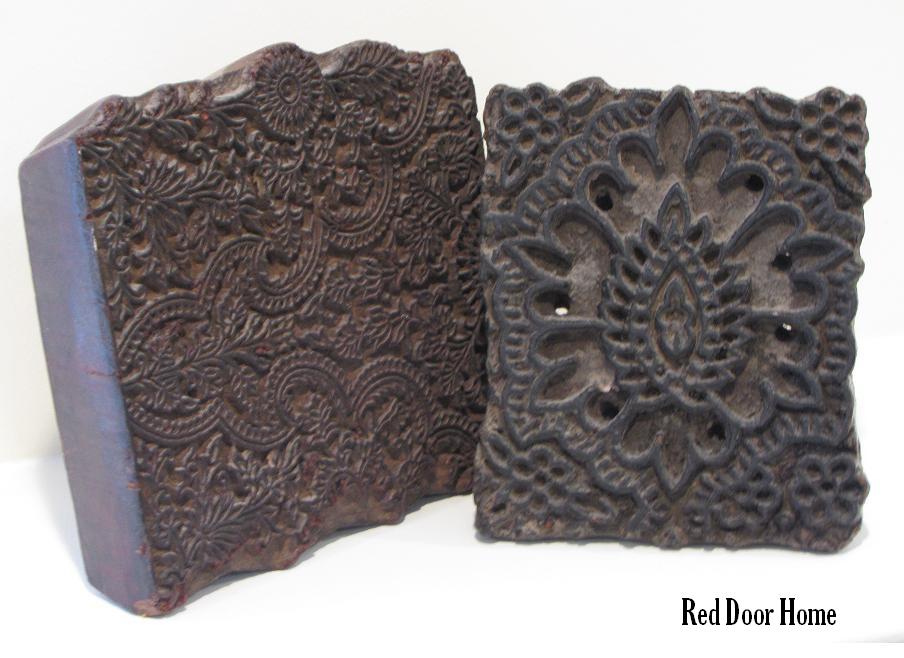
Lately I have come across so many beautiful pillows, fabrics and papers that have been created with these types of printing blocks – some old and some new – that I decided to take mine off the shelf and use them for their intended purpose.
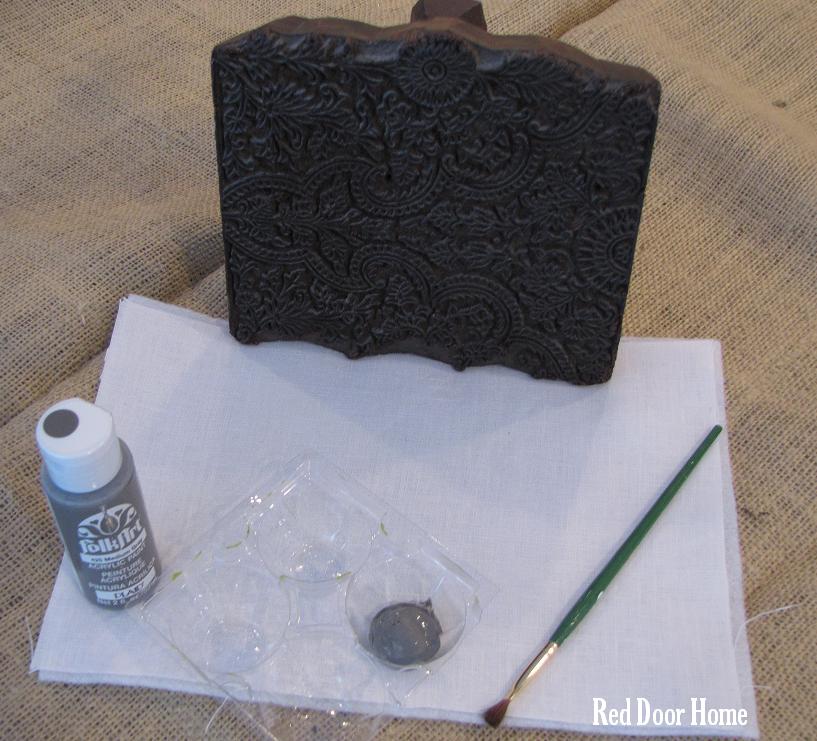
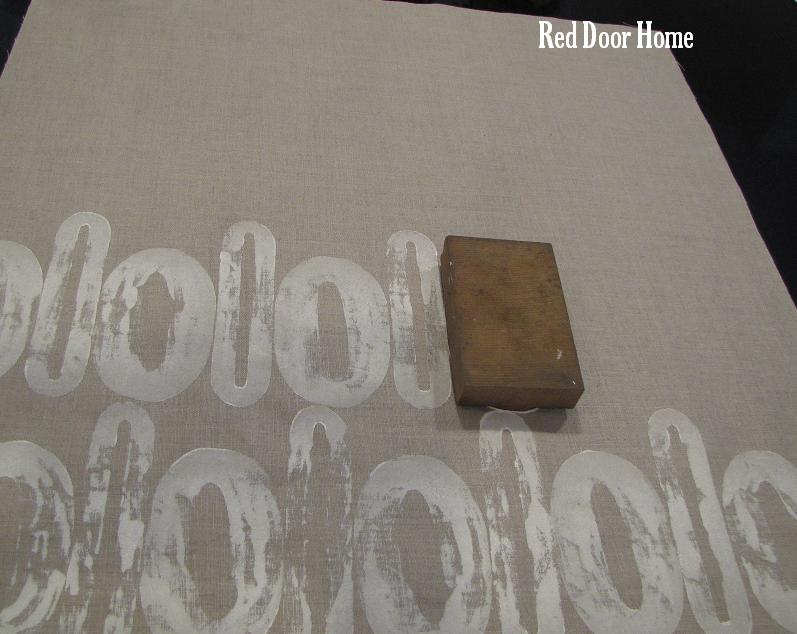
For my first project, I began by attaching fusible interfacing to the back of white linen following the manufacturer’s instructions. My fabric was cut a few inches wider than the block and about five times longer. I painted the block with gray acrylic paint using a paint brush. I used enough paint to cover the raised portions of the block but not overload it with too much paint. I then pressed the block firmly on to the fabric.
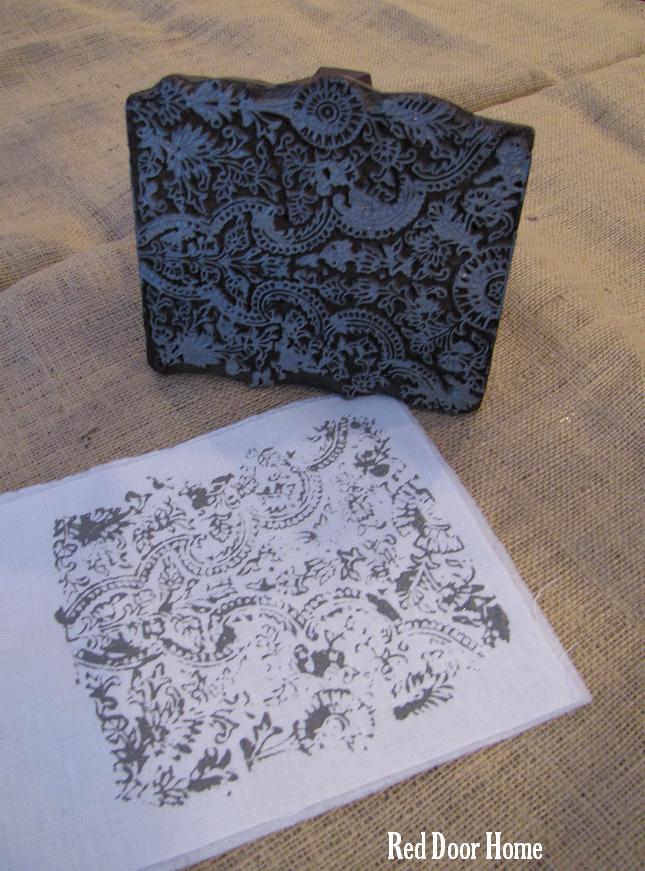
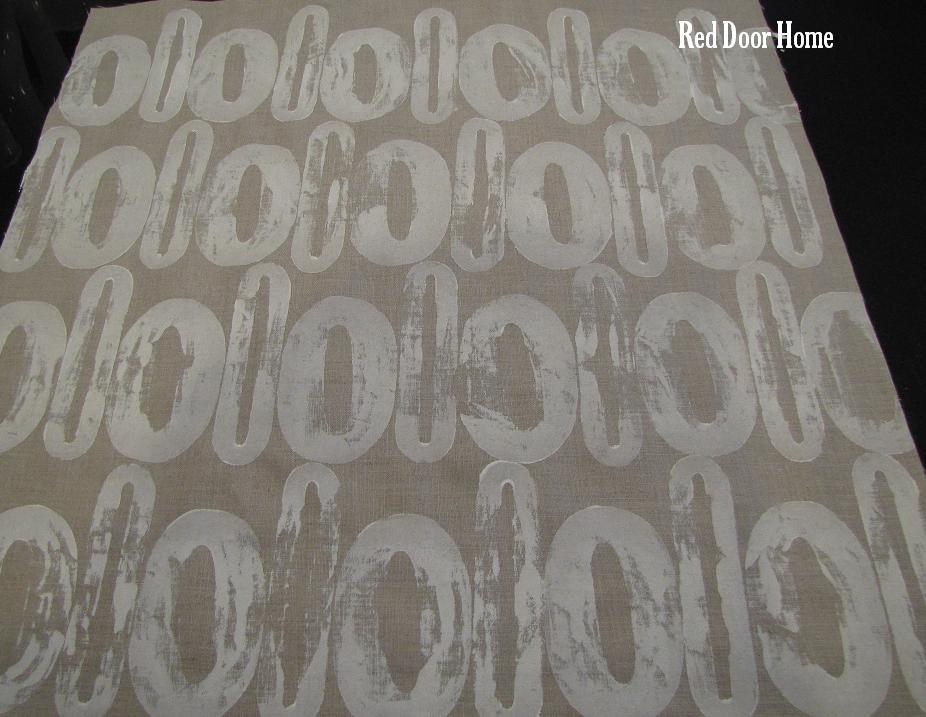
I continued reapplying paint after each impression and printing until I had covered the length of the fabric with the design.
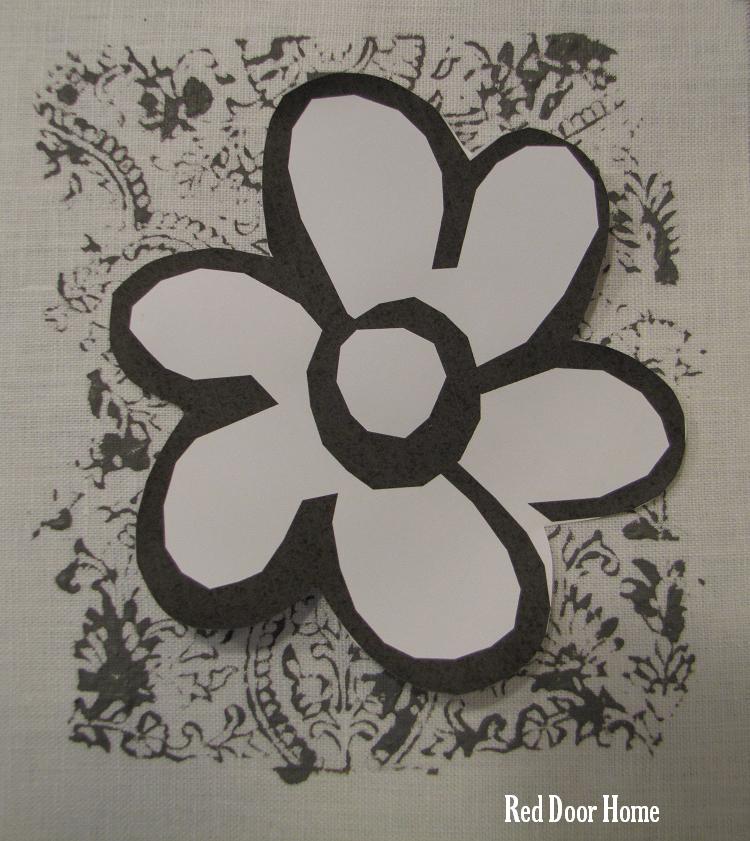
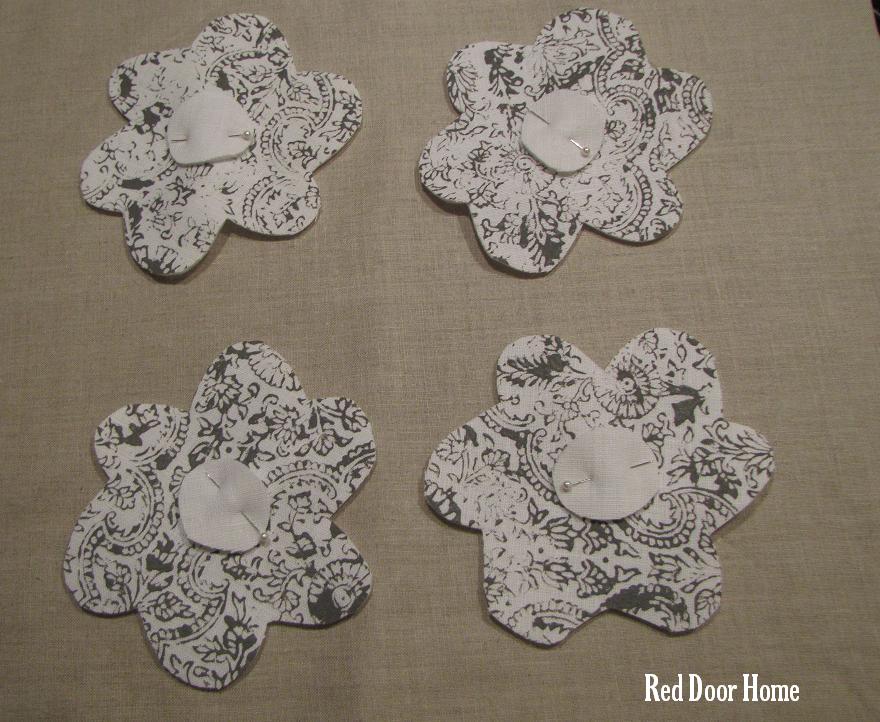
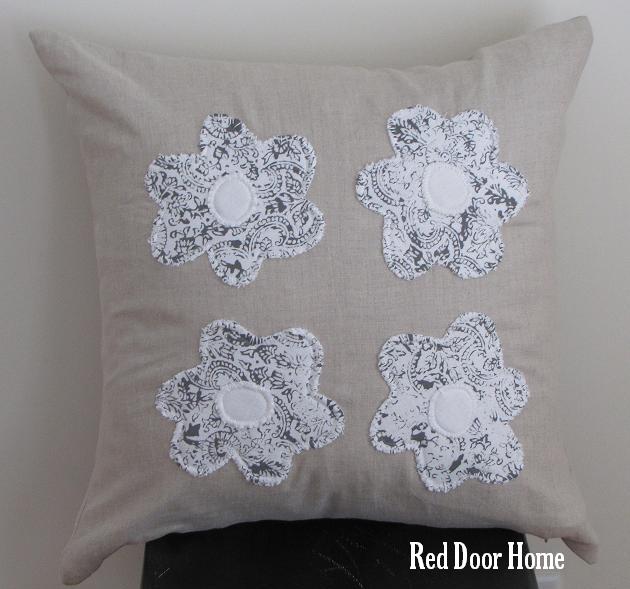
The next step was making a flower template. I found a clip art picture on the computer and used it as my pattern. After waiting for the paint to dry, I cut out four flowers from the stamped fabric.
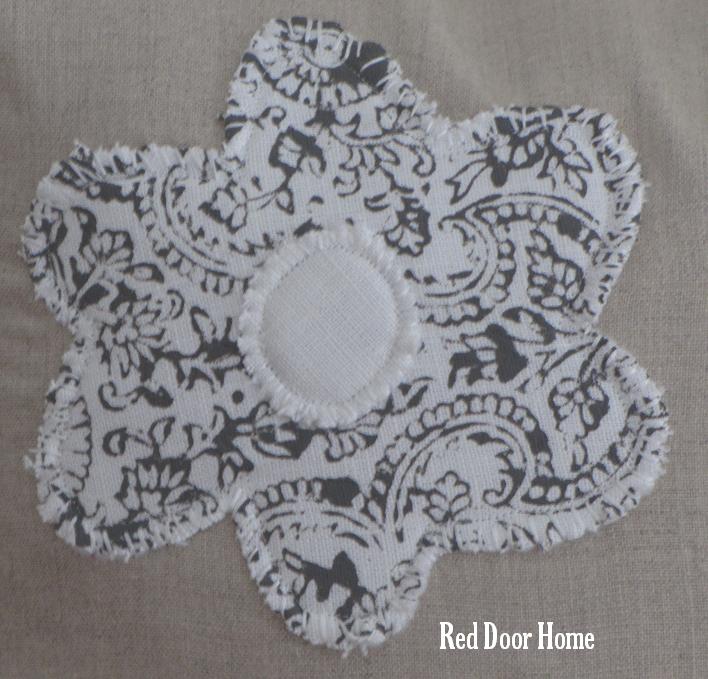
I then cut the center circles free hand from the same white linen fabric. I pinned and sewed the centers in place on the flowers with my sewing machine using ¼” seam allowance.
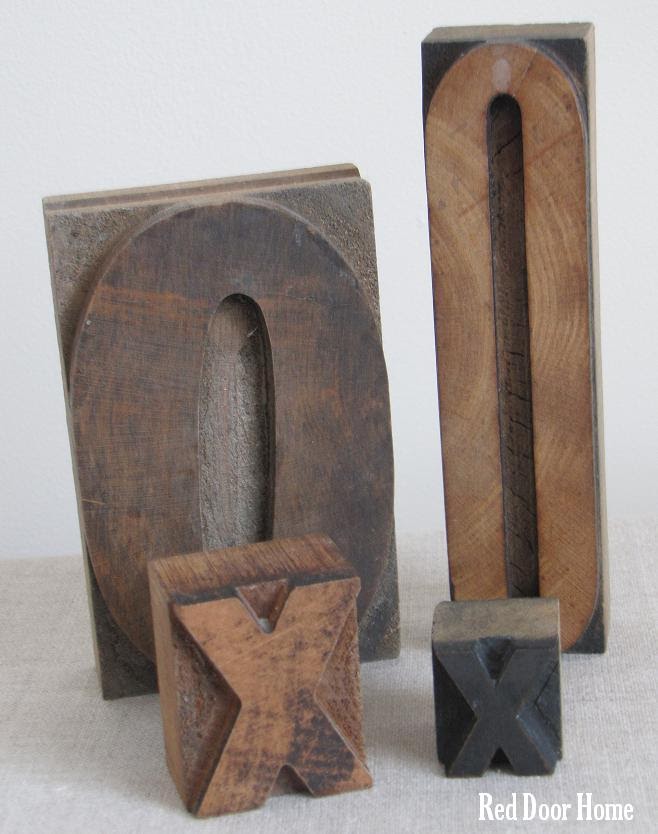
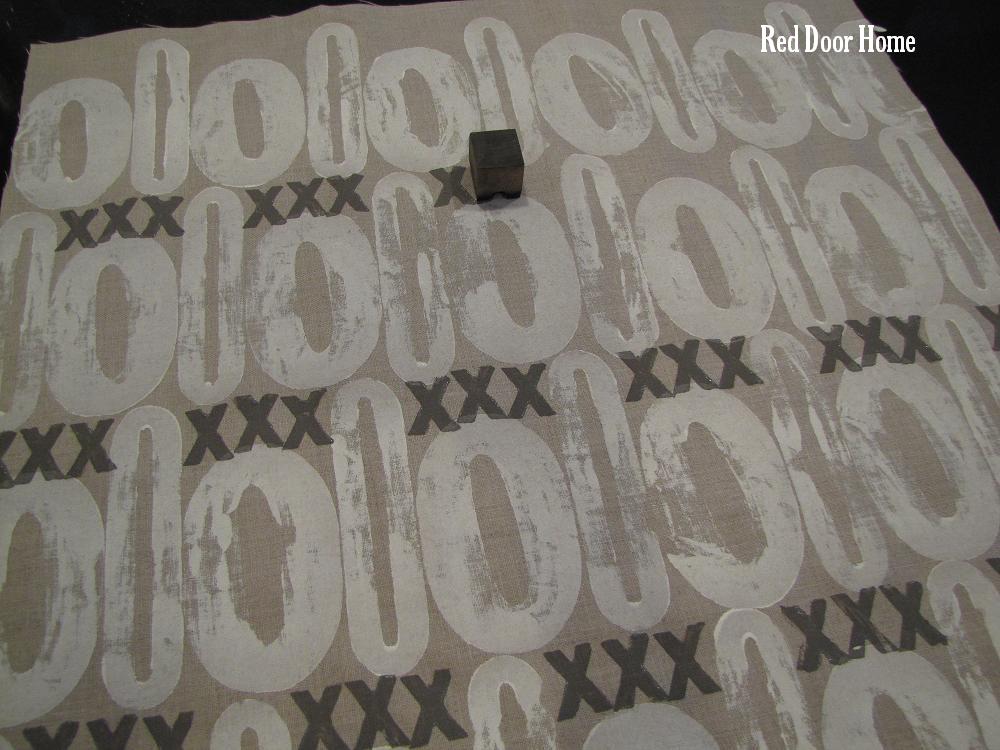
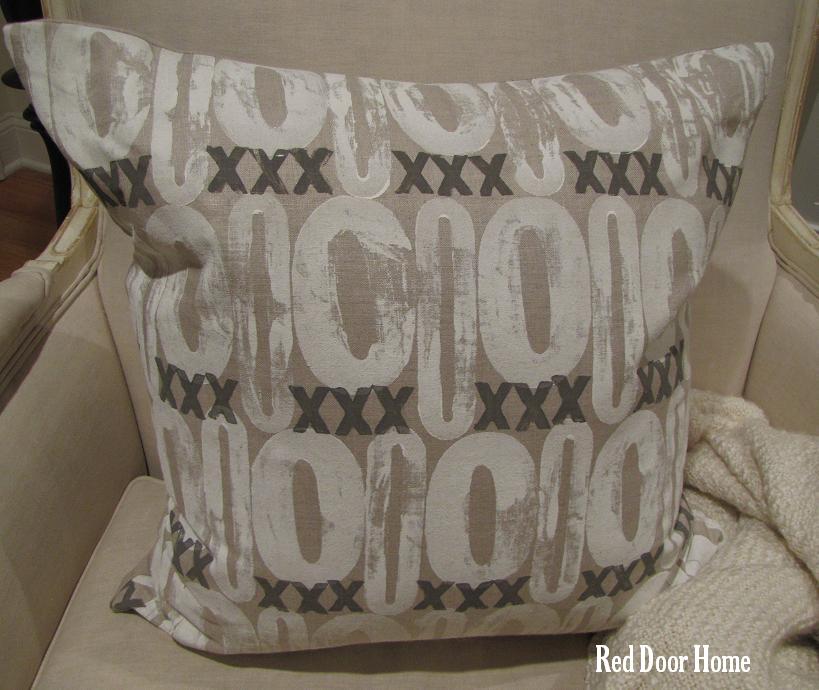
 The second project involved using the letters “X” and “O”. I used two different colors of paint –gray and white – and did not interface the fabric.

Again, I simply painted the backs of the blocks with water based acrylic paint using a paint brush and pressed them firmly onto the fabric (already cut to my desired pillow size). I started by alternating the large “O” and the small “O” to form a pattern.
I then added a series of “X’s” to fill in the open space.
This fabric was also turned into a pillow.
What I learned:
After looking online at other block printed fabric products, I have found many people use water based ink. I am not sure how the acrylic paint will hold up to washing. However, if you have ever spilled it on your clothes you know it is nearly impossible to remove once it has dried. The fabric was definitely a little stiff where it had been painted. I have been told there is a fabric medium available in craft stores that can be added to soften the feel of the paint.
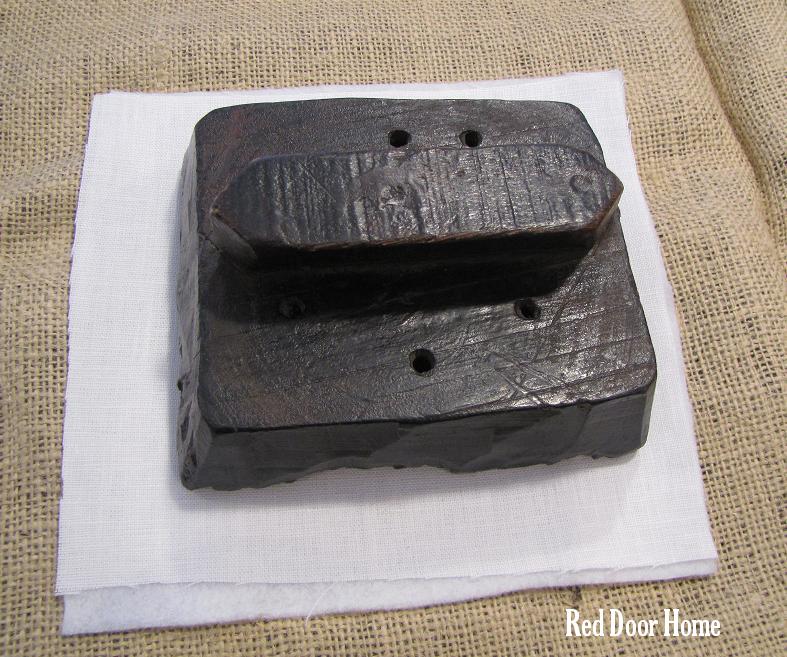
If you do use paint, make sure you place something underneath your fabric. The paint will go through the fabric and paint whatever surface is below.
Finally, I like to block print! I will be keeping an eye out now for vintage letters to use for future projects.


Love the XO pillow! I have a few old printing blocks but will definitely keep my eye out for more! The paint will not wash off but the fabric medium will help soften it up. As for the water based ink… I wonder if that will hold up to washings? Yours looks wonderful, thanks for sharing! Theresa
I think both pillow designs are fantastic! You could use a polymer emulsion to add to your acrylic paints like Golden or Liquitex. Also acrylic paints like Deco Americana or Ceramcoat wash well however I do like to heat set them for added reassurance. Great job!
Neat ideas!! I Love the XOXO pillow!
Way to go Stacy! I will be logging your Red Door Home projects today and so excited to see your work appreciated! this is fabulous!
Loving that XO pillow!! Great finds on the blocks too — be sure to display those and don’t just hide em in your craft closet — they are gorgeous just as they are!!
this is such a fantastic idea. i will definatly be looking for cool things I can use as stamps
These are amazing I love all of them!
Check out my awesome GIVEAWAY
~Morgan
Meet Virginia Crafts
Meet Virginia’s Etsy Shop
it is a wonderful art