Hi there, lovely readers at UCreate! I’m Suzannah from Adventures in Dressmaking and I’m so excited to be sharing a tutorial with you all today! I’m visiting from my blog, where I share my sewing, decorating, and crafty projects of all kinds.
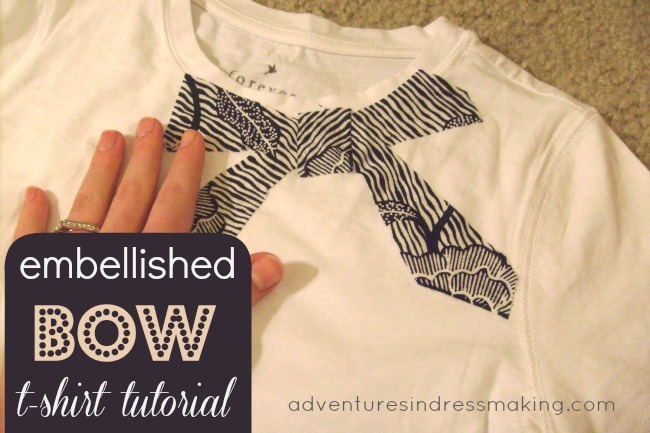
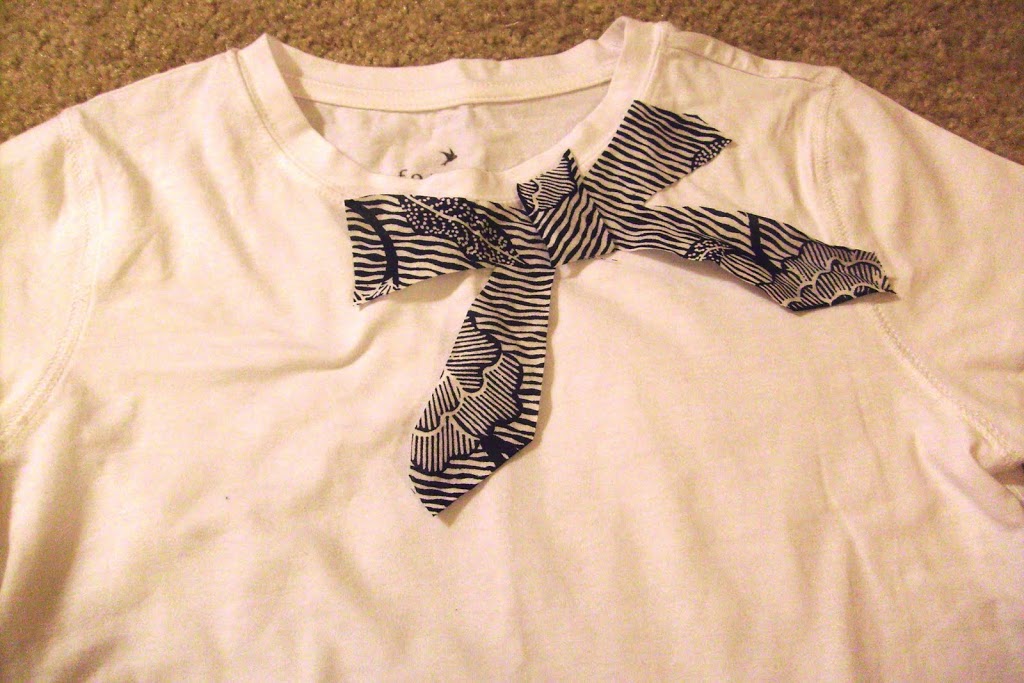
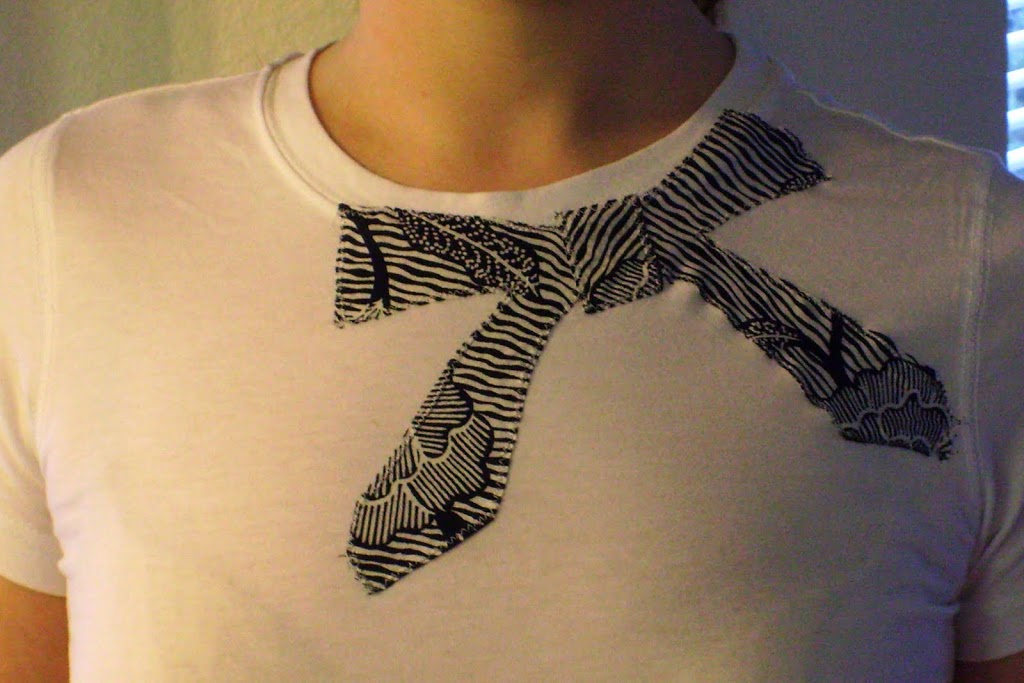
This tutorial here is great for all of you, very little sewing skills required. I’m showing you how to make an embellished tee, with a motif of your choice–I’m doing a fabric bow cutout on a white tee, but you could do anything! When I was designing it I thought how cute it would be to do Easter eggs on a little girl’s tee, or blades of grass–oh, so springy and cute! The best thing is, this technique makes the tee totally washable, no problems there.
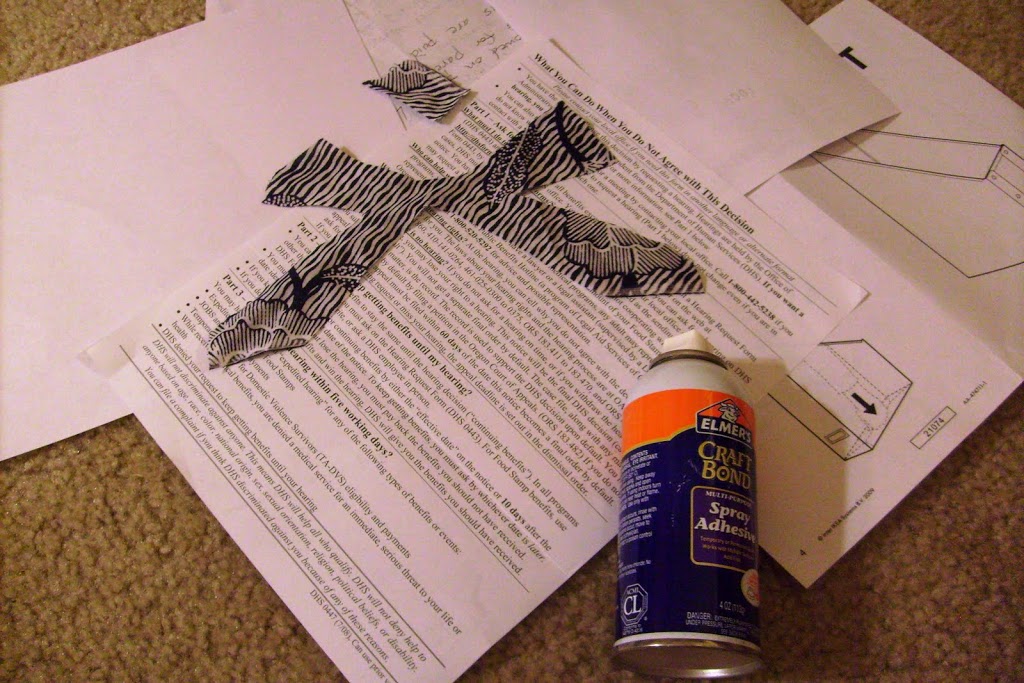
All you’ll need for this tutorial is a tee or tank, a small amount of fabric of your choice, and some spray adhesive. I dug through my “old project scraps” drawer and grabbed some of the leftovers from a dress I made a couple summers ago… this fabric is from Goodwill so I have no idea how old it is or anything, but it’s all cotton and I love the navy/white combo.
So let’s start the tutorial!
Assemble your tee, fabric, and spray adhesive.

Think about the shape you want to use. Hearts are cute, maybe even a circle? Or you could do some sort of pattern (simple flower with circle center, rounded petals?). Again, Easter eggs are on my mind.
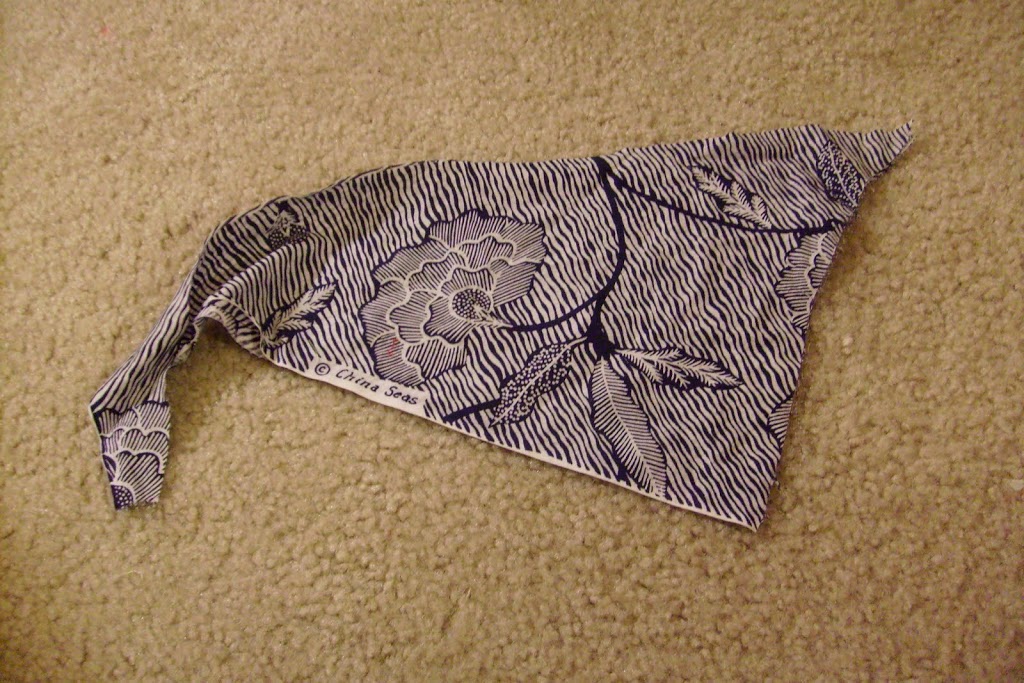
I’m using a bow shape, so I actually made a bow (haha!) for a pattern and cut around it.
I folded my fabric in half to make sure it was at least mostly symmetrical.
Here are my shapes laid out–I added a rectangle for the center of the bow.

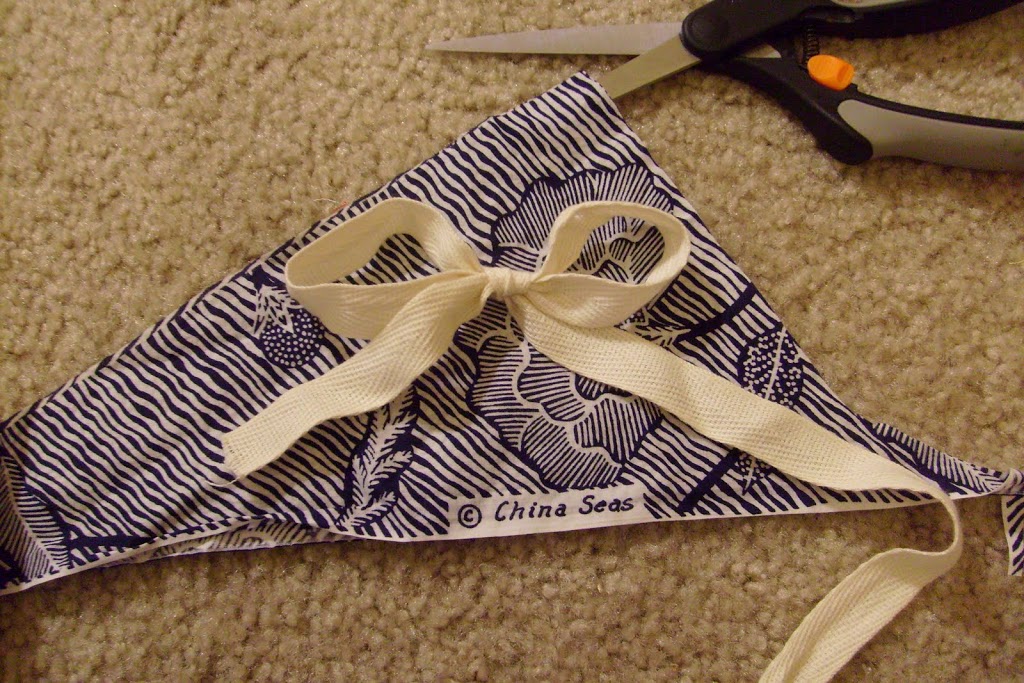
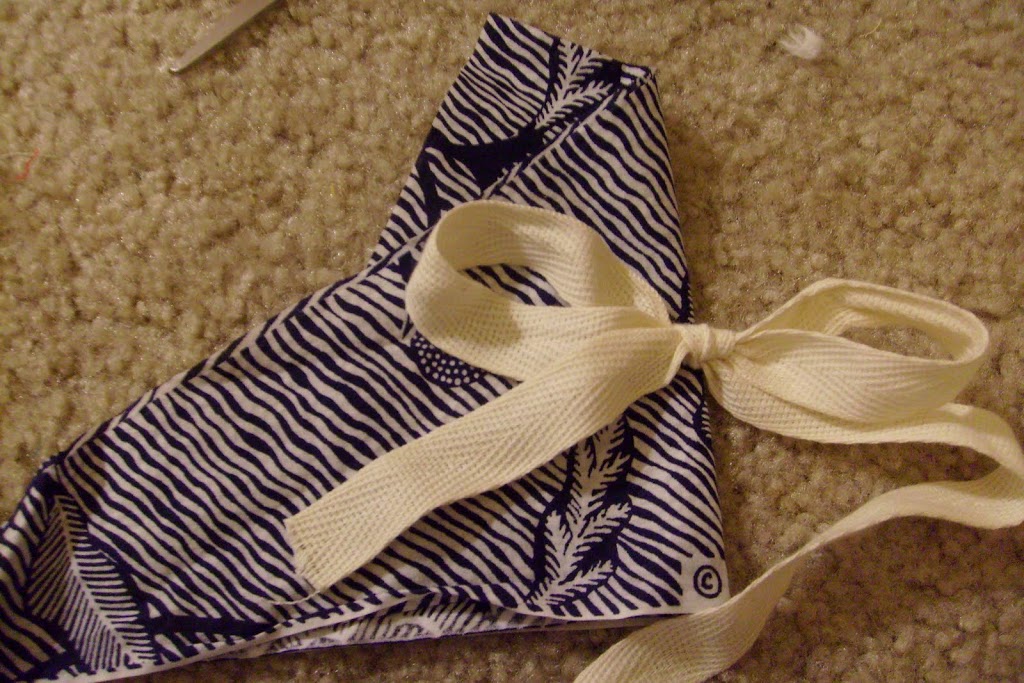
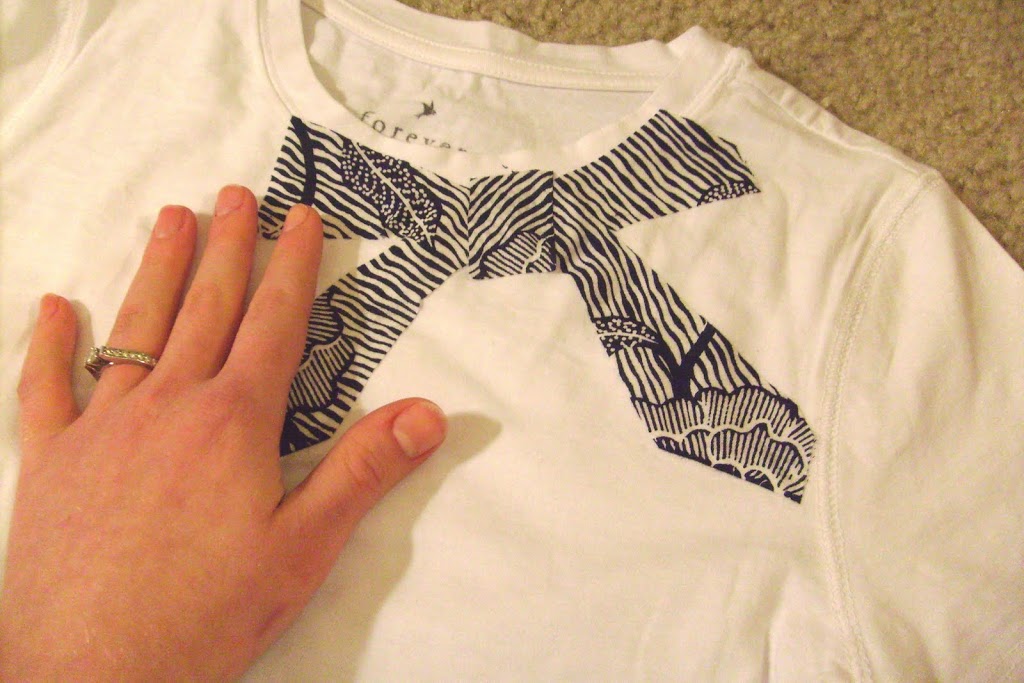
Place the shape in the approximate place you want it on the tee. Do you like the shapes you’ve made? Now’s the time to revise.
Here’s the messy part. Get a nice background because this stuff gets everywhere. Lay the WRONG SIDE UP on your background area and spray.
Now, before the adhesive dries, carefully place the shapes onto the tee and press them down into place.
Note: you could use pins instead of spray adhesive. I don’t recommend it, though, if you can use adhesive. It will be absolutely maddening to work with the shape when it’s pinned because of the nature of the knit–eek, it makes my shoulders tighten just thinking about it!
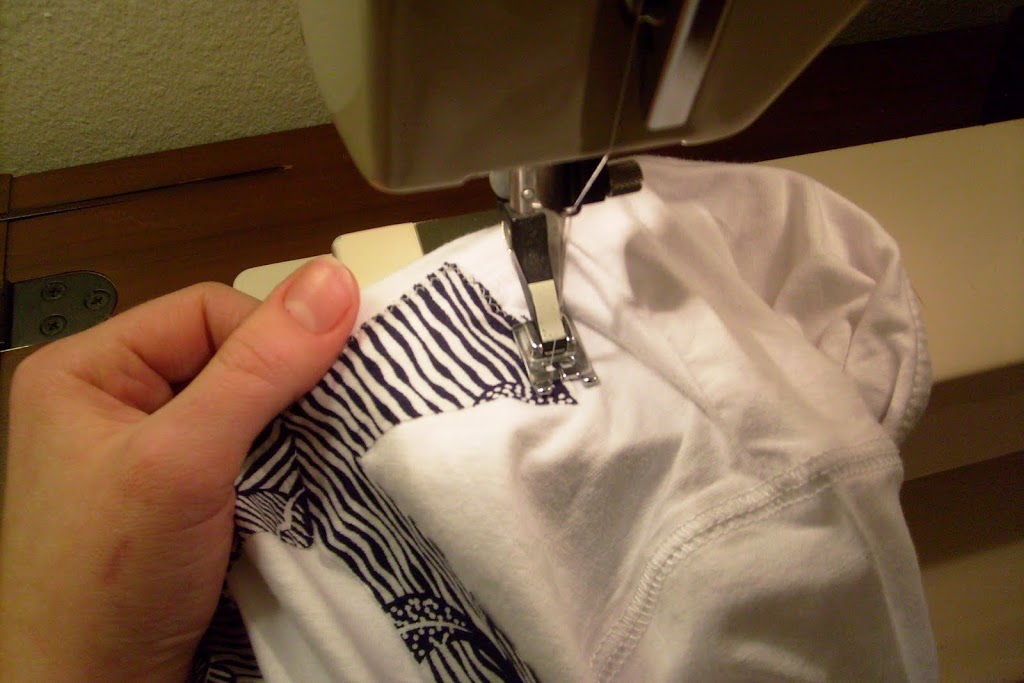
Here’s the part where a very minimal amount of sewing is required. You can do this part by machine or by hand. If you know how to do a basic running stitch, you can do this! If you have a machine, great. I recommend a zig zag stitch because it’s a cute decoration that covers a good amount of the edge that could potentially ravel in the future (it probably won’t, depending on the fabric you use for your trim).
Ta-da!!
Hope you enjoyed this super simple tutorial, and I’d l ove if you’d visit me at Adventures in Dressmaking sometime soon! I have a lot of tutorials for J.Crew and Anthropologie-inspired ruffled tee refashions, as well as fun ideas for more recycled clothing projects! And, of course, I love to share my home dec and crafty ideas and darling sundresses, as the season allows. 😉
ove if you’d visit me at Adventures in Dressmaking sometime soon! I have a lot of tutorials for J.Crew and Anthropologie-inspired ruffled tee refashions, as well as fun ideas for more recycled clothing projects! And, of course, I love to share my home dec and crafty ideas and darling sundresses, as the season allows. 😉


Cute shirt!!! Thank you for sharing it!
Just a quick note to let you know that a link to this post will be placed on CraftCrave today [30 Mar 03:00pm GMT]. Thanks, Maria
thanks for the tutorial! definitely coming over to your blog for a visit – you had me at j.crew & anthro!
nerissa
Very cute!
Oh, I love this idea! Thanks so much for sharing!! 🙂
Cute shirt! and so easy!
Thanks so much ladies, so glad you liked it!!
OMG! So cute and different. I love it!
Thanks for the tutorial – I checked out your blog too… very inspiring – thanks!
Very very Cute! I have been a fan of her blog for awhile. She is so talented!!!
Love that shirt!
XOXO
Jen
Hey thanks for the tutorial! That shirt turned out great and seems super simple! I’m heading over to your blog right now to check it out 😀
Too cute! I am totally doing this! LOVE her blog!!
Check out my awesome GIVEAWAY
~Morgan
Meet Virginia Crafts
Meet Virginia’s Etsy Shop
Lovely! Great idea!
hey i love your blog, i hope that someone can visit my blog. Is:
http://roseblack217.blogspot.com/
XOXO <3
cute, I loved it.
That’s so cute!! I linked to your tutorial over at Craft Gossip Sewing:
http://sewing.craftgossip.com/tutorial-applique-a-fabric-bow-on-to-a-plain-tee/2010/03/30/
–Anne
I love this. Thanks for the tutorial. I’ve never used the spray adhesive. I’ll have to try it!
I have been wanting to make a little boy’s T with a “tie”. Your instructions will make it easier. I am glad I am a procrastinator. THANKS!!
I love this, this is so fantastic