
How about a Vacation Countdown Calendar! I know I, myself, get excited counting down the days to sandy beaches and carefree days ~ and as my son gets a little older I’m sure this will come in handy as the summertime kiddie going away anxiety grows.
Materials Needed
Scrap Piece of Beadboard
Scrap Piece of Thin Wood
{30} 3/4 Inch Wooden Beads
2 Small Screw Hooks
24 Gauge Craft Wire
Jute Twine
Assorted Acrylic Paints
Gorilla Glue Epoxy
4 Inch Foam Alphabet Stamps
1/2 Inch Mini Numerical Rubber Stamps
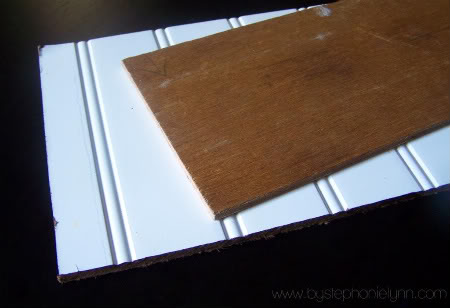 Began with a piece of beadboard {cut 25 inches wide by 6 inches high} and a piece of thin wood {cut 21 inches wide by 5 inches tall}. I used a few scraps I had left over from previous projects.
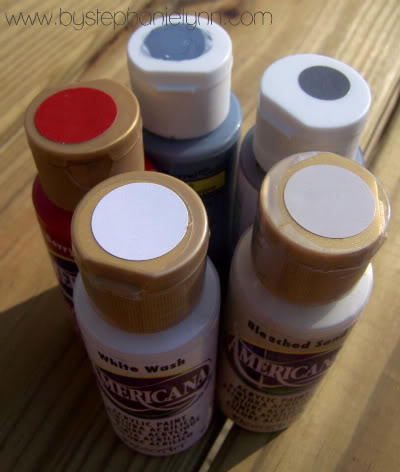 You can get creative with your color scheme to match any decor; I went with a washed out, beach inspired, Americana look. The beadboard received a coat of a custom Blue color, which I made using a combination of acrylics and water {Apple Barrel Blue Stoneware 20566, Americana White Wash DA02, & Folk Art Medium Grey 425}. The wood piece was painted with Americana Bleached Stone DA257.
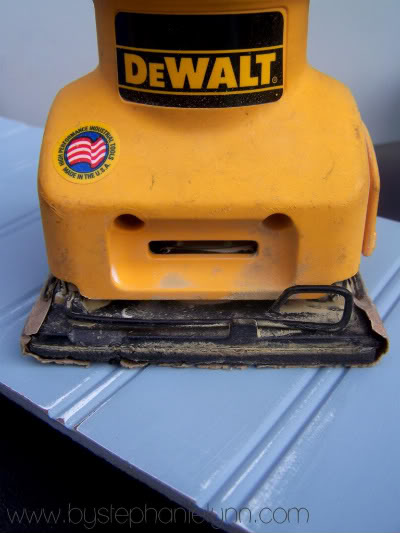 Once dry, if you prefer a distressed look, sand over the beadboard with a palm sander.
 Drill two holes at the top for the hanger. {4 inches from each side and 3/4 inches from the top}
 You can use any type of string or ribbon for the hanger; I chose to use three pieces of jute twine, which I braided together. Stick one end thru one of the holes {from the front} and tie into a knot on the backside; repeat with other end of the string into the second hole to create the hanger.
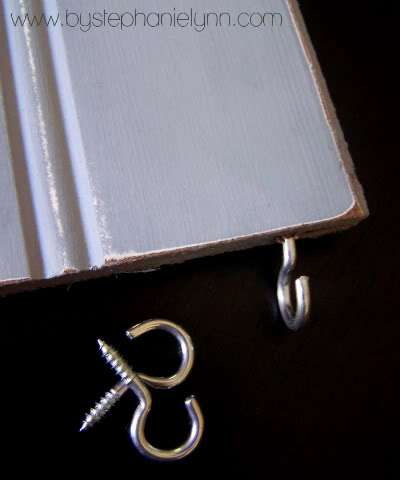 On the bottom edge of the beadboard insert two mini screw hooks, one on each end; this will later hold the wire for the beads.
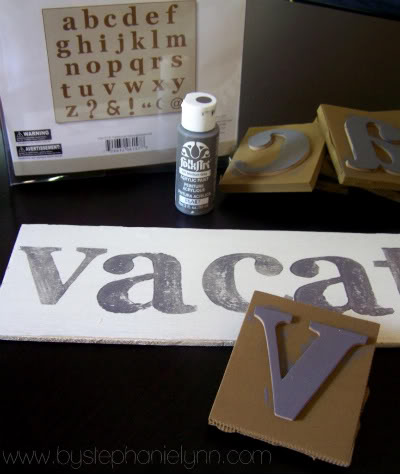 Now you are ready to start the lettering on the second board. I used 4 inch foam alphabet stamps for mine. These can be found in the scrapbooking section of your local craft store, usually with the rubber stamps. I have used these on a number of projects and just love them! They come in several different styles and sizes and run from $5 – $10 a set.
 Lightly paint on a small amount of acrylic paint with a brush and stamp on. I used Folk Art Medium Grey 425 for my letters.
 To ensure your letters are aligned use a measuring tape or straight edge as your guide.
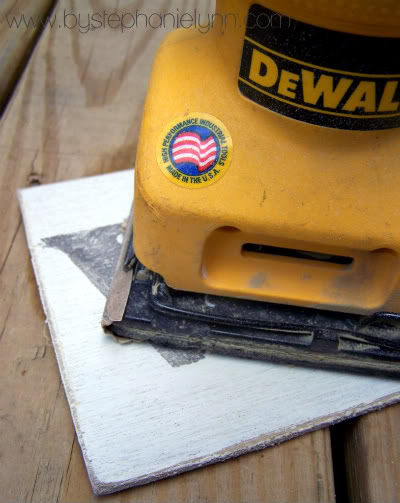 Once dry, again, if you prefer the distressed look, sand the edges and over the lettering. I just adore the weathered look this adds to the piece.
 Attach the two boards together using Gorilla Glue Epoxy and let sit to dry for at least 90 minutes.
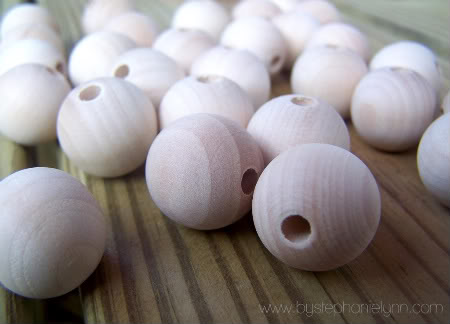 For the ‘counters’ you will need 3/4 inch wooden beads; make sure you purchase the ones with the pre-drilled holes. These are normally in the wood craft section and come already packaged in bags of 30.
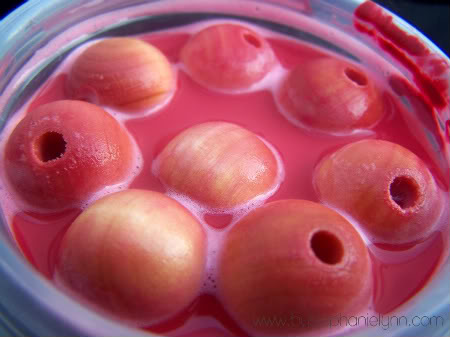 The easiest way to color these is to let them sit in a mixture of paint and water. This will give them more of a translucent ‘stained look’ than solid paint. Simply fill a small bowl with water and add in your acrylic paint. Stir with a brush to mix well and drop in the wooden balls. Let sit for about a half hour or until the desired color is reached. To dry, thread them into a wooden skewer and sit on top of a vase or open container.
 Once dry, you are now ready to number. I used a 1/2 inch mini stamp set with black ink pad for mine. These can be found in the scrapbooking section of your local craft store.
 Stamp each ball with numbers 1-30 and re-thread onto the wooden skewers to dry.
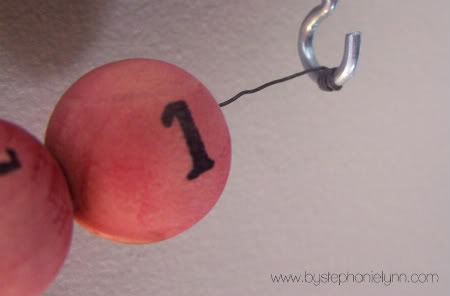 To hang the beads cut a piece of 26 gauge craft wire and tightly wrap the end around one of the screw hooks. Thread on your beads in descending order from left to right and secure the loose end of wire to the other screw hook.

Hang and count down those last 30 days until your relaxing vacation!
As the days pass, simply roll each bead around, until the number is hidden on the backside.
Happy Summer!
Thank you so much for letting me share this fun project with you all! You can check out what else I’ve been up to over at Under the Table and Dreaming.

Stephanie!! I’m so excited to see you here. Cute project!!! I just love everything that you do!
XOOX
Jen
Another great idea, Stephanie Lynn! Now, I just need a vacation to count down to… 🙂
I love this idea! I think my husband needs one of these for his office….
Oh this is just adorable!! I’ve been using a countdown online…but it’d be so fun to have one to sit out for decor! Love it! Thank you so much for sharing the idea and tutorial 😀
~Terrell @ FrouFrouDecor~
This is a really cute project and inspires me to make birthday countdowns, christmas, etc… Thank you!
This is adorable! and way better than putting X’s through the calendar days! I am soo going to do this:)
-Amanda
What an adorable idea, and could be used for so many countdowns! Thanks so much for sharing this…hopping over to check out your blog!
This is way cute! You are so creative. TFS!
How brilliant is the whole “soaking the beads in paint-ee water” thing? Seriously. It’s ingenious! I’m thinking I need a countdown to our family trip to disneyland in October. I’ll have to buy every bead in the place. I might not be patient enough to wait that long…..
I love Stephanie Lynn’s blog. One of my very favorites!!
very cute! I have a HUGE bag of those beads I just talked myself into getting rid of! Now they might have to stay 🙂
Soooo cute!! Love it!!
Very cute and clever! I think you could also use it just to count down school until summer vacation!
Oh I love that. and power tools…I need more power tools for my crafting goodness!
Im in love!!!
how fun!!! and the cool thing is you could do this for anything – maybe even somehow make the “vacation” interchangable with things like “____ birthday” or “christmas”. I LOVE IT!!
This is so fun and creative- what a great idea! What a great idea for kids. Thanks so much for the directions, I’ll be linking to this.
What a fun idea this is!
(Came over from One Pretty thing)
Very cute idea, wish I would have found this last month as there are only 19 days left for our vacation and I won’t have time to even start one of those before then. Great idea for next year maybe! Thanks for sharing!!
Not only did this turn out fabulous, but it’s functional too, I love it!
Love a good countdown…and how creative is this!? I’ve never seen anything like it before. Pinning it RIGHT NOW. Nice one, Stephanie.
Warmly,
Lauren
The Thinking Closet