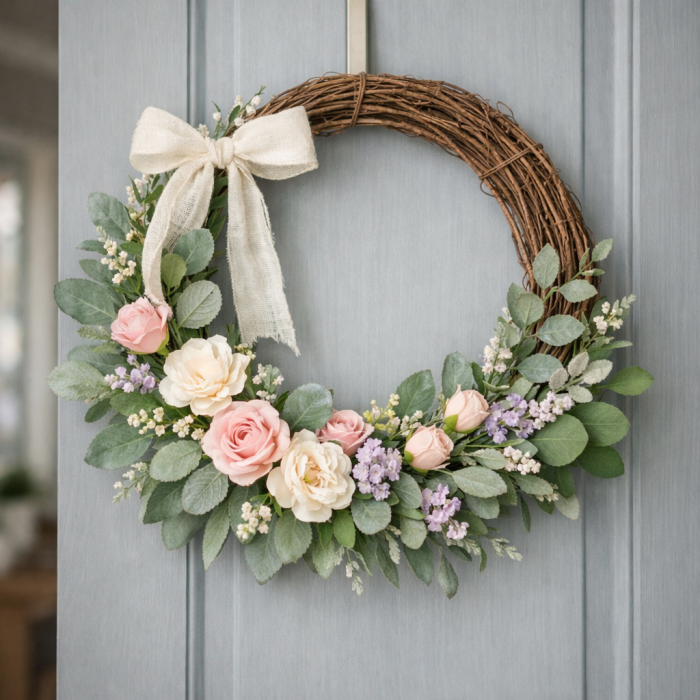
Spring is one of my favorite seasons to decorate for because even a simple project can make your whole home feel fresh again. After the long winter months, I’m always ready to bring in soft color, pretty greenery, and a little bit of floral charm.
This DIY spring wreath is one of those easy projects that looks beautiful on a front door, above a mantel, or even layered on an entry table. I love that it feels fresh and elevated, but it’s still simple enough to make in an afternoon. If you’re looking for a spring wreath with a soft, natural look, this is such a pretty one to try.
Supplies
- 1 grapevine wreath or thin wire wreath form, 14–18 inches
- Faux greenery stems
(eucalyptus, lamb’s ear, fern, or mixed greenery all work well) - Faux floral stems in soft spring colors
(blush, cream, pale yellow, lavender, or light peach are all pretty choices) - Floral wire or hot glue
- Wire cutters
- Ribbon or twine for hanging, optional
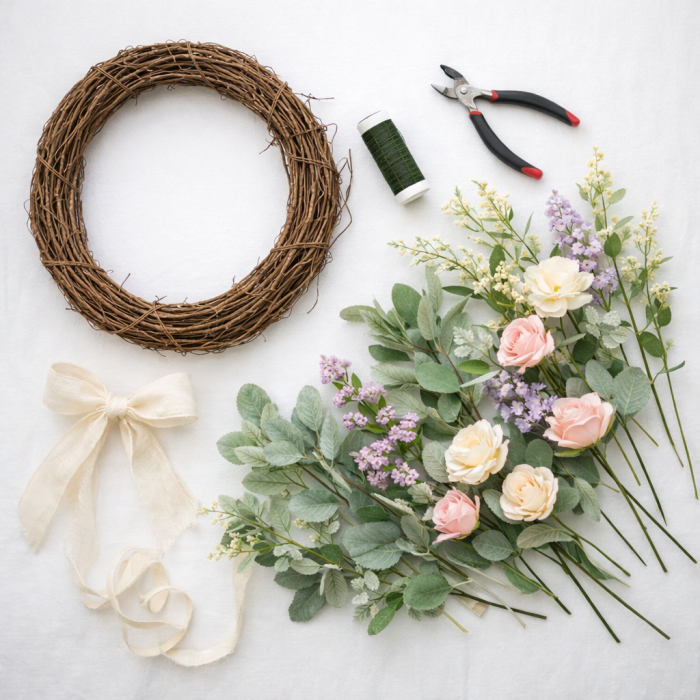
The prettiest wreaths usually have a soft, unbalanced shape rather than a perfectly full circle. I like to cluster greenery and flowers more heavily on one side or around the lower half of the wreath for that airy, designer-inspired look.
If your floral stems are very bright or overly shiny, trimming them down and mixing them with more muted greenery can help the wreath feel softer and more natural.
Step 1: Prep your stems
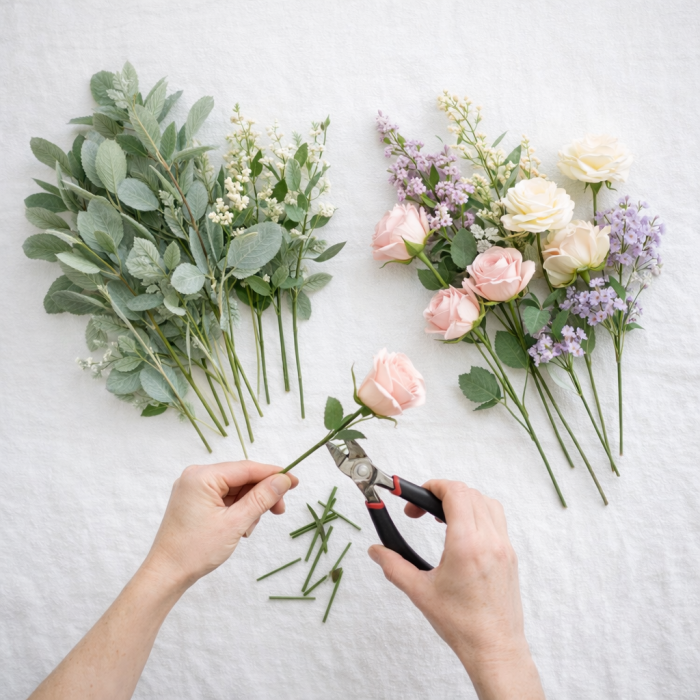
Start by cutting your faux greenery and floral stems into smaller pieces. You’ll want a mix of short and medium sprigs so you can layer them easily around the wreath form. Set your greenery in one pile and your florals in another. This makes it much easier to build the wreath in stages.
Step 2: Create the base with greenery

Lay your wreath form flat on your work surface and begin placing the greenery first. Tuck the stems into the grapevine base or attach them with floral wire if you’re using a wire form.
Work in one direction so the leaves flow naturally. Start with larger greenery pieces, then fill in with smaller sprigs to create a soft base. You can keep the greenery concentrated on one side for an asymmetrical wreath, or spread it around the entire form for a fuller look.
Step 3: Add your florals
Once the greenery is in place, start adding your flowers. I like to place the larger blooms first, then fill in around them with smaller florals. Try grouping flowers in clusters of two or three rather than spacing everything evenly. This helps the wreath feel more natural and less stiff. Leave a little open space around the wreath so the design still feels airy and light.
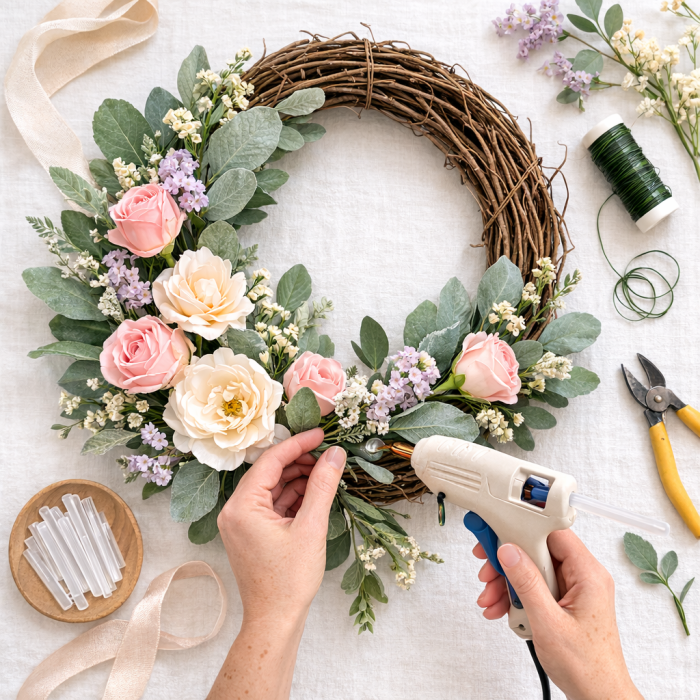
Step 4: Secure everything in place
When you’re happy with the arrangement, secure each stem with floral wire or a small amount of hot glue. If you’re using hot glue, let each piece cool before moving on. Gently lift the wreath and check for any loose stems. Add extra greenery anywhere the base still feels bare.
Step 5: Add ribbon
If you want a more finished look, add a simple ribbon or loop of twine for hanging. A soft neutral ribbon, gauze ribbon, or natural linen ribbon looks especially pretty for spring.
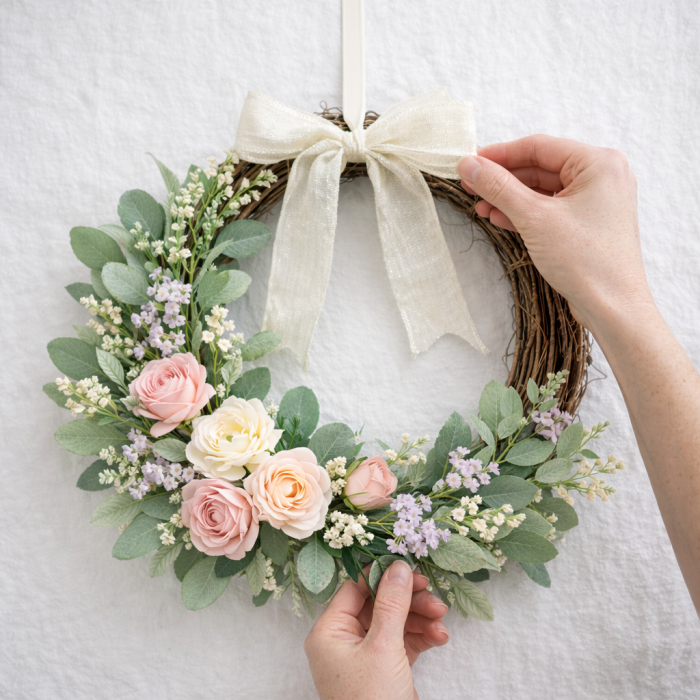
Step 6: Hang and style
Hang your wreath on your front door, above a mantel, on an interior mirror, or even on a cabinet door for a fresh spring touch.
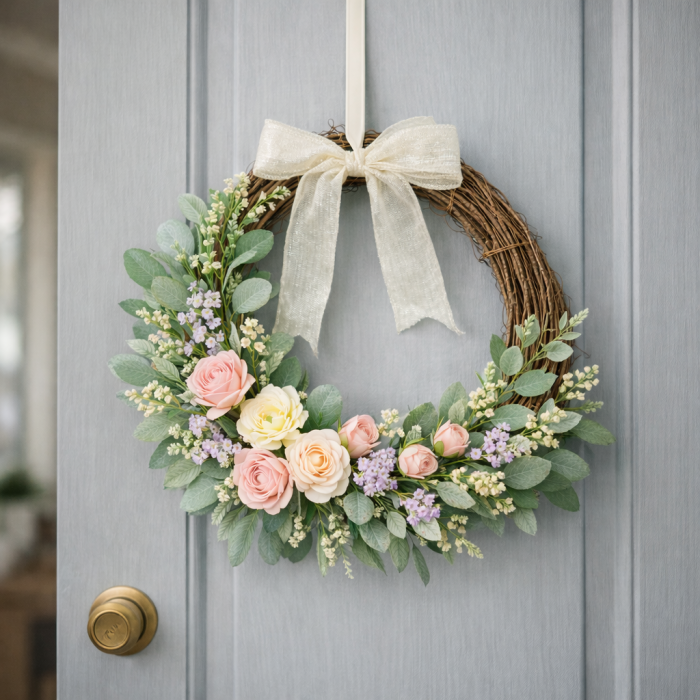
A pretty spring wreath is such an easy way to welcome the new season, and I love how this one adds softness, color, and fresh texture without feeling too fussy. It’s simple, beautiful, and easy to customize with whatever faux stems you already have on hand.
If you make your own version, I’d love to hear what colors you used.
HAPPY CREATING!





Leave a Comment