U Create

It's a good day to create!

  • pinterest
  • facebook
  • instagram
  • twitter
  • rss
  • crafts
    • crochet/knit
    • jewelry
    • kids crafts
    • paper crafts
    • sewing
      • bags
      • boys-clothing
      • girls-clothing
      • women-clothing
      • pillows
      • quilts
  • home decor
    • bathroom
    • build it
    • frames
    • kids
    • kitchen
    • office
  • recipes
    • desserts
    • dinner
    • snacks
    • soups
  • parties
    • baby shower
    • birthday
    • games
    • gift wrapping
    • party decor
    • party favors
  • printables
  • holidays
    • Christmas
    • Easter
    • Father’s Day
    • Halloween
    • July 4th
    • Mother’s Day
    • New Years
    • St. Patrick’s Day
    • Thanksgiving
    • Valentine’s Day
  • gifts
    • baby
    • electronics
    • graduation
    • teacher gifts
  • About
  • Be My Guest
  • Advertise
  • Contact
  • pinterest
  • facebook
  • instagram
  • twitter
  • rss

29 Aug

European Pillow Sham Tutorial

I used to working in a bedding department at the mall in high school and I discovered what was called a “European pillow”. I’ve never head of such a thing back then, but loved how they looked on the display beds we had to make.

During this bedroom makeover competition I knew I wanted big square European pillows and I can’t wait to show you how easy they are to create!

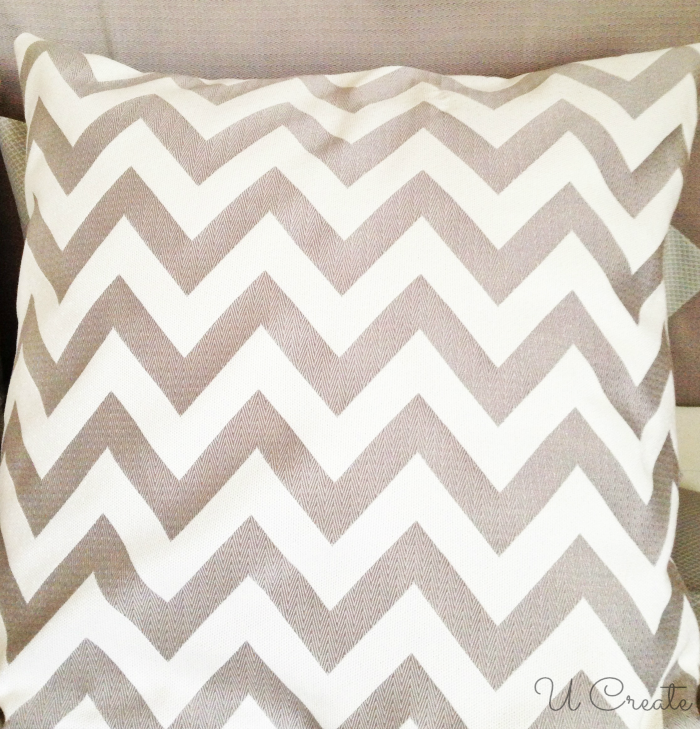
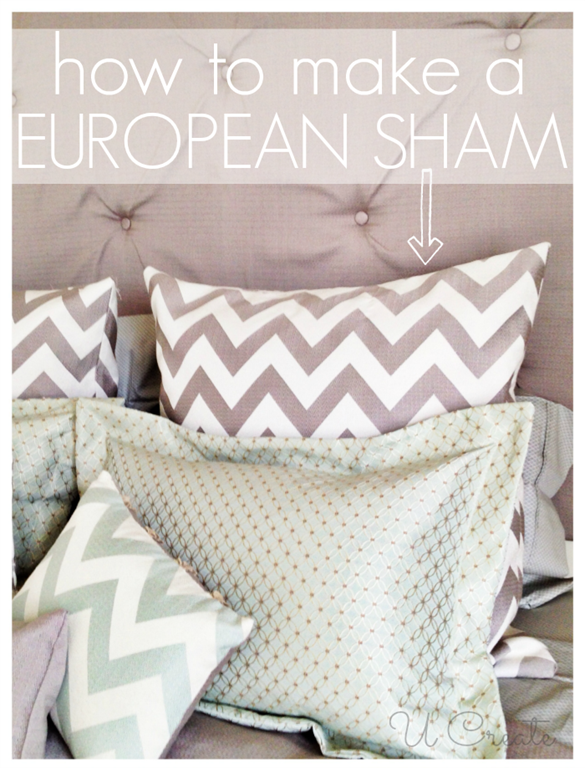
How to make a European Pillow Sham in a few easy steps!! www.u-createcrafts.com

The dimensions of a European pillow sham or usually 26×26 or 28×28. I purchased a size 26×26 at my Kohl’s store and got to work making two shams.

Here are the simple steps…

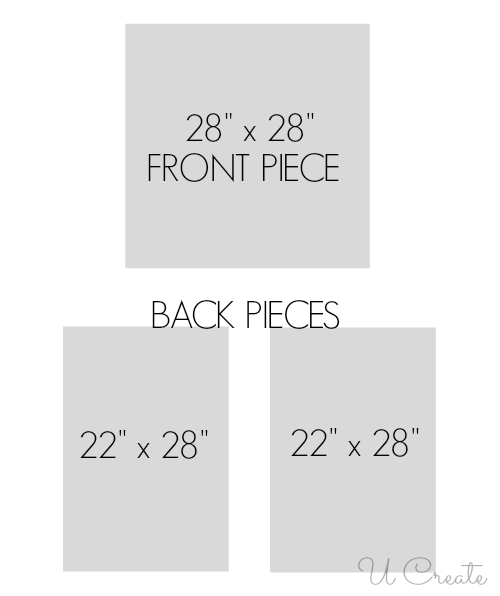
European-Pillow-Dimensions-UCreate

You’ll need the three fabric pieces above.

*TIP* These dimensions are for a 26×26 European pillow, if you are using a 28×28 size you would just add two inches to the above dimensions.

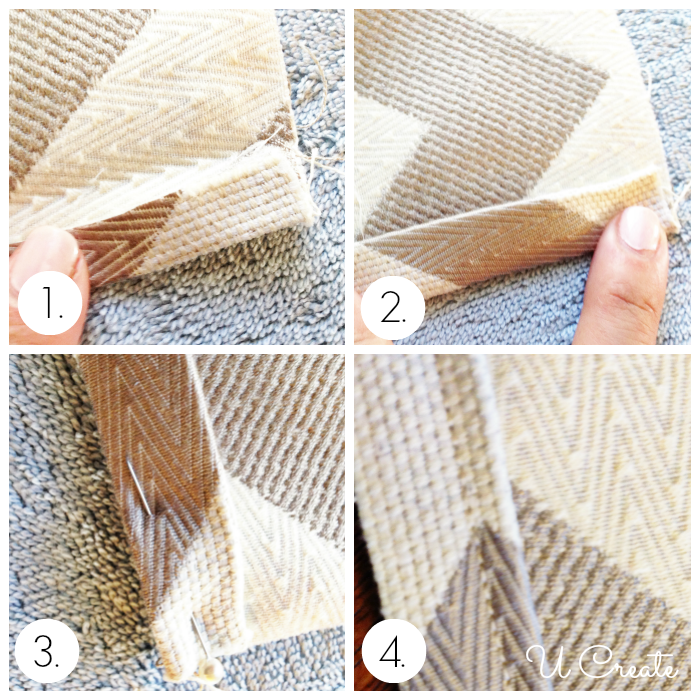
European-Pillow-Sham-Tutorial

1. Grab one of the back pieces and fold & iron 1/2 inch down on one of the 28” sides.

2. Fold over another 1/2 inch and iron down.

3. Pin your iron fold to make it secure.

4. Sew a 1/4” inseam down the side.

Repeat steps 1-4 on the other back piece.

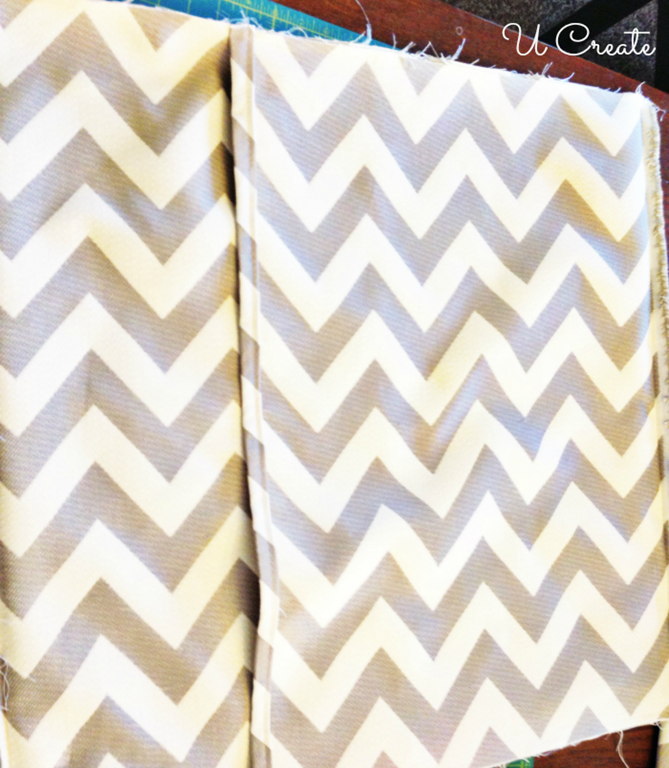
DIY-European-Pillow

Next you will lay your back piece right side or also called patterned side facing up on your table.

Then you will lay your back pieces right side facing down like the picture above.

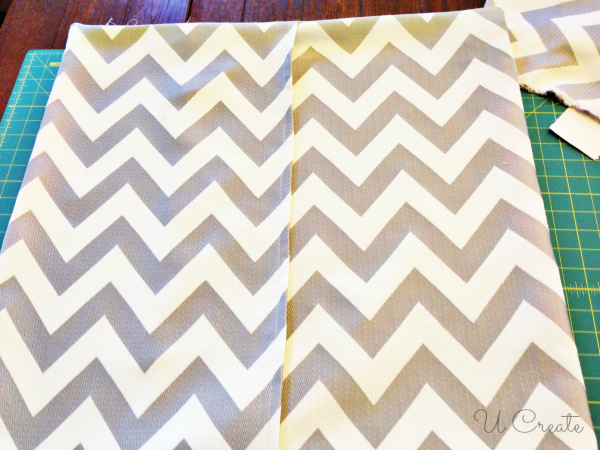
Pin all 4 outer sides and sew a 1/4” inseam on all 4 outer sides.

European-Sham-Tutorial

Flip right side out and stuff with your pillow and you’re finished!!

European Pillow Sham Tutorial www.u-createcrafts.com

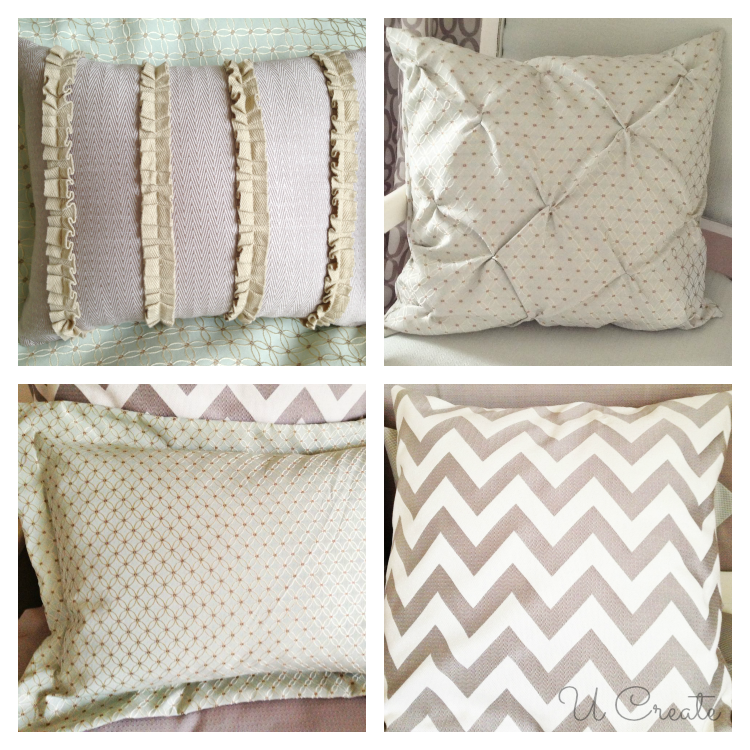
Ucreate Bedroom Makeover - lots of pillows!

Bedroom Pillow and Sham Tutorials! www.u-createcrafts.com

Interested in making a reversible throw pillow?

The top left corner pictured is just that – reversible. Click HERE to see the other side! The pin tucked pillow and standard sham tutorials coming this week!


Post By…
Kari's Bio

You may also like these

Sewing Sheets for Kids – PART TWO!One Hour Bindless Baby Blanket Tutorial1-Hour Bindless Baby Quilt10 Comfortable Mask TutorialsSewing Sheets for KidsMessenger Bag TutorialMessenger Bag Tutorial
Previous Post: Stenciled Collage Picture Frame
Next Post: Pumpkin Vase Tutorial

Comments

  1. Stephanie McDonnell says

    August 30, 2013 at 2:26 PM

    Lovely tutorial. Your pillows are precious!

    XO,
    Steph
    http://www.newlymynted.com

    reply to this comment >
  2. Hanni says

    August 31, 2013 at 3:40 PM

    Oh so stunning colors. These silverish pillows just cought my eyes 🙂

    reply to this comment >
  3. Katie Cohagen says

    October 29, 2013 at 8:27 PM

    will you be posting a tutorial on the regular pillow cases shown?

    reply to this comment >
  4. Isabel Williams says

    January 20, 2014 at 4:36 PM

    This solved a big problem I have.

    reply to this comment >
  5. Cass at That Old House says

    December 8, 2014 at 1:32 PM

    Thank you for reminding me that I don’t have to pay big bucks to get lovely shams for our Euro pillows! Nice tutorial. May I share what I do when I make pillow covers? I make them slightly smaller than the pillow dimensions, so that the pillow needs to be squooshed into the sham — it stays nicer that way. This is especially good with down/feather pillows. For them, I go a healthy 1-inch smaller. For poly pillows, a half inch.
    Again — thanks for the refresher course. Your pillows look GREAT.
    Cass

    reply to this comment >
    • Donna says

      August 21, 2015 at 8:14 PM

      Sheesh. Wish I read this earlier. Good reminder for next time. Thanks

      reply to this comment >
  6. Donna says

    August 21, 2015 at 8:13 PM

    Hey just found you!!! Great tutorial. Just made two shams out of knit jersey for my daughter to take back to college!!! Thanks !!!

    reply to this comment >
  7. Mo says

    May 9, 2016 at 6:39 PM

    Thank you Kari……I’m currently redesigning my master suite and four euroshams will add a chic touch

    reply to this comment >
  8. Carolee says

    August 28, 2017 at 7:51 PM

    Thanks, you saved me from thinking it through. They came out lovely.

    reply to this comment >
  9. Bee says

    January 31, 2018 at 4:25 PM

    Thank you so much, was able to make something I liked since I havent been able to find it.

    reply to this comment >
  10. Lisa says

    May 7, 2018 at 3:13 PM

    Thank you! I wasn’t sure of the case measurements. You just saved me a’lot of time and mistakes!

    reply to this comment >
  11. Sue says

    February 12, 2022 at 5:47 PM

    I love this tutorial, it was so simple. I seamed around the outside by 1/2” and it gave my pillowcase a really neat, crisp finish that I was going for. Thank you.

    reply to this comment >

Leave a Comment Cancel reply

Your email address will not be published. Required fields are marked *

Recipe Rating


Popular Posts

New Year's Eve Minute to Win It games by U Create

New Year’s Eve Minute To Win It Games

Free Printable "Color Your Own" Christmas Banner

Merry Christmas Coloring Banner

Free Pattern: Fall Turkey by U Create

Fall Turkey Printable

Free Printable Pumpkin Games

Halloween Printable: Bugs and Kisses

Halloween Minute To Win It Games

  • pinterest
  • facebook
  • instagram
  • twitter
  • rss
 
Privacy Policy
Back to Top

Copyright © 2023 U-Create • All Rights Reserved • Site Design by Emily White Designs