Supply List:
2 yds Riley Blake Design Santa’s Workshop Flannel
1 package of double fold red fleece bias tape
14 inches of 1/2” wide elastic
Nightgown with Raglan Sleeves to create pattern
First of all, I have not sewn with a commercial pattern…yet. I just create my own patterns from existing garments or I draw the garment/product I want to create on paper and create a pattern on tissue paper. This is probably not the easy way, but it’s the way I taught myself to sew. That being said, this tutorial is based on an existing nightgown my daughter has wore out. To see how I create a pattern from the old nightgown go here.


BODY:
Starting with the front and back pieces, lay them right sides together.

Sew down the side starting at the armpit.

Iron the seams flat and topstitch down both sides.
SLEEVES:

1. Add the red fleece bias tape on the cuff of both sleeves. {NOTE: I should have done this to the hem of the body, too, but I planned to do a ruffle…then changed my mind :)}
2. Sandwich the cuff of the sleeve between the bias tape and pin together.
3. Sew a topstitch on the bias tape and your done…with that part.

Fold the sleeve in half right sides together and sew from the armpit down to the cuff.

Turn the sleeve right side out and iron the seam flat. Top stitch to create a finished look.

Repeat this process with the other sleeve and we are ready to put everything together.
ATTACHING THE SLEEVES:

1. Make sure the body is right side in and the sleeves are right side out.
2. Slide the sleeve into the body where the sleeve should go. 🙂
3. Match the seams at the armpit spot on the sleeve and the body.
4. Pin the sleeve in place and sew into place.

Turn right side out, iron flat and top stitch. Repeat the same process for the other sleeve.
Create the casing for the neck:


I serged the neck line to make it easier to work with. Then I unfolded the bias tape and ironed it out and pinned one edge all the way around the neck. Sew it in place.


Then fold the bias tape inside the neck line and pin it to the seam you just sewed. You are making a casing for the elastic right now. Sew the casing into place leaving a 1 inch opening to insert the elastic for the neck.

Insert the 14” elastic (or whatever size you need) through the 1 inch opening. The best way to do this is by putting a safety pin on one end of the elastic and working it through the casing. Constantly hold the other end of the elastic so you don’t lose it in the casing. When the ends meet, overlap them a bit and zigzag stitch them together…back stitch a lot.

Almost done. All you have to do now is attach the fleece bias tape to the hem of your nightgown just like you did the sleeves.

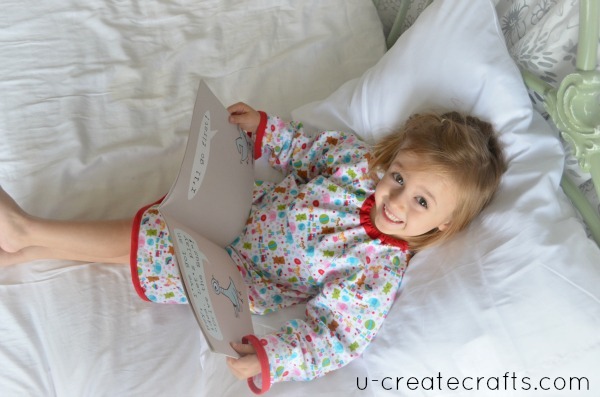
And you’re done!
My little one LOVES nightgowns so I suspect she will be living in this one for a while…I think she likes it.


Great tutorial Wow, you did a great job for teaching yourself how to make patterns & sew! I am in design school and our design instructor tells us that if we sew the sleeves to the garment first and do the bottom of the sleeve and side seams while the garment is inside out it will make it easier in case our sleeves come out a tad bigger than the armscye. You won’t have any puckering because you’ll be sewing straight while the garment is open and then you can sew down the under arm and side seams at the same time and that will also be a straight seam and you can avoid the circular armhole. Just a tip! 🙂
-Reyna
http://www.glamglory.blogspot.com
Thank you. I am always eager to learn new tricks. This was the first thing I have EVER done with sleeves
Reyna I was going to say the exact same thing! She is right Becky, it is much easier that way.
I do wish however I had seen this tutorial before Christmas! I tried to convert an Oliver +S Pattern into a night gown and that did not happen because of the difficulty vs. time crunch ratio. My only problem now is I don’t actually have a nightgown to make a pattern from so I may have to fudge a little using a top .
What a great project you created!
I am making a similar nightgown. My friend had already cut it out but her granddaughter outgrew it before she made it, so she passed the cut-out fabric to me. The neck opening is too small, I think, and the centre front or back is in two halves, so I have to figure out a variation…. maybe a button closure or else make the neck opening larger. Not sure yet; wish I had your ability to design patterns. Well done & easy to understand.
You did awesome job on instructions you went step by step so all could understand thanks good job
Very cute and creative. You sew like me. I love to just create from other clothing. I add my own spin. Thank you
Thank you for the pattern idea! It helped me with a last minute Christmas project that my daughters already love!!