Hello Ucreate readers!!
I am so thrilled to be here.
I just adore Kari and think she is the sweetest!!!
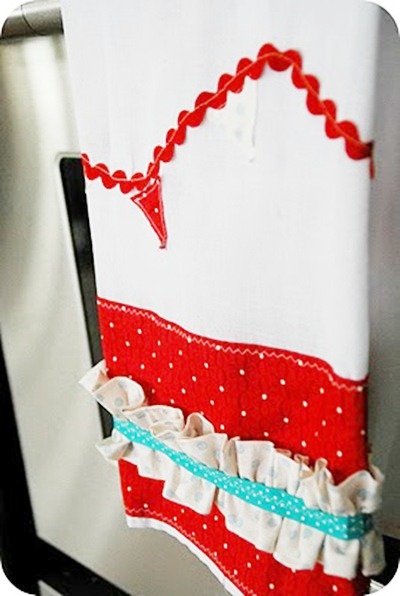
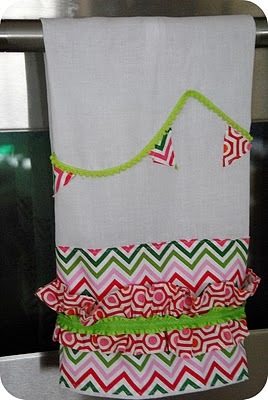
I’m Jen from Tatertots and Jello. Here’s a little neighbor gift idea that’s inexpensive and I think it’s fun because it’s something that can be used after Christmas as well.
Little Bunting Dishtowel Tutorial
Here’s what you need:
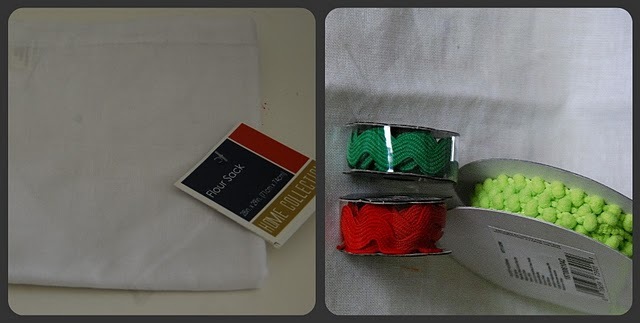
- Flour Sack from the Dollar Store or another type of cotton material.
- A piece of material that is 21 inches in width by 6 inches in height.
- A coordinating piece of material that is 4 inches in width by 40 inches in length.
- A coordinating ribbon that is 21 inches wide.
- Scraps of those 2 materials.
- Ric rac or another thin type of ribbon that is 30 inches in length.
Here’s how to make them:
1. Take a Dollar Store Flour Sack — 2/$1. Cut the Four Sack so that it’s the same size as a dishtowel by trimming one of the sides to 20 inches in width.
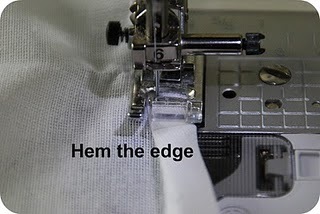
2. Hem the side of the towel by turning it under two times and sewing it. If you have a serger then it’s even easier!
3. Measure the width of the bottom of your towel. Fold the edges of the larger piece of material and pin. Then iron the edges under.
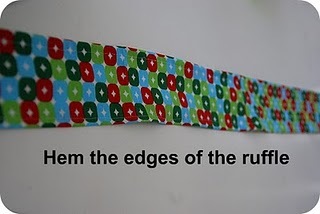
4. Make ruffle. Hem the edges of the sides of the longer piece of fabric. Then use your widest stitch setting and make a stitch down the center of the ruffle. Gather the ruffle by pulling on one of the threads.
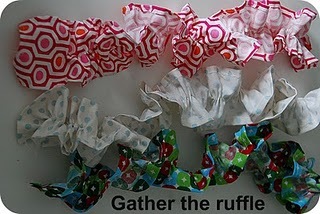
5. Now lay the large piece of material with the ironed edges on the bottom of the towel with the ruffle on top so that it is just as wide as the material underneath. Then lay the coordinating ribbon over the top. Pin it all in place.
6. Sew along the edges of the large material — I used a zig zag stitch. Then sew right down the middle of the ribbon.

7. Now you can add bunting if you want. Use a pencil to draw a the lines of the bunting. Then pin and stitch the ric rac or small ribbon on the towel.
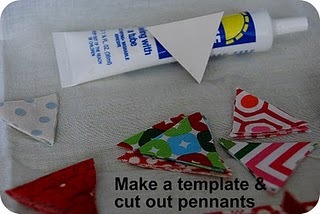
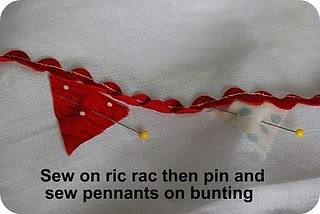
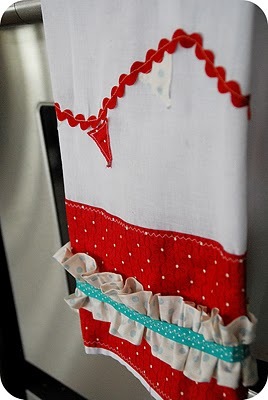
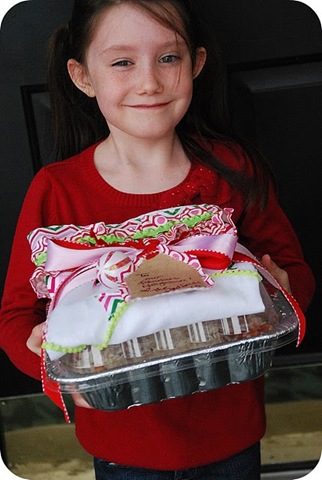
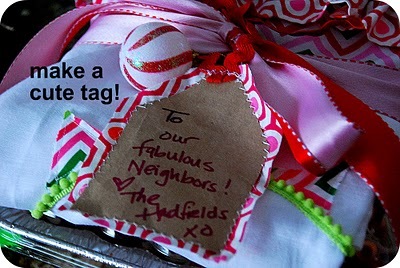

8. Make a template — 1.5″ x 1.5″ out of cardstock and cut out some triangles out of the coordinating fabric. I put 4-5 pennants on each towel. Add a dab of liquid stitch under each pennant (optional) and pin in place, then stitch each pennant on the towels.
And you are done!!
You can wrap each one in cellophane and give them out like that.
{Tag made with leftover fabric and a paper sack sewn together}
Or, if you want to punch it up a little — you can make a casserole or dessert and deliver it, along with the dish towel. Another idea is to add a little cookie cutter to the wrapped up package, with a note that says something like
“Bake up Some Christmas Cheer!”
Now your neighbors have something festive that they can use all year round!
xox
Jen
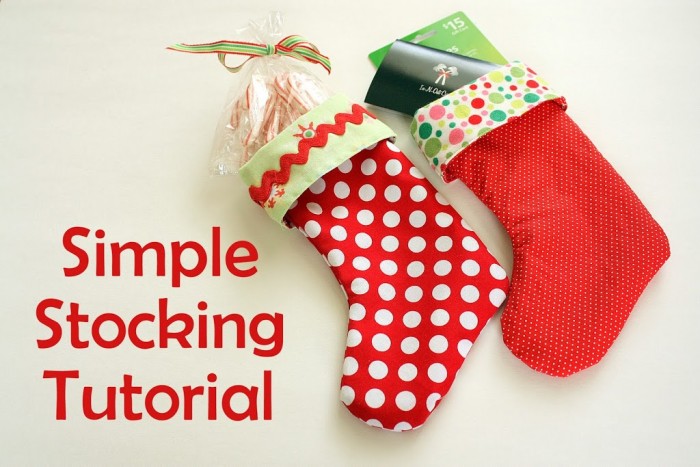
Also check out this fun stocking tutorial…


That is so neat!
Thanks for having me Kari! this is such a fun series. I am loving everyone’s projects!
xox
Jen
I love those towels, bunting and ruffles, you can’t go wrong with that.
Oh I love it! (of course!) It’s so completely colorful and cheerful. In fact, it’s very “Jen”. She’s like that too. I’m gonna call it “pulling a Jen” from now on too! 🙂
I love how bright and cheery these cute towels are! (And had to laugh at the ‘Pulling a Jen’ comment since many of my blog posts go up hours after my kids have crashed. Ha!)
I love these towels! I’ll definitely be making those for birthday presents for all of the ladies in my family! Thanks for the great idea!
Love the colors in this and I love it with a gift of food! I have been doing a gift a day too..not only is it fun but it is helping me get it all done!!!
So cute!! I linked to your tutorial over at Craft Gossip Sewing:
http://sewing.craftgossip.com/tutorial-little-bunting-dishtowel/2010/12/05/
-Anne
This is so adorable! I love it!
you are sooooo right she is the queen of bunting & subway…and everything else. love her.
this is fabulous as always, jen.
thanks for showing this off over here.
Oh this is so dang cute… I have to try this one for sure. Thanks for sharing it Jude
beautiful
So cute! I love this idea! These would make great teacher gifts, too. I better get to work!
I love it!! I am a huge fan of embelishing T-towels!! I love your blog it makes me want to get up and create.
Nadine
These are so adorable! I think Jen can add queen of ruffles to her list! I still haven’t mastered making the perfect ruffle and Jen always makes it look so easy:)
Way cute and so giftable! Thanks so much to both of you, I’ll be linking.
Jen is absolutely amazing!
i already had several flour sack cloths i knew i wanted to do something with for christmas gifts! super cute! thanks for the tutorial!!
I have a question, do you embellish both ends of the towel, or only the front? I’m doing these for my son’s teachers for Christmas! I can’t wait to get started 🙂
Very cute! I’m excited to try this, but I’m wondering how absorbent the dollar store flour sacks are. Anyone know firsthand? Thanks!