Hello UCreate readers!! I am so excited to be here today!
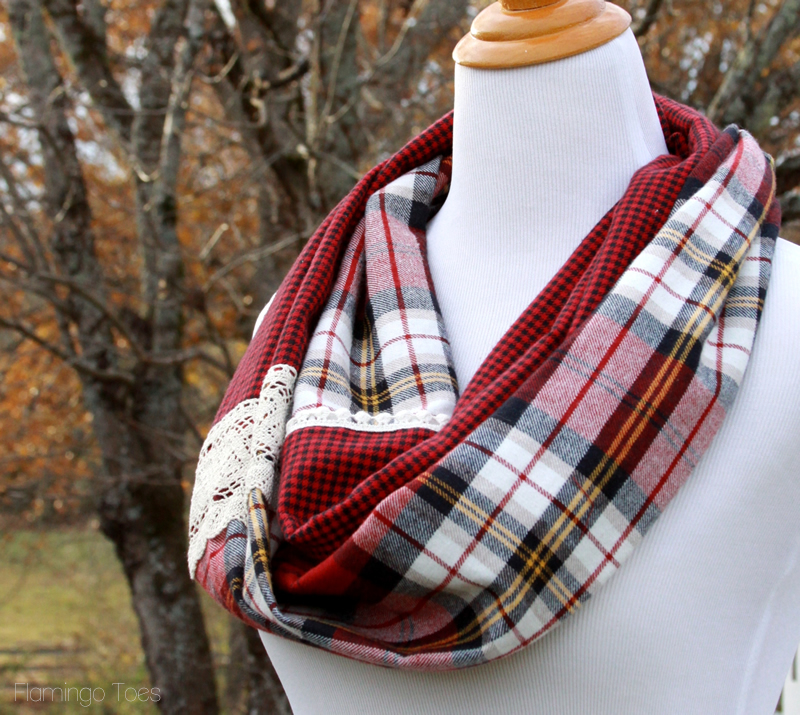
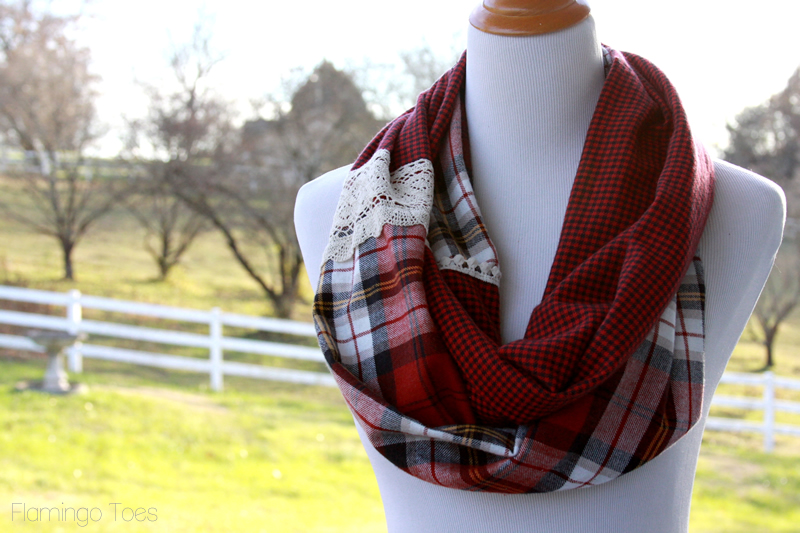
My name is Bev and I blog over at Flamingo Toes. I love making handmade gifts – and I especially love them when they are fast and inexpensive but they don’t look like it! Today I’m sharing this 15 Minute Plaid and Lace Infinity Scarf and it is sooo quick and easy to sew up. You could make up a bunch in an afternoon and take care of a whole group of gifts at once!
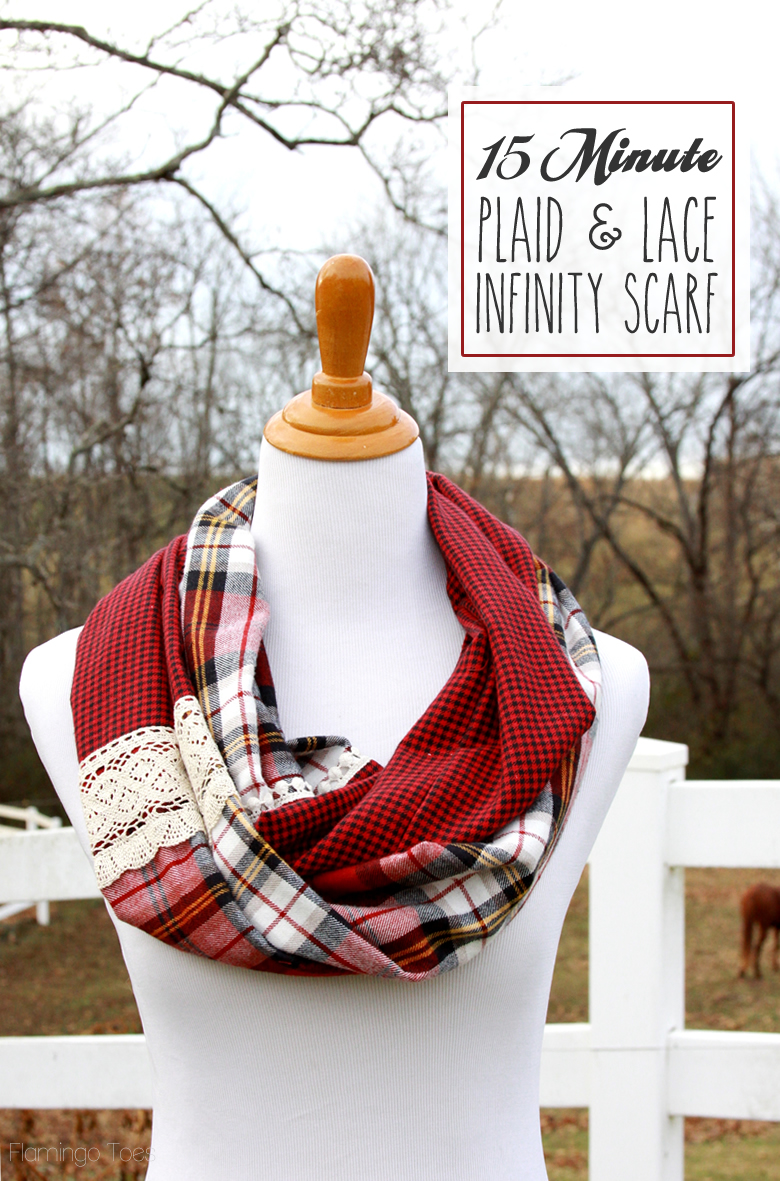
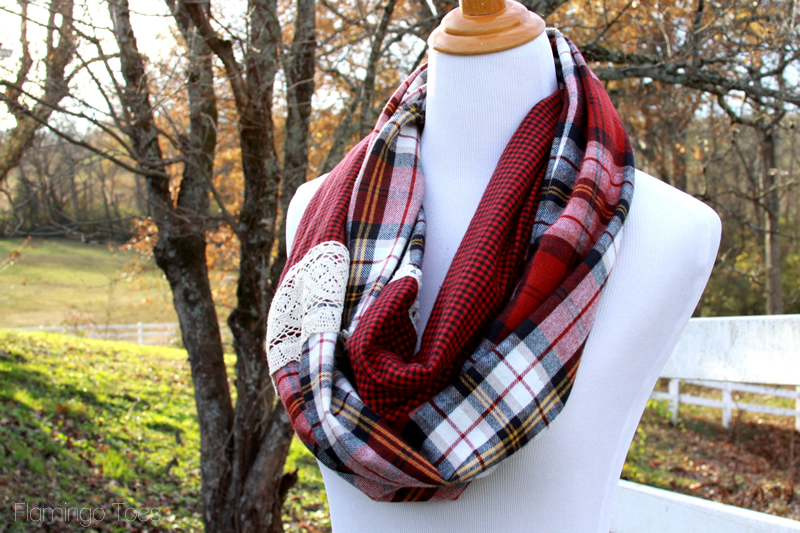
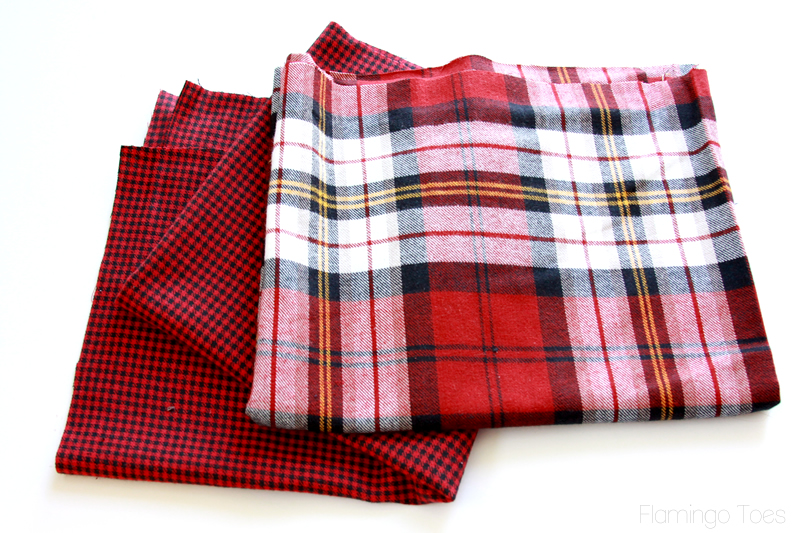
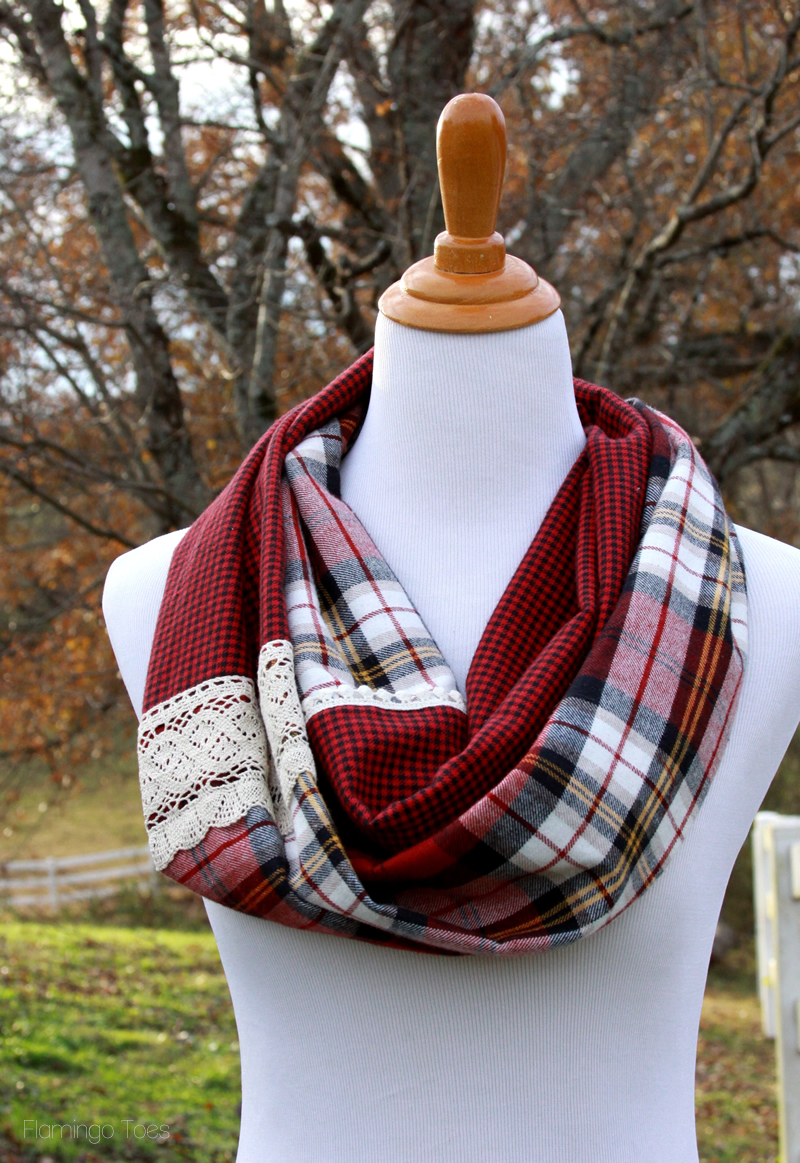
This scarf is a fun combination of two plaid flannel fabrics paired with some pretty crochet lace. The lace makes such a great contrast with the flannel! My favorite part about it though is how soft and cozy it is. I think I’m keeping this one and making up another to give away!
This tutorial is super easy! Here’s what you’ll need:
(You will want to pick these up when the fabrics/trims are on sale or you have a coupon) 🙂
- 1/2 yard two different plaid flannels
- 1/2 yard wide crochet lace
- 1/2 yard thin crochet lace
Choose one of your flannel fabrics to the be the smaller fabric and cut 12″ off the end. So the piece will be 18″ x 30″.
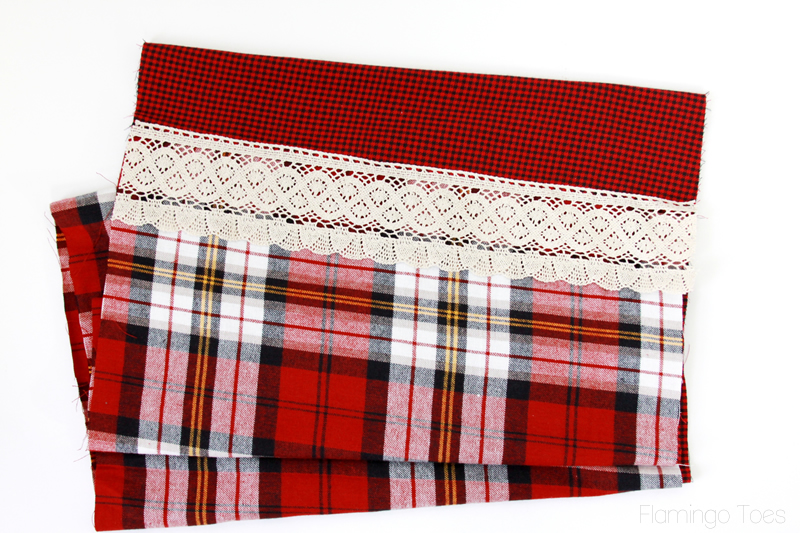
Lay the short ends together of the two pieces so the right sides are together. Sew across the seam. Lay your wider lace piece over the seam so it overlaps it just a bit. Sew down the lace along the top and towards the bottom to hold it in place.
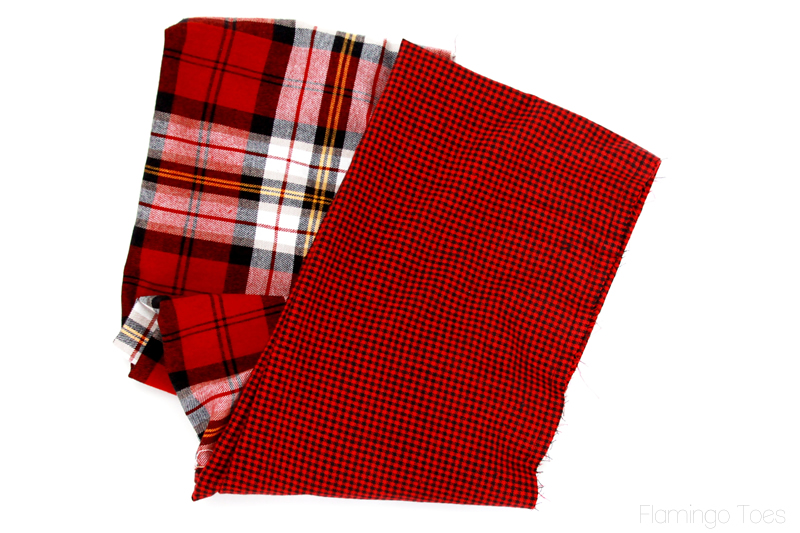
Fold the piece in half so the right side is inside. Line up the long side edges and sew together.
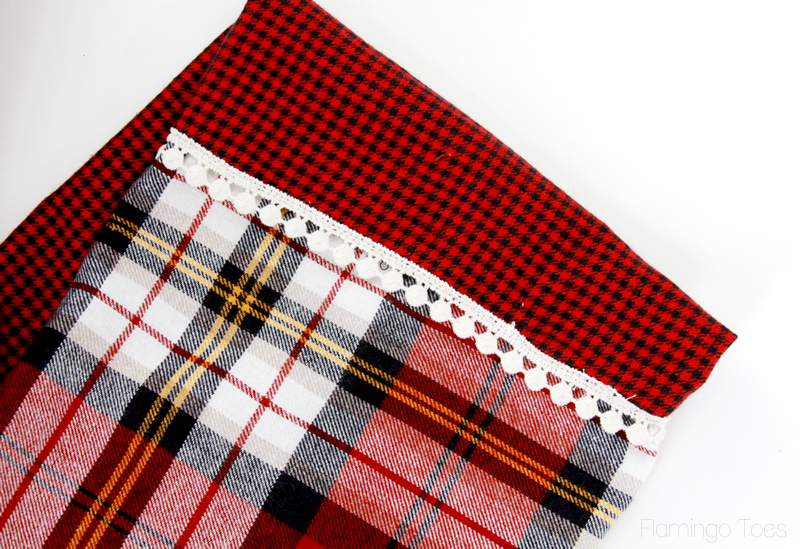
Turn the scarf right side out. Press under the open edge on the smaller flannel piece about 1/2″. Place the other open edge inside the open end with the pressed edge so the pressed edge overlaps it. Lay the smaller lace over the fold. Sew the pieces of the loop together, continuing to overlap the edges as you go, until you can’t feed any more fabric together. (The scarf should still be “hollow” in the middle – in other words the seam should not go through all the layers at once). Finish sewing the opening closed by hand.
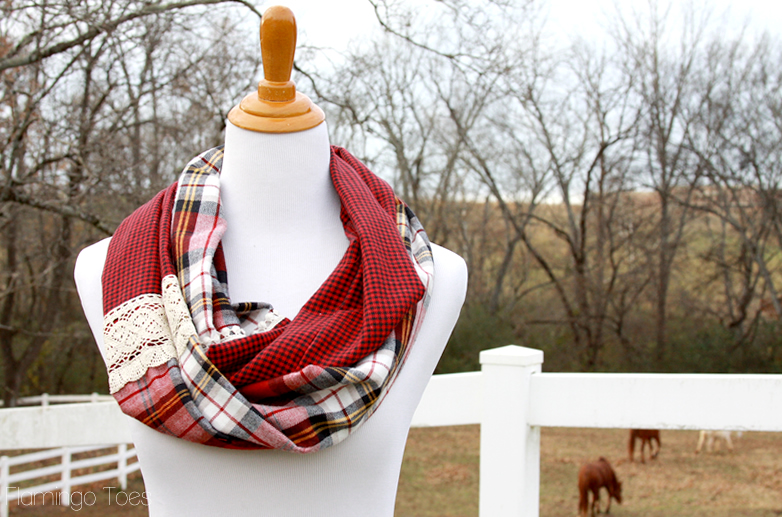
And that’s it! Now you have a super cute and stylish scarf for a gift – or to keep and wear while you go Christmas shopping!
I hope you like it!
I’d love for you to come say hi over at Flamingo Toes!
![]()


Bev! I want to make one of these TODAY. Love the texture and combination of plaids. Thanks so much for being our guest today!
Thank you so so much Kari!! It is just the best being here – I’m so happy you invited me and like the scarf! 🙂
I absolutely LOVE your tutorials!!!! Easy and functional!!! I wish I wasn’t at work today, I’d go shopping for supplies and go home and start sewing!!! 🙂
Thank you!!!
Where do you find your fabrics, especially the lace? I am having a hard time finding lace that is beautiful.
Hi Rachel! I am pretty sure this is vintage lace (I just pulled it out of my stash) but I’ve seen really nice crochet lace at Jo-Ann. The flannels are from there too! 🙂
I found that exact lace In Joanns. They have a great selection.
Love this scarf! If anyone out there makes some up and wants to sell me one, please let me know. It would go perfectly with the red flannel plaid tunic I just bought on eBay.
Super cute and cozy! I want to make these this weekend. One diy winter accessory I know nobody else will be wearing =)
Beautiful scarf, but I am lost. What are the dimensions of the longest piece. I am assuming the 1/2 yard in crossgrain of about 36″ X straightgrain of 18″. Do I cut 12″ from 36 crossgrain for shorter piece which would leave 24″ Is the entire finished scarf approximately 30″ total?
I’m with you I hope she answers would love to make this
I’m confused too. I don’t understand which “end” to cut the 12″ from. It seems to me it should be cut from the end where the fabric was cut from the bolt of fabric but if that is the case, why not buy 12″ less? I don’t think it would be cut from the salvage edge because then both fabrics would not be the same width when sewn together. I’m sure it is clear to some. I feel like I am misreading something, but I’ve reread it several times. LOVE THE SCARF! I WILL figure it out!
The 12″ is cut from the selvedge end Susie. I wanted one piece to be shorter in length than the other so when it was worn you would see more of the larger plaid than the smaller. The pieces are both 18″ wide so they will sew together correctly. I hope that helps! If you still have questions you can email me at bev@flamingotoes.com.
Ok -here’s what I have figured – piece 1 is 18″ x 42″ and piece 2 is 18″ x 30″ – sew em together and you got 72″, which is the same size as all my favorite infinities I have!
Thank you….I was thinking that but not sure I was right!!!!!! I love this scarf and plan to make several in different colors!!!!
Me too. what don’t I get? Can’t wait to make one for daughters n granddaughters. something I can make in an evening, thanks!
Sorry for the confusion on this ladies! I should have been more clear.
My flannel was 42″ wide. So I started with two 18″ x 42″ pieces. I wanted one piece to be shorter than the other so on the black and red check piece I cut a 12″ piece off the end, measuring 12″ up from one of the selvedge ends. This will leave the piece 18″ x 30″, assuming that your fabric is 42″ wide. It’s not a problem if your fabric is 44 ” wide, you just want that piece a little shorter than the other.
I hope that helps!
Thanks for the explanation. You can see I don’t buy much flannel and was stuck in 36″ mode.
Thanks for your further explanation. When I got the material it was pretty clear as to what you said in the tutorial. Guess you could say I’m a hands on learner. Now if I can just find some pretty red flannel like you have, the hunt is on. Blessings!
Thank you for the explanation of the fabric width. I think that should be included in the beginning instructions because I couldn’t figure it out. The scarf is very cute but hard to understand the directions.
She did say buy a half yard, not the entire yard, which would make it only 18 inches. I had to go back and recheck the supplies at first too, so I understand, but she did tell us the correct amount. We were all thinking go a yd though, I bet. I know I did at first. Hope you understand now.
Rae
Absolutely adorable!! (as per usual!) 🙂
I love the pattern combos and the lace is perfect with it!
I have been making flannel infinity scarves for a couple of weeks now, for myself and my two Granddaughters. I never even thought of combining two different flannels and the lace really adds a nice touch. I already made two like yours in the same fabrics, love the way they turned out. Now, I am making a pink plaid with a large checked black and pink fabric and bought some pink lace today, also I cut out a purple plaid and found some trim with a row of roses in purple, I think that one will be very unusual.
You have really inspired me.
Thank you for the wonderful tutorial! It really did work up in 15 minutes!! I wanted a scarf to wear to my grandson’s preschool performance tonight and couldn’t find one I liked. The lace is a great touch. Thanks again for another great tutorial.
hello,
Love the scarf!!!
I’m confused about the closing of the last part.
How do I sew it closed, put on the lace and keep it hollow?
Thanks,
Suzan
Hi Suzan,
Sorry for the confusion. 🙂 Here’s a more detailed explanation.
Press under one side of the opening 1/2″.
Lay your unpressed side down on the machine (just one layer) with the raw edge on the right side of the presser foot, towards the machine. Then lay the folded edge of the other end of the tube over that, facing the opposite direction, so they overlap just a 1/2″ or so.
Lay the lace over the edge, so it points towards the bottom piece, away from the machine. Begin sewing the pieces together, overlapping them as above, while you sew. There’s a lot of stopping and starting at this point as you keep overlapping. At some point you’ll get to where you aren’t able to continue because you’ve almost sewed around the entire opening. The scarf should still be a tube, with a 3 or 4″ opening in the seam. You can take it off the machine and finish sewing the opening closed by hand. We’ll be updating the post with another photo as well in the next few days. 🙂
I hope that helps – if not feel free to email me at bev@flamingotoes.com. 🙂
Thank you for giving such detailed clarification. It makes perfect sense to me now! Can’t wait to start making these for my girls.
Thank heavens I kept reading. Now I understand. I was very confused. Love it. Turned out perfect.
I do not understand how to do the final step without sewing the scraf together and closing off the tube. Please explain
Hi Kathleen – I’ve answered this question in the comment above yours but feel free to email me if you have any other questions. bev@flamingotoes.
Thanks!!
Hi, Love this scarf! Just made mine to wear today! Thank you for the tutorial. My only question is; Does it matter if it is sewn through and not totally a tube (tubular…LOL) and I am asking because I somehow forgot…eek..to put the smaller lace on while sewing, so now I either need to put it on and sew through the tube, or not put on the fringe and sew the small opening closed….HELP!!
Awesome tutorial though!!
I don’t think it matters! I will still look great Gretchen! 🙂
IT will still look great lol. 🙂
That scarf is absolutely gorgeous. I’m going to teach myself how to sew just so I can make it!
Thank you for sharing such a fun pattern. I dug my sewing machine out today (after being packed from a move), made a run to Jo Ann’s and whipped up a scarf of my own. Glad I bought extra fabric – I’m getting “orders” already! This scarf is really cute and will definitely be worn! 🙂
This is a great way to reuse flannel shirts the kids have worn out. I always have lace laying around. A great project without any cost. WooHoo!!!!!!!
After sleeping on it for two nights a light bulb went off. Finished my first one just moments ago. Have fabric for two more.
Love this tutorial- thank you so much for posting! I made a Liberty silk and cotton flannel version as a present for a friend which she loved. I think I’ll be making more! Pics here: http://curateandcreate.me/portfolio/liberty-silk-circle-scarf-and-first-ever-post/
I made one today using two different pair of old flannel pajamas. It turned out darling!
Beverly, do you have any conversion ideas on scarf for a 3 and 6 yr olds. Your post is Adorrable
Just made one of these up. Turned out adorable! I just have to complete the hand stitching while watching tv tonight. Thank you so much for the tutorial.
So the finished product only goes around the neck one time? Mine ended up being 48” around- is that the right size? I was thinking it was suppose to go around twice but I haven’t ever made one before! It was a very easy project!