Hi U Create fans! I’m super honored to be here today. Kari always seems to round up the most fun sewing projects from around blog land.
I’m Anna, my blog is noodlehead, I’ve got two little girls, am a working mama, and am trying to find the balance between my hobby, my job, and my family. I’ve got lots of tutorials and even a few patterns if you want to stop by and check them out!
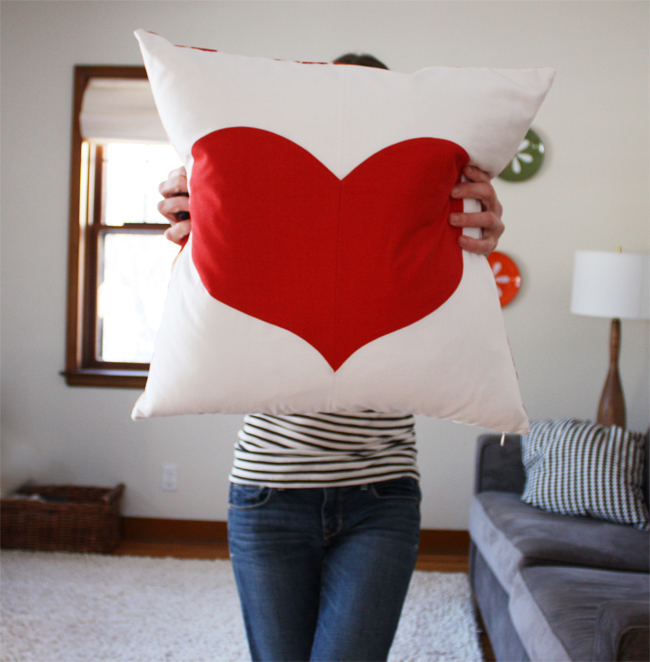
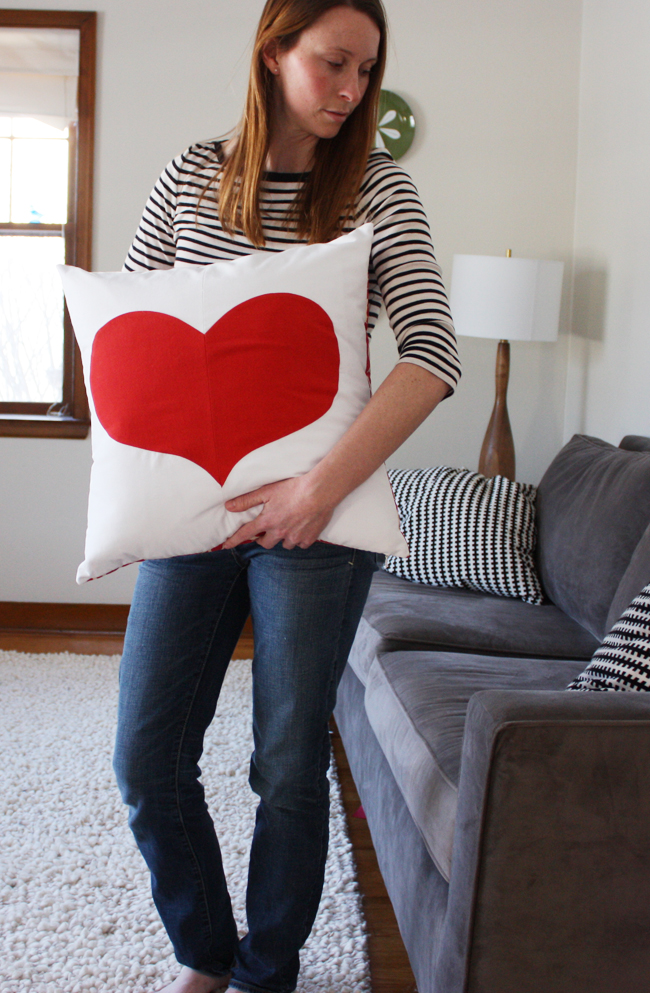
Red Heart Pillow Tutorial
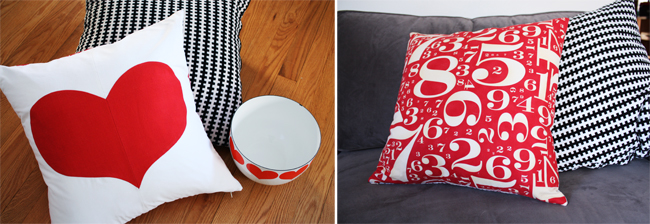
Lately, I really have been enjoying collecting vintage kitchenware, so this pillow is inspired by a vintage enamel bowl designed by Kaj Franck. Valentine’s day is one of my favorites, so here we go!
Materials:
20″x 20″ pillow form
2/3 yard white fabric (for background)
20.5″ by 20.5″ muslin for lining (optional)
20.5″ by 20.5″ piece for back of pillow
fat quarter (18×22) for heart
18″ invisible zipper, I just shortened a 20″ zip ** if you don’t want to try an invisible zip, you can do a simple envelope closure
thread
templates: white background, red heart
Directions:
Cut out pieces, you’ll need two of the half-heart shaped pattern pieces and two of the white background pieces. I would err on leaving plenty of wiggle room on the white pieces, then after completing the heart, just trim down to 20.5″ by 20.5″. You’ll also need to cut two additional pieces 20.5″ by 20.5″. One is the pillow back the other you can use muslin, it’ll line the font of the pillow and hide the heart seams and make it sturdy and durable for washing, etc.
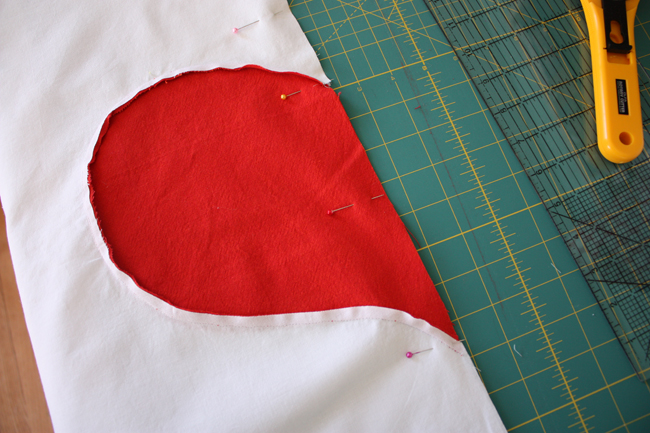
Ready for the curves?
Don’t be scared. Watch this video for piercing the heart.
Sorry, both parts I say wrong sides facing, guess I was nervous, it’s supposed to be right sides facing! 🙂
Once you complete both halves of the heart, you’ll have to pieces like this (they’ll be mirrored though, obviously, to complete the heart shape):
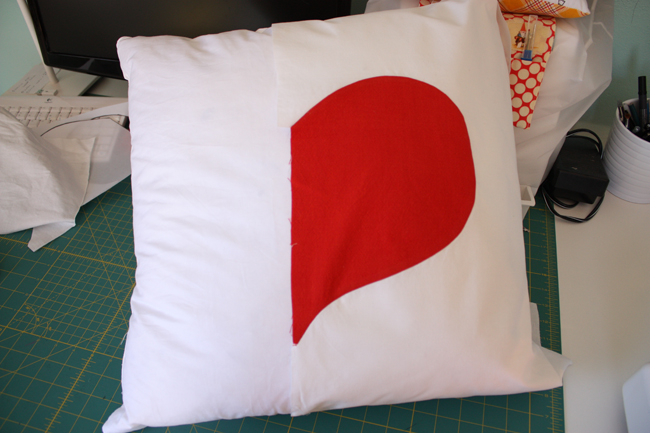
Press all seams towards red part of the heart. I like to use a little spray starch to make things nice and crisp.

Trim heart halves, making sure you have room for the 1/4″ seam allowance.
Place RIGHT sides facing and sew together.
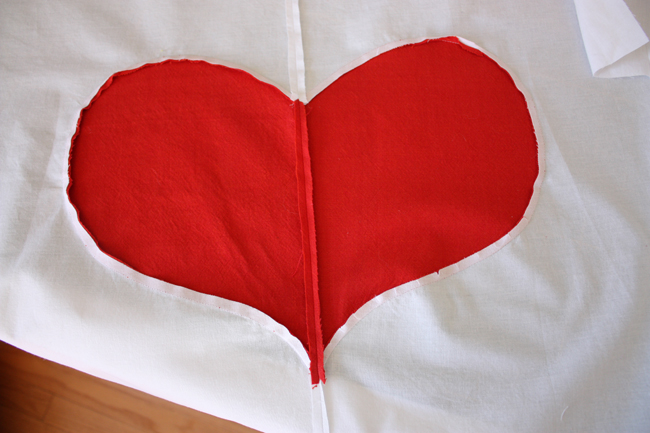
Press center seam open.
Install the zipper:
(You might also want to check out this invisible zipper tutorial too, it’s how I learned to install one.)
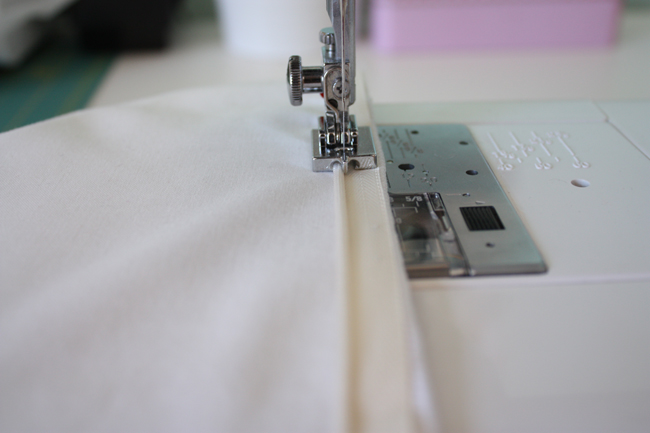
I really recommend an invisible zipper foot, they should be relatively inexpensive (between $2-8), but you can also use a regular zipper foot. Press the zipper if you’re using a zipper foot, it’ll let you get close to the zipper teeth.
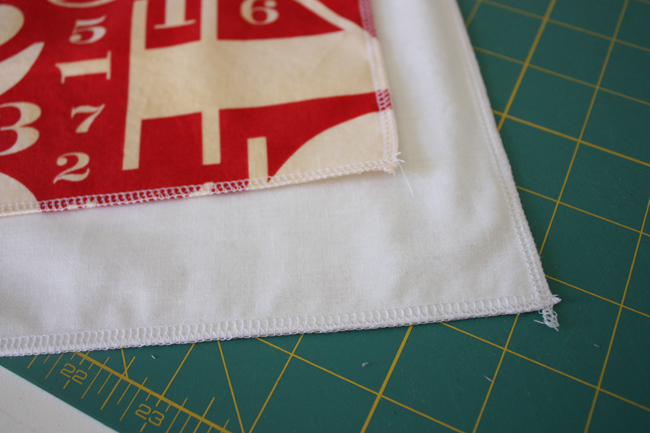
Align the edge of the zipper tape with the serged edge of the bottom of the pillow front, zipper open, zipper teeth, and zipper pull facing down. Sew close to zipper teeth.
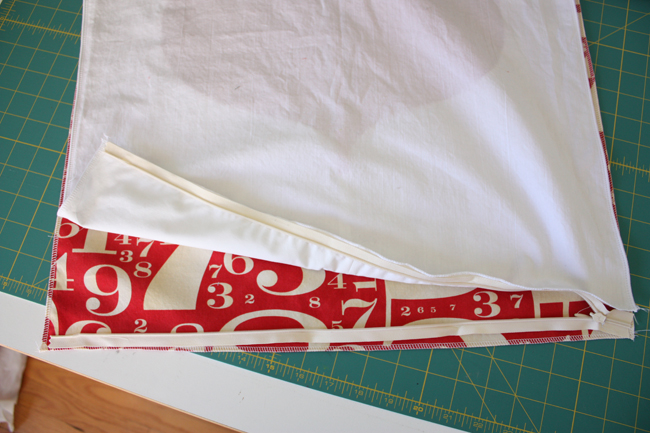
Align remaining zipper tape edge with serged edge of bottom of the pillow back. Sew close to zipper teeth.

Place pillow front and back RIGHT sides facing, pin, being sure to pull out the zipper tape ends (those zig zaggy things) and pin them out of the way. Be sure to open the zipper at least half-way at this point otherwise you won’t be able to open it up!
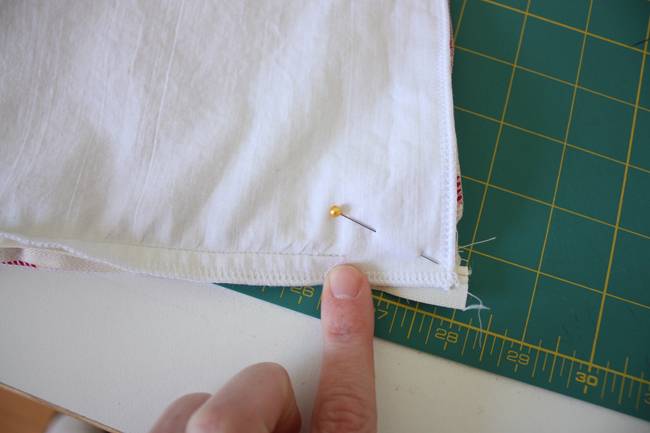
Sew starting at the point where you stopped sewing the zipper using a 1/2″ seam allowance all the way around, ending where the other side of the zipper had been sewn.
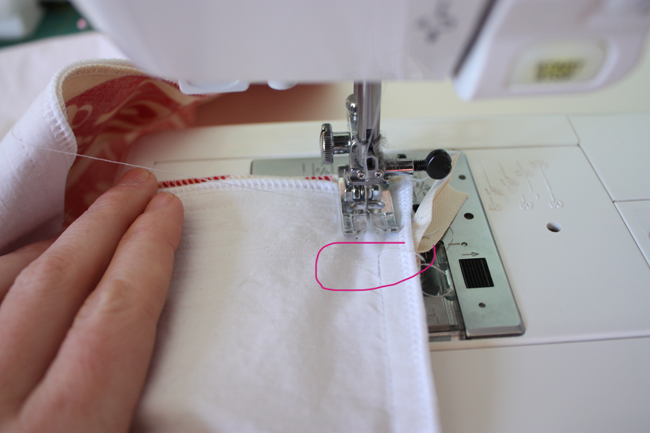
I like to taper in the corners to more of a 5/8″ seam allowance, it gives the pillow and nice shape and the corners look nicer.
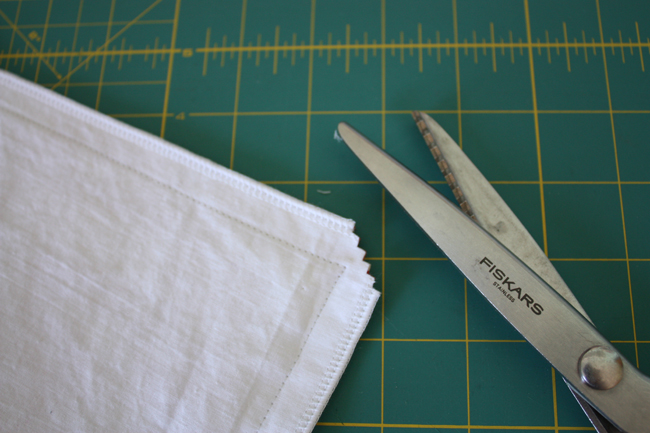
Using a pinking shears, clip the corners. Turn right side out, insert pillow form.

Thanks, Kari for having me!


love this Anna! So simple, so cute, so chic.
This pillow is adorable! Thanks for sharing!
-Kendall
{songbirdsandbuttons.blogspot.com}
I love it!! Anna always does such a great job, she’s such an inspiration!!
Love this pillow tutorial! Big graphic hearts always catch my eye. Had to share on my CraftBliss Facebook page and link back to you. ~Dee
Thanks Kari! and thanks to my friends for their sweet compliments. 🙂
That is just a lovely pillow. Well, I love all the pillows like that other red one as well. 🙂
Adin B
Anna, thanks for including a video…I think I may have the ‘cojones’ to try a curve now!
Jamie
What an amazing pillow Anna! Well done with the video and everything it’s been great to hear you 🙂
I love the pillow, Anna!
And it’s fun to hear your voice and your fun accent;).
Lovely bold design and I really enjoyed hearing you!
What an amazing pillow Anna! Well done with the video and everything it’s been great to hear you 🙂
Great tutorial! You’ve been featured on the Quality Sewing Tutorials blog.
We hand select only the best free tutorials and patterns for home sewers.
Grab a brag button!
I love the pillow. I also have the inspiration bowl and use it often. I guess I am vintage because I have had the bowl for ages! I <3 hearts so both pillow and bowl make me happy. Thanks for the tutorial!
so cute! wish i could sew
Anna is amazing! Love that she shared the video tutorial – learned so much from it 😉
Pretty & perfect 🙂
Love this pillow. So simple and cute!