U Create

It's a good day to create!

  • pinterest
  • facebook
  • instagram
  • twitter
  • rss
  • crafts
    • crochet/knit
    • jewelry
    • kids crafts
    • paper crafts
    • sewing
      • bags
      • boys-clothing
      • girls-clothing
      • women-clothing
      • pillows
      • quilts
  • home decor
    • bathroom
    • build it
    • frames
    • kids
    • kitchen
    • office
  • recipes
    • desserts
    • dinner
    • snacks
    • soups
  • parties
    • baby shower
    • birthday
    • games
    • gift wrapping
    • party decor
    • party favors
  • printables
  • holidays
    • Christmas
    • Easter
    • Father’s Day
    • Halloween
    • July 4th
    • Mother’s Day
    • New Years
    • St. Patrick’s Day
    • Thanksgiving
    • Valentine’s Day
  • gifts
    • baby
    • electronics
    • graduation
    • teacher gifts
  • About
  • Be My Guest
  • Advertise
  • Contact
  • pinterest
  • facebook
  • instagram
  • twitter
  • rss

20 Nov

Quilted Christmas Ornament Tutorial

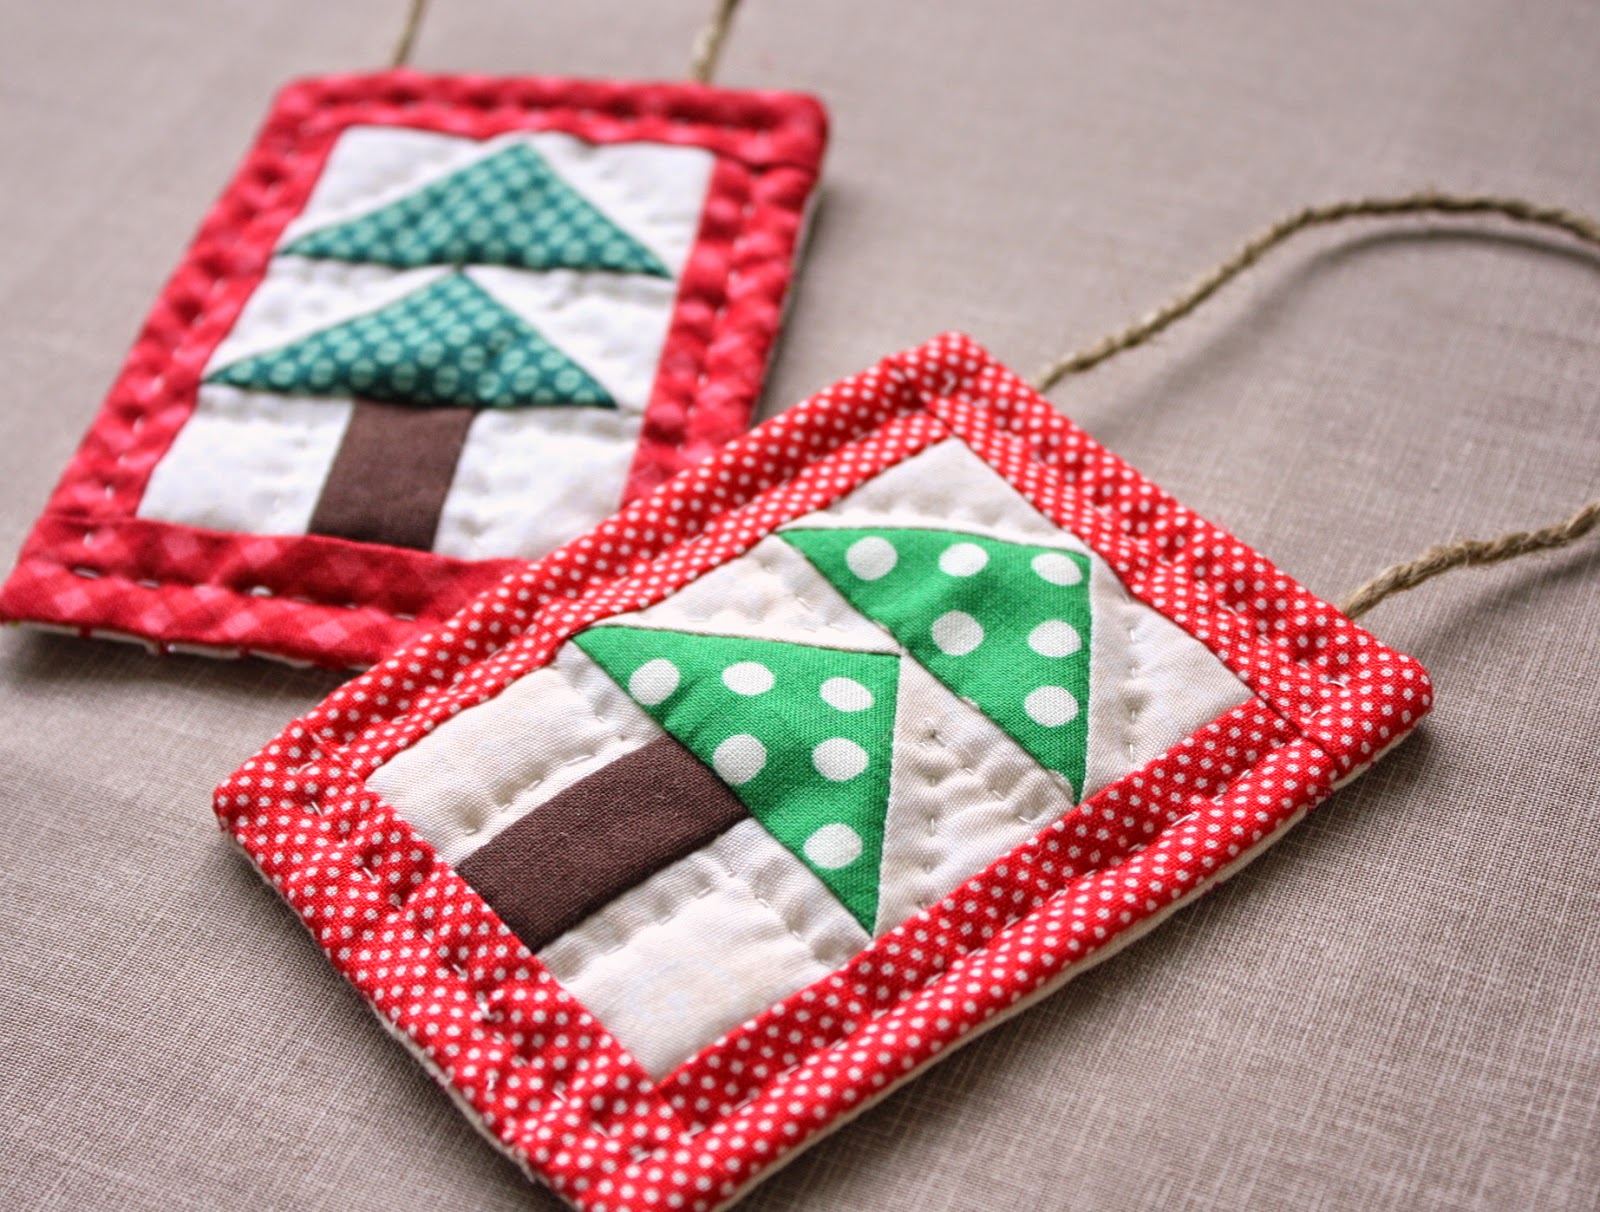
Hello crafty friends! I’m so excited to be a part of this creative Christmas ornament series. My name is Amy Smart and I am a quilter. I write about my fabric obsessions and quilt-y adventures at Diary of a Quilter. So naturally, I thought it would be fun to make some simple quilt Christmas ornaments. These would also work nicely as a gift tag and can then be kept as an ornament memento.
This is a great little project for using up extra fabric scraps and is a fun way to play with a variety of prints and colors.
Fabric requirements for each ornament:
  • 2 green rectangles 1 1/2” x 2 1/2”
  • 4 white squares 1 1/2” x 1 1/2”
  • 2 white rectangles 1 1/4” x 1 1/2”
  • 1 brown rectangle 1” x  1 1/2”
  • 4 red rectangles 1” x 3 1/2”
  • Batting 3 1/2” x 4 1/4”
  • Back 3 1/2” x 4 1/2”
  • Jute Twine 7”


On the back of the four 1 1/2” x 1 1/2” squares, draw a single diagonal line.
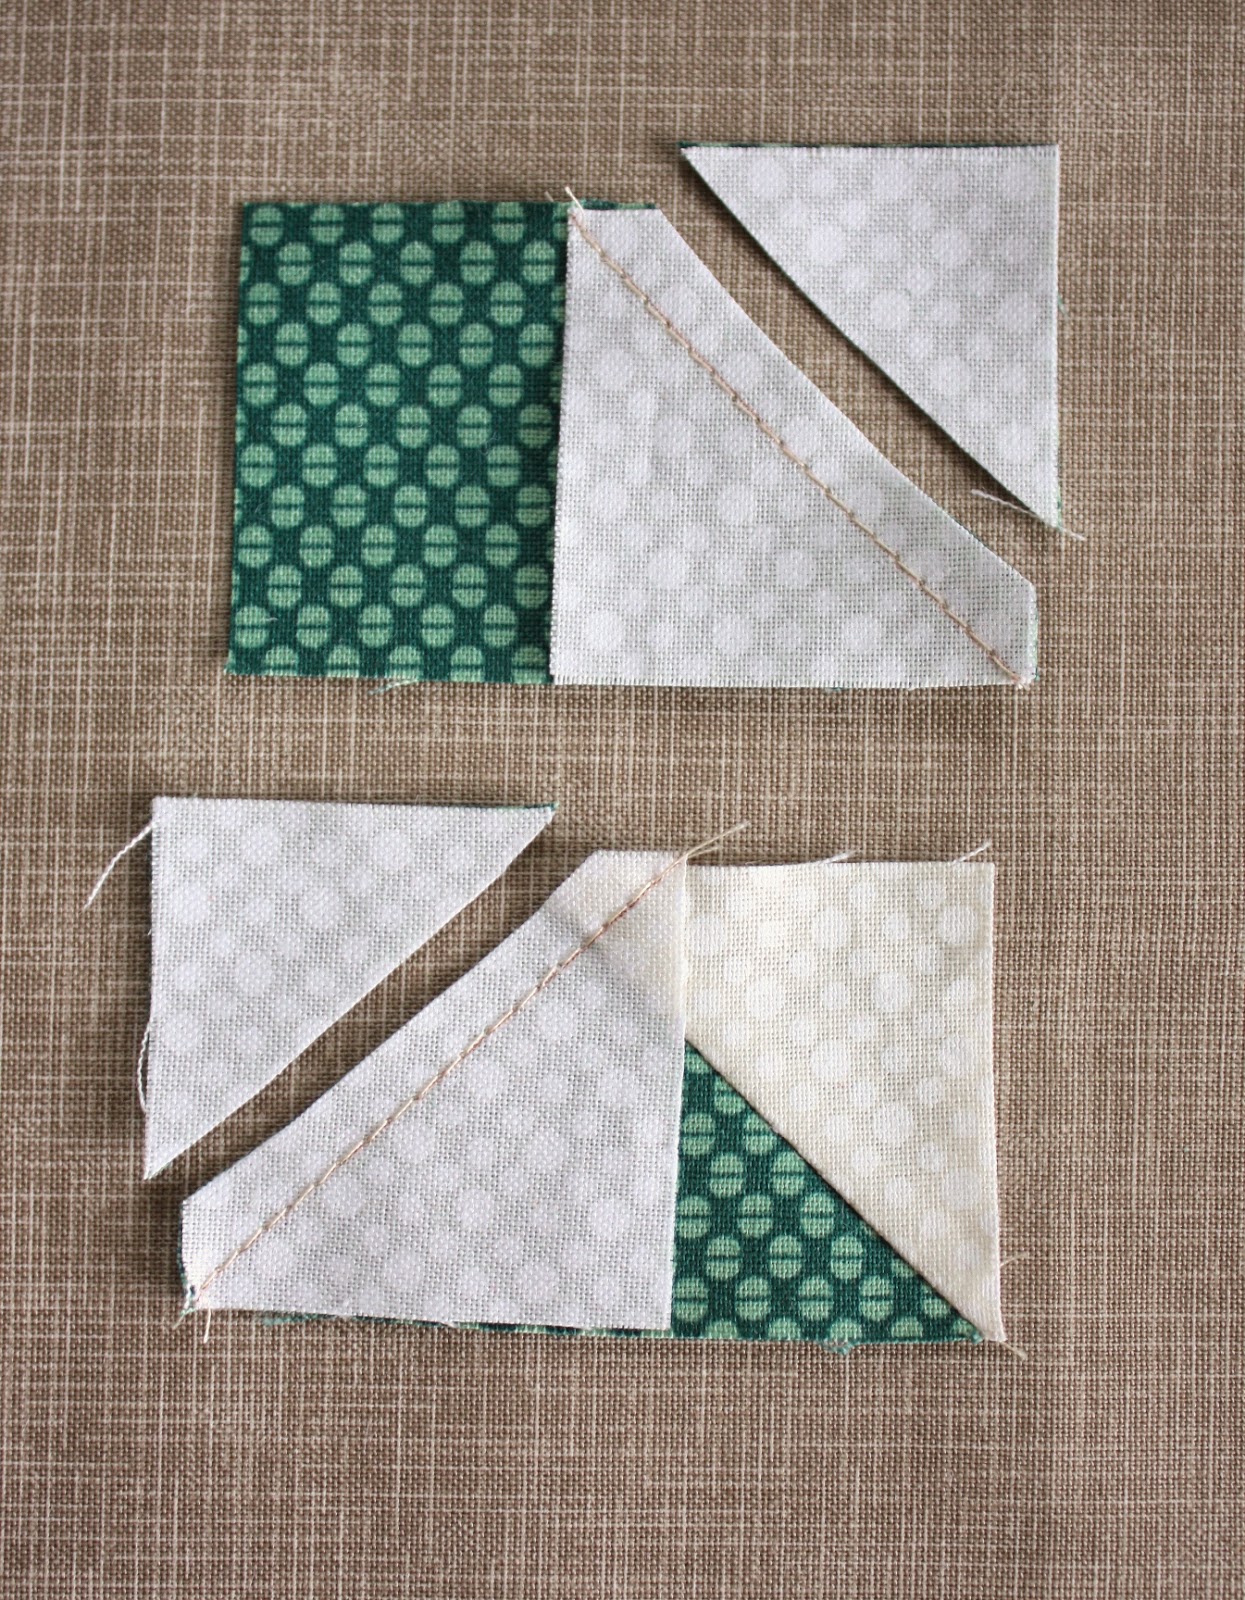
Place one square on the right side of a green 1 1/2” x 2 1/2” rectangle. Sew seam directly on drawn line. Trim corner 1/4” away from the seam open up the white triangle and press seam toward the white. Place a second white square on left side of green triangle, overlapping with first white triangle. Sew seam directly on the line. Trim corner 1/4” away from seam, fold white triangle open and press seam toward the triangle. Repeat with second set of white squares and green triangle.

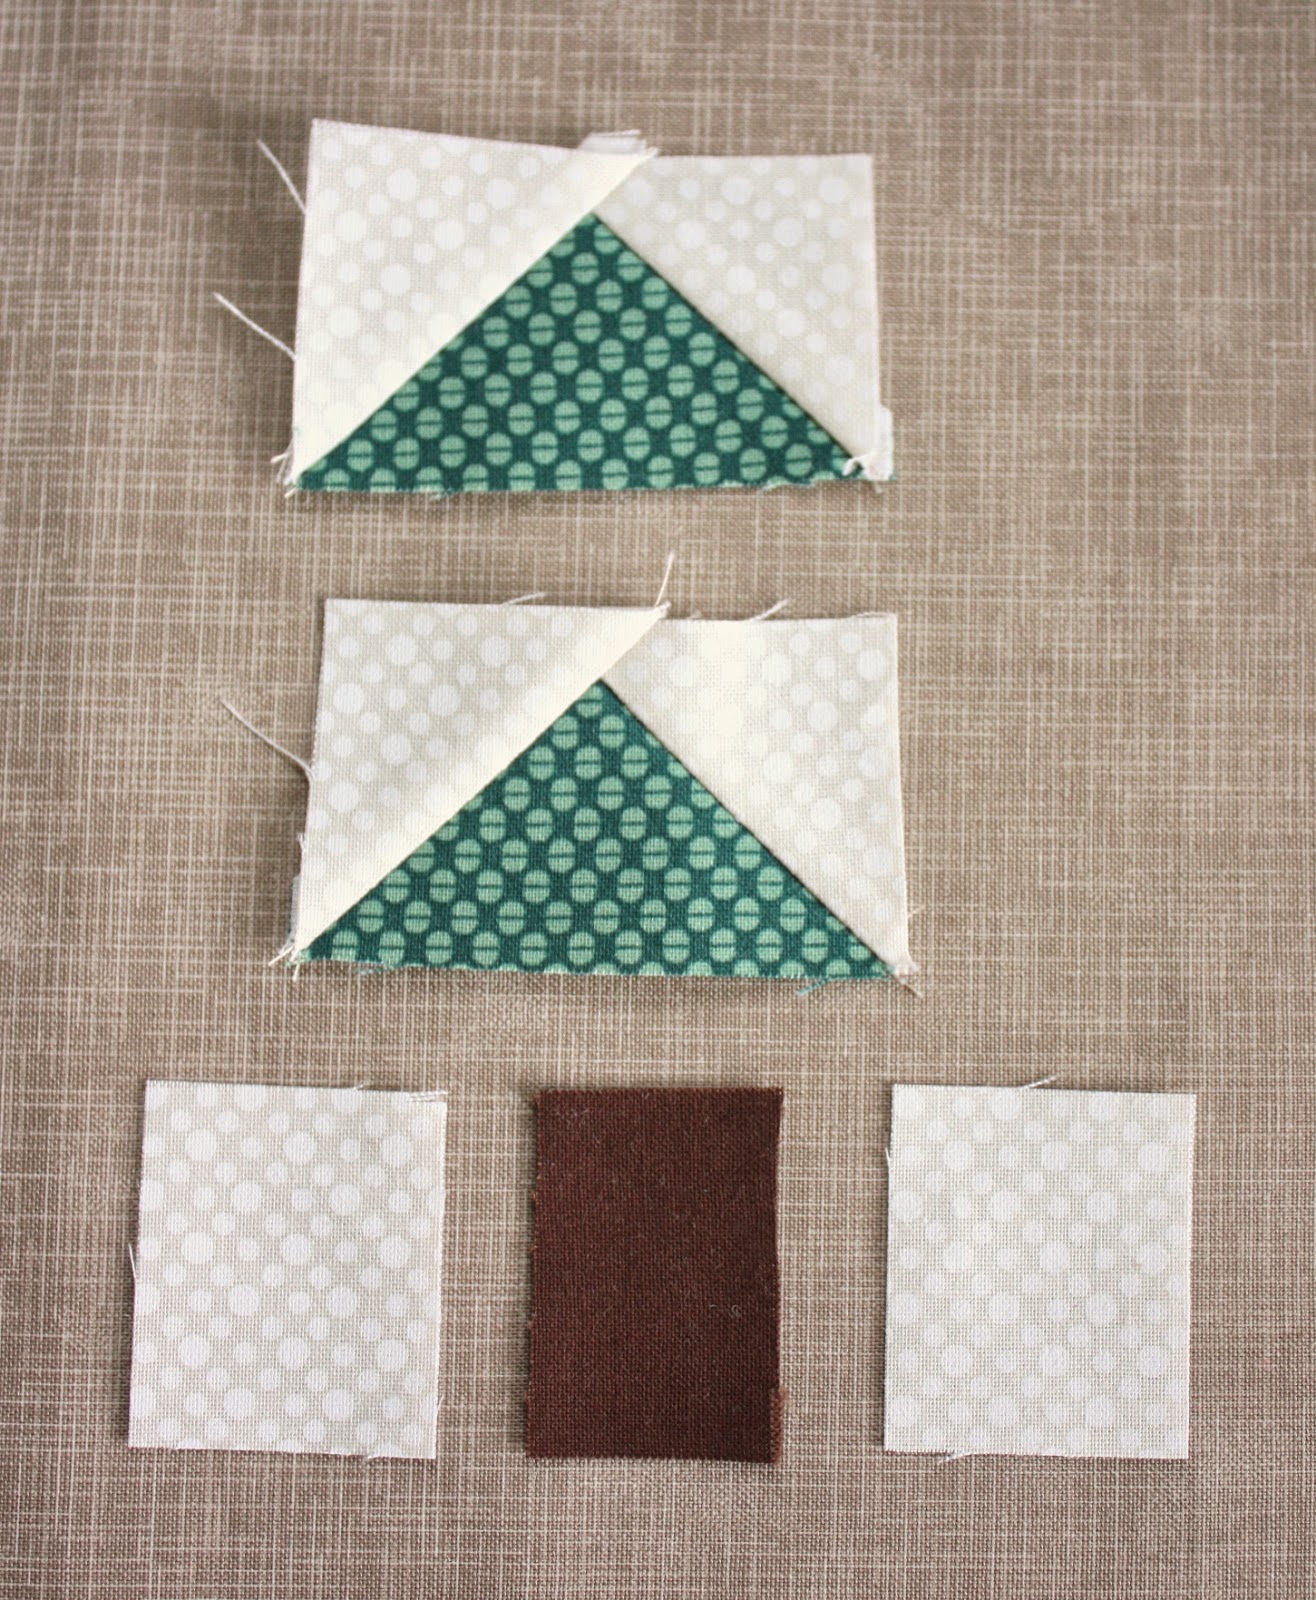
Using 1/4” seam allowance on the remaining seams, sew one green triangle block on top of the other triangle block to create tree. Sew 1 3/4” x 1 1/2” rectangles to either side of brown 1” x 1 1/2” rectangle. Press seams toward the brown. Sew this unit to the bottom of the ‘tree’ triangles to create trunk. Press seam toward the green.
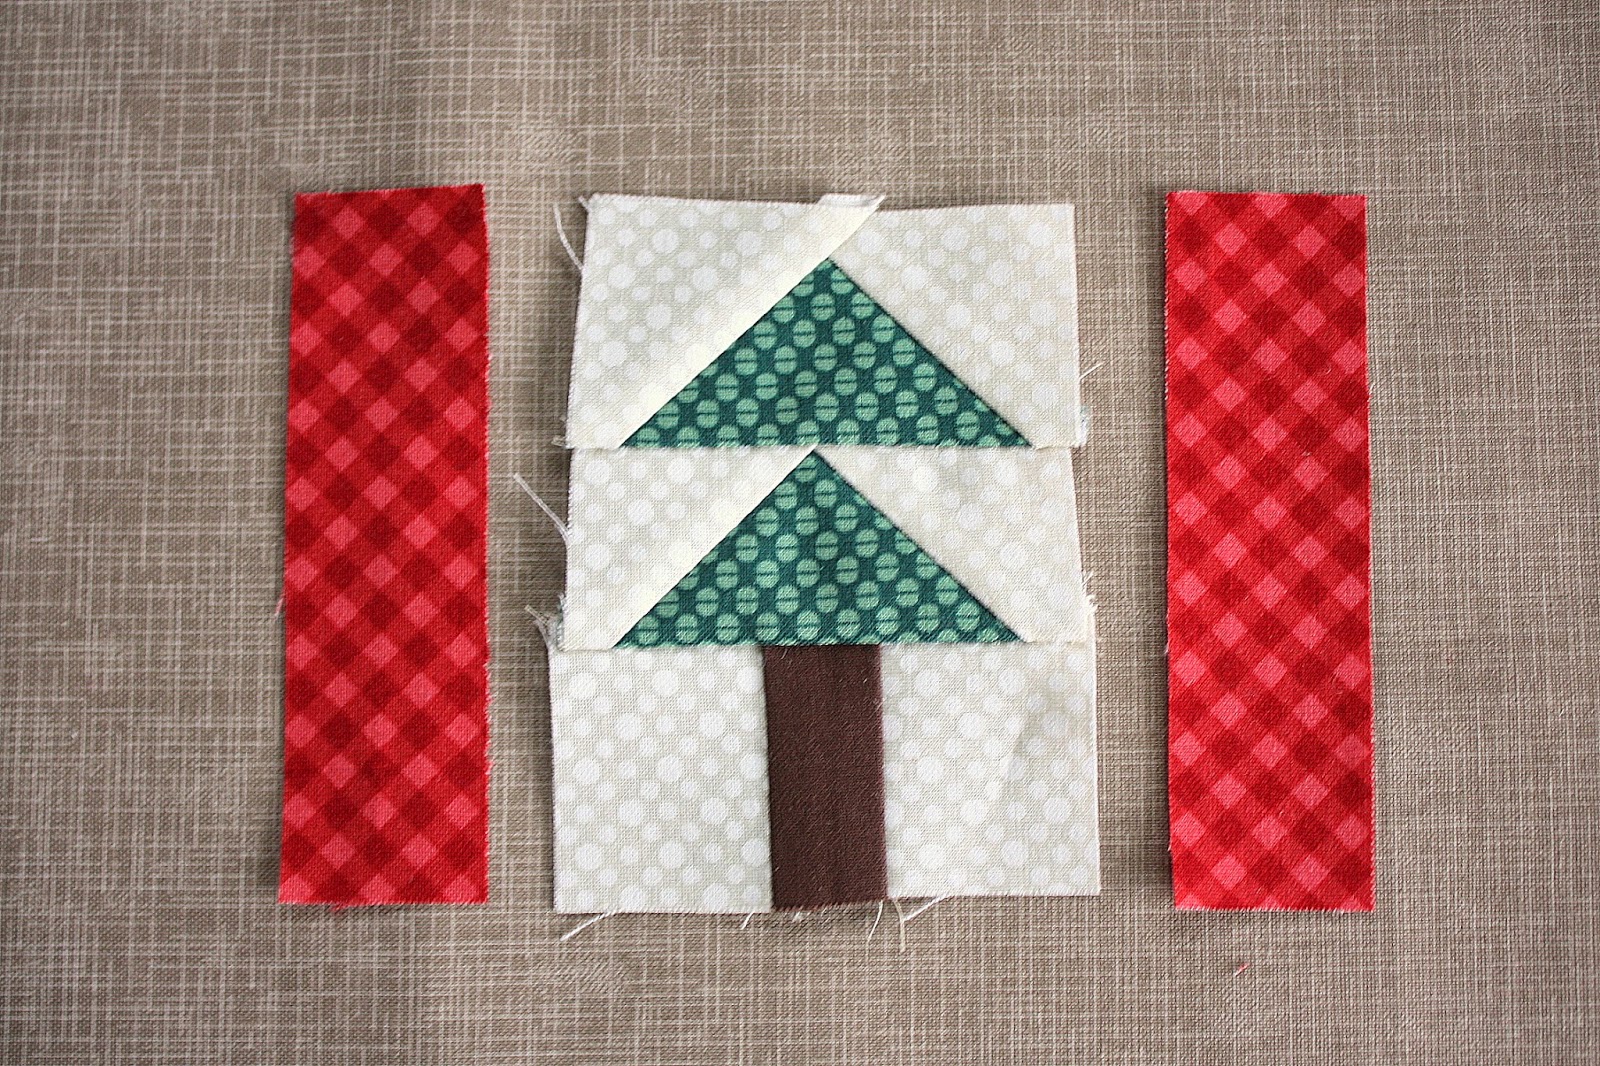
Sew two 1” x 3 1/2” strips on either side of the tree block (continue to use 1/4” seam allowance). Press seams toward the red strips.

Sew remaining strips to the top and bottom of the tree block. Press seams toward the bottom strips.

 Press block well to give it a nice, crisp appearance.
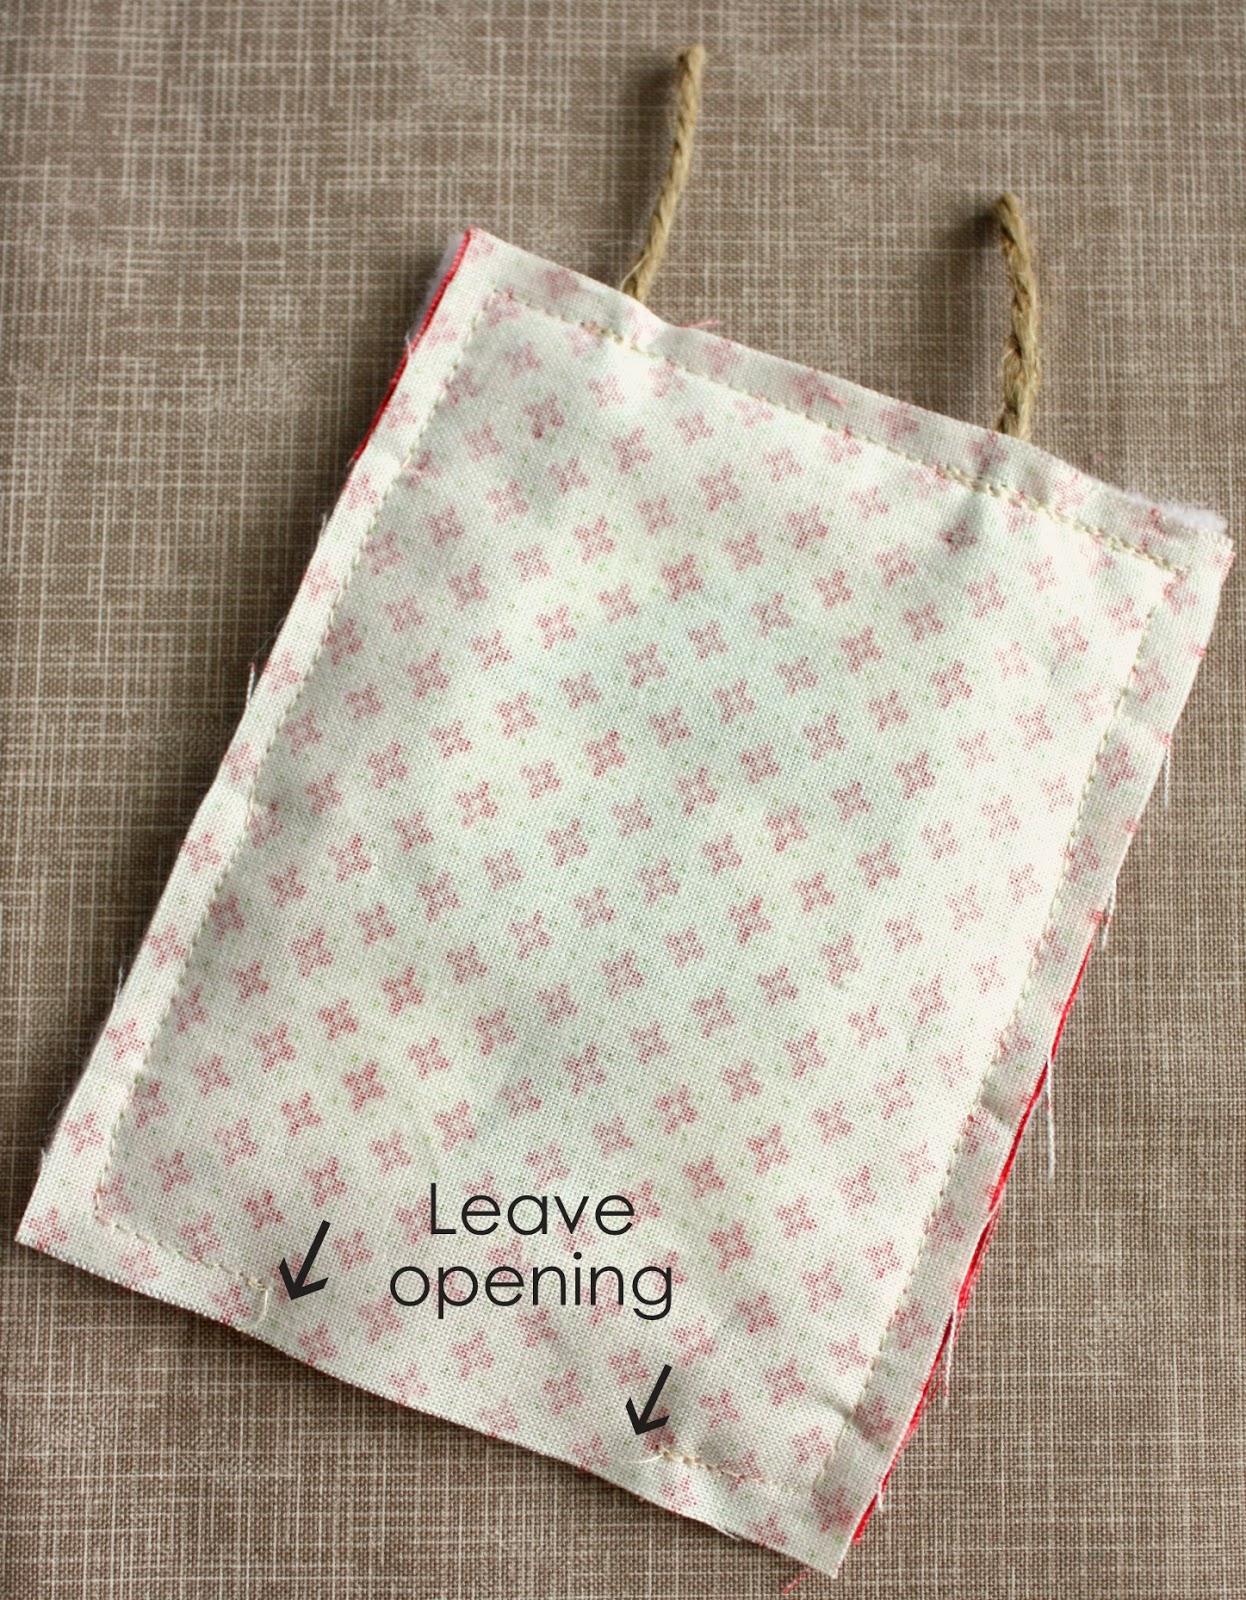
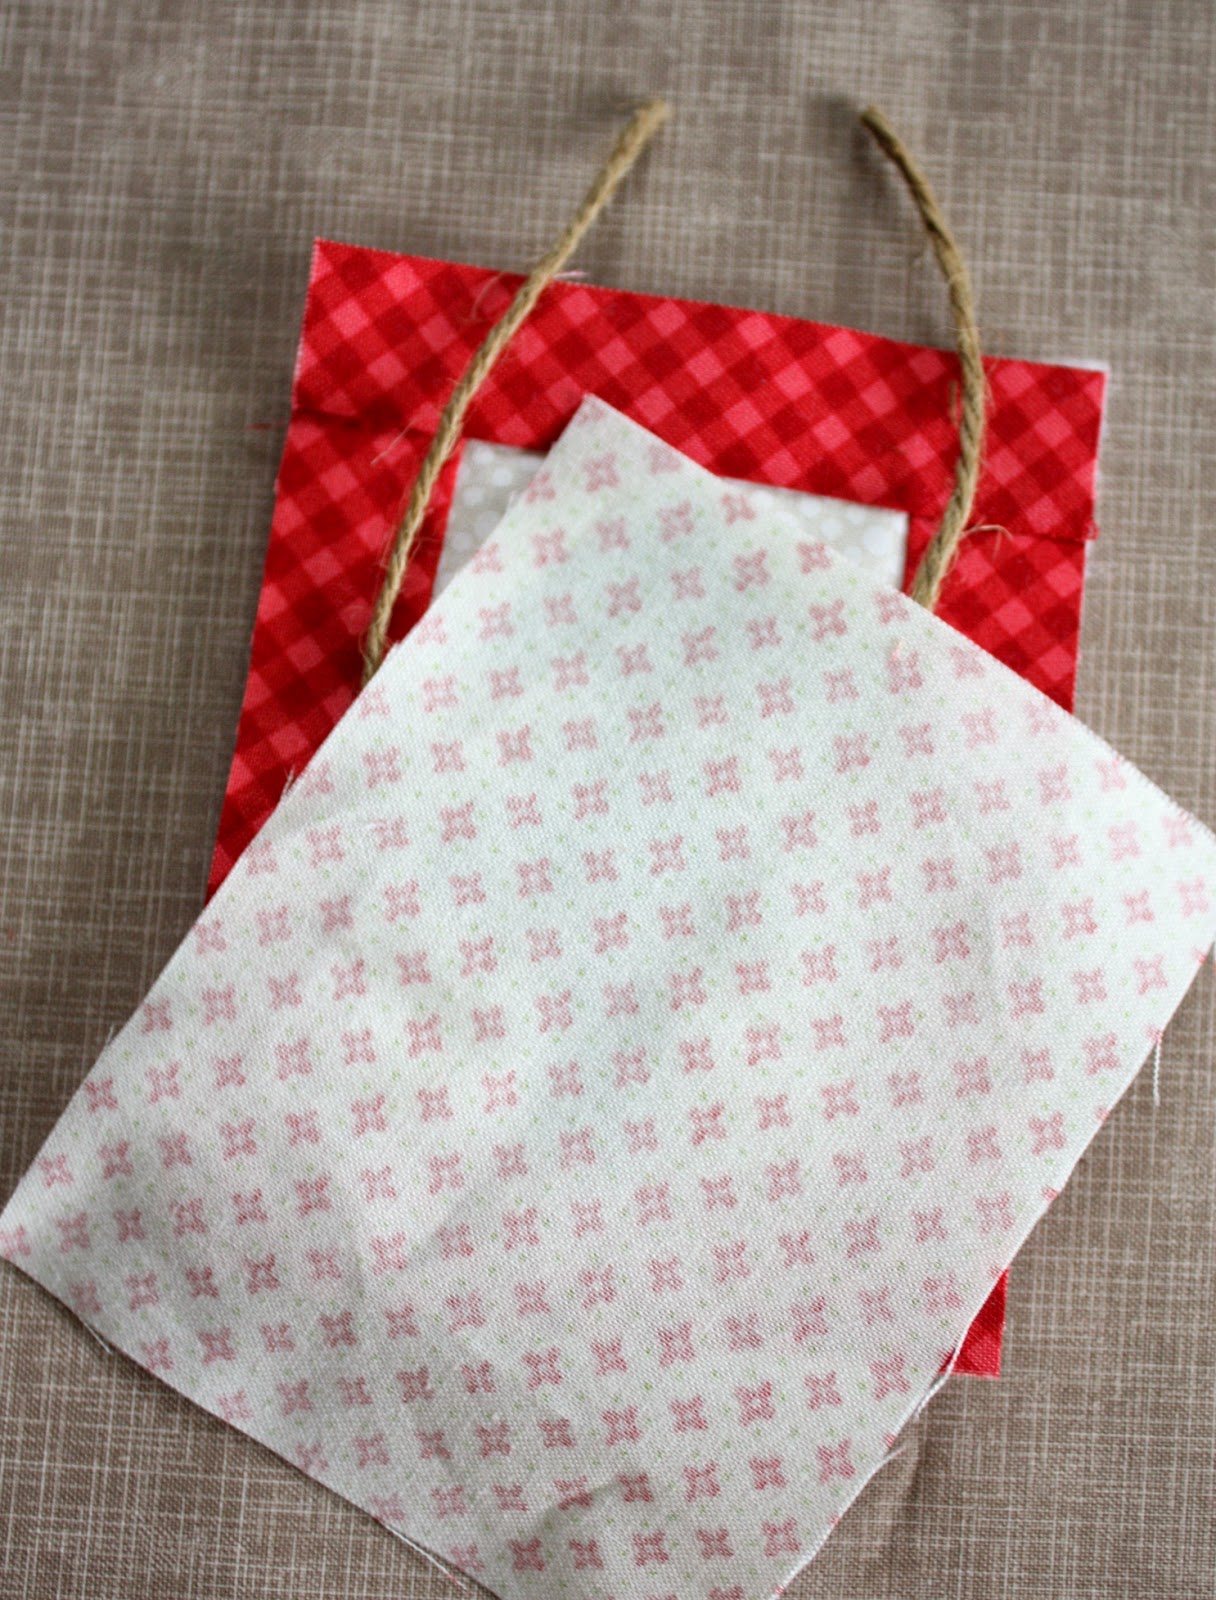
To add batting and backing, layer the batting on the bottom, the tree quilt block (with the top edges lined up – there will be 1/4” less batting at the bottom), the piece of heavy twine in an upside down ‘U’ with the ends about 3/4” in from each side and with about 1” of ends sticking out from the top. Then place backing piece wrong-side-up on top of everything and pin layers together.

Sew layers together using a 1/4” seam allowance. Start 1” from the side at the bottom edge, back stitching first, and sew all the way around, finishing about 1” from the other side on the bottom edge, backstitching again when you finish. This will leave a 1 1/2” opening at the bottom for turning right sides out. Be sure to sew back and forth a few times over the twine to secure it in place.

Clip ends of twine and clip corners before turning right sides out.
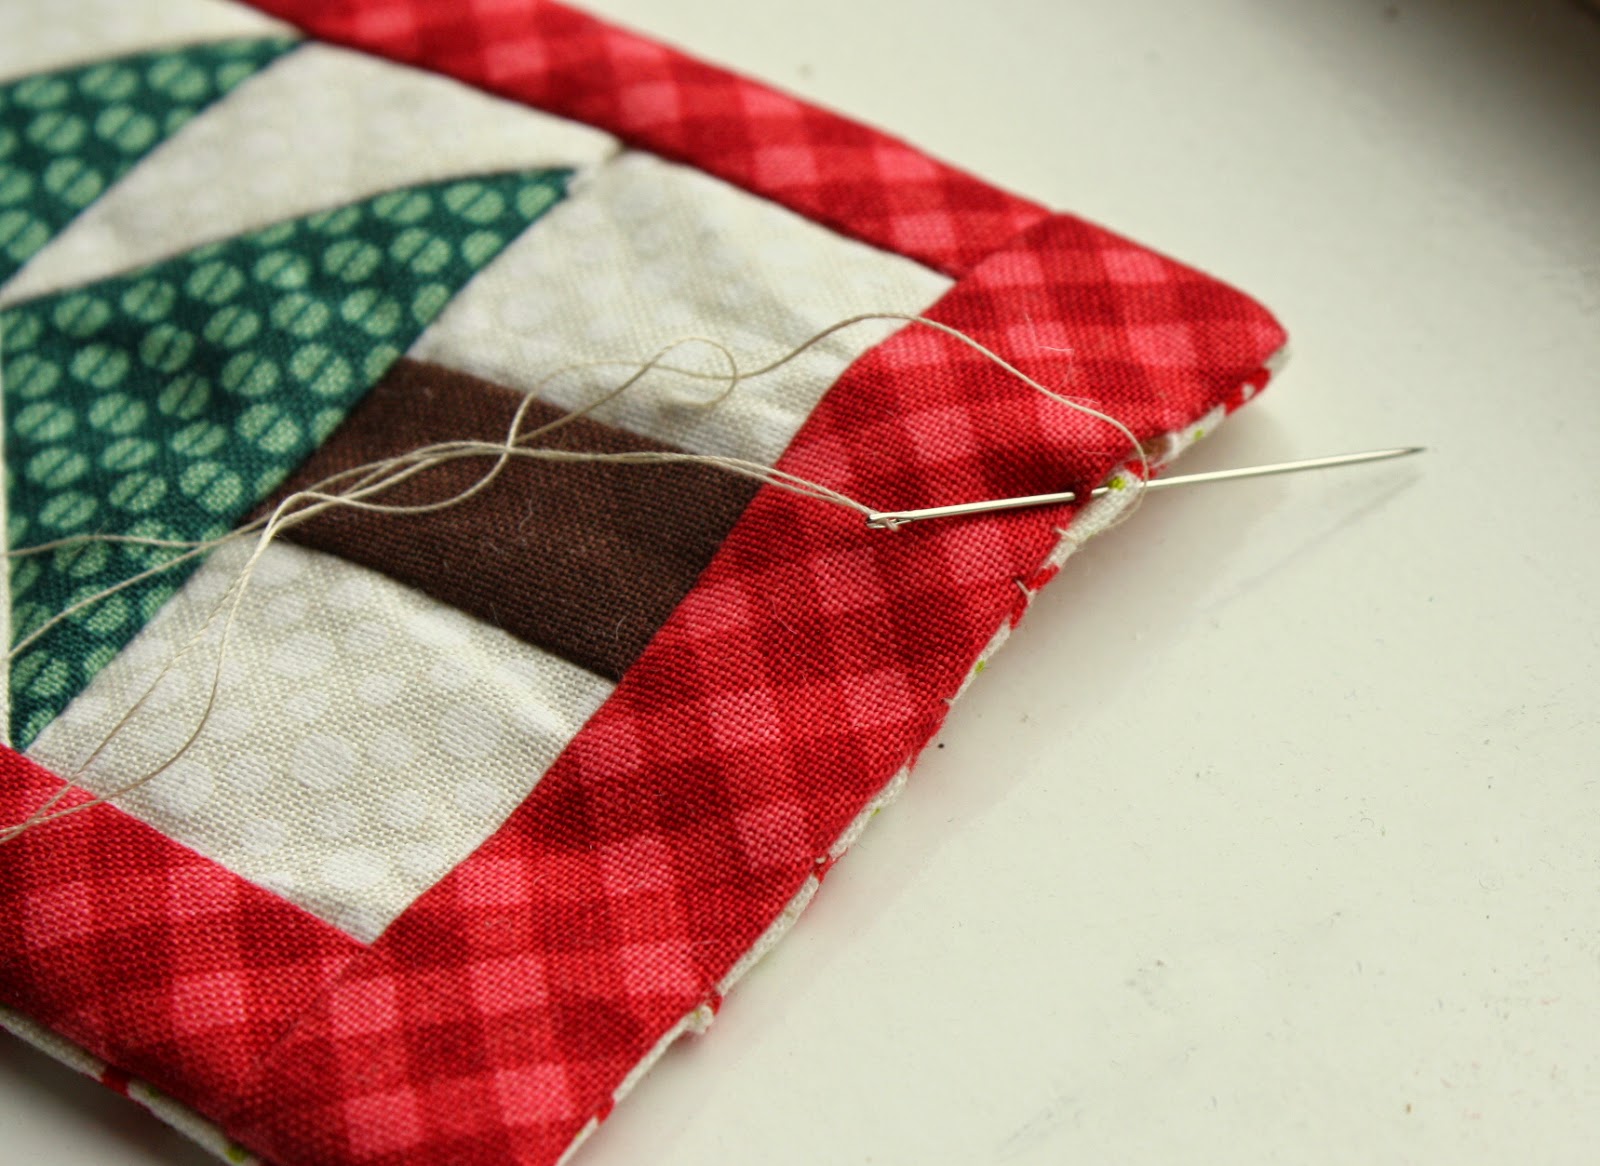
 
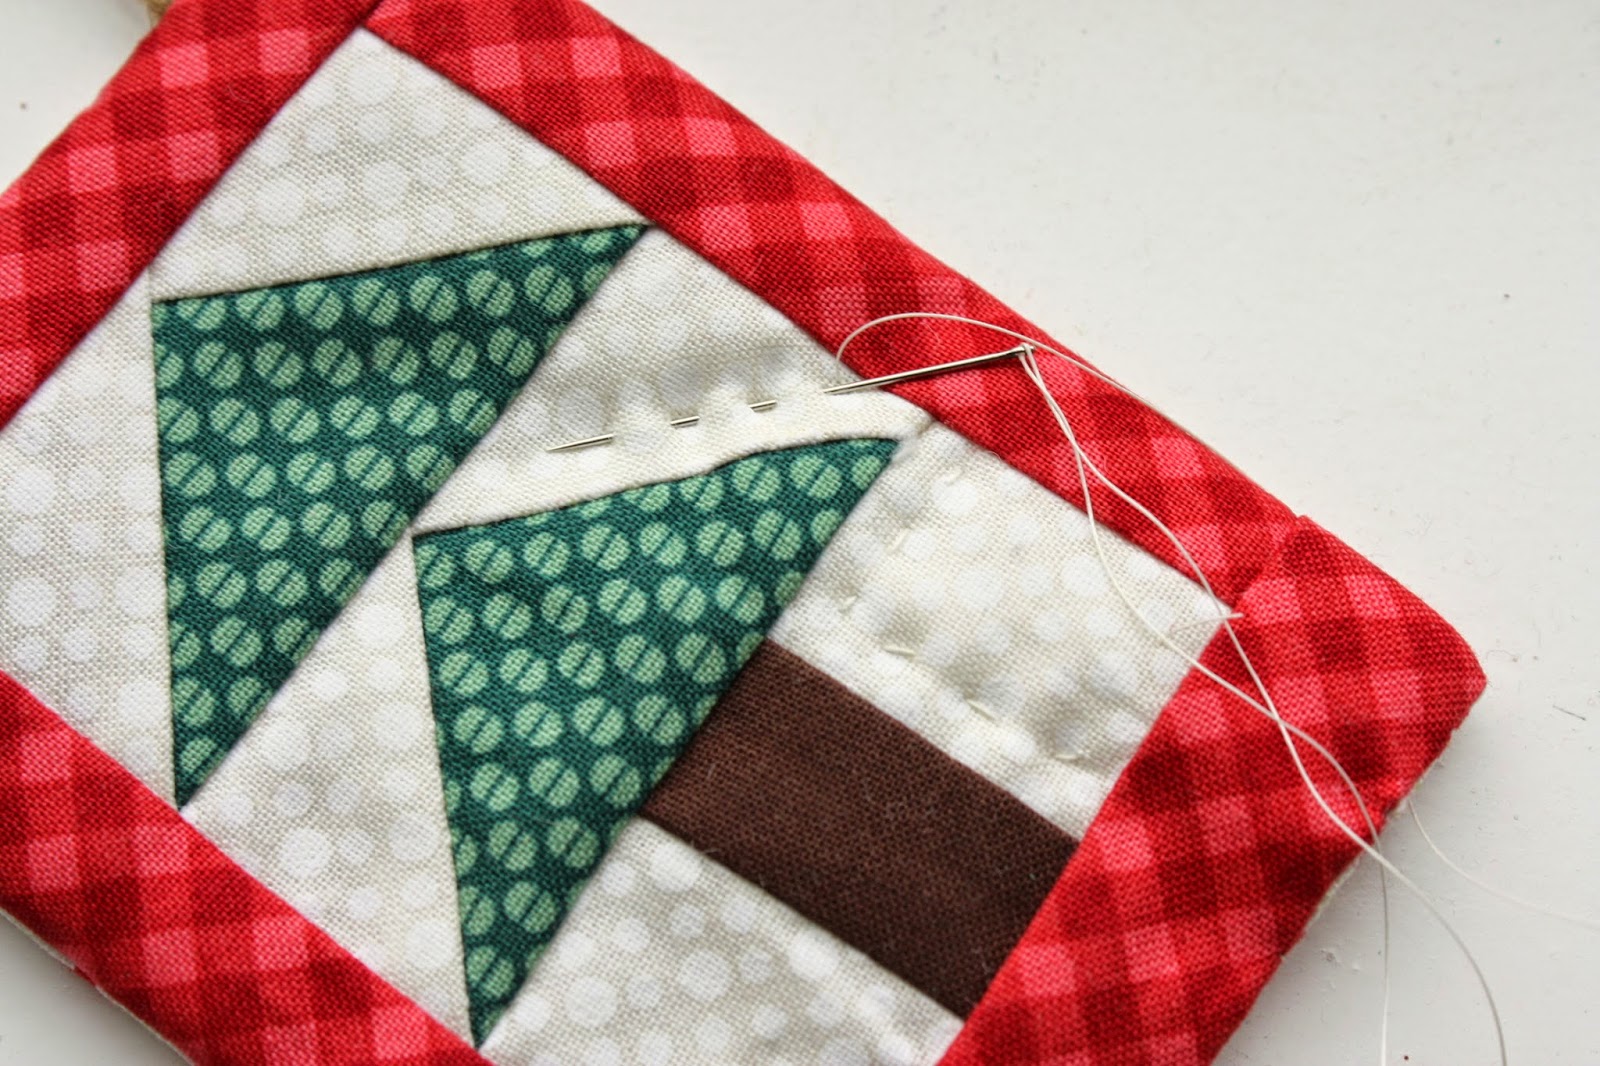
Tuck bottoms ends inside and using a blind stitch, whip stitch the bottom edges together.
You can leave the ornament/tag as is at this point, if you like. I like to add a little bit of hand-quilted stitches outlining the tree to give the ornament just a little bit of texture.
Here is how the ornament looks quilted and not-quilted, just to show the difference that little bit of stitching makes. You can do whatever suits you best!

And that’s it! A simple mini-quilt ornament. Perfect for a quick little personalized project or just for using up some favorite scraps.

Thanks so much for having me today, U-Create! If you are looking for beginning quilting basics, I have a whole series to get your started. And if you’re already a quilting fan, check out my new book Fabulously Fast Quilts for patterns and ideas plus lots more tips and tricks to make your projects come together quickly!

Find these tutorials and more at Diary of a Quilter…
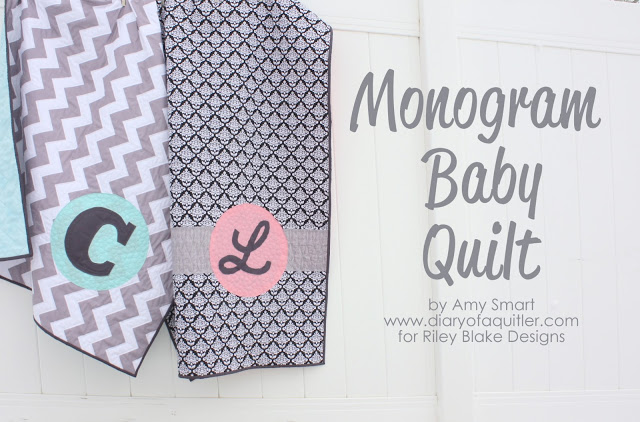
Monogram Baby Quilt TutorialMonogram Baby Quilt Tutorial

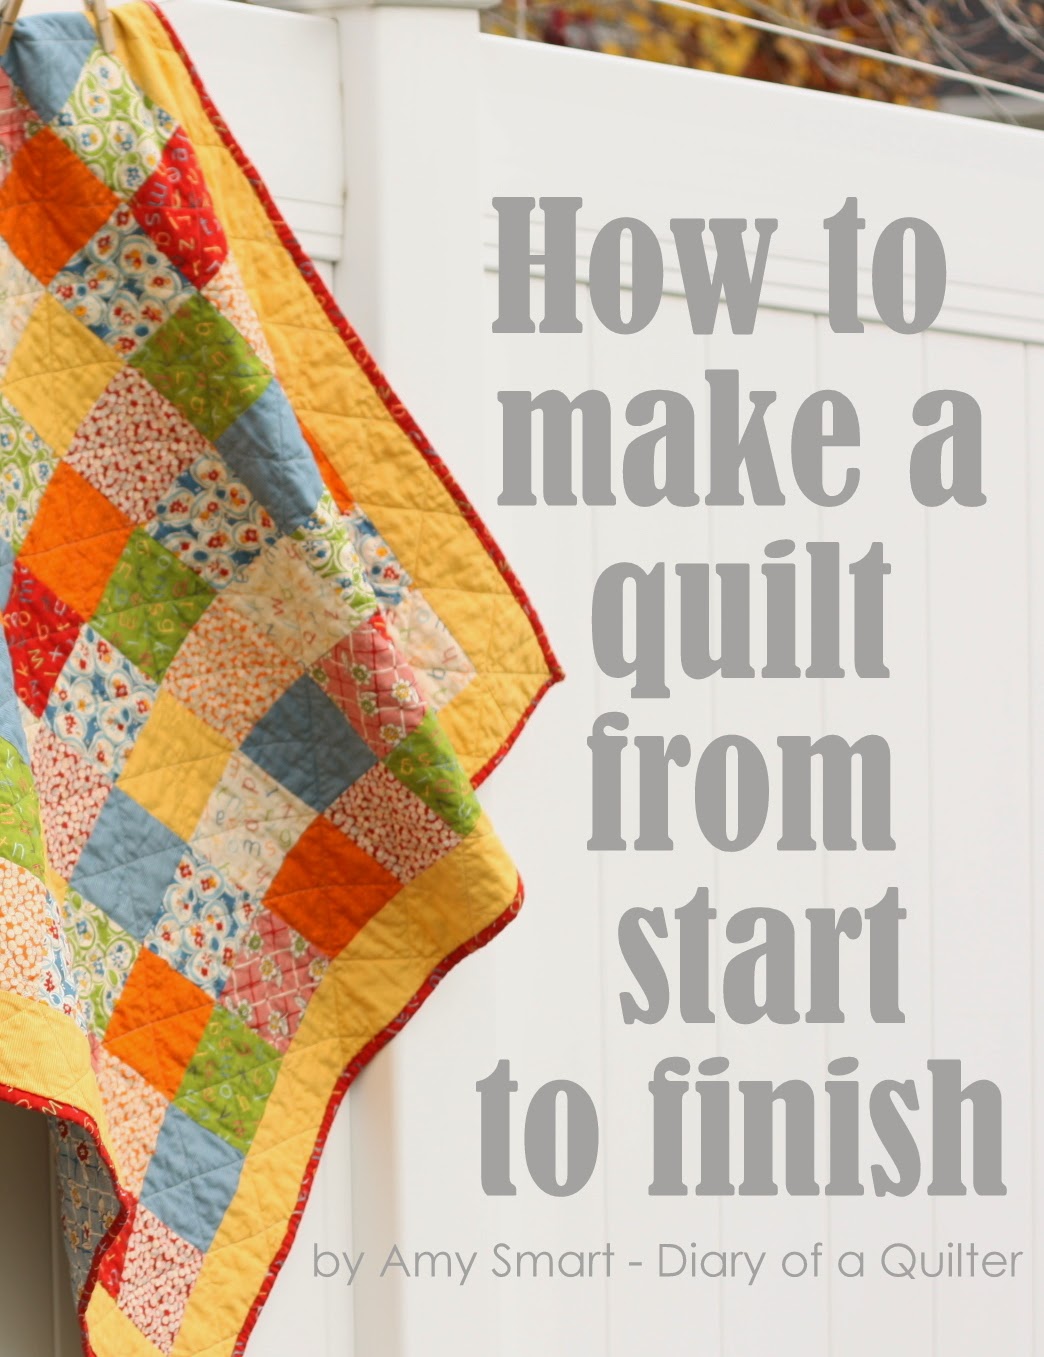
How to make a quilt from start to finish

How to Make a Quilt from Start to Finish

 

You may also like these

Christmas coloring poster and pages by U CreateMerry Christmas Coloring PosterChristmas ornaments - free embroidery patterns by U CreateEmbroidered Christmas OrnamentsChristmas Holiday Coloring PosterHoliday Christmas Art Set -- free download by U CreateHoliday Christmas Art PrintablesTurkey Placemat Tutorial by She Wears FlowersTurkey Placemat Tutorial
Previous Post: DIY Geometric Ornaments
Next Post: Origami Star Ornament Tutorial

Comments

  1. Amy Huntley@theidearoom.net says

    November 21, 2014 at 5:41 PM

    These quilted ornament are so fun! Pinned!

    reply to this comment >
  2. Kari Sweeten says

    November 24, 2014 at 8:14 PM

    I love your ornaments so much Amy! Thank you so much for sharing your quilty awesomeness with us!

    reply to this comment >
    • Amy Smart says

      November 26, 2014 at 4:31 AM

      Thanks Kari! And thanks so much for having me.

      reply to this comment >
  3. Kate says

    November 27, 2014 at 12:32 PM

    I love it!! Thanks for the idea and the detailed instructions …. guess what I’m going to be making today!! 🙂

    reply to this comment >
  4. elaine says

    November 27, 2014 at 2:52 PM

    beautiful idea! simple, yet great results! thanks for sharing

    reply to this comment >
  5. Barbara Macey says

    December 17, 2016 at 8:59 PM

    Love both the Christmas Tree Quilt & Adore the Ornaments. Thank you Amy for your talented sharing.

    reply to this comment >

Leave a Comment Cancel reply

Your email address will not be published. Required fields are marked *

Recipe Rating


Popular Posts

The Ultimate Summer Bucket List

Fathers Day Printable Interview by U Create

Father’s Day Interview Printable Kids Can Fill Out

DIY Mothers Day Vase

DIY Mothers Day Vase

DIY Mother's day painted herbal pots

DIY Painted Herb Pots for Mother’s Day

DIY Pressed Flowers for Mother's Day

DIY Pressed Flower Frame: A Beautiful Handmade Mother’s Day Gift

Handprint Mother's Day Gifts Tutorial

Modern Mother’s Day Handprint Art (Grandma version, too)

  • pinterest
  • facebook
  • instagram
  • twitter
  • rss
 
Privacy Policy
Back to Top

Copyright © 2026 U-Create • All Rights Reserved • Site Design by Emily White Designs