U Create

It's a good day to create!

  • pinterest
  • facebook
  • instagram
  • twitter
  • rss
  • crafts
    • crochet/knit
    • jewelry
    • kids crafts
    • paper crafts
    • sewing
      • bags
      • boys-clothing
      • girls-clothing
      • women-clothing
      • pillows
      • quilts
  • home decor
    • bathroom
    • build it
    • frames
    • kids
    • kitchen
    • office
  • recipes
    • desserts
    • dinner
    • snacks
    • soups
  • parties
    • baby shower
    • birthday
    • games
    • gift wrapping
    • party decor
    • party favors
  • printables
  • holidays
    • Christmas
    • Easter
    • Father’s Day
    • Halloween
    • July 4th
    • Mother’s Day
    • New Years
    • St. Patrick’s Day
    • Thanksgiving
    • Valentine’s Day
  • gifts
    • baby
    • electronics
    • graduation
    • teacher gifts
  • About
  • Be My Guest
  • Advertise
  • Contact
  • pinterest
  • facebook
  • instagram
  • twitter
  • rss

9 Jun

Tabletop Easel Tutorial

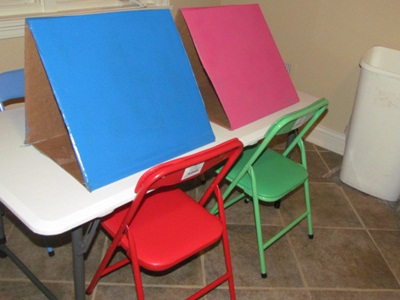
I have been hanging on to a stack of left-over boxes trying to decide what I could do with them. I am terrible about throwing something like this away so I decided to try making my own tabletop easels…
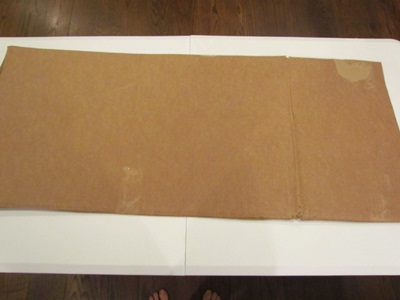
I had already cut the boxes into pieces and so I started with the boxes all flattened out with the extra flaps cut away leaving me with a set of long, rectangular, cardboard strips. 

 
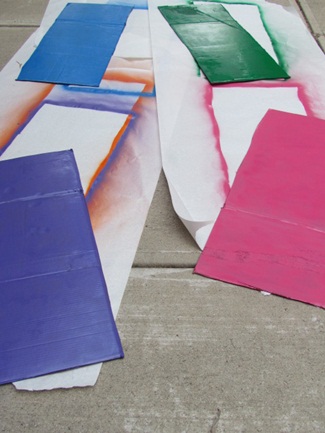
I took the cardboard strips outside and painted them with fast drying high gloss spray paint. Painting the strips isn’t something that has to be done but I had a bunch of paint left over from a previous project and thought it would be fun to add some color…
 
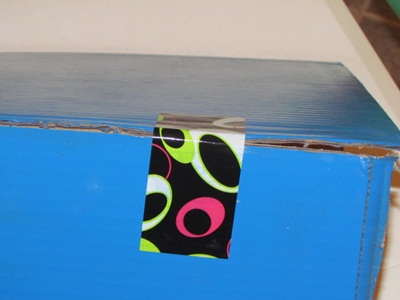
Once my pieces were dry, I folded each cardboard strip into three parts and then taped the ends together with a strip of colorful duct tape…
So this is what I had completed so far…
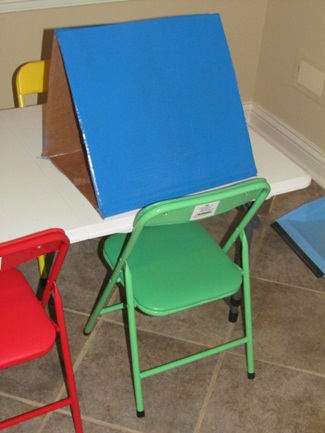
 
To finish off the tabletop easels, I added a clothespin to the top of each easel for holding the paper…
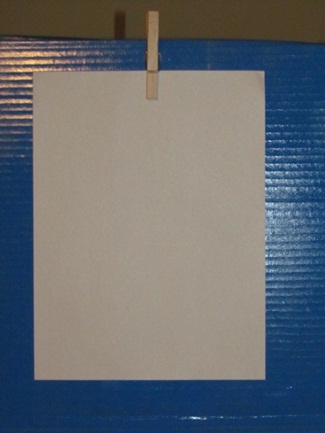
The clothespins were attached to the easels with Velcro…
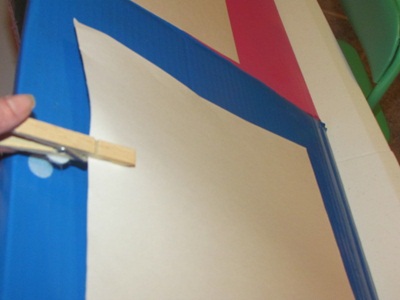
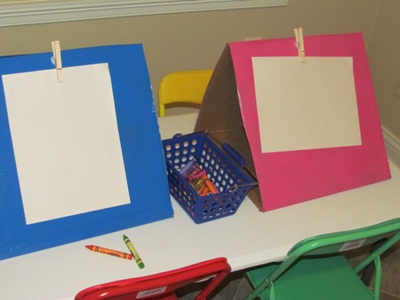
Now that my easels were all completed, I put paper on each one and set them out ready for the children to give them a try. The children can try a variety of tools like crayons…
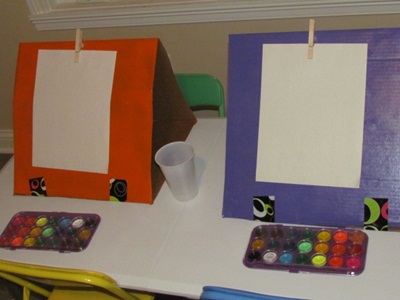
And watercolor paints…
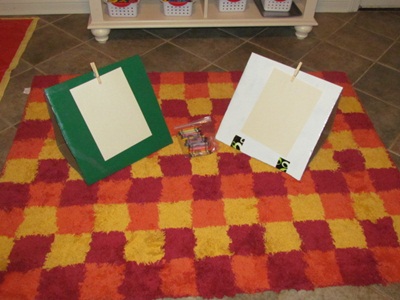
The easels don’t just have to stay on a table. We will try them on the floor and outside too!
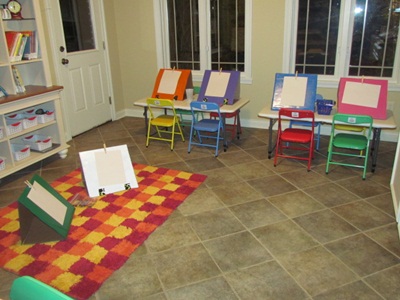
The one tip I can already share with you is to be sure to select fairly heavy boxes for the easels so that they will hold up under a bit of pressure. I think mine just might need a little reinforcement but we will see how it goes!
 
Written by Deborah J Stewart of Teach Preschool!

You may also like these

The Homemade Play Dough Guide by U Create - create your very own version using this base recipe! Tons of tips and tricks, too!The Homemade Play Dough GuideStar Wars Perler Bead Patterns for KidsStar Wars Perler Bead PatternsFree Pokemon Go Perler Bead PatternsPokemon Go Perler Bead PatternsChristmas Paper Plate Crafts at U CreatePaper Plate Christmas CraftsBuild a Snowman Kids Crafts - free printablesDo You Want to Build a Snowman
Previous Post: Vintage Lace Cuff Tutorial
Next Post: Scalloped Lampshade Tutorial

Comments

  1. Little Wonders' Days says

    June 9, 2011 at 8:14 PM

    Very creative!

    reply to this comment >
  2. TeachDramado says

    June 9, 2011 at 10:38 PM

    Wow! What a great idea! I teach kindergarten and I think this idea will work fine at an art center. Love your blog!

    reply to this comment >
  3. Eilis says

    June 12, 2011 at 12:06 PM

    I have been saving some big cardboard covers that Scholastic mailed big books in. Now I know why! Great idea.

    reply to this comment >
  4. Messy Kids says

    July 9, 2011 at 1:11 AM

    I featured you (and your guest) on this weeks Do Something! DIY Fun and Learning Toys.

    Rachele @ Messy Kids

    reply to this comment >
  5. barbara says

    January 15, 2013 at 2:11 AM

    You can reinforce by putting smaller in a larger one, then stuff center with cloth and cover whole thing with contact paper

    reply to this comment >
  6. barbara says

    January 15, 2013 at 2:13 AM

    You can reinforce by putting smaller in a larger one, then stuff center with cloth and cover whole thing with contact paper

    reply to this comment >

Leave a Comment Cancel reply

Your email address will not be published. Required fields are marked *

Popular Posts

DIY Quilt Block Coasters

DIY Quilt Block Coasters

DIY Mason Jar Vase

DIY Mother’s Day Mason Jars

All About Mother and Grandma Free Printable

Free Stitchable Bunny Pattern at U Create - great project for the kids!

Free Stitchable Easter Bunny

Easter Perler Bead Patterns for Kids - great for stitching patterns, too!

Free Easter Perler Bead Patterns

18 Ways to Decorate Easter Eggs

  • pinterest
  • facebook
  • instagram
  • twitter
  • rss
 
Privacy Policy
Back to Top

Copyright © 2022 U-Create • All Rights Reserved • Site Design by Emily White Designs