
Hey 🙂 It’s Melinda from over at Under My Umbrella. I’m so excited to be a creative guest here on Ucreate! As my tween would say “that’s so epic”. If you don’t speak tween/teen I’m pretty sure that means cool, awesome and/or rad.
I’m from the Great Northwest where an umbrella and rain boots are a must in every wardrobe. I can’t complain it’s green, beautiful and there are some super cute rain boots out there! My blog started when my husband started buying me power tools for my birthday and Christmas. I know exciting right?! He told me to start creating and making stuff. He saw something in me that I didn’t. I started creating things and who knew?! I’m in love with crafting.Today I’m here to share a fun, cheap and easy 2×4 pumpkin tutorial.
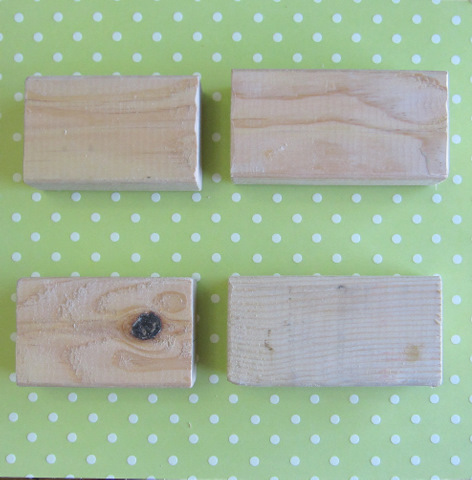
First, cut your 2×4’s. You can also use 1×3’s. They are slightly smaller and cheaper. I actually prefer them 🙂 For this particular pumpkin cut 2 blocks at 5 inches and the other two at 4 inches. Sand the edges lightly.
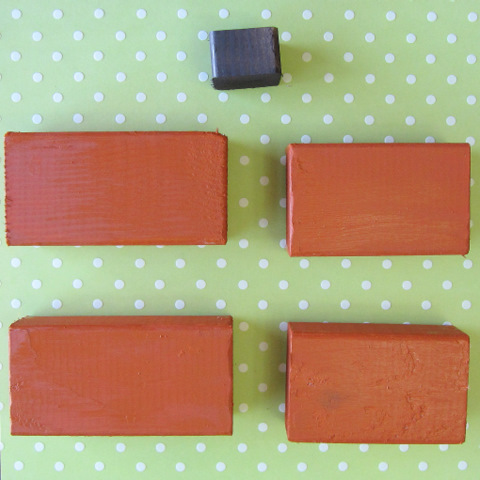
Paint the 2×4’s orange. I paint mine on all sides but you could just do the front, sides and top. 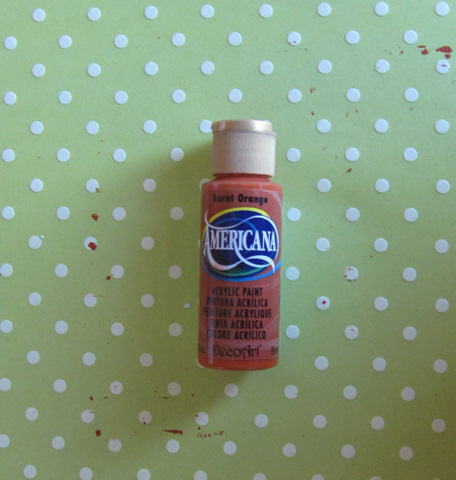
I used Americana’s Burnt orange (above) for the pumpkin pieces and any old brown will do for the stem.
Sand the edges of all pieces.

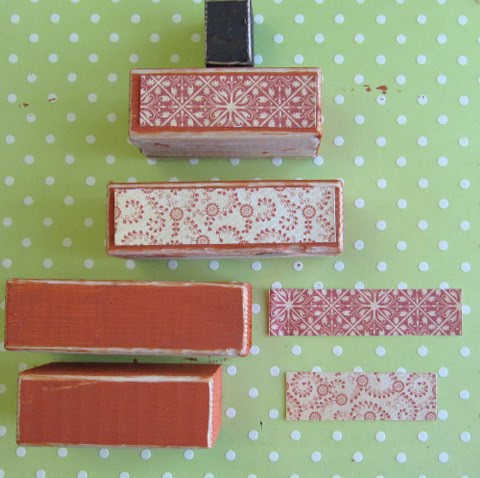
Cut your paper into strips. Just in case you’re wondering….I used a double sided paper from Graphic 45. It’s in their Christmas Past Collection. It’s called Deck the Halls. Ink the edges of each paper strip with a brown ink pad.
Now it’s time for some mod podge!
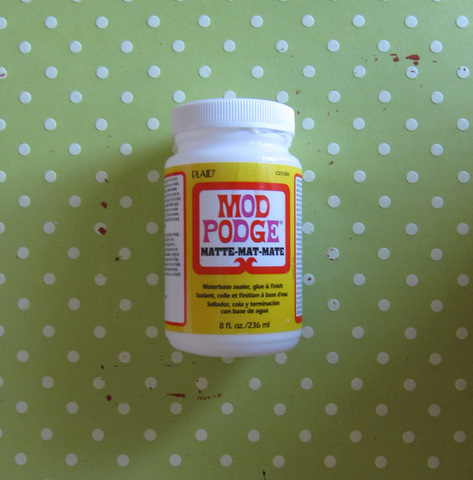
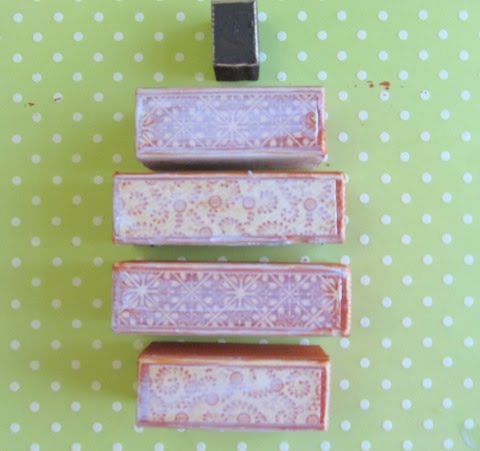
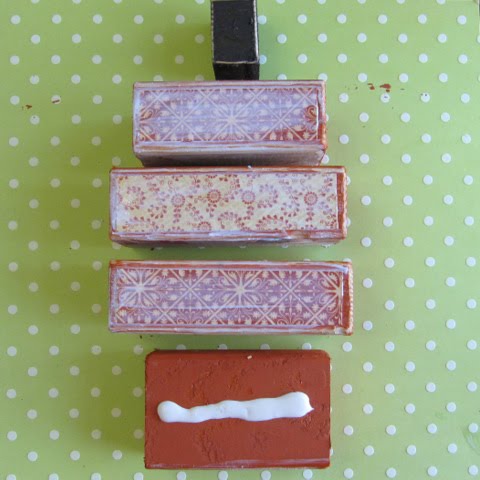
I put the mod podge on the block and then put the paper on it. Make sure you get no bubbles (they drive me crazy) by smoothing the paper down with your fingers. I let it dry a little and then add a top layer.
Gorilla glue is the best and it’s time to use some!
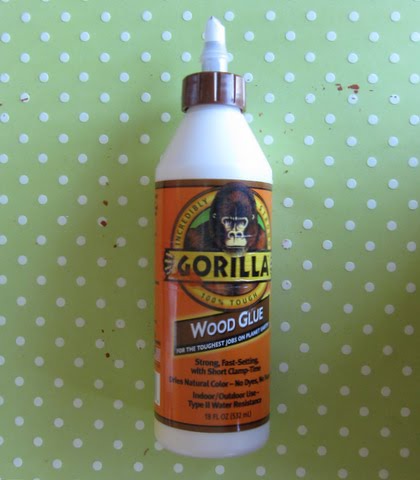
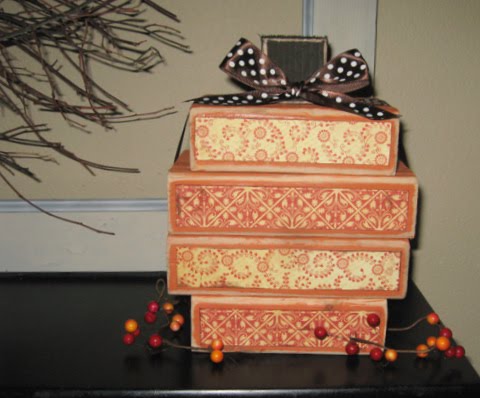
Use this gorilla wood glue to glue the pieces together. It will need some time to dry and you are finished! If you like add some embellishments such as ribbon, yarn and/or berries.
The best thing about pumpkins is there are so many possibilities….big, small, tall, short, wide,
or narrow. What kind of pumpkin will you choose?

Happy Crafting!


l.o.v.e.i.t!
These are great. Love the pumpkins but I definitely see the Christmas tree in my future…
OMG THIS IS THE CUTEST THING I’VE SEEN IN A LOOOONNNNNGGG TIME! See, I live in the southern-most part of Arkansas, as close to Louisiana as you can get, and here, we only get like MAYBE 2 weeks of fall so I JUMP ON IT AND DECORATE the end of August for fall b/c otherwise, I’ll miss it! I am SOOOO gonna do this and add this to my new collection! I LOVE FALL and all the colors and berries and leaves and AAAAAAAAAHHHHHHHHHHHH are sooo me! my whole house is actually painted and decorated in the colors of fall now that i think about it! 🙂 These are too cute and I CAN’T WAIT TO make me some!! 🙂 thanks for sharing and your boys are adorable!!!
I’m so excited to have a nativity that my kids can play with and I don’t have to worry about them breaking it!!
these are SO SO cute!! for her other kits…is she local (UT), and we can do a pick up, so we don’t have pay for shipping from her etsy site?
Hey! These look familiar, lol! Your version turned out so cute!
These are so awesome!!
I am posting about this in my Frugal Fall Decor post! And I will be making myself a yarn wreath very soon! Love it!
http://stretchmycheck.blogspot.com/2010/10/frugal-fall-decor.html
Those are so cute! I can’t wait to make 1…or 2!
Aww, that’s super cute! I love them all lined up like that. Thanks so much, I’ll be linking.
First of all, your craft is adorable. Secondly, your boys are adorable. Someday it will be funny to you, just like all the things my son does will someday be funny to me… hopefully. (right?!?)
Love it! And yes, my son can get into ALL KINDS of messes while I’m crafting! : )
I linked this project over at Pumpkin Week:
http://www.alwaysexpectmoore.com/2010/10/pumpkin-week-daily-dozen_05.html